John Deere Lawn Mower PTO Switch: Test Before You Replace
Test your John Deere lawn mower PTO switch with a multimeter before buying a new one. Locate each safety interlock and fix blades that won't engage.
Written by Tony MaldonadoReviewed by Wade CoburnLast updated on September 8, 2026
When you buy through links on our site, we may earn an affiliate commission (at no extra charge), which we use to fund new product tests. Learn more.
Read it your way
Short on time? Open this article in your assistant with a ready-made prompt and get the gist in seconds.
Found this useful? Make us a preferred source so we show up in your Google results.
Blades that won't spin up on a John Deere usually point at one cheap part before anything else.
A failing John Deere lawn mower PTO switch stops the deck from engaging, and it is the component most owners swap first.
It is also the part people replace by reflex, often before confirming it is the actual fault.
A two-minute continuity test tells you whether the switch is dead or whether the real problem sits elsewhere.
This guide runs the test first, then the fix.
The PTO switch controls the electric blade clutch and blocks the deck from engaging until the mower's safety interlocks are satisfied.
Test it on continuity, where a healthy switch reads near zero ohms in one position and open (OL) in the other.
If it tests fine, the fault is usually the clutch coil, a blown fuse, a bad ground, or the seat or brake interlock. The switch itself is innocent more often than owners expect.
Start Here: Blades Won't Engage or Won't Start
A John Deere lawn tractor has two very different electrical complaints, and mixing them up wastes hours.
The PTO circuit produces "the blades won't engage," where the engine runs fine but the deck stays dead.
The interlock chain produces the opposite, where the engine won't start or dies the moment you stand.
According to Hunker's John Deere PTO guide, the electric clutch draws real current only when the switch closes and the safety conditions are met, so the symptom you have tells you which half to test.
Sort your problem before touching a tool.
Your symptom | Most likely branch | Where to go |
|---|---|---|
Engine runs, blades won't spin up | PTO switch or blade clutch | Testing and clutch sections below |
No click from the clutch on engage | Switch, fuse, or clutch coil | Testing, then the not-the-switch section |
Engine won't crank at all | Seat, brake, or neutral interlock | Seat and brake section |
Engine dies the moment you stand | Seat safety switch | Seat and brake section |
Blades quit only in reverse | Reverse (RIO) interlock | Interlock system section |
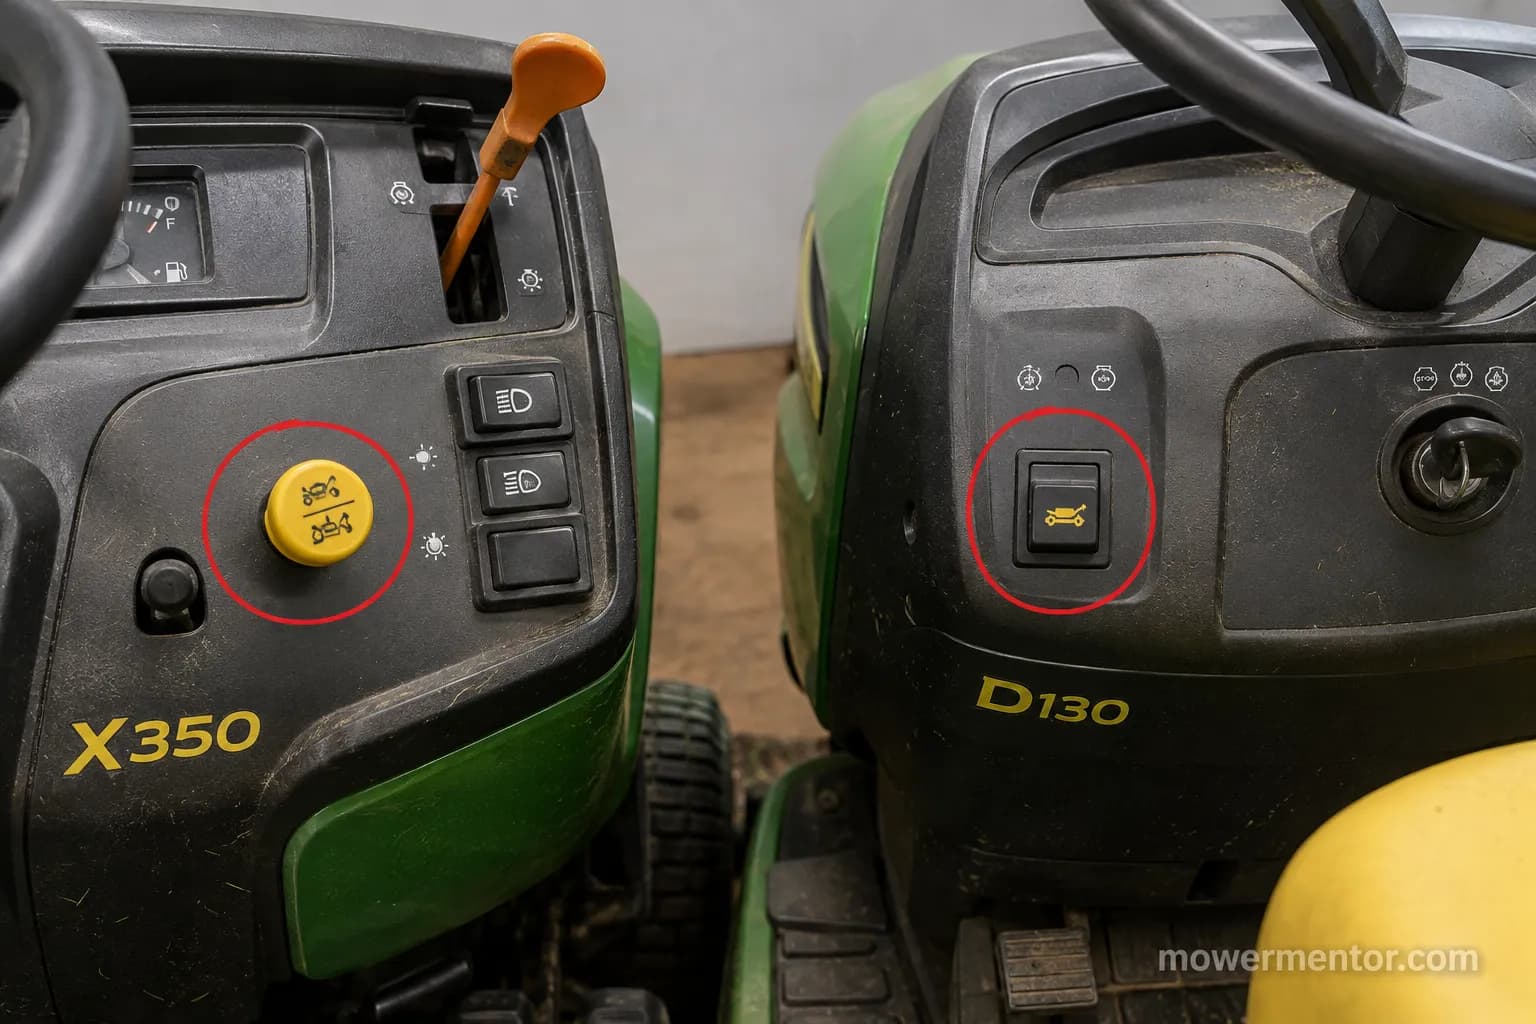
In my own shop this August, the worn switch off our X350 read closed in both positions, so the clutch never got a clean signal.
The engine ran perfectly the whole time, which is exactly why the deck, not the motor, was the tell.
A switch can pass a cold bench test and still fail once it heats up. Hold that thought, because it changes how you read the results later.
How the John Deere Safety Interlock System Works
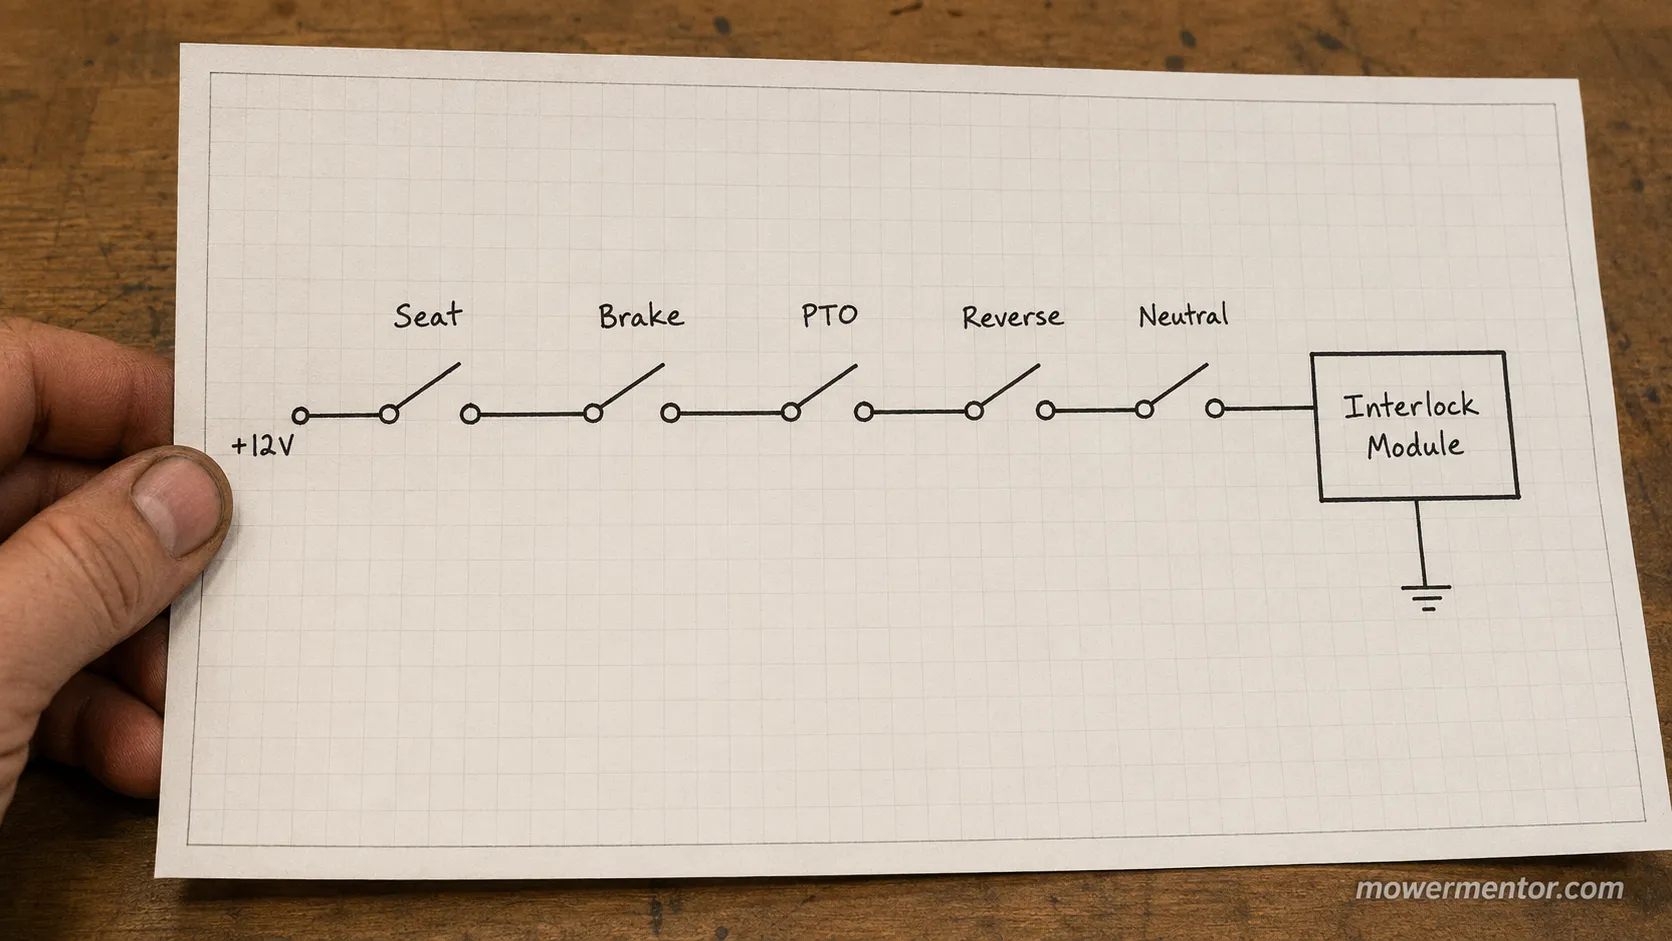
The John Deere safety interlock system is a chain of switches wired in series, and the machine only acts when the whole chain agrees.
To crank, it generally wants the operator seated or the park brake set, the PTO off, and the transmission in neutral.
As Madison Tractor's interlock guide explains, one open link anywhere in that series circuit reads as a failed safety condition.
That is why a bad seat switch can look exactly like a bad PTO switch.
Each switch is a yes-or-no vote in the same circuit.
Interlock switch | What it confirms | Common failure symptom |
|---|---|---|
Seat switch | Operator is on the seat | Engine dies when I stand |
Brake / park switch | Machine is held still | Won't crank unless brake is jiggled |
PTO switch | Deck engage command | Blades won't engage, no click |
Reverse (RIO) switch | Reverse-mow permission | Blades quit in reverse only |
Neutral switch | Transmission in neutral | Intermittent no-crank |
A quick way to see this is to sort each switch by what it does.
Our shortcut for how interlock switches work treats each one as a single vote in the chain.
When I lifted off the D130 seat with the PTO on this summer, the engine cut instantly, but with the PTO off it kept idling.
That single test proved the seat leg was doing its job and pushed the fault back toward the deck side.
This is also why a mower that clicks but won't crank is a different investigation from dead blades.
If you ever consider a workaround, do it the correct temporary way in our guide on disabling a switch the right way.
Never permanently bypass a safety interlock, because that is exactly what stops the blades before they reach a hand or foot.
Where the PTO Switch Is by Series (100, D, E, S, X, Z)
John Deere puts the PTO control in different places depending on the series, and the switch style changes with it.
The 100, D, E, and S lawn tractors mostly use a push-button blade-engage switch on the dash, while the X and Z machines use a pull-style yellow knob.
According to Hunker's X300 safety-switch fix, the under-seat and brake-arm switches hide well.
Knowing the layout for your series is half the diagnosis.
Match your machine before you start probing.
Series family | PTO switch style | Typical location |
|---|---|---|
100 Series, D100 to D130 | Push button | Right side of dash |
E100, S200 | Push button | Dash panel |
L and LA older | Pull knob | Dash, left of key |
X300 to X500 Select | Pull knob | Dash, right of key |
Z300 to Z500 zero-turn | Pull knob | Control panel |
What Is the "Secret" Safety Switch on an LA-Series Deere?
Owners of older LA tractors often hunt for a "secret safety switch," and it is usually the brake or seat plunger tucked under a panel rather than a hidden extra part.
It behaves like the others, so opening the link makes the machine refuse to crank or engage.
Finding it by hand, then wiggling it while a helper watches the blades, exposes a flaky contact fast.
That is the quickest way to catch the ones that test fine at rest.
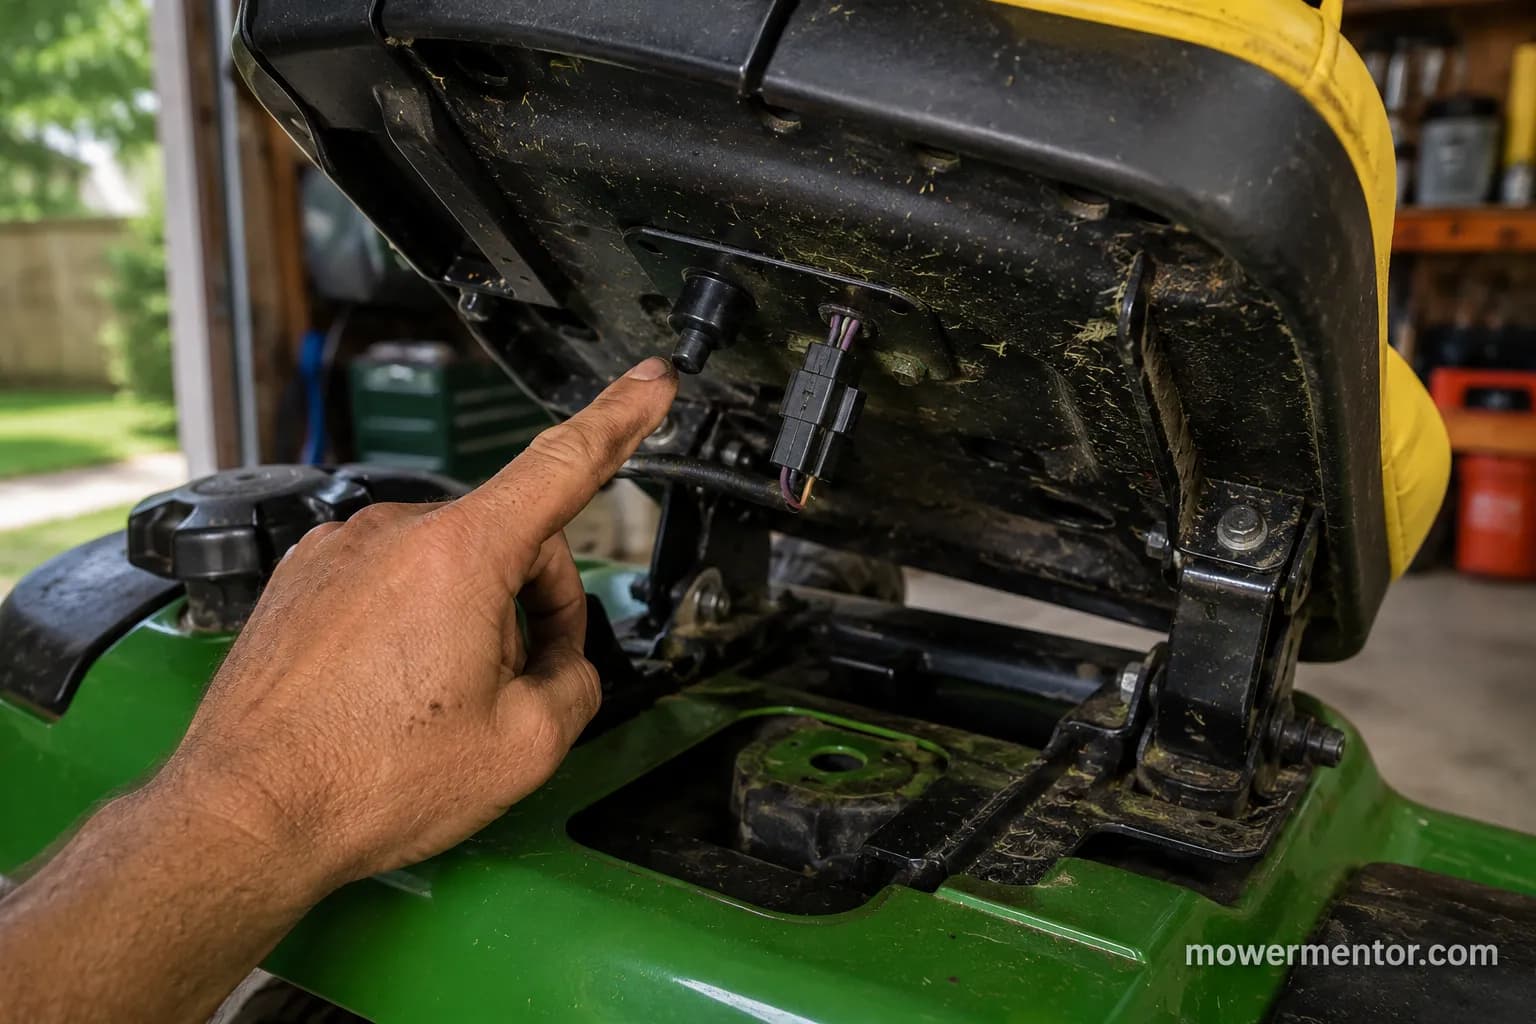
On our D130, I found the plunger by feel in under a minute, tucked at the back of the seat bracket where you cannot see it from a standing position.
If you are chasing intermittent behavior across the whole machine, our full Deere no-start walkthrough maps every switch in order.
Keeping the machine healthy also cuts down on nuisance faults, which is why we fold interlock checks into keeping a Deere tuned up.
Buying the right part later starts with knowing your model, the same habit behind matching parts to your model.
How to Test a John Deere Lawn Mower PTO Switch (Continuity Test)
Testing a John Deere lawn mower PTO switch takes a multimeter, five minutes, and no parts budget.
Set the meter to continuity, pull the switch connector, and probe the terminals while you move the control between off and on.
A good switch shows near zero ohms on the circuit that should close and open (OL) on the one that should stay open.
PTO Direct's testing guide confirms the pattern, since the switch is a set of simple contacts that a steady reading exposes.
Follow the steps in order.
Park on level ground, set the brake, turn the key off, and let the engine cool.
Unplug the PTO switch connector and note the terminal layout.
Set the meter to continuity and touch the two probes together to confirm it beeps.
Probe the switch terminals with the control off, then push or pull it on, watching for the reading to flip.
Repeat on each terminal pair the wiring diagram calls out.
Watching the reading actually flip as you actuate the switch is the whole point of the test. Holdwell's PTO switch test shows the same actuate-and-watch method on the bench.
Here are the readings I logged off our two machines this August.
Switch tested | Position off | Position on | Verdict |
|---|---|---|---|
X350 old pull switch | 0.3 ohm | 0.3 ohm | Failed, stuck closed |
X350 new pull switch | OL | 0.3 ohm | Good |
D130 push switch | OL | 0.4 ohm | Good |
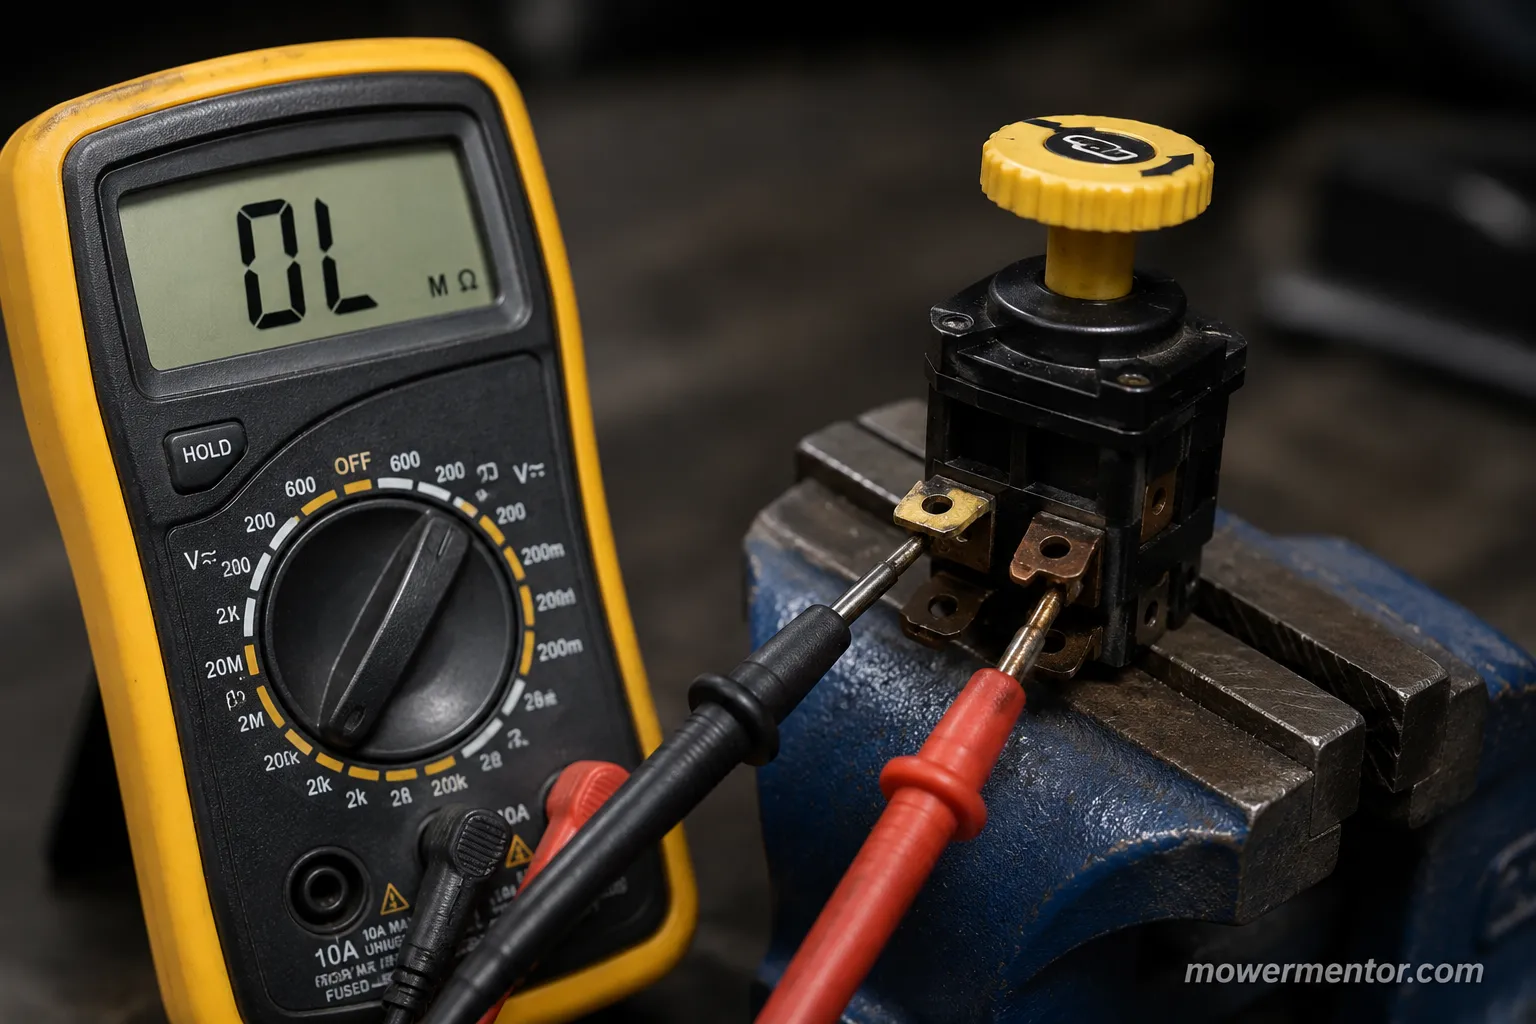
The old X350 switch read 0.3 ohm in both positions, which is the "reads on when the lever looks off" fault owners describe on forums.
That one stuck contact was enough to confuse the clutch signal.
A multimeter on a key switch uses the same method if you want to rule the ignition in or out. The technique carries straight across the machine.
Continuity confirms the switch, not the clutch. A switch that passes still leaves the clutch coil, the fuse, and the ground to check, which is why the general method behind testing any mower's PTO switch always pairs the switch test with a voltage check.
With the switch on and the safeties met, I measured 13.1 volts at the clutch connector on the X350. That proved the command actually reached the deck.
Seat and Brake Switches: The Won't-Start Branch
The seat and brake switches sit on the won't-start branch, and they fail in ways that mimic a bad PTO switch.
A collapsed seat-cushion foam pad can stop pressing the plunger, so the engine dies when you shift your weight.
A TractorByNet D130 thread documents the classic version, where an interlock that tests fine at rest drops out under real seat load.
Because these switches sit in series with the PTO circuit, one flaky contact can leave you blaming the deck.
Test them the same way you tested the PTO switch.
Probe the seat switch on continuity while you press and release the plunger by hand.
Do the same on the brake switch as you set and release the pedal, watching for a reading that snaps cleanly rather than flickering.
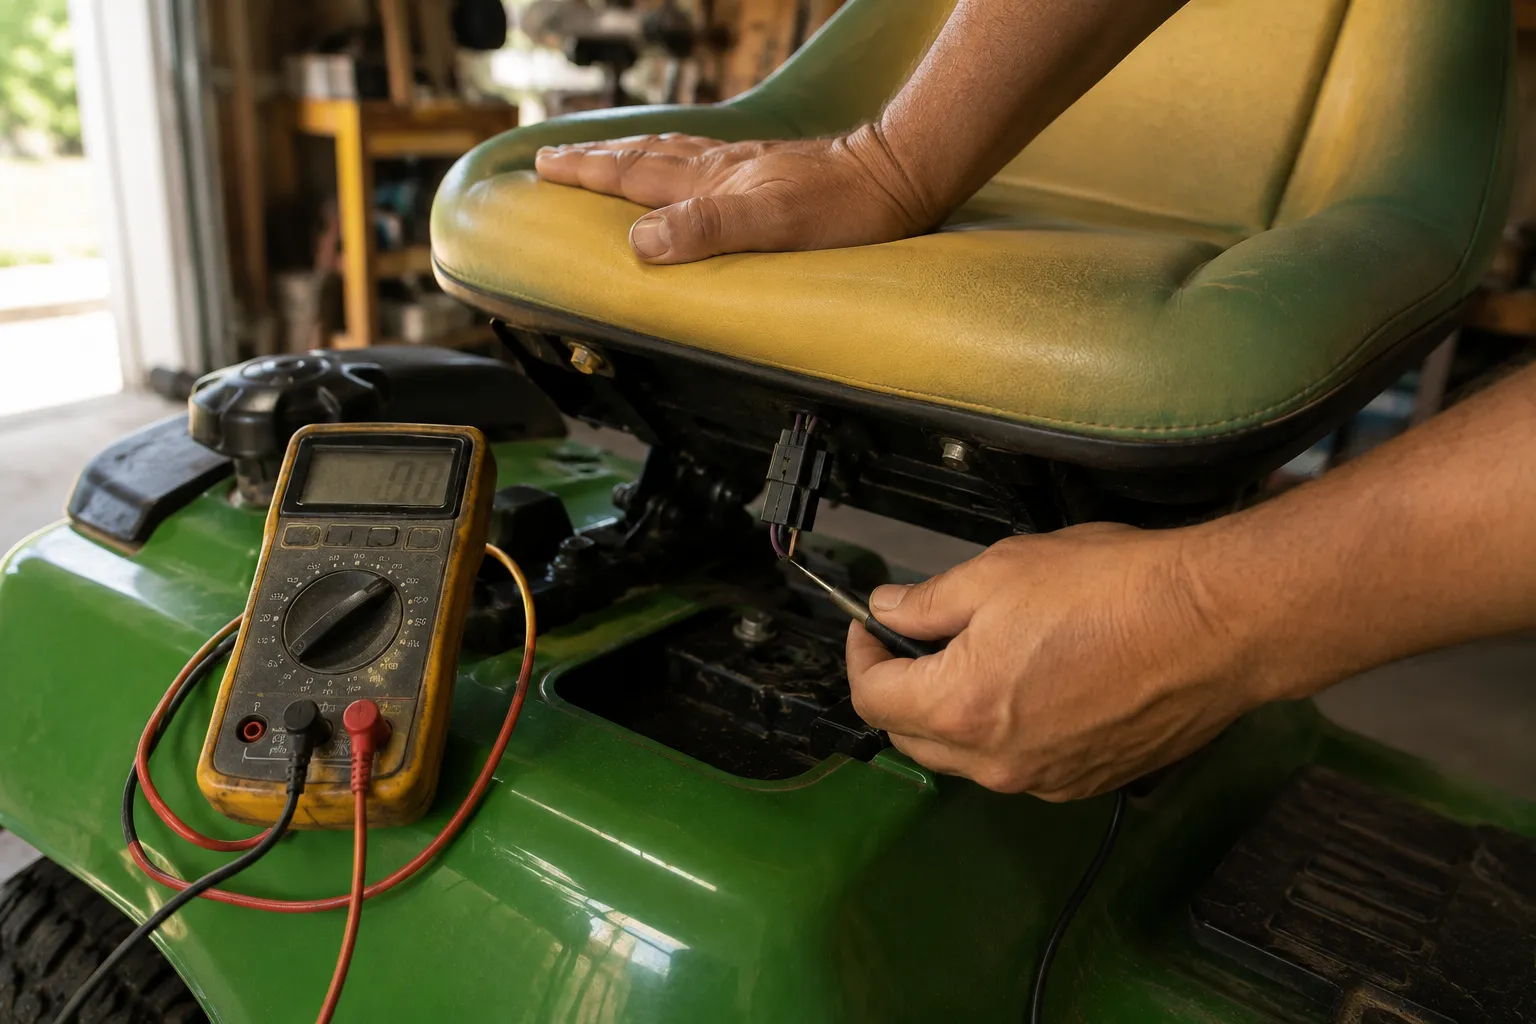
On the D130 I watched the meter flicker every time the foam compressed, the classic wiggle-test flicker that never shows up when the switch sits unloaded.
That is why bench-testing a seat switch alone can lie to you.
If your machine will not crank at all, start with the complete no-start decision tree.
The companion piece on when it won't turn over covers the crank side in detail.
For the seat circuit specifically, our deep dive on seat-switch testing in depth covers connector repair and foam shims.
Those two fixes solve most standing-kills-the-engine complaints.
When It's Not the Switch: Fuse, Clutch Coil, Ground, and Wiring
When the PTO switch passes but the blades still refuse, the fault has moved downstream to the fuse, the clutch coil, the ground, or the wiring.
The electric clutch is an electromagnet, so it needs both a clean 12-volt feed and a solid ground to pull in.
An iFixit deck-engage thread traces the usual order, where a blown fuse on engage or an open coil quietly imitates a switch failure.
Checking these in sequence keeps you from buying a switch you already proved good.
Work from cheapest to most involved.
Suspect part | Quick test | Typical reading |
|---|---|---|
Fuse | Visual and continuity | Beep if intact |
Clutch coil | Ohms across coil leads | 2.4 to 3.2 ohms |
Ground strap | Ohms to frame | Under 1 ohm |
Feed wire | Voltage at connector | 12 to 14 volts |
To separate the clutch from everything above it, I jumped 12 volts straight from the battery to the clutch connector on the X350.
The clutch snapped in with a firm click, which proved the coil was healthy and the fault lived upstream.
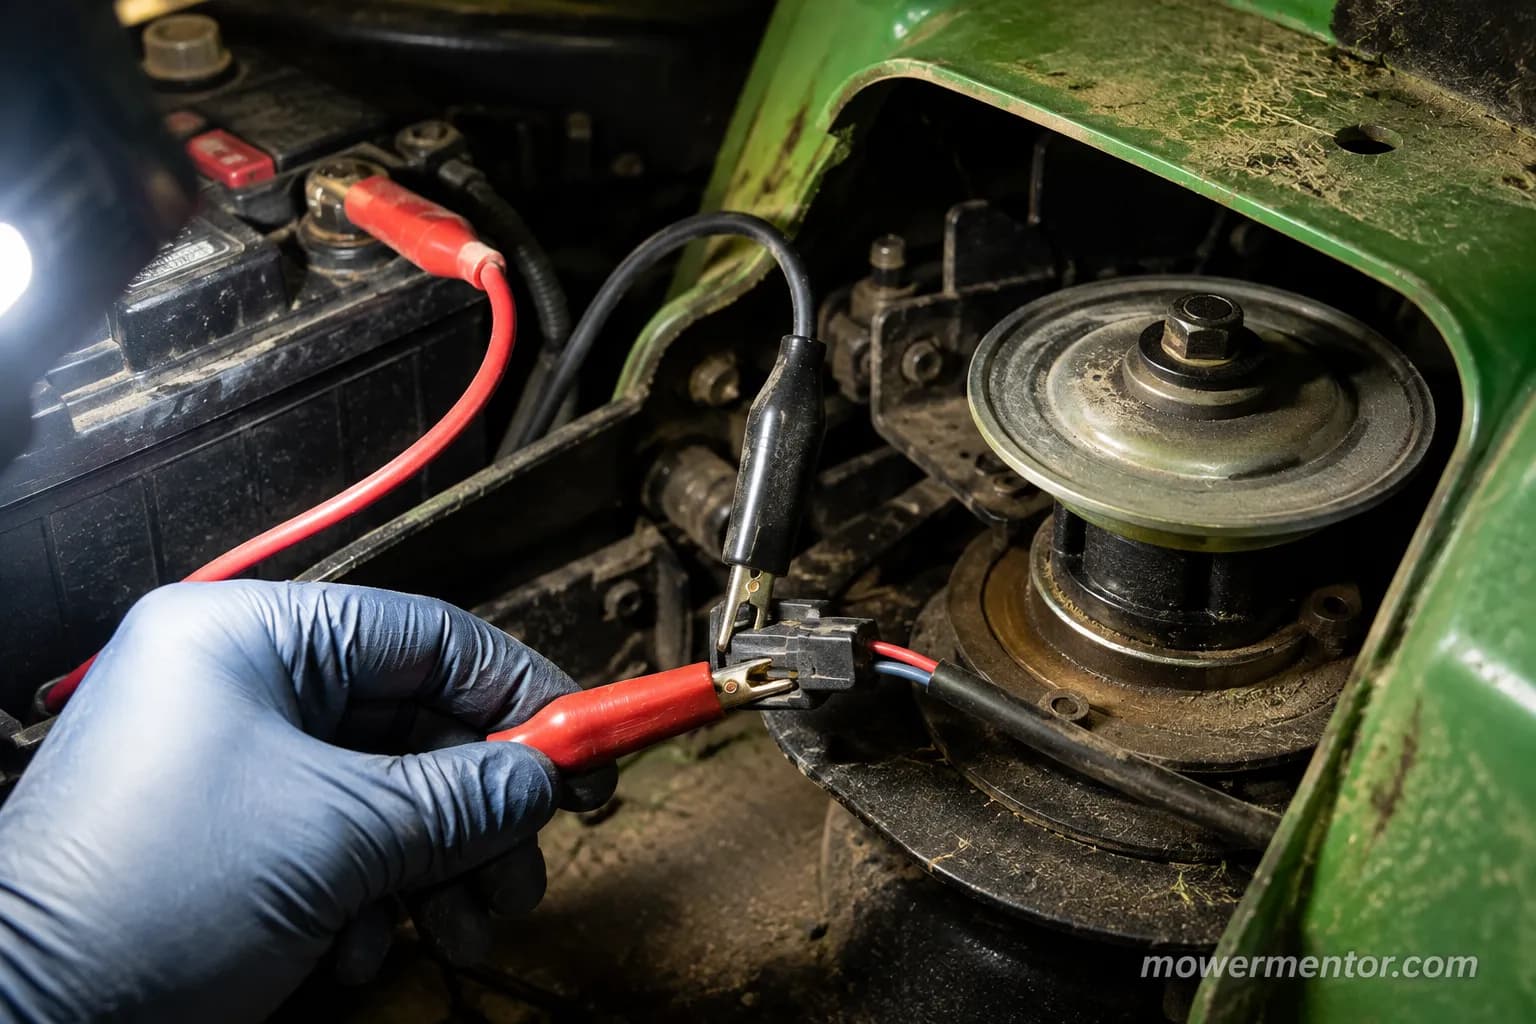
A worn clutch can still pass a resistance test yet slip under load. If the coil reads in range but the deck bogs or blows the fuse on engage, treat the clutch itself as suspect rather than trusting the ohms alone.
Adjacent electrical faults can masquerade as PTO trouble too. If cranking is weak, start by testing the starter solenoid before anything else.
A dragging starter looks similar, so our guide to checking the starter motor rules that out.
A tired battery causes voltage sag that mimics a dying clutch, so confirm the right battery for a Deere is holding charge.
Replacing the Switch and Buying the Right One by Model
Buying the right John Deere PTO switch comes down to your exact model and serial number, not the family name.
John Deere uses a pull-style switch on most X and Z machines and a push-style switch on the 100 and D tractors, and the part numbers do not cross over.
The official listing for John Deere's AM147972 switch shows it supersedes the older GY22356. That kind of running change trips up buyers who shop by model alone.
Match the part to your machine with the table below.
OEM part | Style | Fits (confirm by serial) | Rough price |
|---|---|---|---|
AUC10632 | Push | 100 Series, D100 to D130, E100, L and LA older | $15 to $25 |
AM135131 | Pull | X300, X304, X320, X340, X500, X520, X540 | $25 to $38 |
AM147972 | Pull | X330, X350, X370, X380, X570, X590, Z300 to Z500 | $30 to $40 |
AM130453 | Plunger | Seat switch, many D, E, LA, S models | $12 to $20 |
The push-style part is documented on John Deere's page for the AUC10632 push switch. Older X300 and X500 pull switches trace to John Deere's AM135131 page, a different SKU despite looking similar on the dash.
Confirm the fit by serial number, not model name. John Deere splits several models at a serial break, so two X350 tractors from different years can take different switches.
Installation is the easy part once you have the correct switch. Disconnect the battery, unplug the old switch, release the retaining tabs, and snap the new one into the dash.
The mechanical steps mirror our guide to a step-by-step switch replacement. If you are weighing genuine against generic, picking OEM versus universal switches lays out the trade-offs.
I ordered the AM147972 for our X350 by serial number, and it dropped in and passed continuity on the first try. That single confirmation is worth more than any model-name guess.
When to Call a Pro and How to Prevent Repeat Failures
Most PTO switch faults are a driveway fix, but a few belong with a dealer, and prevention keeps them from returning.
Intermittent faults that vanish when the machine is cold, or repeat fuse failures with no visible short, can hide inside a chafed harness that takes hours to trace.
A John Deere PTO teardown shows how a single rubbed-through wire behind the dash can blow the fuse on engage every few uses.
When the fault will not sit still for a meter, the labor math often favors a shop.
Know where the line sits.
Call a pro when the clutch coil is open, when the wiring harness is chafed inside a loom, or when the machine engages inconsistently with no repeatable pattern.
Some intermittent electrical faults genuinely defy DIY, and chasing them blind costs more than the diagnosis.
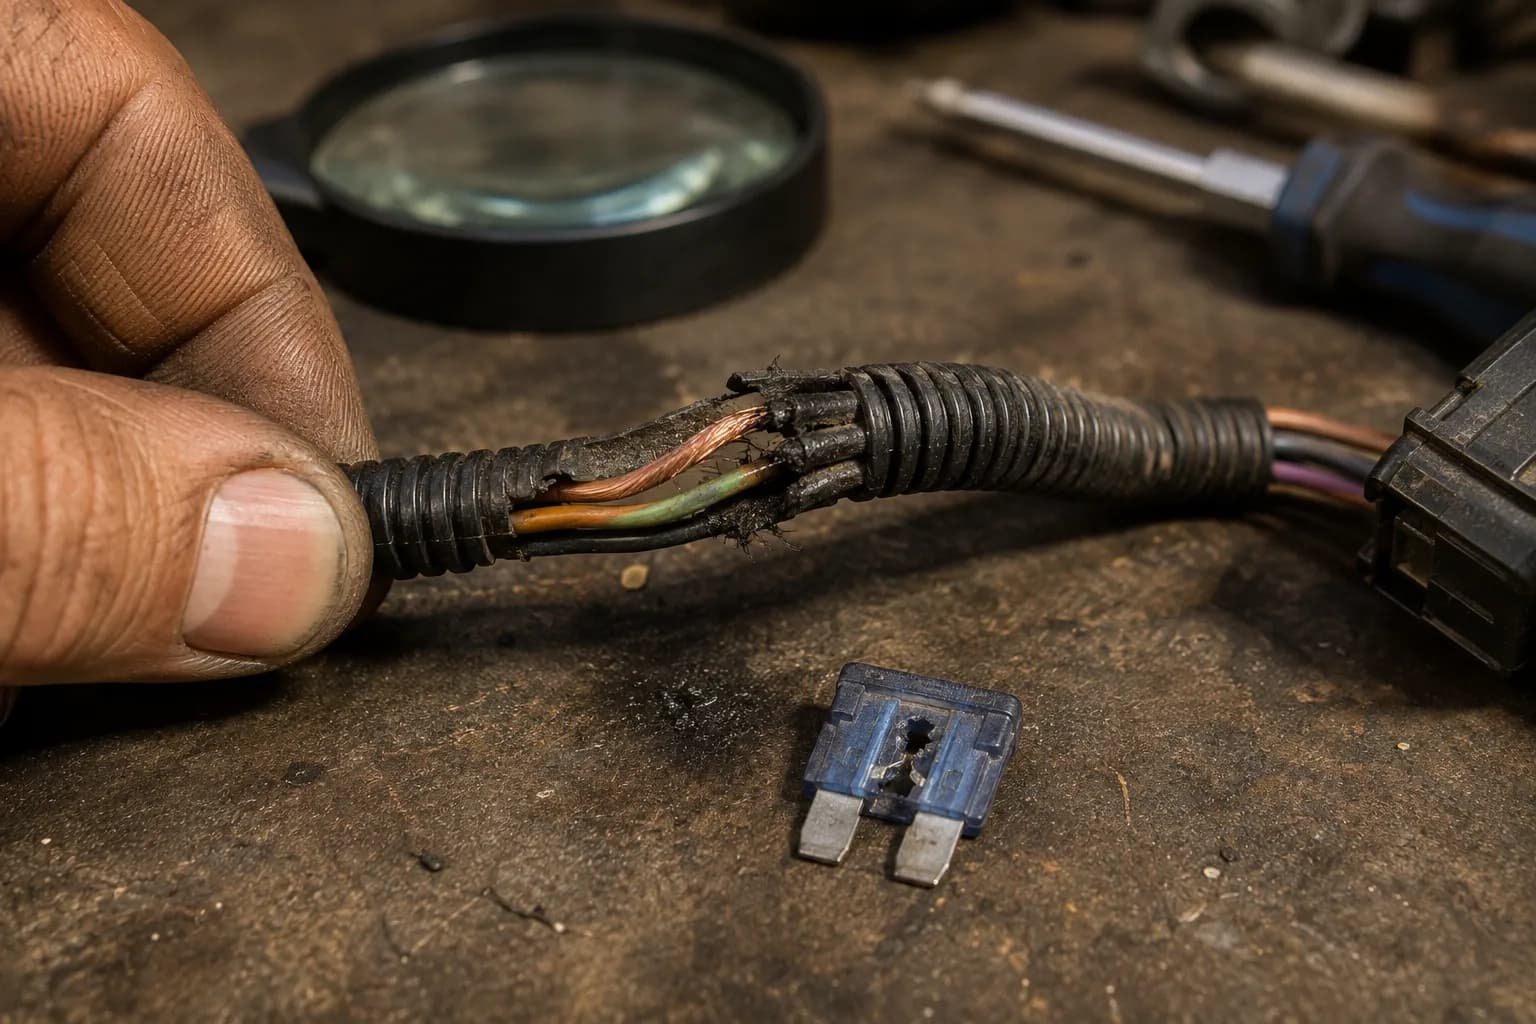
The chafed harness above is the exact case that fooled me into swapping a perfectly good switch before I found the real short. Routing checks now save that trip.
Prevention is mostly housekeeping. Cycle the PTO switch off and on a few times each season to keep the contacts clean, and keep the deck and clutch free of packed clippings.
Fold a quick interlock check into routine service like routine Deere spark-plug care. If a weak key switch is part of the picture, our notes on starting with a failing key switch cover the stopgap.
Frequently Asked Questions
How do I know if my John Deere PTO switch is bad?
Test it on continuity with a multimeter. A bad switch reads the same in both positions, either stuck closed (near zero ohms both ways) or stuck open (OL both ways), instead of flipping cleanly as you actuate it.
Pair that with a voltage check at the clutch to confirm the command reaches the deck. If the switch flips correctly and voltage is present, look past the switch.
Why do my blades stop when I put the mower in reverse?
That is the reverse implement (RIO) interlock doing its job, not a fault. John Deere cuts the blades in reverse unless the reverse-mow function is enabled per the operator manual.
If the blades quit in reverse only, look at the RIO switch and its wiring rather than the main PTO switch. The main switch is rarely the culprit for a reverse-only symptom.
Can I bypass the PTO or safety switch to keep mowing?
You can test around a switch briefly to confirm a diagnosis, but you should never leave a safety interlock bypassed. The interlocks stop the blades before they reach a hand or foot.
Disabling one permanently is both dangerous and, on most machines, a liability if anyone is hurt. Fix the switch instead of defeating it.
How much does a John Deere PTO switch cost?
Genuine push-style switches run roughly $15 to $25, and pull-style X and Z switches run roughly $25 to $40, based on current John Deere parts listings. Aftermarket versions sit a little lower.
Confirm the exact part by your serial number before ordering, since John Deere splits several models at a serial break. The cheapest switch is useless if it does not fit.
What else should I check on a John Deere that won't run right?
Once the switch tests good, work through the fuse, clutch coil, ground, and feed wire, then the seat and brake interlocks. Routine care helps too.
Our guide to finding the correct spark plug keeps the ignition side clean. And cleaning a clogged air filter keeps the engine breathing, which takes the fuel-air side out of your diagnosis.
The Bottom Line
The fastest repair on a dead deck is the one you skip because you tested first.
A John Deere lawn mower PTO switch is cheap and easy to replace, but half the time the switch is fine and the fault is a fuse, a ground, a tired clutch coil, or a seat switch that drops out under load.
Five minutes with a multimeter tells you which, and it keeps a good part on the shelf and your money in your pocket.
Run the continuity test, check the voltage at the clutch, and confirm the interlock chain before you order anything.
When the reading finally flips the way it should, you will know you fixed the real problem instead of the obvious one.
Read it your way
Short on time? Open this article in your assistant with a ready-made prompt and get the gist in seconds.
Found this useful? Make us a preferred source so we show up in your Google results.
Keep reading
Related articles
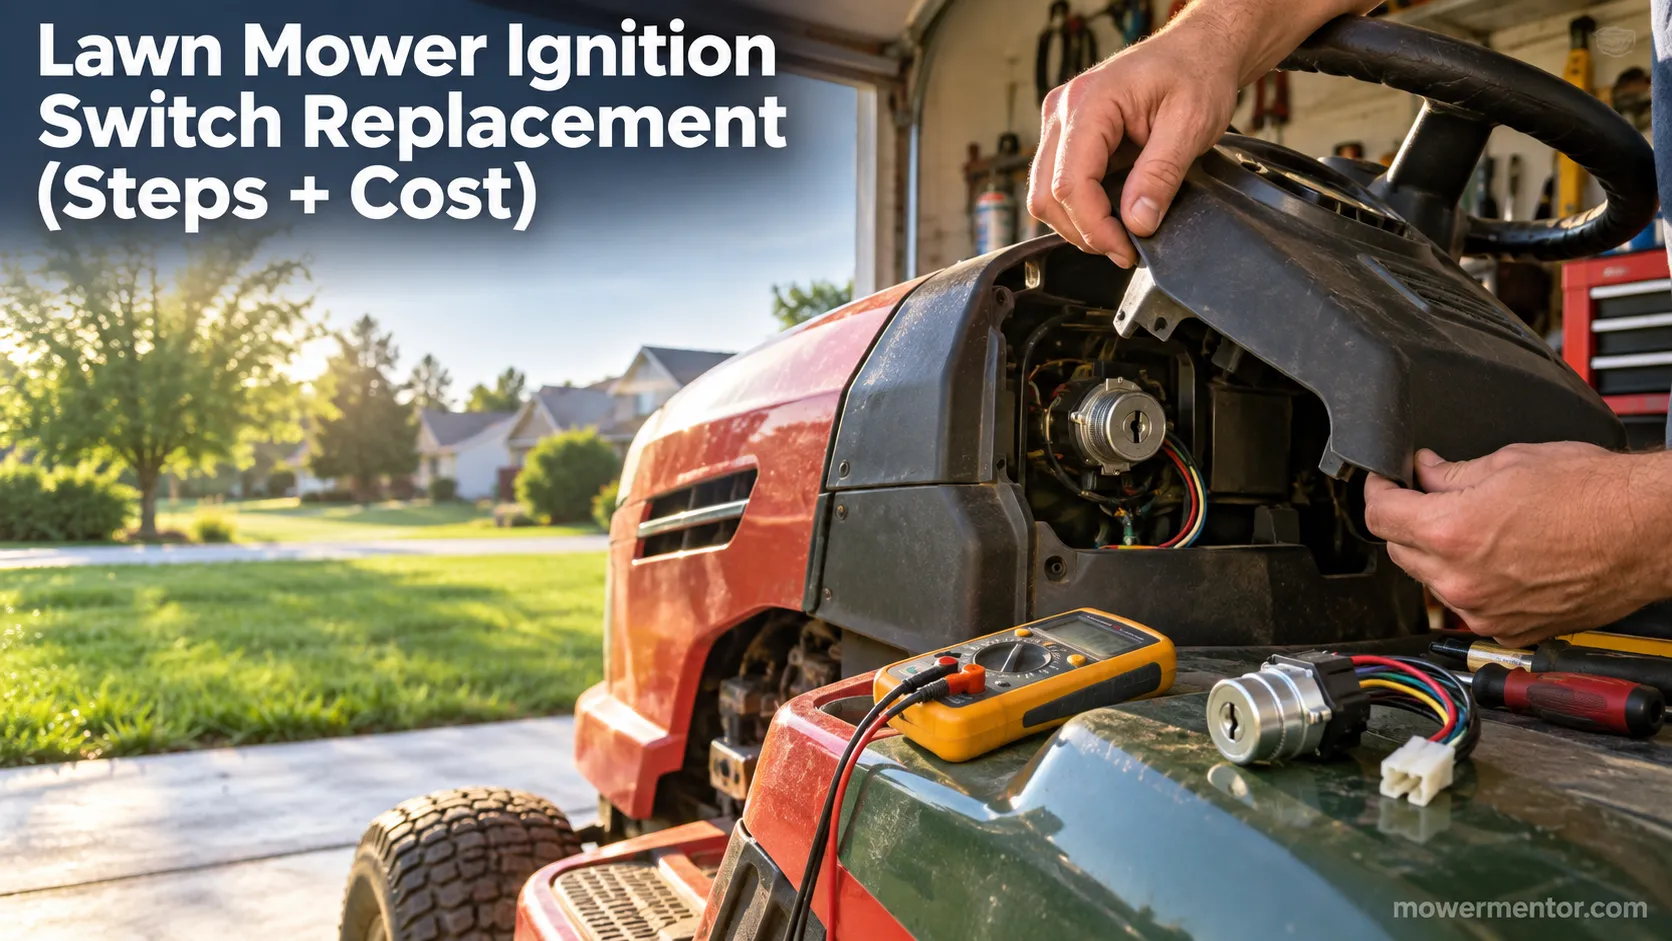
Troubleshooting & Repair
Lawn Mower Ignition Switch Replacement (Steps + Cost)
Do your own lawn mower ignition switch replacement: photo steps, wire-by-terminal transfer, fitment help, and a DIY-vs-shop cost table to save $100+.
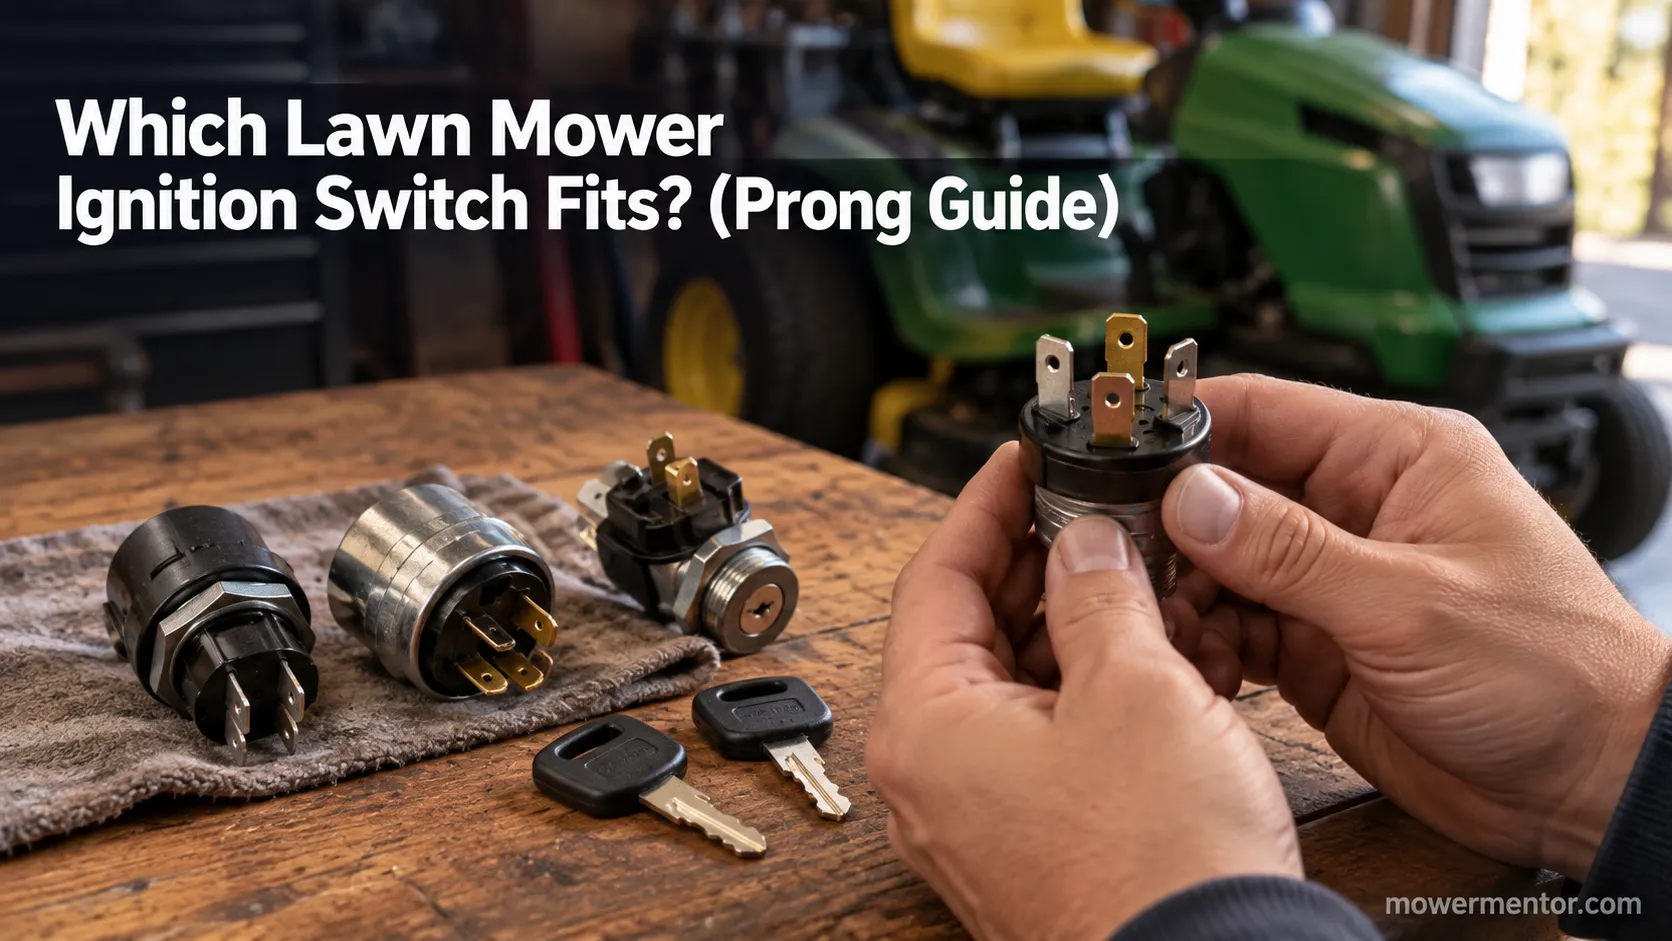
Troubleshooting & Repair
Which Lawn Mower Ignition Switch Fits? (Prong Guide)
hoose the right lawn mower ignition switch by prong count (4/5/6/7), universal vs OEM fit, and key compatibility, plus which one fits your mower.
Troubleshooting & Repair
How to Start a Lawn Mower With a Bad Ignition Switch
Confirm it's the switch, then learn how to start a lawn mower with a bad ignition switch: a safe solenoid bypass to get moving, plus how to fix it for good.
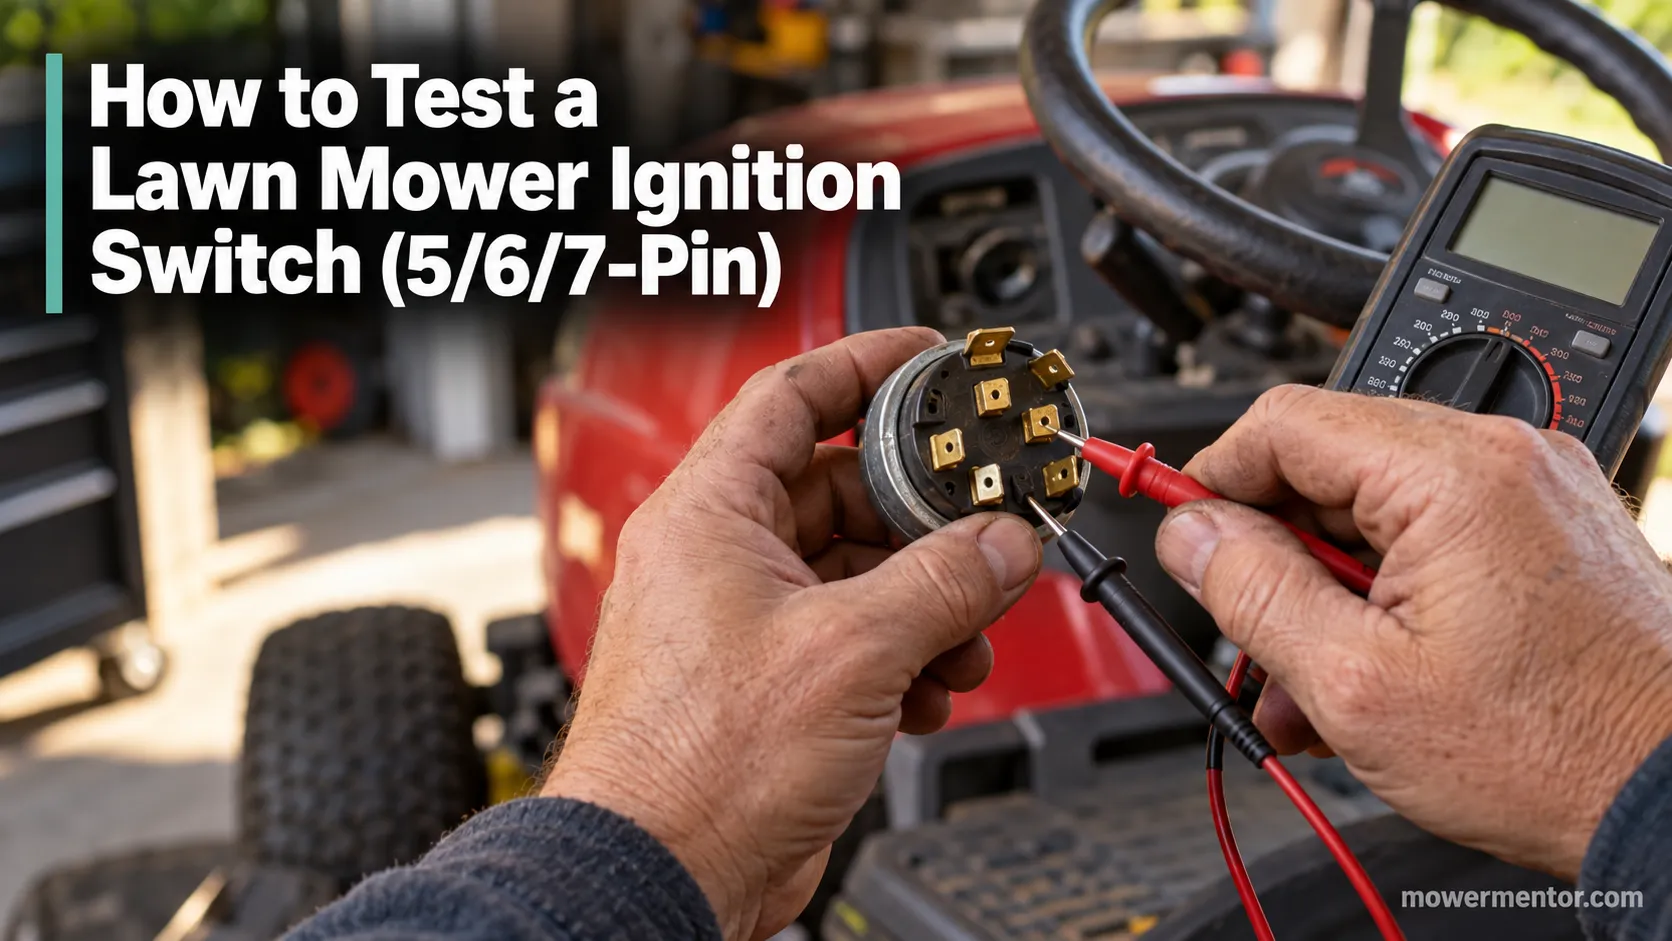
Troubleshooting & Repair
How to Test a Lawn Mower Ignition Switch (5/6/7-Pin)
Learn how to test a lawn mower ignition switch with a multimeter: get continuity tables for 5, 6 & 7-pin switches plus a no-multimeter test-light method.
The discussion
Comments
Every comment is reviewed before it goes live.