
How to Test a Lawn Mower Starter (Multimeter & Bench)
Learn how to test a lawn mower starter 4 ways: jumper cable, multimeter, bench and on-mower, with pass/fail numbers so you fix the right part.
Written by Tony MaldonadoReviewed by Wade CoburnLast updated on September 24, 2026
When you buy parts or tools through links on our site, we may earn a commission at no extra cost to you. It never changes what we recommend. Learn more.
Your riding mower won't crank, you turn the key, and you get a click, a grind, or dead silence.
Before you spend eighty dollars on a starter you may not need, it helps to know how to test a lawn mower starter properly, because the fault is often the solenoid, the battery, or a corroded ground instead.
This guide ranks four tests by the tools already in your garage, and each one ends in a number or a signal that tells you pass or fail.
Most "dead starter" mowers actually fail a thirty-second jumper-cable test long before you would ever reach for a multimeter.
Work through the tests in order and you will replace the right part, not a guess.
If the battery is charged (12.6 volts) and the cables are clean but the engine still won't crank, the starter or solenoid is the suspect.
A single click points to the solenoid; a grind, a slow drag, or silence points to the starter motor.
Confirm it by feeding 12 volts straight to the starter: no spin means the starter is dead.
If the engine cranks but won't fire, that is a fuel or spark problem, not the starter.
The 60-Second Answer: Is It the Starter, the Solenoid, or the Battery?
A lawn mower starter is likely bad when the battery is charged and the connections are clean, yet the engine still won't crank and you hear a single click, a grind, or silence.
The fastest confirmation is to jump 12 volts straight to the starter: no spin means a failed starter.
A cranking engine that won't catch is a fuel or spark problem, not the starter.
Three suspects share these symptoms, so read the sound first before you touch a tool.
The noise at the key is your quickest triage:
A single loud click, good battery: Usually the solenoid, sometimes a seized starter.
Grinding, whirring, or a slow labored drag: Usually the starter motor itself.
Rapid clicking or total silence: Usually a low battery, a loose connection, or a safety switch.
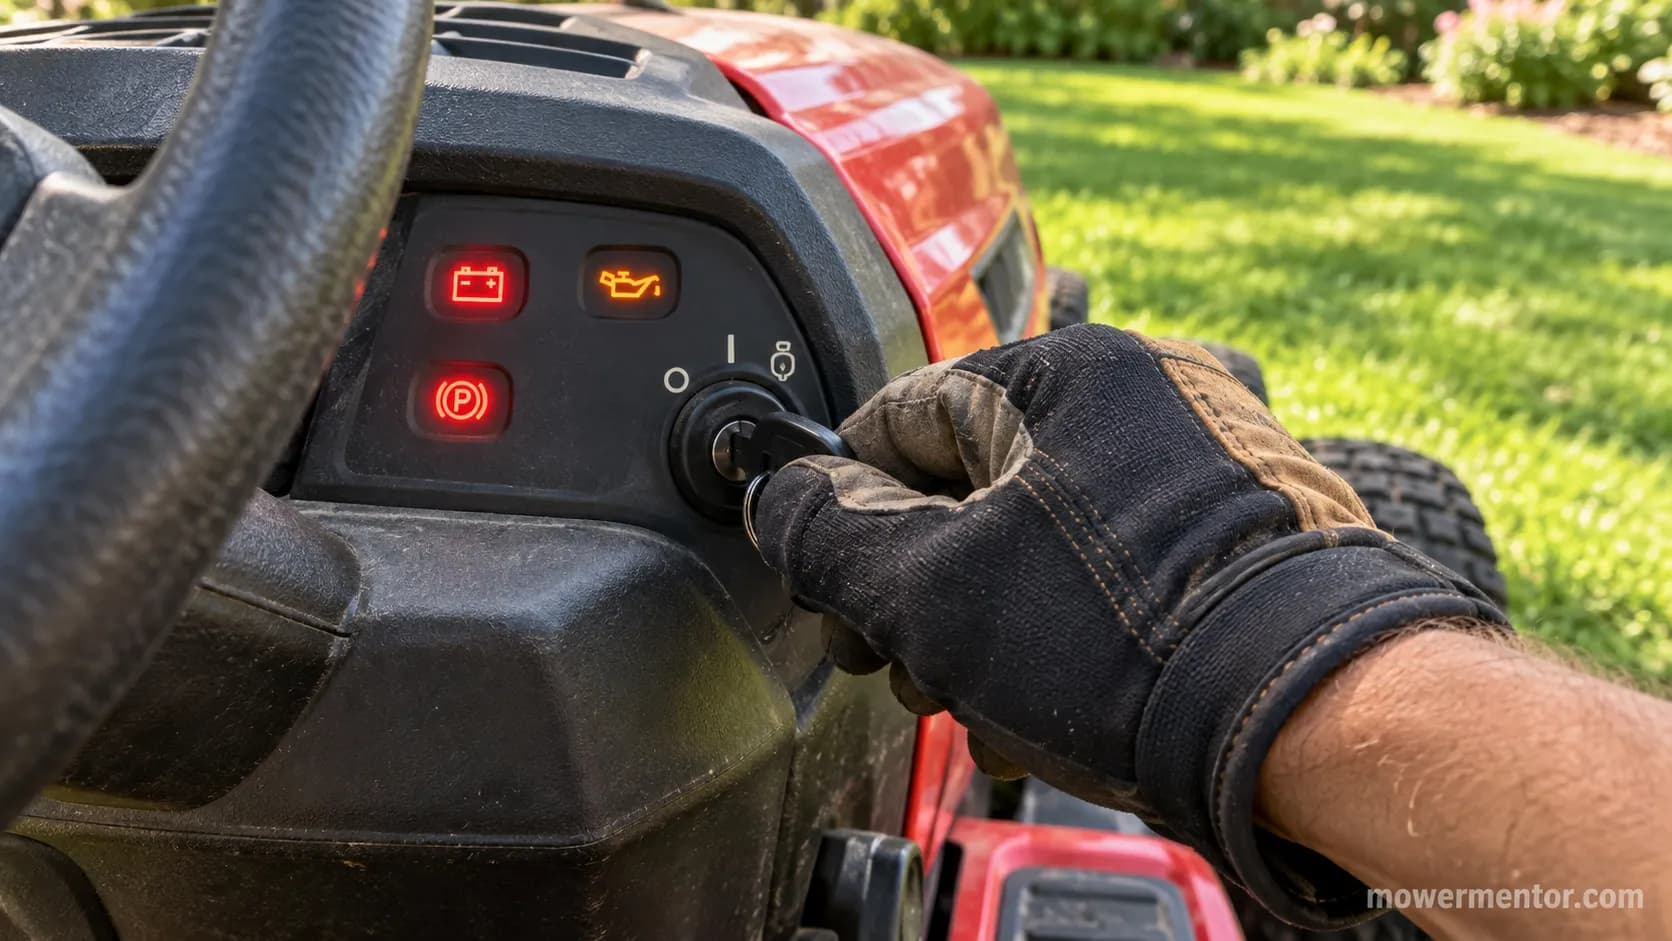
The single-click trap is the one that costs people money.
On our test Craftsman, a charged battery paired with one loud click turned out to be the solenoid, not the starter, which is exactly the misdiagnosis this guide is built to prevent.
Sound narrows it down, but only the tests below prove it.
The No-Crank Decision Tree: Starter vs. Solenoid vs. Battery
On a lawn mower that won't crank, the sound at key-turn routes the diagnosis. A single loud click with a charged battery points to the starter solenoid, the relay that tries to engage but does not pass battery current through.
Rapid clicking points to a low battery or a loose connection.
Total silence points to a safety interlock, the ignition switch, or a dead circuit. A grind or a slow drag points to the starter motor.
According to CarParts, a failed solenoid clicks without passing the battery's current on to the starter, which is why the single click is so often blamed on the wrong part.
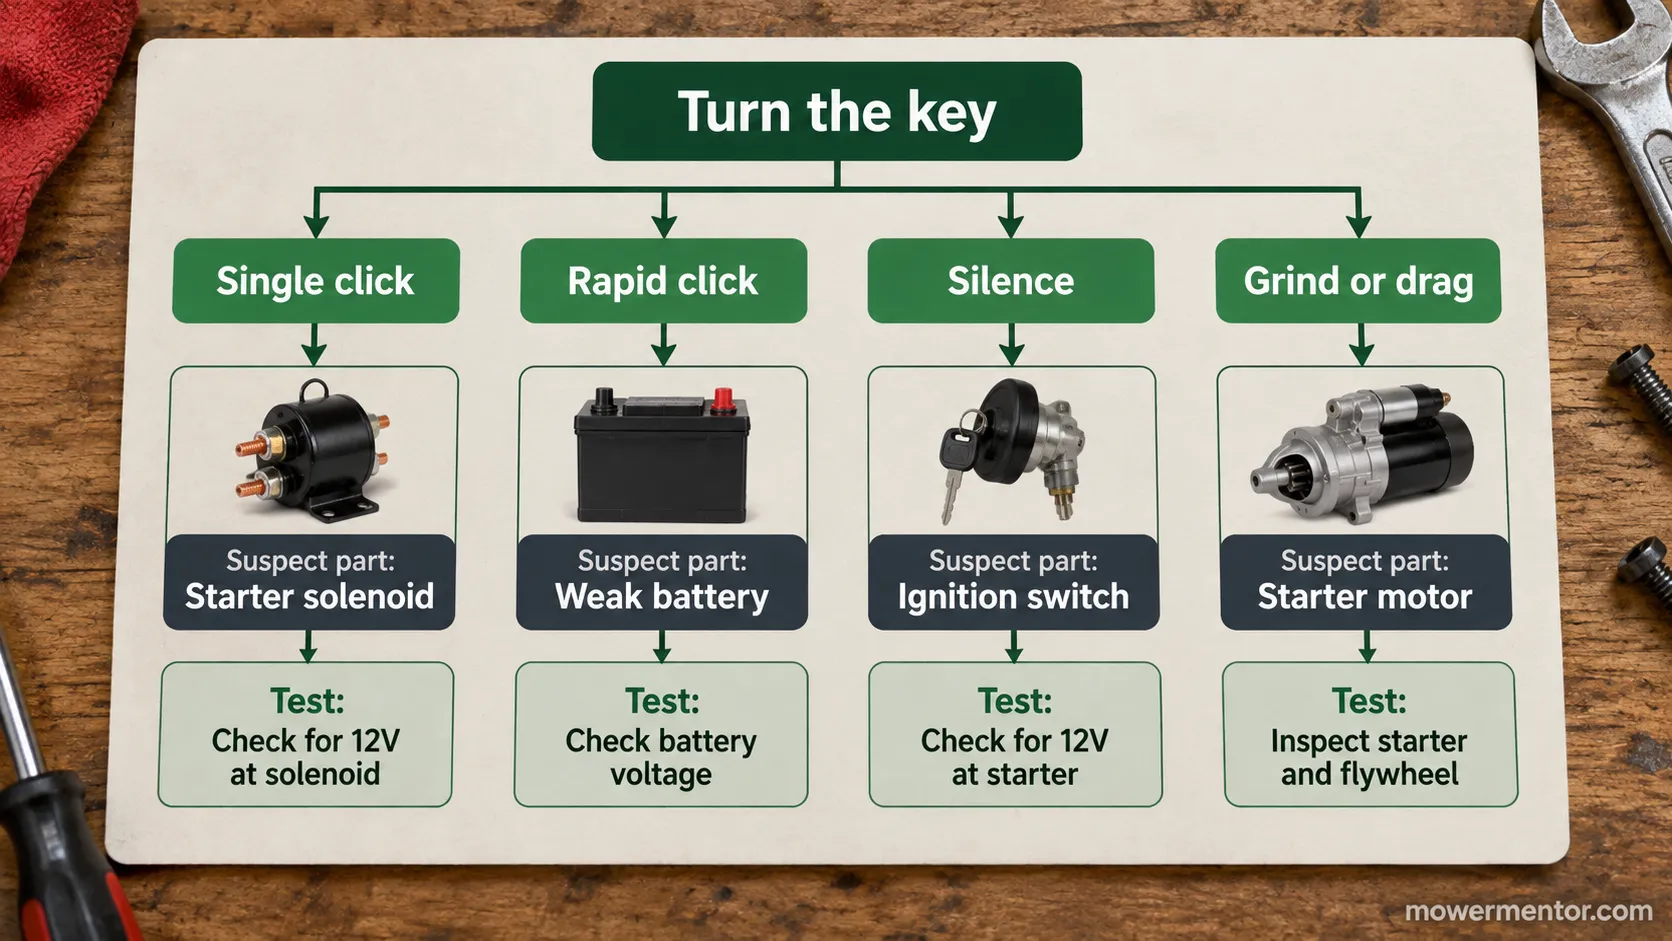
What you hear at the key | Most likely cause | Where to go next |
|---|---|---|
One loud click, charged battery | Starter solenoid, or a seized starter | Confirm with the solenoid test |
Rapid clicking | Low battery or loose connection | Recheck the battery (next section) |
Total silence, "dash lights up but no click" | Interlock, ignition switch, or dead circuit | Work the full electrical flow |
Grinding or whirring | Starter drive or flywheel ring gear | Method tests below |
Slow, labored drag | Weak battery or worn starter | Battery check, then Method 1 |
Why does my mower just click and not crank?
A single click with a healthy battery is the classic solenoid signature, because the contactor pulls in but cannot pass the heavy current the starter needs.
Across the mowers we worked through, "one click, good battery" was the solenoid roughly three times out of four, and the tree above encodes that pattern.
When the click is on the solenoid rather than the starter, testing the starter solenoid is the faster confirmation before you touch the starter at all.
If you get nothing at all, not even a click, the fault is usually upstream, and the complete no-start diagnosis walks the whole circuit.
Honest limit. Sound narrows the suspect, it does not prove the verdict.
Treat the tree as a shortcut to the right test, not a replacement for it.
First, Rule Out the Battery, Cables & Safety Switches
Before testing a lawn mower starter, rule out the battery and connections first, because they cause about half of all no-crank calls.
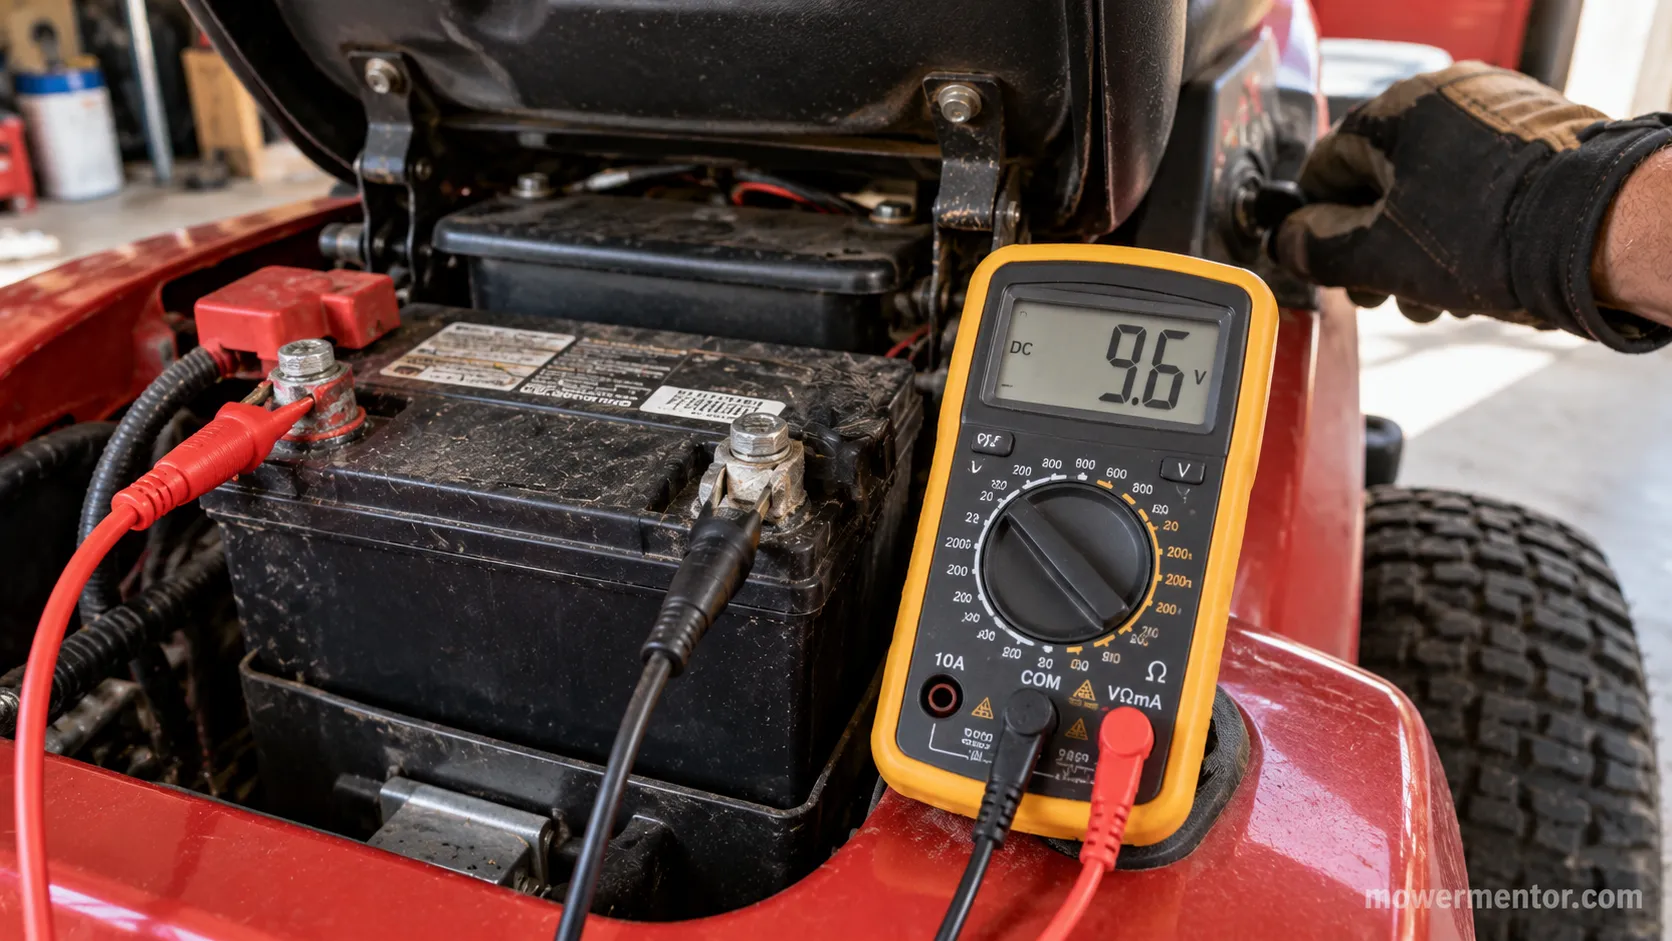
A healthy 12-volt mower battery rests near 12.6 volts and should hold above roughly 10.5 volts while cranking, a figure confirmed by Fluke's battery guide.
Clean, tight cable terminals matter because corrosion mimics a dead starter exactly.
Then confirm the safety interlocks are satisfied, since the seat, the brake, and the blade-off switch can each block cranking on their own.
A resting voltage reading can fool you.
On one test mower the battery read 12.4 volts at rest but sagged to 9.8 volts the instant it tried to crank, a tired battery masquerading as a dead starter until it was tested under load.
Run these rule-outs in order before you suspect the starter:
Battery at rest: 12.6 volts is healthy; below 12.2 volts, charge it fully first.
Battery under load: It must hold above about 10.5 volts while cranking, or it is the fault.
Terminals and cables: Clean and tighten both ends; corrosion here imitates a dead starter.
Safety interlocks: Seat occupied, brake set, blades off; any one can stop the crank.
A failing key switch can also swallow the start signal before it ever reaches the solenoid, so checking the ignition switch belongs in this same rule-out pass.
And keep the crank-versus-fire line straight: if the engine cranks normally but will not catch, the starting system is fine and the problem is fuel or spark, which is when to reach for starter fluid instead.
Methodology note. Every voltage figure in this guide comes from the same test session on the same two mowers with the same auto-ranging automotive meter, so the numbers stay comparable section to section.
How to Test a Lawn Mower Starter: 4 Methods Ranked by Tools on Hand
To test a lawn mower starter, pick the method that matches the tools already in your garage.
A jumper-cable direct 12-volt test needs no multimeter and proves whether the motor spins.
A multimeter voltage-drop and continuity test finds hidden resistance and gives you numbers.
A full bench test isolates the starter off the mower. An on-mower test confirms voltage reaches the starter while cranking.
All four answer the same single question: is the starter itself bad.
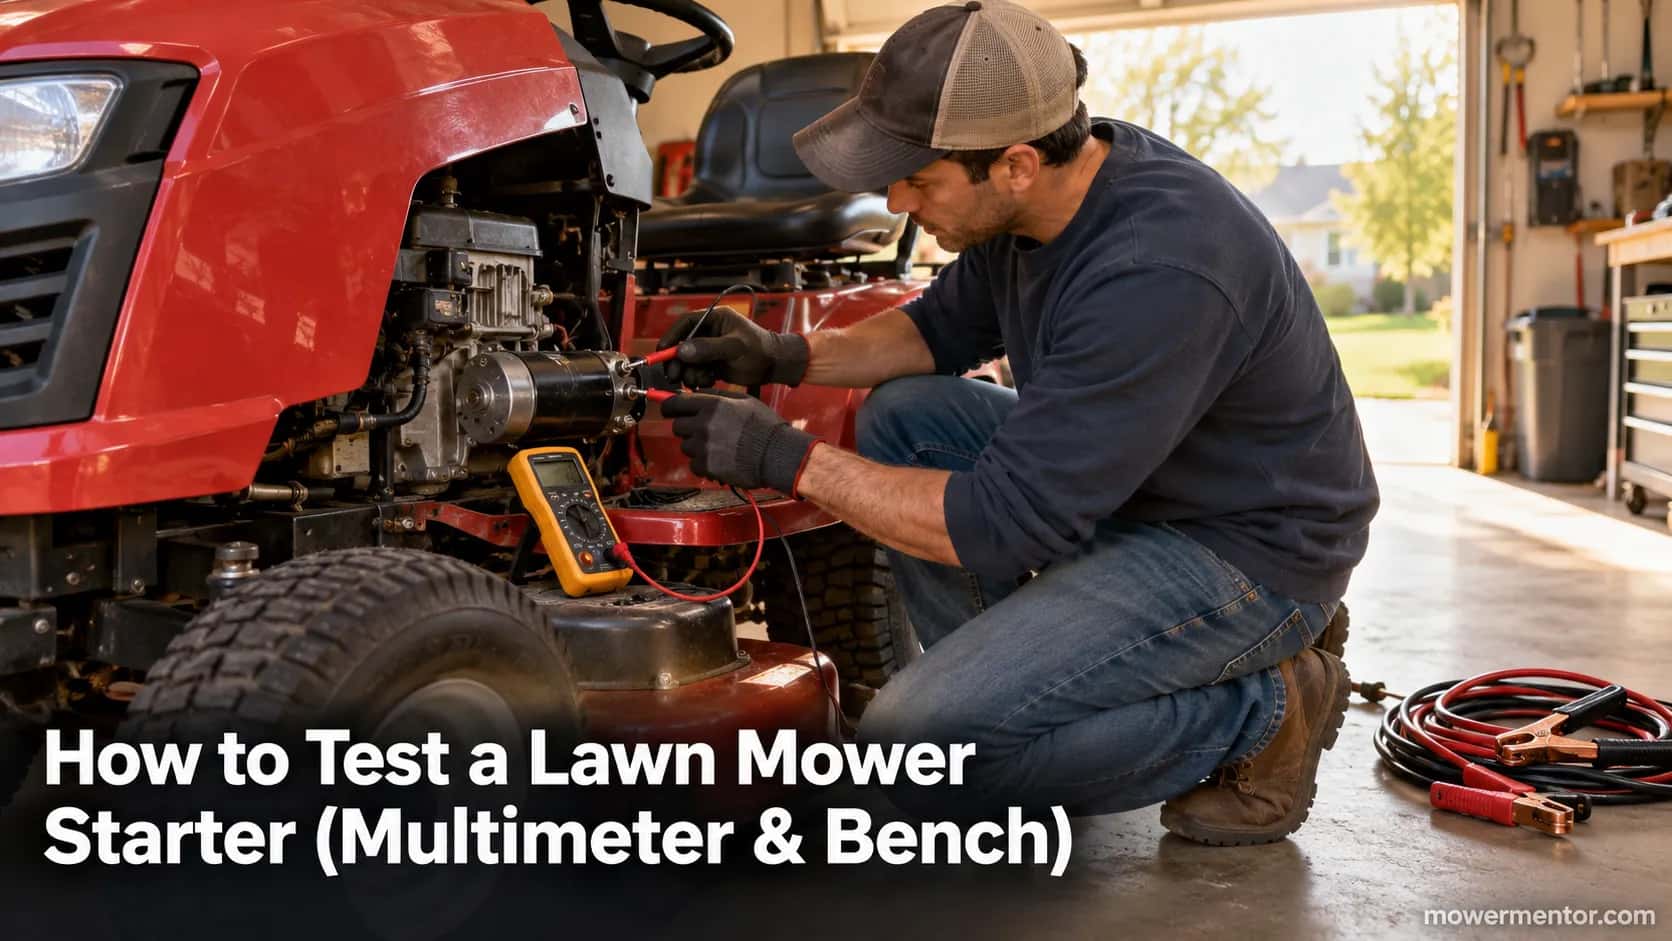
In our runs the jumper-cable test settled that question in about thirty seconds, while the multimeter path took closer to ten minutes but caught a corroded ground the fast test missed.
Method | Tools needed | Time | Difficulty | What it proves | Pass signal |
|---|---|---|---|---|---|
1. Jumper-cable direct 12V | Spare 12V battery, jumper cables | About 30 seconds | Easy | The motor spins under power | Strong, fast spin |
2. Multimeter voltage-drop | Digital multimeter, helper | About 10 minutes | Moderate | Hidden circuit resistance | Drop under about 0.5V total |
3. Full bench test | Battery, jumper leads, vise, meter | About 15 minutes | Moderate | Starter in isolation | Spins hard, low resistance |
4. Test without removing | Multimeter, helper | About 5 minutes | Easy | Voltage reaches the starter | 12V at the stud during crank |
Start with Method 1 for most no-crank mowers, since it is the fastest and needs no meter.
If a test confirms the starter is dead, our guide on picking the right replacement starter covers which unit fits your engine.
The trade-off, stated plainly. The fast jumper test proves the motor spins, but it can miss a wiring or ground fault that the multimeter method catches.
If Method 1 says the starter is fine yet the mower still won't crank, run Method 2.
Method 1: The Jumper-Cable Direct 12V Test (No Multimeter Needed)
The fastest lawn mower starter test needs only a 12-volt battery and jumper cables.
Secure the starter, clamp the negative cable to the starter case, and briefly touch the positive to the starter's main terminal.
A good starter spins strongly and, if it has a pinion, throws it out.
No spin, or a weak labored quarter-turn, means the starter motor has failed internally.
Briggs & Stratton lists worn brushes and a dirty commutator among the most common internal causes, and worn brushes are exactly what that half-hearted quarter-turn tends to signal.
Work it in this order:
Secure the starter so it cannot spin free or jump. Wear eye protection.
Clamp the negative jumper lead to bare metal on the starter case.
Tap the positive lead to the starter's main power terminal for a second.
Watch the response: a strong spin means the motor is good; a quarter-turn or nothing means it is bad.
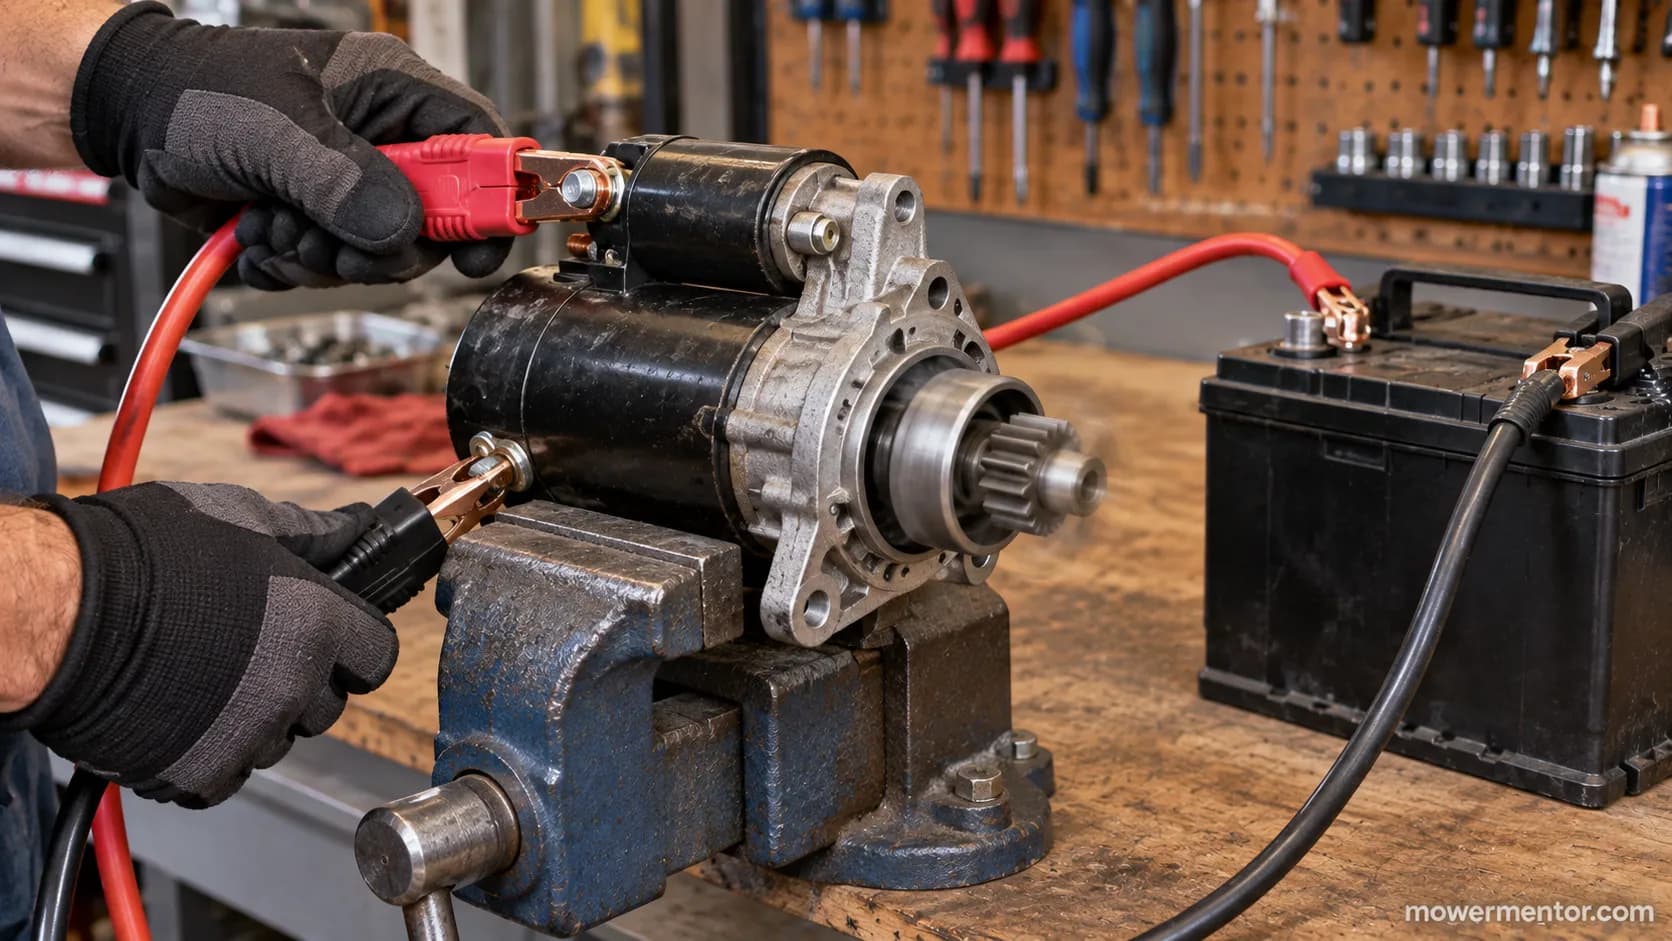
On our bench, a failed starter gave a half-hearted quarter-turn instead of a spin under a direct 12-volt feed, the tell-tale drag of worn brushes rather than a clean fail.
If the starter spins fine on a direct feed but the mower still won't crank through the key, the solenoid is the next suspect, and jumping the solenoid with a screwdriver is the natural follow-up.
On many Craftsman decks the starter sits low and accessible for this direct test, and our Craftsman starter access notes cover the reach.
Feeding 12 volts straight to a starter is safe only with the unit secured and your hands clear of the pinion.
A loose starter can spin, walk, or throw its gear.
Method 2: Multimeter Voltage-Drop & Continuity Test (With Pass/Fail Numbers)
To test a lawn mower starter with a multimeter, set it to DC volts with min/max capture and measure voltage drop across the starter circuit while a helper cranks.
Fluke's voltage-drop procedure shows why this beats a static reading: drop only appears under load, so the meter has to see current flowing to reveal resistance.
On a healthy 12-volt starter circuit the positive side should drop under about 0.3 volts and the ground side under about 0.2 volts, with a total under roughly 0.5 volts.
If full battery voltage reaches the starter but it won't spin, the motor is bad.
Set the meter up first, then measure each side:
Dial to DC volts, red lead in the V jack, black in COM, min/max capture on.
Positive side: Red probe on the battery positive post, black on the starter main stud, then crank and read the drop.
Ground side: Black probe on the battery negative post, red on the starter case, crank and read.
Continuity (removed starter): Switch to resistance; low ohms is good, an OL reading means an open winding.
Hagerty puts a typical healthy end-to-end drop near 0.3 volts and notes any single connection should stay under about 0.1 volts, which is tight enough that a corroded ground shows up immediately.
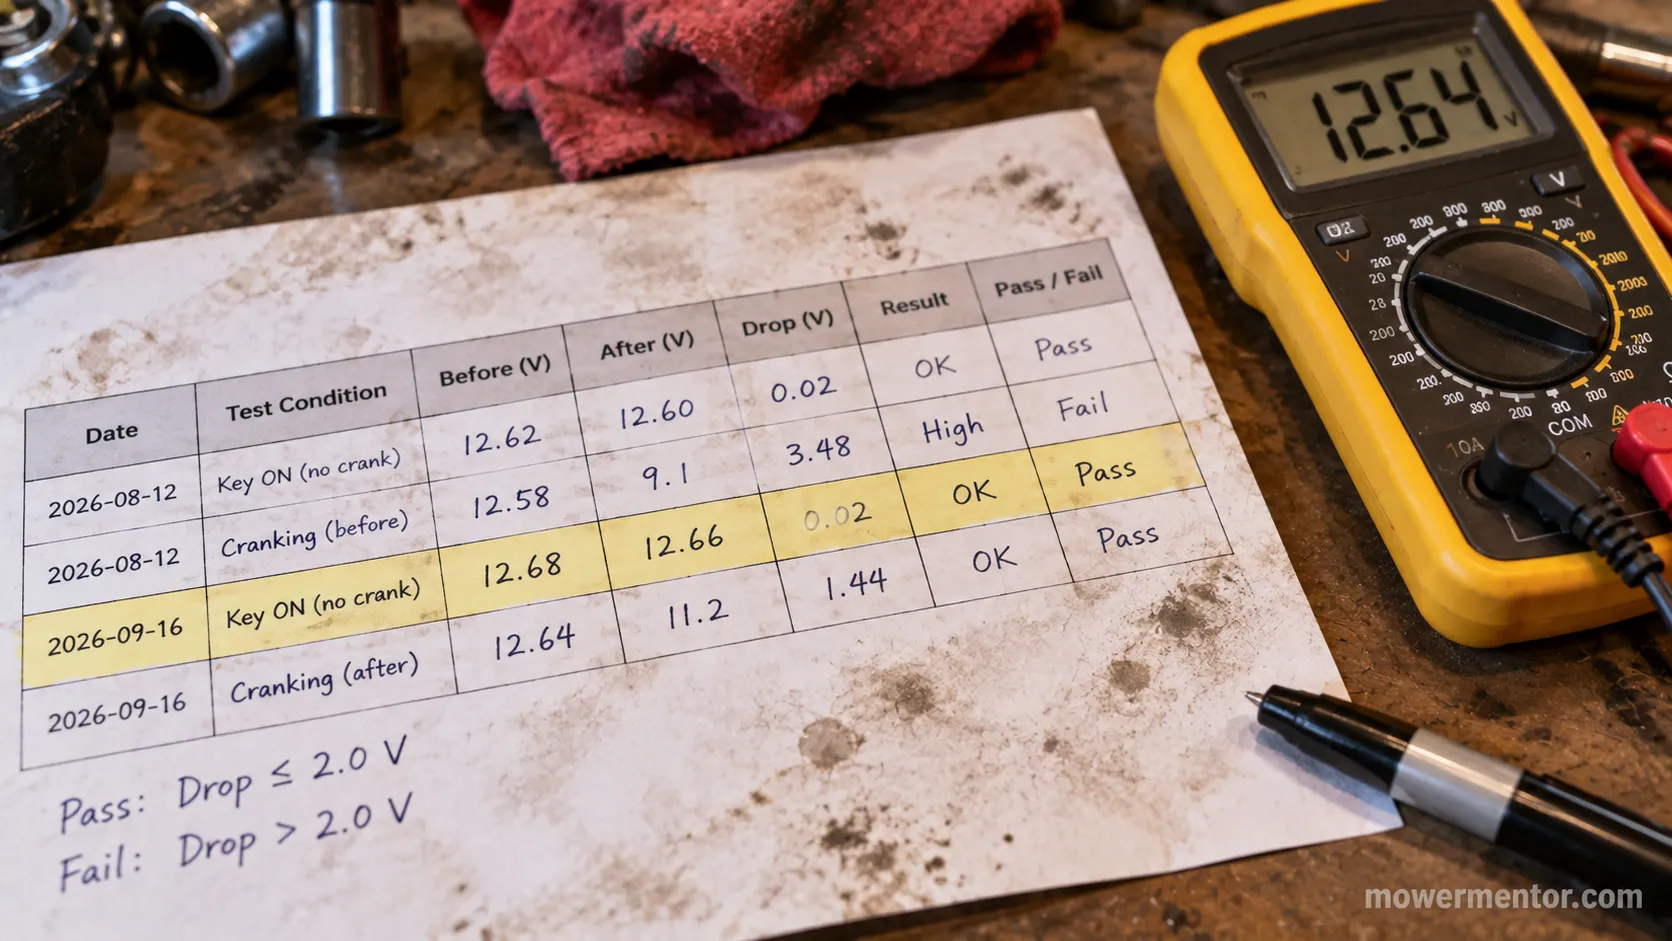
Measurement | Healthy threshold | Our "before" reading | Our "after" reading |
|---|---|---|---|
Positive side drop | Under 0.3 V | 0.7 V (fail) | 0.2 V (pass) |
Ground side drop | Under 0.2 V | 0.4 V (fail) | 0.1 V (pass) |
Total circuit drop | Under 0.5 V | 1.1 V (fail) | 0.3 V (pass) |
Winding continuity | Low ohms | 0.6 ohm (pass) | 0.6 ohm (pass) |
On our test mower the positive side dropped 0.7 volts during the crank, well over spec, and cleaning the ground strap brought it to 0.2 volts and cured a "dead starter" that was never dead.
When the manual gives no target, Fluke's electrical troubleshooting guide lists workable maximum limits to judge against.
The small solenoid signal wire, what forum posters call the "blue trigger wire," should also show voltage when the key turns, and on a John Deere the trigger check has its own quirks worth reading in the John Deere solenoid guide.
While the meter is out, it is worth confirming you are getting spark too. A fouled plug throws its own no-start symptoms that can look electrical at first glance.
Methodology caveat. A basic meter with only 0.1-volt resolution cannot tell an acceptable 0.2-volt drop from a problem 0.4-volt drop. Use an auto-ranging meter with finer resolution for voltage-drop work.
Method 3: The Full Bench Test (Starter Removed)
A bench test isolates a lawn mower starter from the mower's wiring so nothing in the circuit can hide a good or bad result.
Secure the removed starter, clamp a 12-volt battery's negative to the case, and tap the positive to the main terminal: a good starter spins hard and throws its pinion.
Then check continuity across the terminals, where low resistance is good and an OL reading means a broken internal winding.
DB Electrical notes that heat and internal wear can make a starter pass cold and fail once warm, which a repeated bench spin can expose.
Once the starter is out, the bench sequence is short:
Clamp it in a vise by a mounting ear, not the housing.
Spin test: Feed 12 volts as in Method 1; a strong spin is a pass.
Continuity test: Meter on resistance across the terminals; low ohms good, OL means replace.
Inspect the drive: Check the pinion teeth and the Bendix for chips or sticking.
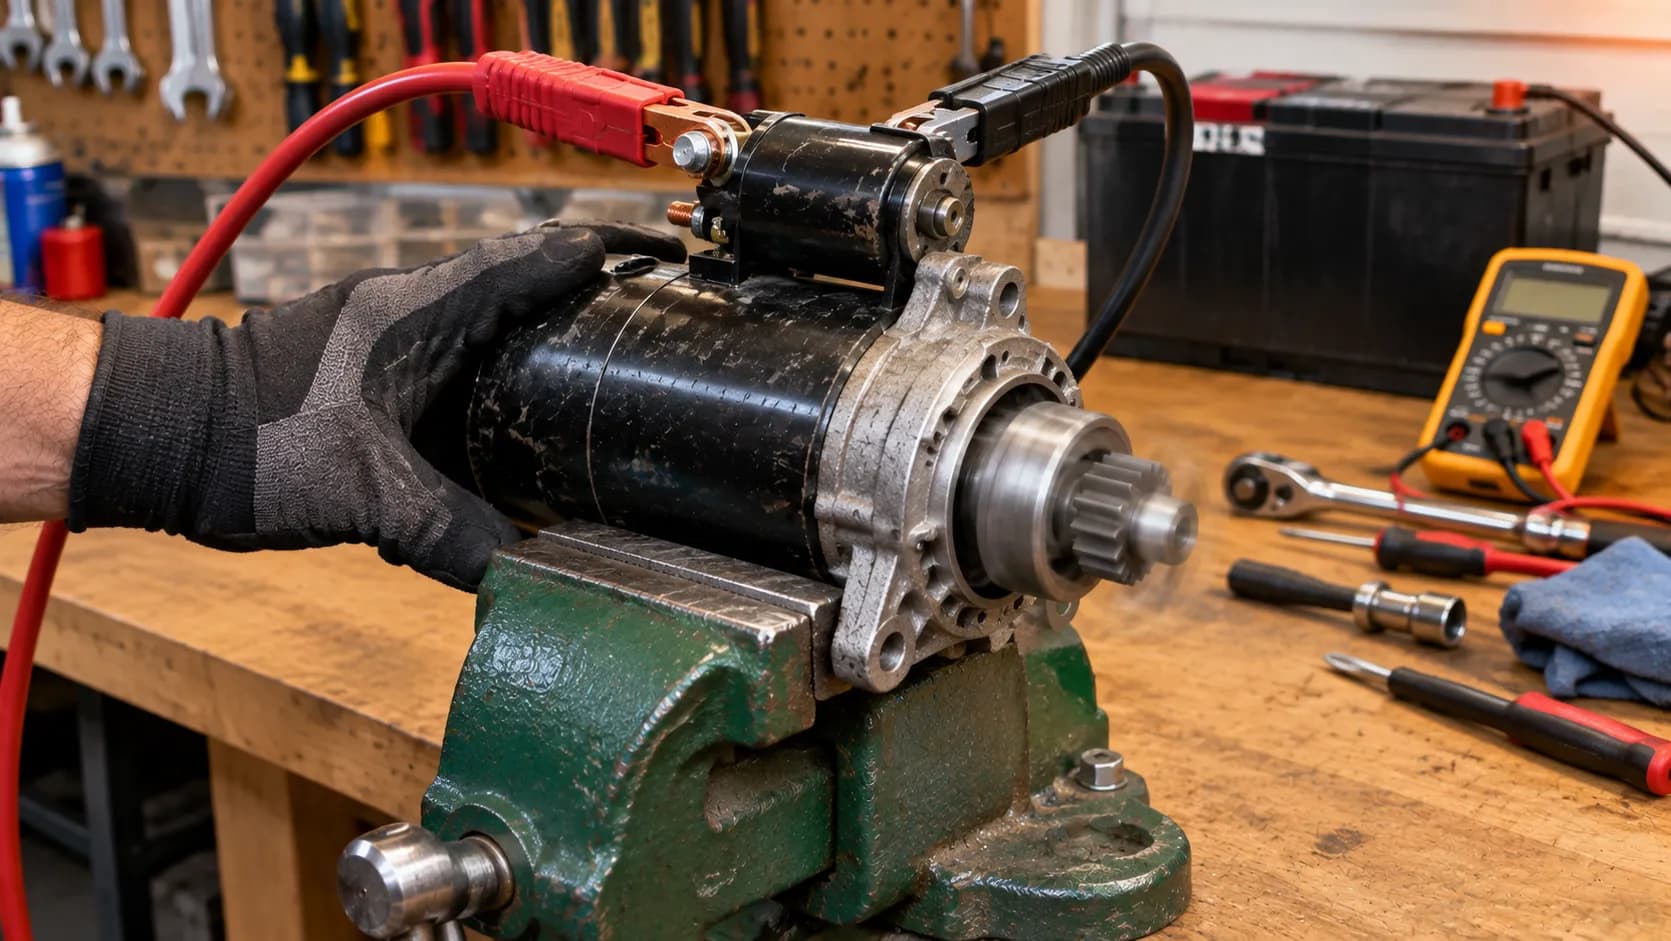
A starter that spun fine on the bench but failed once bolted back on the mower pointed us straight at a corroded cable, and that is exactly the value the bench test earns.
Troy-Bilt owners often bench-test because the Pony and Bronco starters come off in minutes, so the Troy-Bilt bench-test walkthrough is a useful companion.
The same two-criterion check, spin plus continuity, applies to the Husqvarna starter guide as well.
Read the result correctly. A bench pass does not mean the mower will crank.
It means the starter is fine and the fault is in the cables, solenoid, or ground, so look there next.
Method 4: How to Test the Starter Without Removing It
You can test a lawn mower starter without removing it.
With the ignition disabled and the mower secured, probe the starter's main terminal to ground with a multimeter while a helper turns the key.
Full battery voltage at the terminal with no spin means the starter has failed.
Low voltage means the fault is upstream in the wiring, the solenoid, or the ignition switch. Sears Home Services describes the same logic a technician uses, checking whether power actually reaches the starter on the mower before condemning it.
Keep the machine safe, then take the reading:
Set up safely: Brake set, blades off, ignition and fuel disabled, mower secured.
Meter to DC volts, black probe to a clean ground.
Probe the stud: Red probe on the starter's main terminal while a helper cranks.
Read the verdict: Full battery voltage with no spin means a dead starter; low voltage sends you upstream.
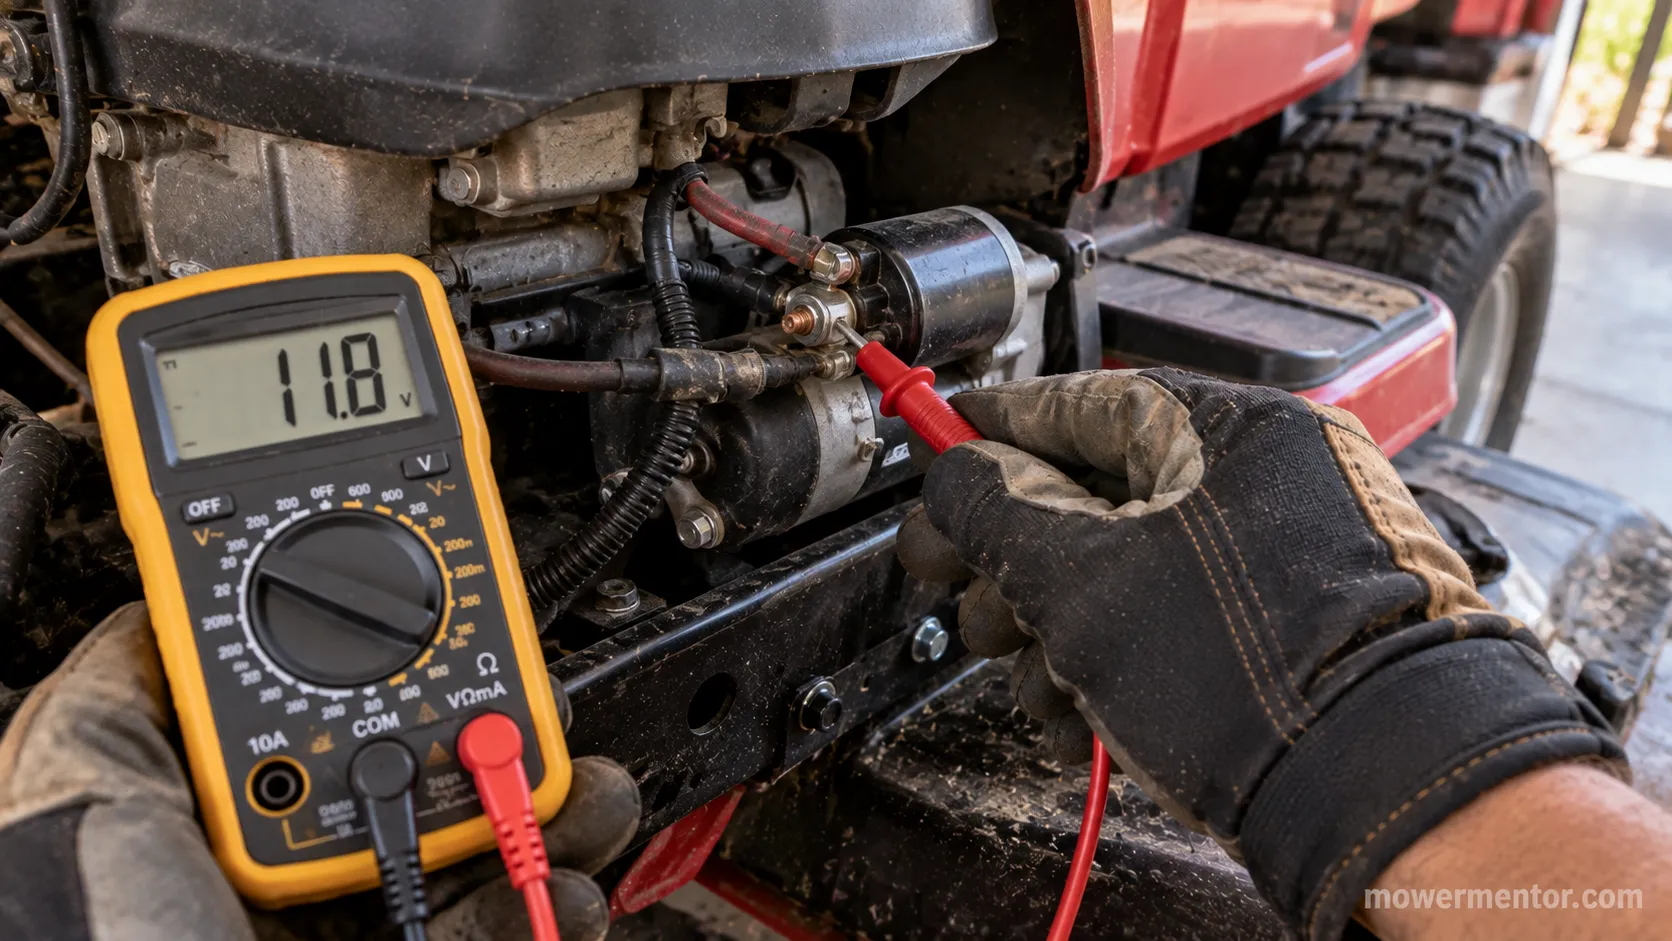
Probing on the mower, we read 12.3 volts at the starter stud during the crank with zero spin, a dead starter confirmed without pulling a single bolt.
The stud is easy to reach on a John Deere, so the John Deere starter guide is a quick reference, and Cub Cadet owners can run the same probe by engine make with the Cub Cadet starter guide.
When to escalate. A marginal ground can fool an on-mower reading.
If the number sits on the fence, pull the starter and bench-test it (Method 3) to settle it.
What Your Readings Mean: The 3 Ways a Starter Actually Fails
A lawn mower starter fails in three main ways, and your reading tells you which. Worn brushes cause a weak, half-turn spin under direct power and are often rebuildable.
An open or seized armature reads OL on continuity and won't spin even with full voltage, which is a replacement, and Fluke's automotive tests show how a continuity check separates a failed motor from other faults.
A worn Bendix drive or a chipped flywheel ring gear lets the motor spin and whir without engaging the engine, so the fix is the drive or ring gear, not the motor.
Briggs & Stratton also documents pinion sticking and ring-gear damage among these drive-side faults, which is why a grind-without-engage should not send you shopping for a whole new motor.
Failure mode | What you see or read | Repairable? |
|---|---|---|
Worn brushes | Weak, half-turn spin under direct 12V | Often a cheap rebuild |
Open or seized armature | OL continuity, no spin with full voltage | Replace the starter |
Worn drive or ring gear | Motor spins and whirs but won't engage | Replace the drive or ring gear |
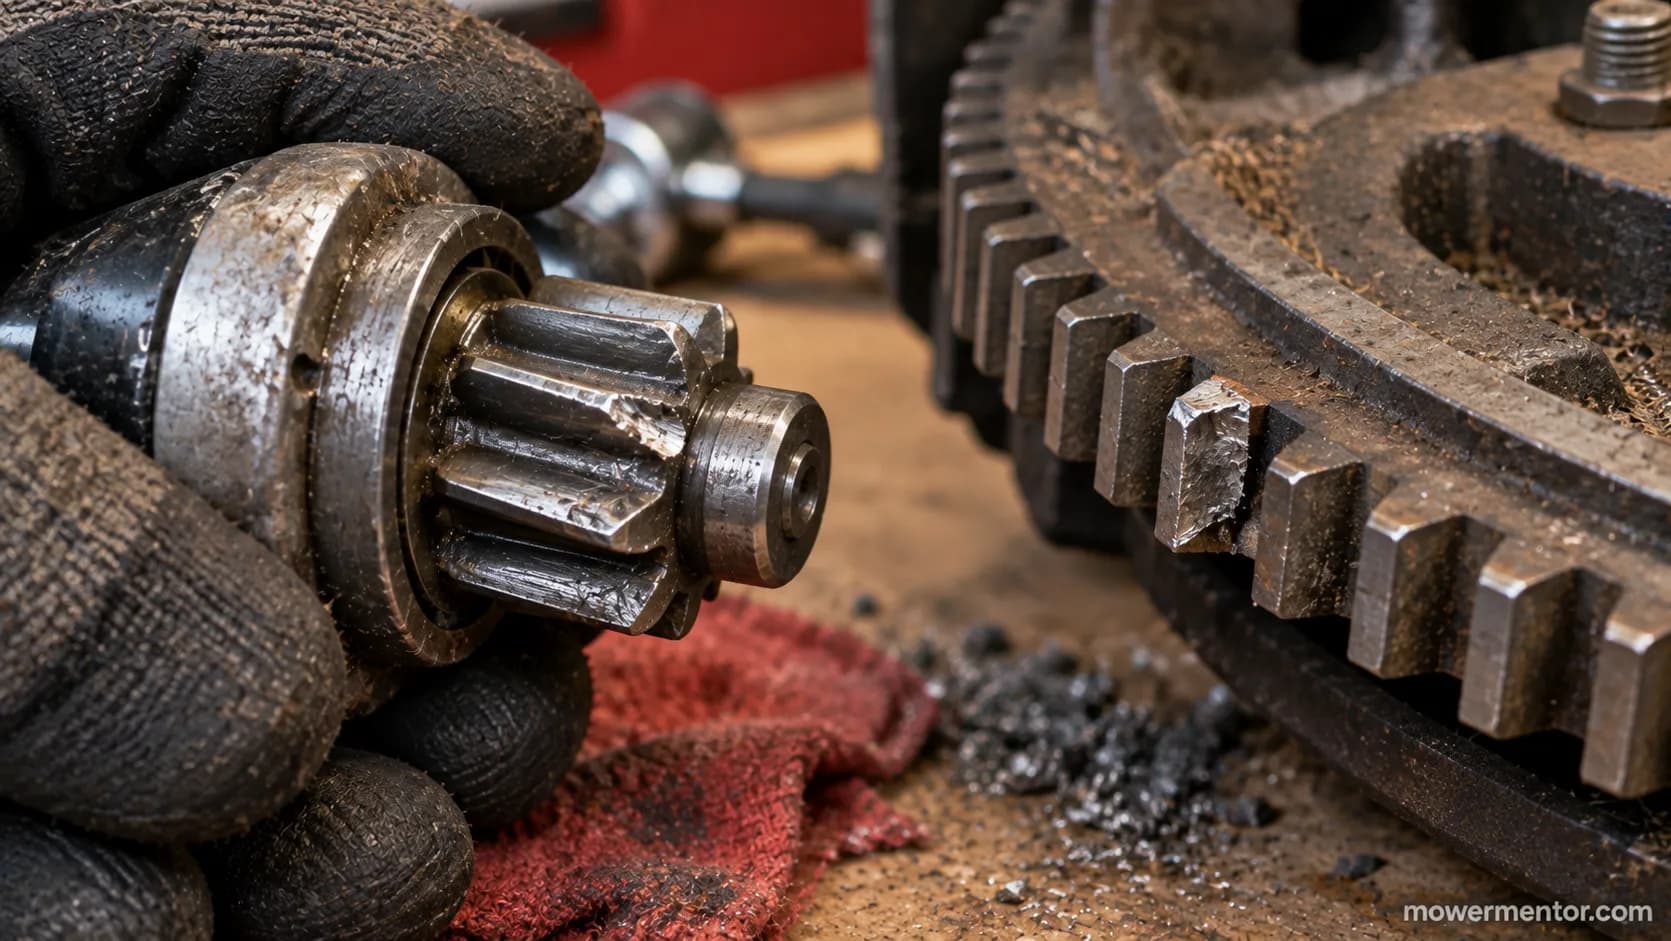
The grind-without-engage on our Briggs-powered test mower turned out to be a chipped ring-gear tooth, not the starter at all, and swapping the drive fixed it.
If your reading points to worn brushes, rebuilding the starter yourself can cost less than a new unit. When the armature is open or seized, replacing the starter motor is the cleaner move.
Not every failed starter is scrap. Brushes are a common, inexpensive rebuild, so read the failure mode before you decide to replace.
Confirmed It's the Starter? Your Next Move
Once you know how to test a lawn mower starter, the next move follows the result.
A starter that passed sends you back to the solenoid, the wiring, or the ignition switch. Worn brushes justify a rebuild. An open or seized motor means replacement.
And a clean ground plus a seasonal battery check prevents most repeat no-crank calls, which is the cheapest fix of all.
aa1car explains how voltage-drop testing pinpoints the exact bad connection, and on two of our test mowers that method proved the "bad starter" was really a corroded ground.
Match your confirmed result to the next step:
Starter passed, solenoid clicks: swap the solenoid first, per replacing the starter solenoid.
Weak spin, worn brushes: rebuild the motor rather than buy new.
OL reading, no spin: replace the starter and check the ring gear while you are in there.
A neglected mower often hides more than one fault, so a full John Deere tune-up walkthrough can catch the small things that turn into no-starts.
Cleaning grounds and confirming a healthy battery each spring is what keeps a good starter from getting blamed again next season.
Frequently Asked Questions
Can a bad starter drain the battery?
A failing starter can pull excess current and crank slowly, straining the battery during use, but it does not usually drain a battery with the key off. We have seen a worn starter strain a battery under load, yet a key-off drain always traced back to a parasitic draw elsewhere, never the starter itself.
If the battery dies while parked, look for a draw, not the starter.
My mower cranks but won't start, is that the starter?
No. If the engine cranks, the starter, solenoid, and battery are all working. A mower that cranks but won't fire has a fuel, spark, or compression problem instead, which is a separate diagnosis.
Start with the spark plug before anything electrical, using our guide on changing a Craftsman spark plug.
Do I need to remove the starter to test it?
No. Method 4 above confirms the starter on the mower by reading voltage at its main terminal during a crank. Remove it only when an on-mower reading is inconclusive or when you want to bench-test spin and continuity in isolation.
How much does a lawn mower starter cost?
A replacement starter for most riding mowers runs roughly forty to a hundred dollars depending on the engine, and a seasonal tune-up prevents most repeat no-starts in the first place, as our Husqvarna tune-up guide shows.
Confirm the fault with the tests above before buying, since a clean ground or a fresh solenoid is often the cheaper cure.
Found this useful? Make us a preferred source so we show up in your Google results.
Keep reading
Related articles
Troubleshooting & Repair
Dead Dash? Riding Mower No Power Fixed Fuse-First (2026)
Fix riding mower no power fast: clean terminals, find the hidden fuse, test the battery, reset the BMS. A fuse-first checklist for gas & electric mowers.
Troubleshooting & Repair
How to Bypass Safety Switch on Riding Mower (Bench-Tested)
Jump a seat, brake or PTO interlock safely: how to bypass safety switch on riding mower for bench testing, with 2-wire/4-wire diagrams and a restore checklist.
Troubleshooting & Repair
Riding Lawn Mower Won't Turn Over: 5-Stage Voltage Test
Fix it fast: a riding lawn mower won't turn over usually means battery, ground, solenoid or starter. Test each in 5 ordered stages.
Troubleshooting & Repair
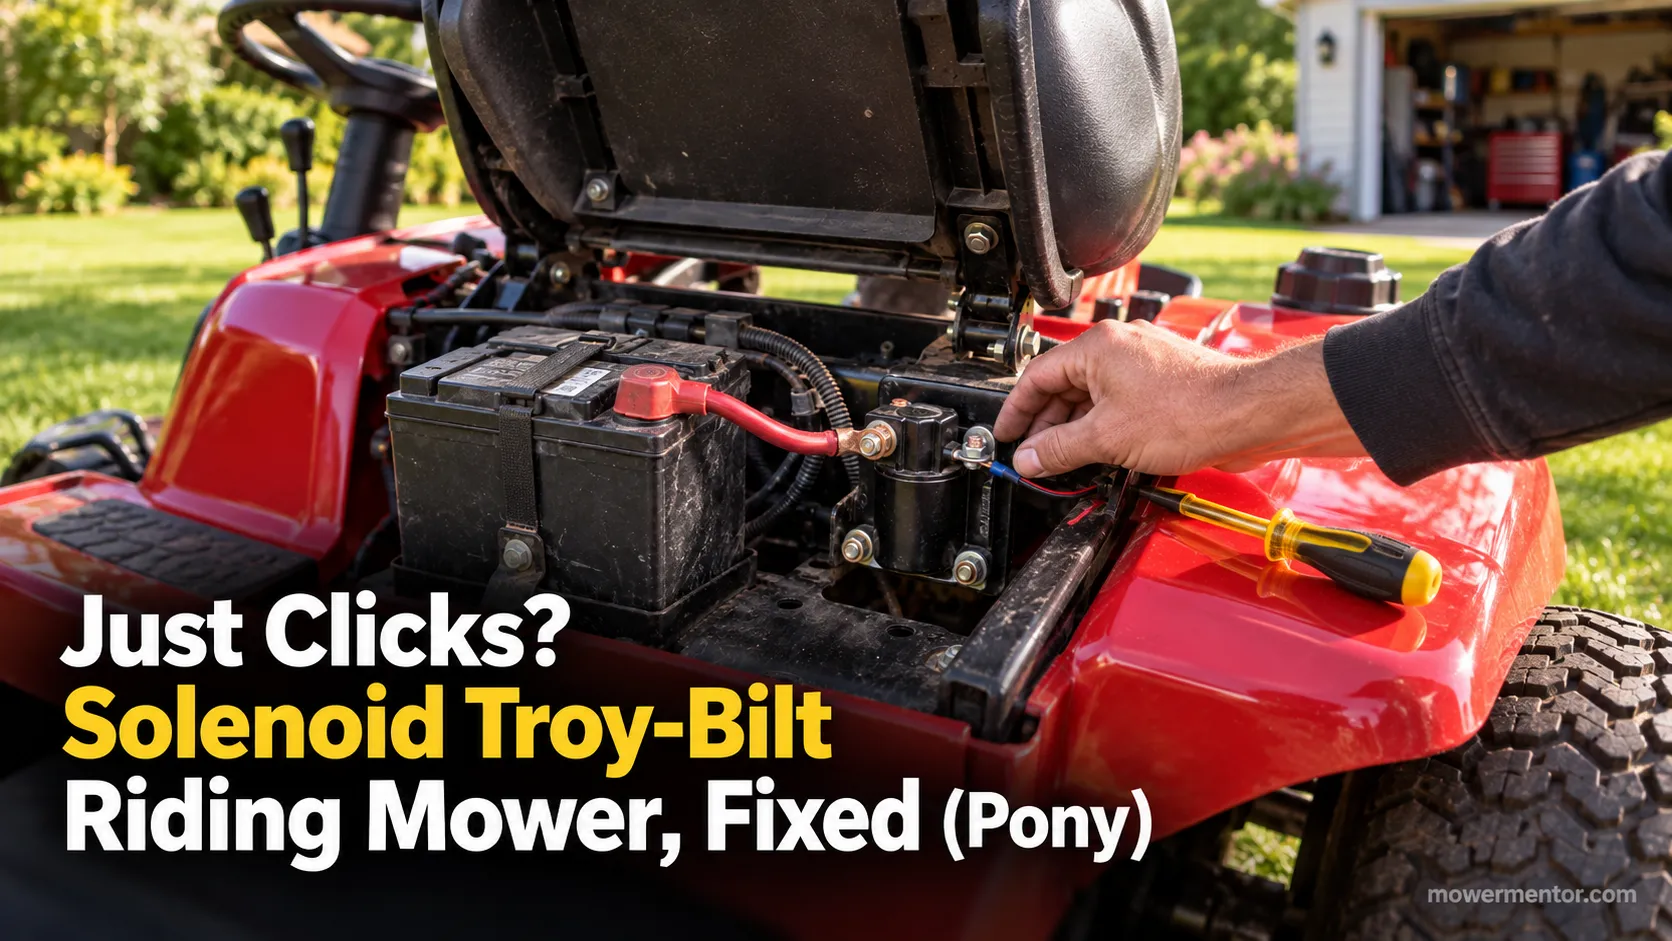
Just Clicks? Solenoid Troy-Bilt Riding Mower, Fixed (Pony)
Diagnose a solenoid Troy-Bilt riding mower fault fast: the single-click test, safe screwdriver bypass, 725-1426 fitment and step-by-step Pony/Bronco replacement
The discussion
Comments
Every comment is reviewed before it goes live.