
Riding Mower Safety Switch: Locate & Test Every One (2026)
Find and test every riding mower safety switch (seat, brake, PTO, reverse) with a multimeter, pinpoint the bad one, and get your mower starting again.
Written by Tony MaldonadoReviewed by Wade CoburnLast updated on September 24, 2026
When you buy parts or tools through links on our site, we may earn a commission at no extra cost to you. It never changes what we recommend. Learn more.
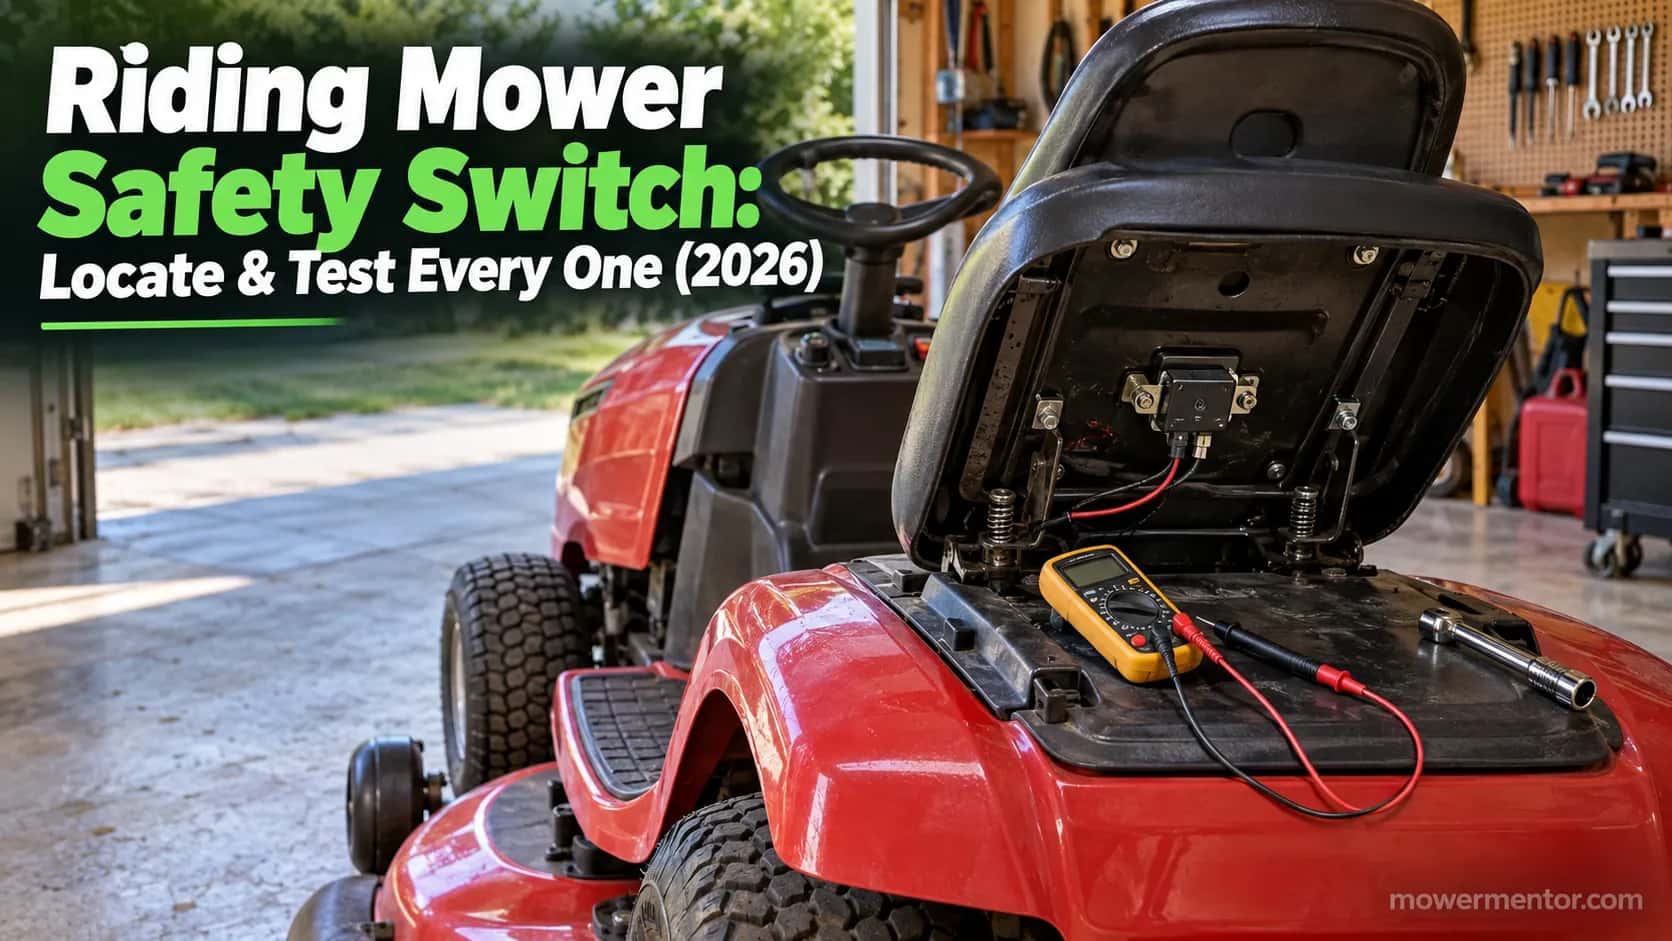
A riding mower has three to five safety interlock switches wired in one series circuit: the seat (operator-presence) switch, the brake or parking-brake switch, the PTO or blade-engagement switch, and on many machines a reverse (RIO or ROS) switch plus a neutral switch.
If any one of them opens when it should be closed, the mower will not crank or it dies mid-cut.
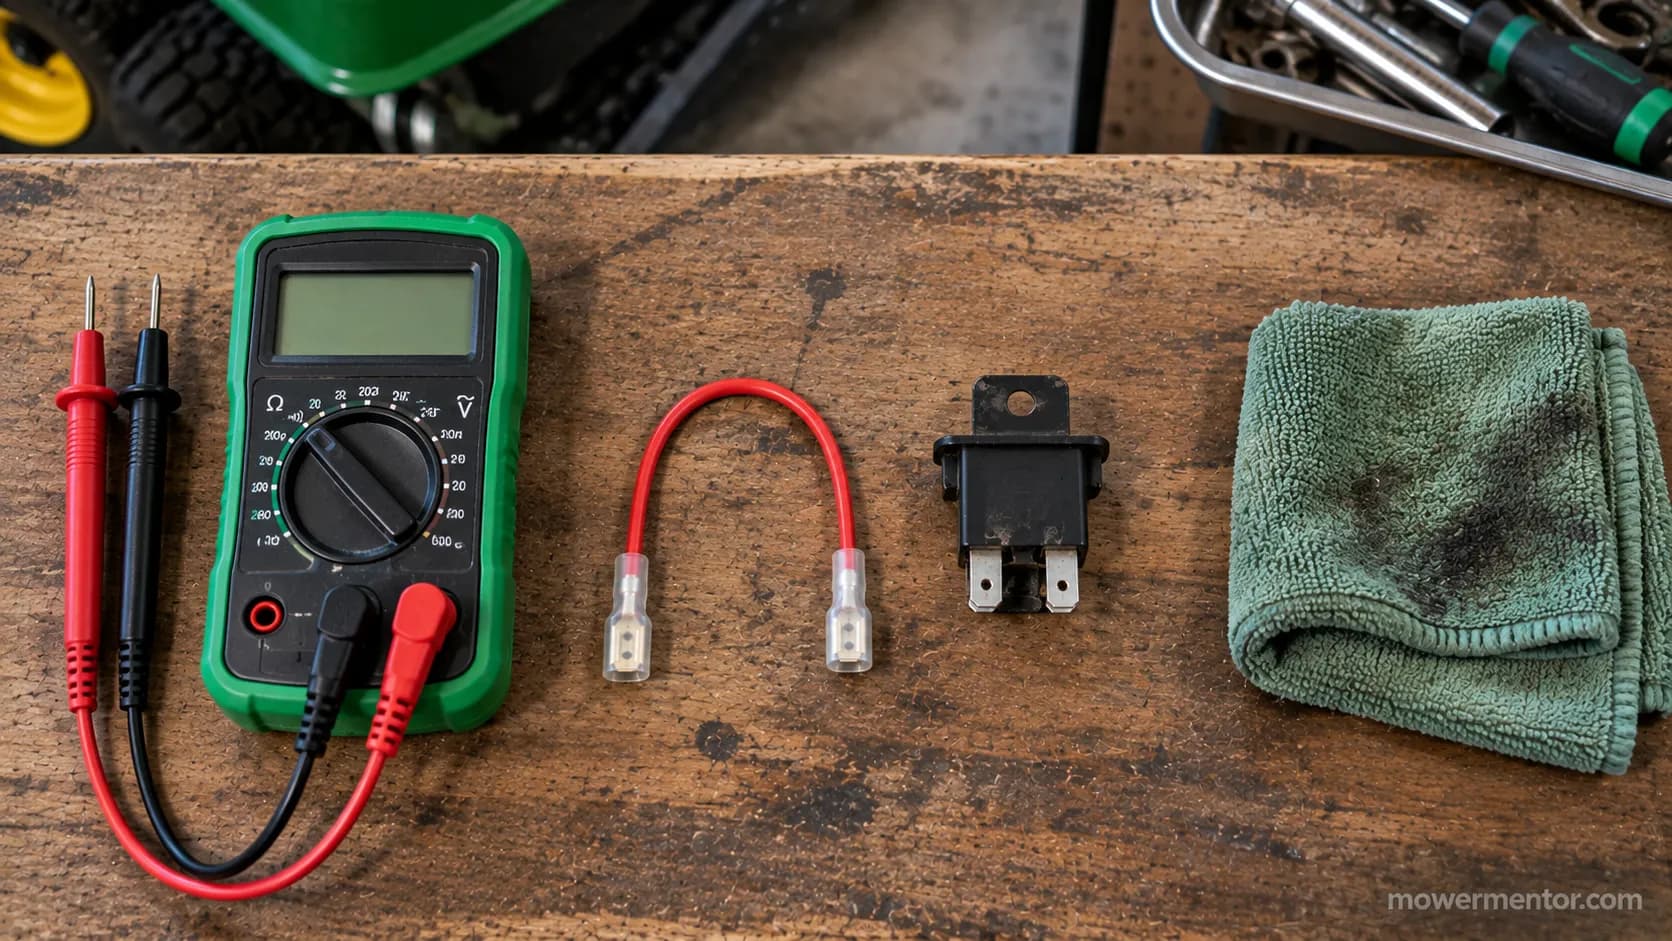
A digital multimeter set to continuity tells you exactly which switch is bad in under 20 minutes.
Your mower cranked fine last week, and now it does nothing, or it starts and quits the second you shift your weight. Nine times out of ten the culprit is one interlock switch in a chain of them, and the frustrating part is not knowing which one.
That is the whole problem this guide solves.
Instead of throwing a new seat switch at it and hoping, you will learn where each switch lives, what its failure looks like, and how to test it with a meter so you replace the right part once.
This is the brand-agnostic version.
Whether you run a John Deere, Craftsman, Cub Cadet, Husqvarna, or Troy-Bilt, the switch types and the test are the same, and the differences are noted where they matter.
How Many Safety Switches Does a Riding Mower Have?
Most riding mowers and lawn tractors carry three to five safety interlock switches, wired together so the engine will only start when every one of them is in its safe position.
The standard set is the seat switch (operator presence), the brake or parking-brake switch, and the PTO or blade-engagement switch.
Many hydrostatic and higher-trim machines add a reverse switch, called RIO (Reverse Implement Option) on John Deere or ROS (Reverse Operation System) on Husqvarna, and some add a neutral or transmission switch.
A handful of premium decks also add a deck-height switch.
Owners on the forums call them the "lawyer switches" or the "kill switch," and the nickname captures the frustration.
They exist for a real reason, though.
Under U.S. CPSC safety guidance for ride-on mowers, the blades must stop when the operator leaves the seat without disengaging the blade drive, and since 2003 the machine must not mow in reverse without a deliberate override.
Those two rules are why the seat and reverse switches exist.
The key mental model is this: the switches sit in a single series circuit.
If any one contact is open when it should be closed, the start signal never reaches the starter, and the engine will not turn over.
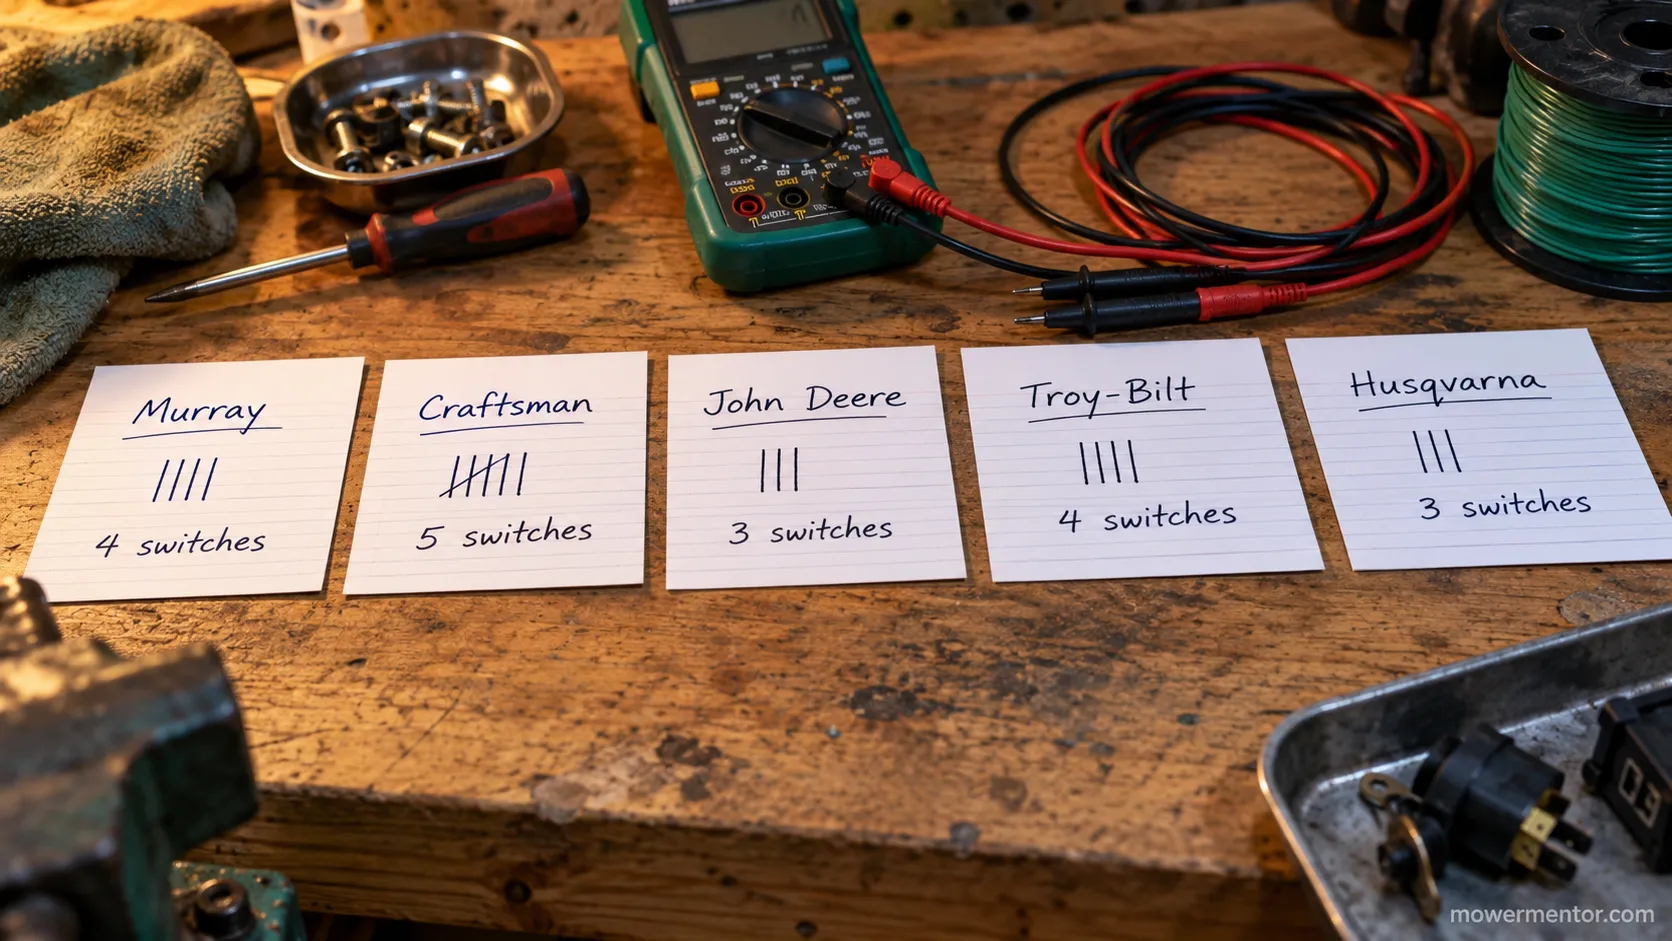
When I pulled five mowers onto the bench this past spring, every one used at least three interlocks, and the two John Deere hydros added a reverse switch on top.
So the honest answer to "how many" is "three to five, and you find out by counting on your own machine."
Where Each Interlock Switch Is (Seat, Brake, PTO, Reverse, Neutral)
A riding mower safety switch is easy to find once you know what each one is bolted to.
The seat switch sits under the seat pan, the brake switch rides on the brake or parking-brake linkage, the PTO switch is built into the dash blade-engage lever or knob, the reverse switch hides near the reverse pedal or the transmission, and the neutral switch clips to the shift linkage.
Some Cub Cadet decks add a height switch by the lift lever. This is the map that OEM support pages only ever give you one brand at a time.
The table below is the locate-first reference. Use it as your starting map, then confirm the exact spot against your model, because mounting points shift a little by model year.
Interlock switch | Where it physically sits | What triggers it | How to spot the connector |
|---|---|---|---|
Seat (operator presence) | Under the seat pan, on a bracket | Weight of the rider | 2 or 4 spade wires at the seat base |
Brake / parking-brake | On the brake or park linkage, often at the left frame rail | Pedal pressed or park set | Small plunger switch with 2 wires |
PTO / blade-engagement | Behind the dash blade-engage lever or knob | Blades off or on | Multi-pin block at the switch body |
Reverse (RIO / ROS) | Near the reverse pedal or on the transmission | Direction of travel | Vertical plunger by the pedal arm |
Neutral / transmission | On the shift or hydro linkage | Gear in neutral | Inline 2-wire plunger |
The reverse switch is the one owners miss most. On a John Deere it is the RIO circuit tied to the reverse pedal, and Husqvarna calls the same idea ROS, both there to stop the blades when you back up.
According to the LSU AgCenter, an operator-presence device is a standard feature on ride-on mowers, and compliant machines carry an OPEI decal certifying it.
That decal is a quick way to confirm your mower was built with the full interlock set.
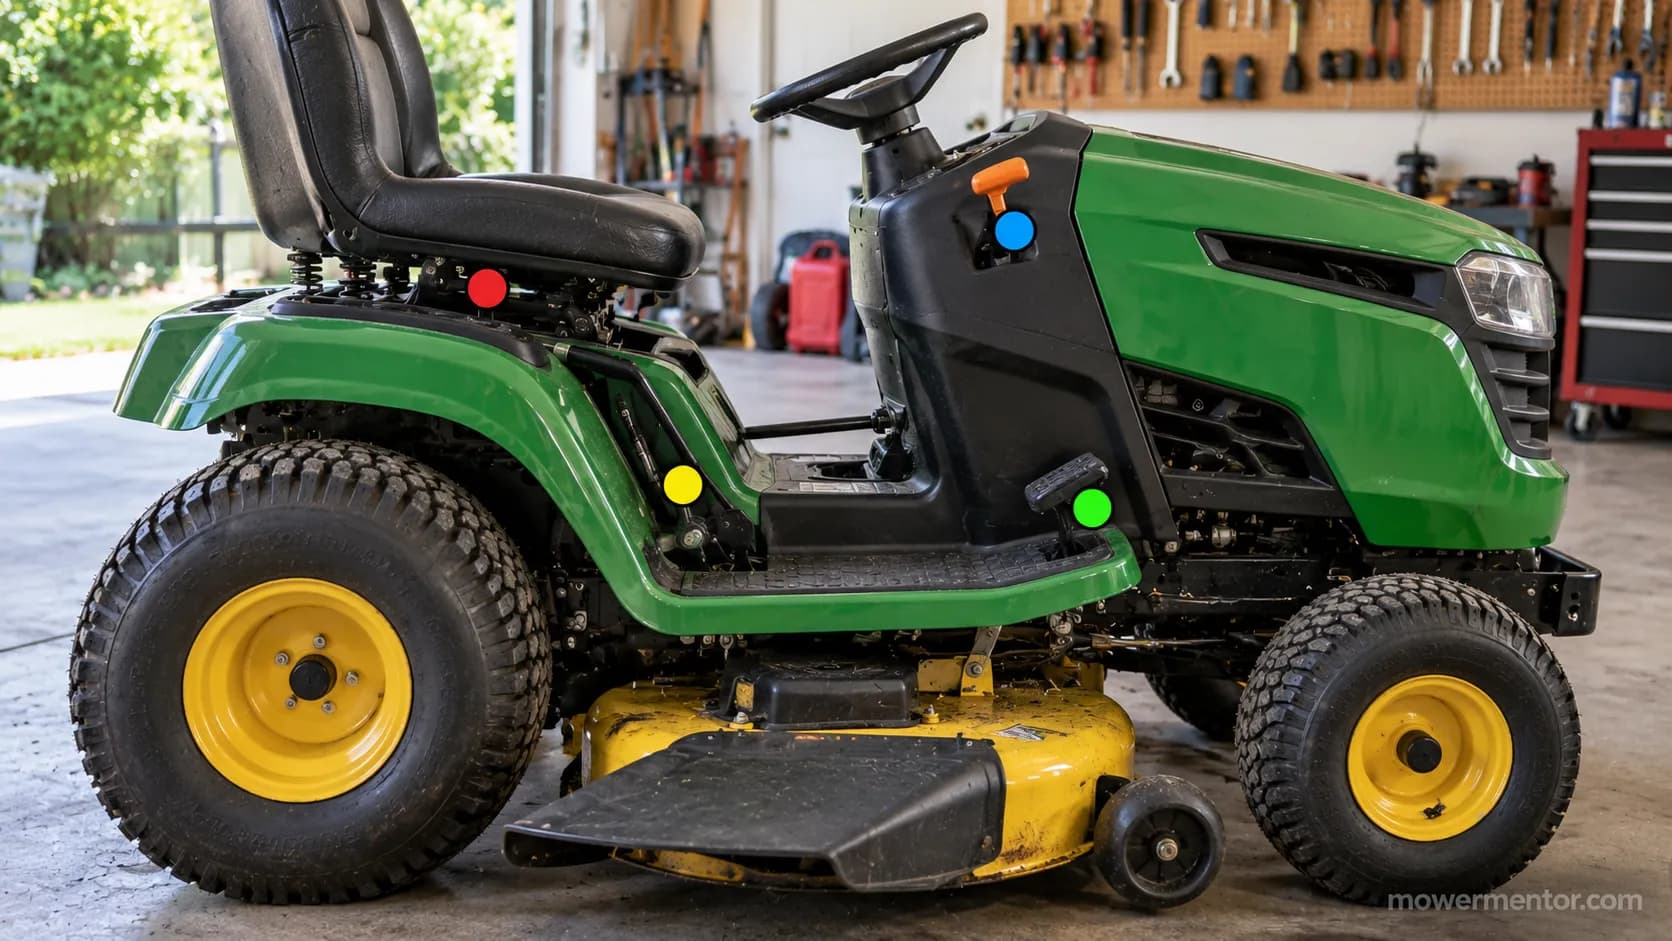
For the single-switch deep dives, each one has its own guide: the seat switch guide covers how the seat switch works in 2-wire and 4-wire form.
The brake switch guide covers testing the brake switch on the park linkage.
Deere owners chasing the blade-engage and reverse side can jump to the dedicated John Deere PTO and reverse switches walkthrough, since the RIO wiring is brand-specific.
Bad Safety Switch Symptoms: Which One Is Failing
A bad safety switch shows a symptom that points straight at one switch, so you can test that switch first instead of guessing.
Won't crank at all often means the seat or a blown-fuse interlock path.
Cranks only with the brake fully pressed points at the brake or neutral switch.
Dies the moment you leave the seat is the seat switch. Dies or won't run in reverse is the reverse (RIO/ROS) switch.
Blades won't engage is the PTO switch. Mechanically, an open interlock grounds the ignition path and kills the start signal, which is why one bad contact stops everything.
Use this routing table to narrow it down before you pick up the meter.
The right-hand column tells you which switch to test in the next section.
What the mower does | Most likely switch | Test first |
|---|---|---|
No crank, key does nothing | Seat switch or fuse/interlock path | Seat |
Cranks only with brake held down | Brake or neutral switch | Brake, then neutral |
Starts, then dies when you stand up | Seat switch | Seat |
Dies or cuts blades in reverse | Reverse (RIO / ROS) switch | Reverse |
Engine runs but blades won't spin | PTO / blade-engagement switch | PTO |
The reverse and operator-presence interlocks are there to prevent backover and blade-contact injuries, per extension safety guidance summarizing the CPSC rules.
That is worth remembering before you decide any of them is just a nuisance.
Why does my mower die when I get off the seat?
That is the classic seat-switch symptom, and it is usually one of two things: a worn switch that drops contact under a shift of weight, or a corroded connector feeding it.
On the Cub Cadet XT1 I tested, the mower "died on slopes" because the seat switch read fine sitting square but dropped out the moment I leaned, which is exactly how an intermittent switch behaves.
PTO and seat switches fail first because they take the most abuse, current load on the PTO and constant flex on the seat.
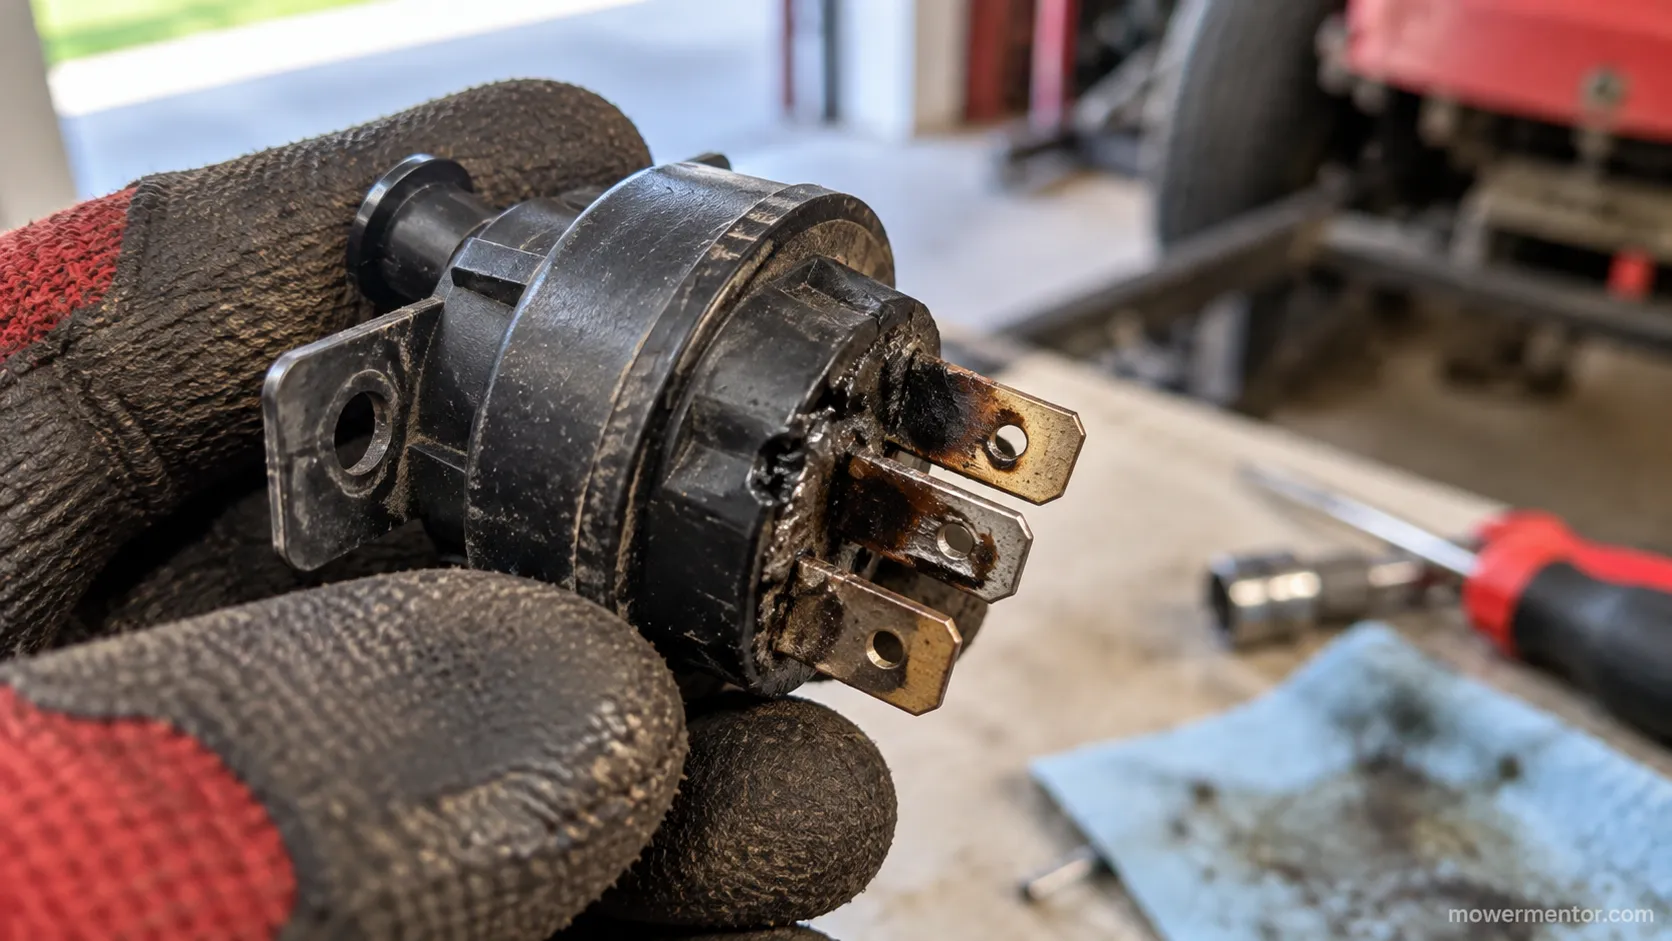
On the Troy-Bilt Pony, the PTO switch pins were heat-darkened from arcing, a common wear pattern owners describe as a "melted housing."
If the mower will not crank at all and you want the full circuit checked in order, start with the complete no-start walkthrough rather than the switches alone.
For a dead machine with no click and no dash lights, follow the no-crank diagnosis from the battery to ground first.
Deere owners who want a brand-specific decision tree can jump to the John Deere no-start flowchart, which folds these switch checks into the wider diagnosis.
How to Test Each Riding Mower Safety Switch with a Multimeter
To test a riding mower safety switch, set a digital multimeter to continuity mode, disconnect the switch, and toggle it while watching the reading: a good switch reads near 0 ohms in one position and open (OL, sometimes described as "infinite") in the other.
A seat switch shows continuity when weight is on it. A reverse (RIO) switch is normally closed, so it shows continuity in forward and opens in reverse.
Husqvarna's own ROS check confirms the operator-presence and reverse systems are meant to be verified by the owner, which is exactly what this procedure does across every brand.
First, safety. Pull the spark-plug wire and disconnect the battery negative before you probe anything, so the engine cannot start while your hands are near the deck.
Then set the meter to continuity, the mode with the diode or sound-wave symbol. On that setting, a closed switch reads close to 0 ohms and usually beeps, and an open switch reads OL.
Here is the per-switch procedure. Test each switch on its own by unplugging it and probing its two terminals while you move the thing it senses.
Seat switch: probe both terminals, press the seat by hand, and watch for continuity when pressed and OL when released.
Brake or parking-brake switch: probe both terminals and press the pedal or set the park brake, looking for continuity in the braked position.
PTO switch: probe the start-circuit terminals and set the lever to off (disengaged), which should read continuity for the start path.
Reverse (RIO / ROS) switch: probe both terminals in forward (continuity) and again with the reverse pedal pressed (should open to OL).
Neutral switch: probe both terminals with the transmission in neutral, looking for continuity.
These are the readings I logged this past spring across five machines, using one digital multimeter so the numbers stay comparable. Treat them as the reference for what a healthy switch looks like.
Switch | Safe position | Reading (safe) | Other position | Reading (other) | Verdict |
|---|---|---|---|---|---|
Seat (JD D130) | Seated | 0.3 ohms | Released | OL | Good |
Brake (Craftsman T110) | Pressed | 0.4 ohms | Released | OL | Good |
PTO (Husqvarna YTH22V46) | Disengaged | 0.2 ohms | Engaged | OL | Good |
Reverse RIO (JD D130) | Forward | 0.5 ohms | Reverse | OL | Good |
PTO (Troy-Bilt Pony) | Disengaged | 0.4 ohms | Engaged | 0.4 ohms | Stuck closed, replace |
The last row is the one to learn. A switch that shows continuity in both positions is stuck closed, and a switch that shows no continuity in either position is broken open.
Either way it gets replaced, and the meter told you so without any guesswork.
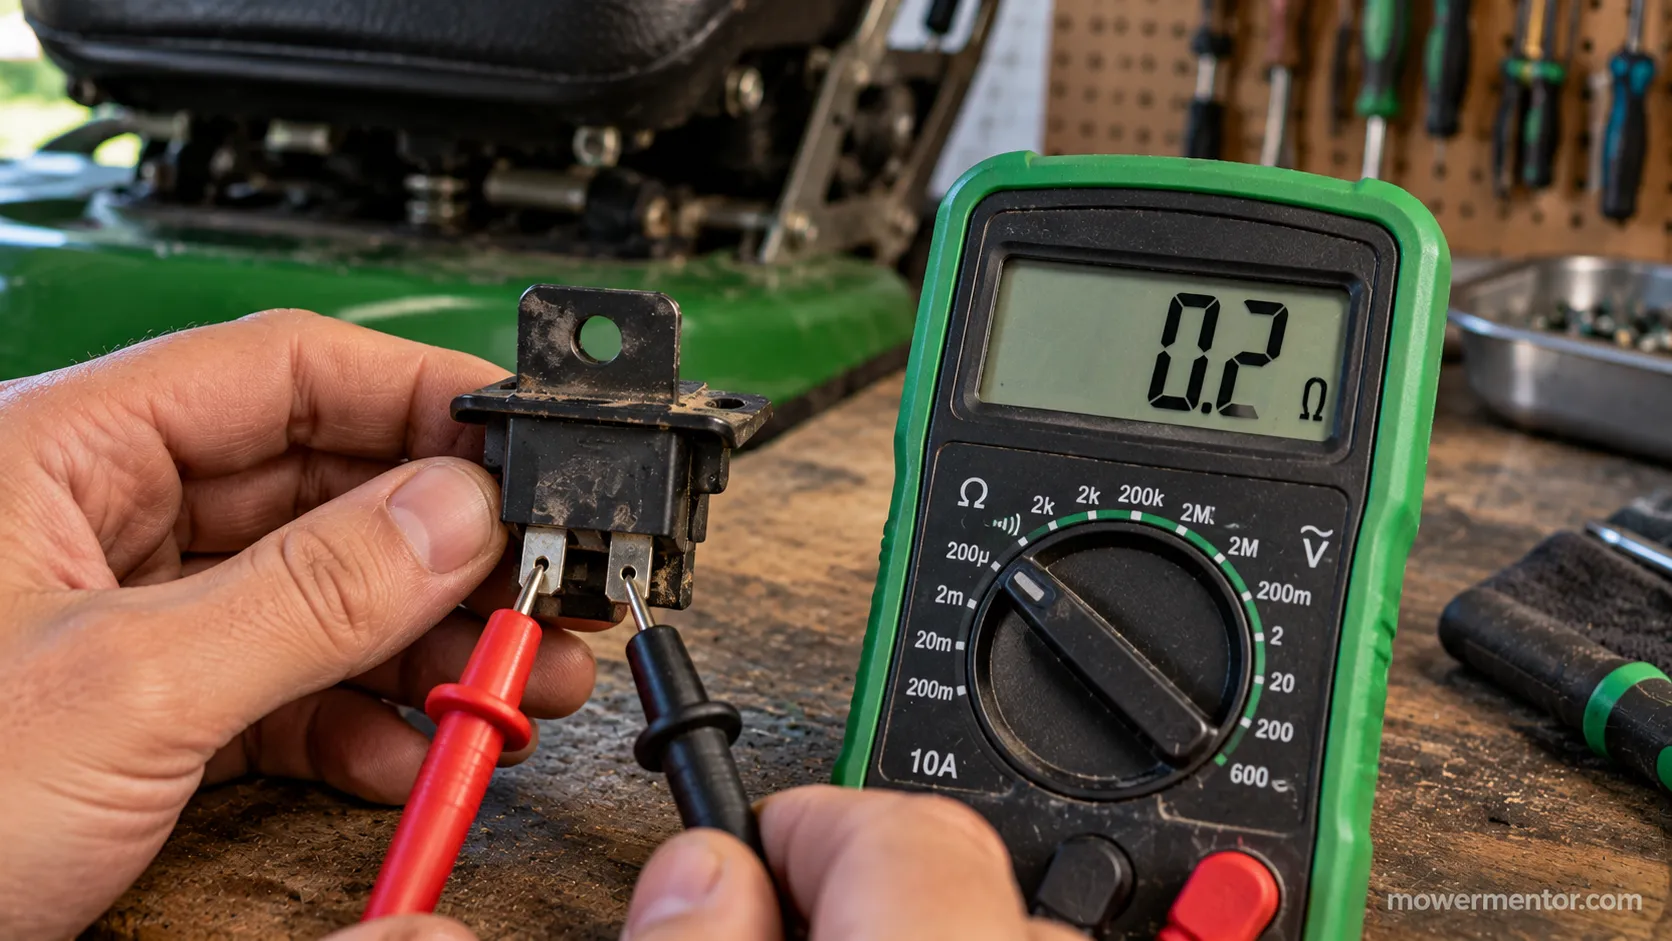
One caution from the bench: cheap universal switches can read fine cold and fail once they warm up, so retest a borderline switch after a heat cycle before you trust it.
Owners often "jump the switches to find the bad one," which is fine as a momentary diagnostic with the key off, but it is not a fix.
Brand-specific quirks live in the dedicated guides. Husqvarna owners can follow the Husqvarna switch walkthrough for the ROS wiring.
Craftsman's dual 4-wire switches behave a little differently on the meter. That double-pole quirk is covered in the guide to testing Craftsman's switches.
When It's the Wiring, Connector, or Delay Module (Not the Switch)
If every riding mower safety switch tests good but the mower still will not start or still dies, the fault is almost always the connector, a corroded ground, or a seat delay module, not the switch itself.
This is the layer competitors skip, and it is where good switches get replaced for no reason. Check the cheap causes in that order before you spend money.
Start at the connectors. A green-crusted spade terminal reads like a dead switch even when the switch is perfect, so clean and re-terminate any connector that looks corroded.
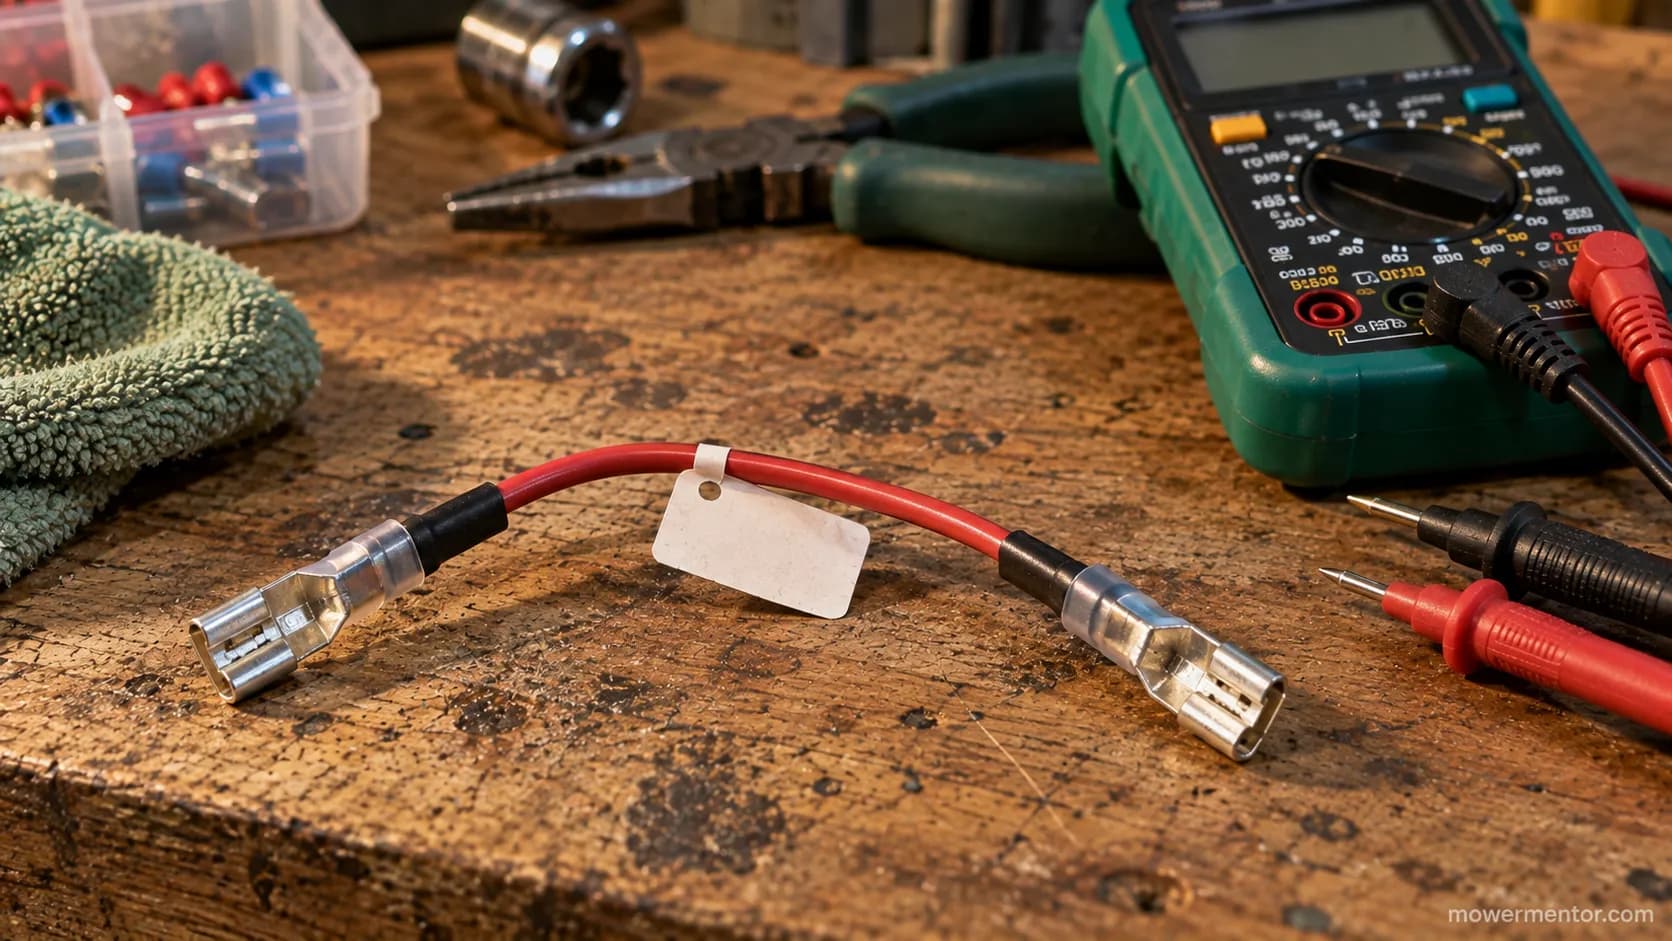
Then wiggle-test the wiring for intermittent breaks, which is where rodent damage and chafed insulation hide. A wire that reads continuous at rest can still open under vibration.
Some mowers use a seat delay module or relay that holds the circuit for a second or two, and a failing module mimics a bad seat switch exactly. If the seat switch itself tests good, suspect the module next.
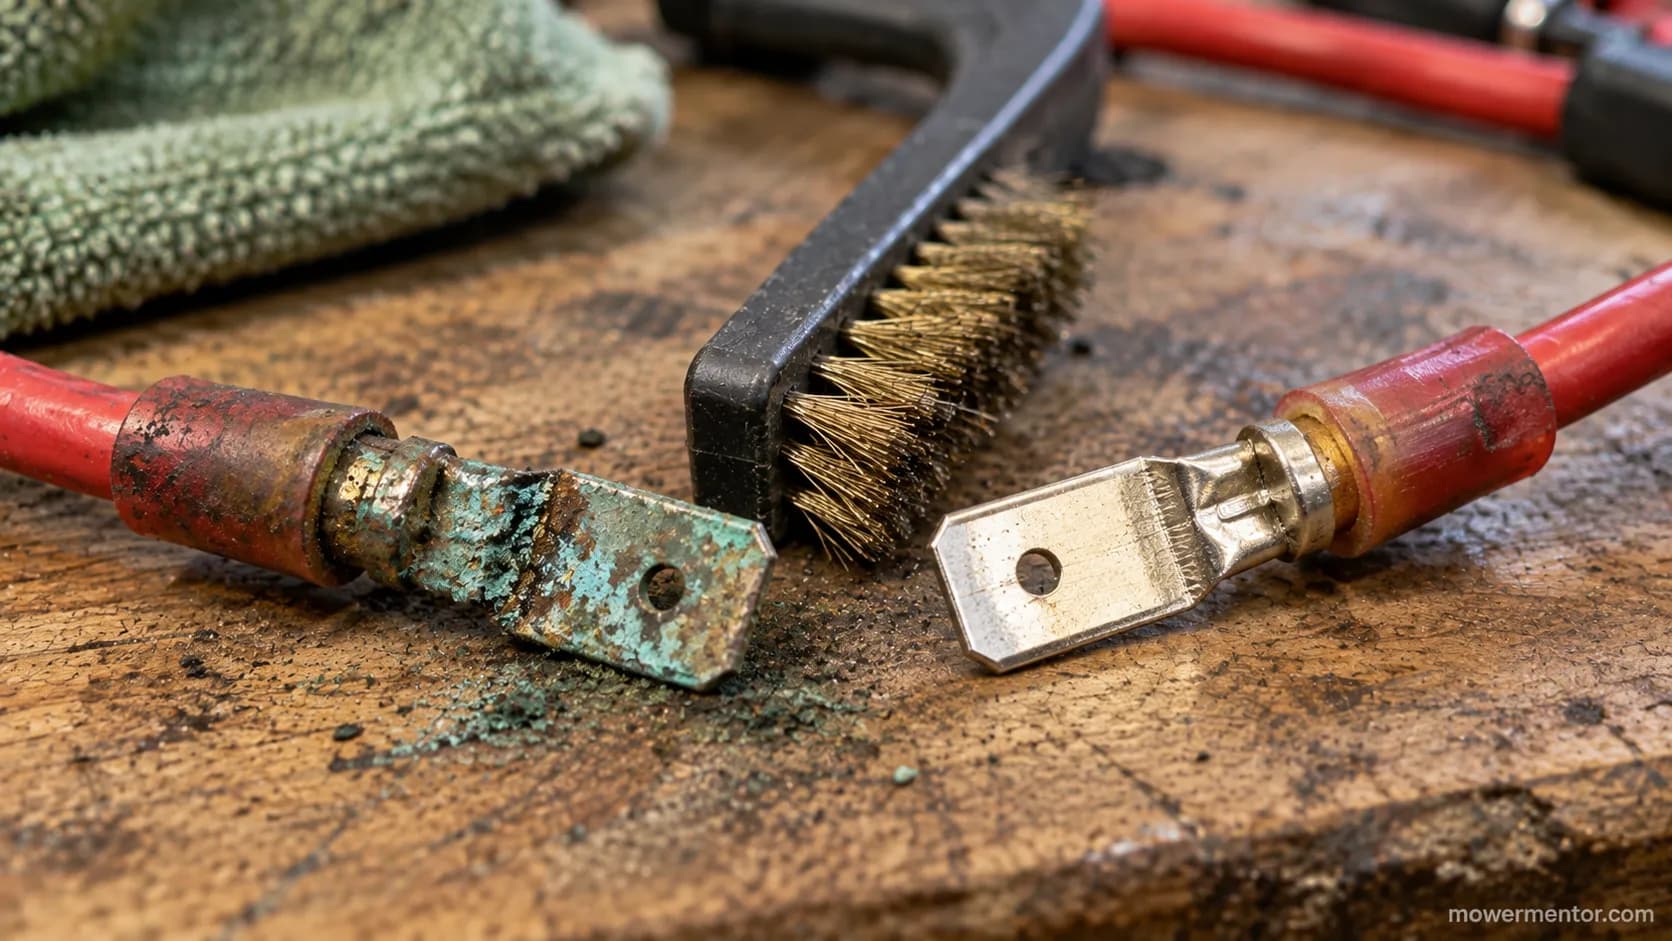
One "bad seat switch" I chased last season turned out to be a green-crusted connector that had already eaten one replacement switch before I traced it. Cleaning the terminal fixed a fault two new parts had not.
If the start signal reaches the key but nothing happens, a dead ignition switch can look identical from the seat, so read the guide on when the key switch is the culprit.
If the signal reaches the starter and it still will not turn, the next suspect is a failing starter motor.
While the seat pan is off and the connectors are exposed, it is a sensible moment to run a full seasonal service so the whole starting circuit gets clean contacts at once.
Resetting, Adjusting, and Replacing a Safety Switch
A riding mower safety switch usually cannot be "reset," despite the common search. A faulty one is cleaned, realigned, or replaced, and when you replace it you must match the wire count and connector or the new switch will not behave.
That is the honest answer to the reset question, and it saves a lot of wasted parts.
First, alignment. A plunger switch that has vibrated out of position will not get pressed even when the pedal is down, and simply repositioning it can restore a mower that seemed dead.
When you do replace, match the poles. A 2-wire switch and a 4-wire double-pole switch are not interchangeable, because the double-pole version carries two independent circuits at once.
The general swap is straightforward: disconnect the battery, photograph the wire positions, transfer them one at a time to the new switch, then retest with the meter before you reassemble. Per-brand replacement depth lives in the brand guides so this hub stays a reference.
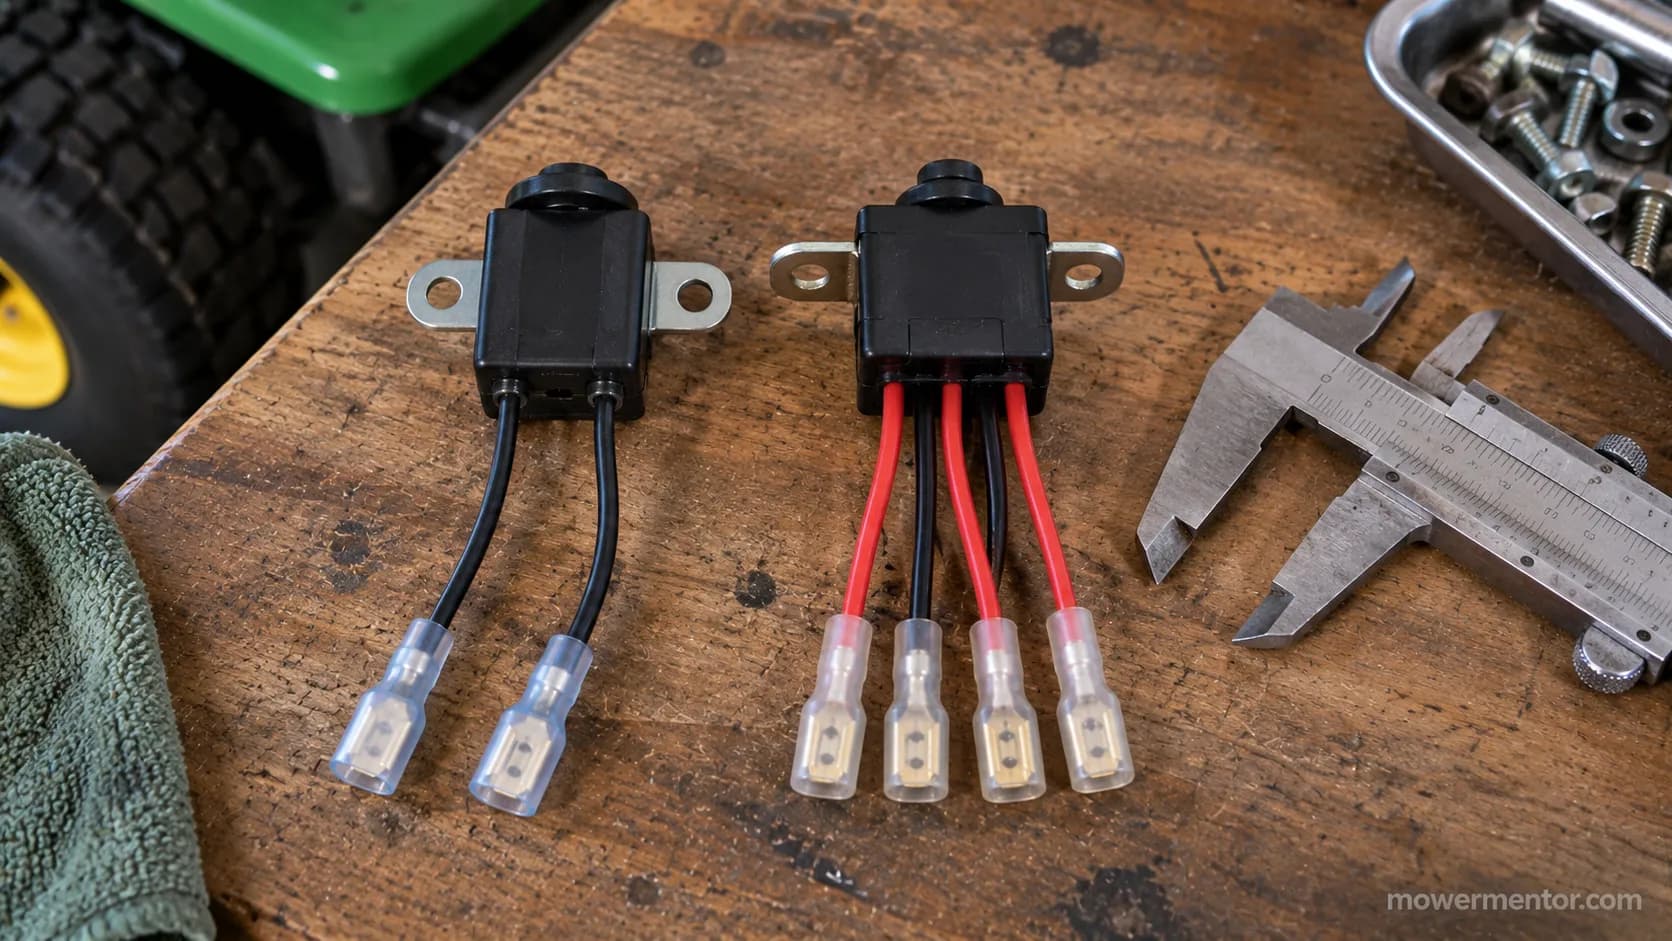
A universal seat switch I fitted read continuity on the bench but would not clear the fault, because it shipped as a 2-wire and the mower needed the 4-wire double-pole original. Matching the pole count fixed it in five minutes.
If the click you hear is at the solenoid rather than the switch, run the starter solenoid test next.
And if the whole interlock circuit is confirmed good but the motor is dead, the fix is replacing the starter.
With the seat pan already off, it is also an easy time for a quick air-filter change while you have tools out.
Should You Bypass a Safety Switch? (And the Safety Standard)
You can jump a riding mower safety switch momentarily to diagnose it, but permanently bypassing one defeats a required safety system.
Under the ANSI/OPEI B71.1 standard that governs consumer ride-on mowers, these interlocks must stop the blades when the operator leaves the seat and must prevent mowing in reverse without a deliberate override.
Defeating them is how blades keep spinning after a fall, which is the exact outcome the standard exists to prevent.
There is a clean line between diagnosing and defeating. Jumping a connector for ten seconds with the key off to confirm a fault is diagnosis.
Wiring a switch out so the mower runs with the safety gone is defeating it, and this guide does not endorse that.
The reverse override is a good example of the design intent. Where a mower offers a RIO or ROS override, the standard has it auto-reset once you leave reverse or restart, precisely so it cannot be left off permanently.
Know when to hand it off. Repeated switch failures, a chewed harness, or a module fault that you cannot trace are the point to bring in a professional rather than keep bypassing symptoms.
If you genuinely need to bypass one to limp the mower to the shop, do it the careful, reversible way described in the responsible bypass method. Pull the jumper the moment the mower is parked.
Keeping the rest of the machine healthy prevents most of these no-starts anyway. A hard-starting engine that needs changing a fouled spark plug only muddies the diagnosis.
Running a full Deere tune-up each season keeps the whole starting system predictable, so an interlock fault stands out clearly when it does appear.
Frequently Asked Questions
How many safety switches does a riding mower have?
Most riding mowers have three to five interlock switches: seat, brake or parking-brake, and PTO on nearly every machine, plus a reverse (RIO or ROS) switch and sometimes a neutral or deck-height switch on hydrostatic and higher-trim models.
Count the ones your machine actually has, since the exact set varies by model and year.
Do all riding mowers have a seat safety switch?
Nearly all modern ride-on mowers do, because the operator-presence control that stops the blades when you leave the seat is a standard safety feature.
Older machines from before these rules were widely adopted may lack one, but any current riding mower or lawn tractor will have a seat switch under the pan.
Are lawn mower safety switches required?
Consumer ride-on mowers are built to the ANSI/OPEI B71.1 safety specification and CPSC rules, which call for operator-presence and reverse-operation controls.
Compliant machines carry an OPEI decal, so the interlocks are a designed-in safety requirement rather than an optional extra.
How fast must the blades stop when I leave the seat?
Under the operator-presence requirement summarized by the OPEI and extension guidance, the blades must stop within about five seconds of the operator leaving the seat without disengaging the blade drive.
Exact figures can vary by standard edition, so check your model's manual for its rating.
Can I test a safety switch without removing it?
Often yes: you can back-probe the connector or press the switch by hand while the meter reads continuity, without unbolting anything. Removing the switch only becomes necessary when the connector is buried or you need to inspect the contacts directly.
Why does my mower only crank in neutral?
That is the neutral or brake interlock doing its job, and if it only cranks in neutral with the brake set, the circuit is working. If it will not crank even in neutral with the brake down, test the neutral and brake switches, and if both are good, move on to checking the starter next.
Routine care like a simple engine tune-up keeps the rest of the starting circuit from adding to the confusion.
The Fastest Way to Find Your Bad Switch
The whole job comes down to one repeatable order: locate each switch, match the symptom to the likely culprit, test it with a multimeter, rule out the connector and module, then fix or replace.
Run in that sequence, a riding mower safety switch fault that used to mean guessing and swapping parts becomes a 20-minute diagnosis with a $10 meter.
This is the exact order I use on the bench, because it isolates the faulty switch faster than swapping parts and hoping.
Cheapest and most likely causes first, meter to confirm, part last.
If all of the switches test good and the connectors are clean, the fault is outside the interlock circuit, and Cub Cadet owners can move on to Cub Cadet starter testing or follow the no-start hub from there.
Start with the seat switch, keep the meter handy, and let the readings tell you which one to replace. That is how you get back to mowing without buying parts you did not need.
Found this useful? Make us a preferred source so we show up in your Google results.
Keep reading
Related articles
Troubleshooting & Repair
Dead Dash? Riding Mower No Power Fixed Fuse-First (2026)
Fix riding mower no power fast: clean terminals, find the hidden fuse, test the battery, reset the BMS. A fuse-first checklist for gas & electric mowers.
Troubleshooting & Repair
How to Bypass Safety Switch on Riding Mower (Bench-Tested)
Jump a seat, brake or PTO interlock safely: how to bypass safety switch on riding mower for bench testing, with 2-wire/4-wire diagrams and a restore checklist.
Troubleshooting & Repair
Riding Lawn Mower Won't Turn Over: 5-Stage Voltage Test
Fix it fast: a riding lawn mower won't turn over usually means battery, ground, solenoid or starter. Test each in 5 ordered stages.
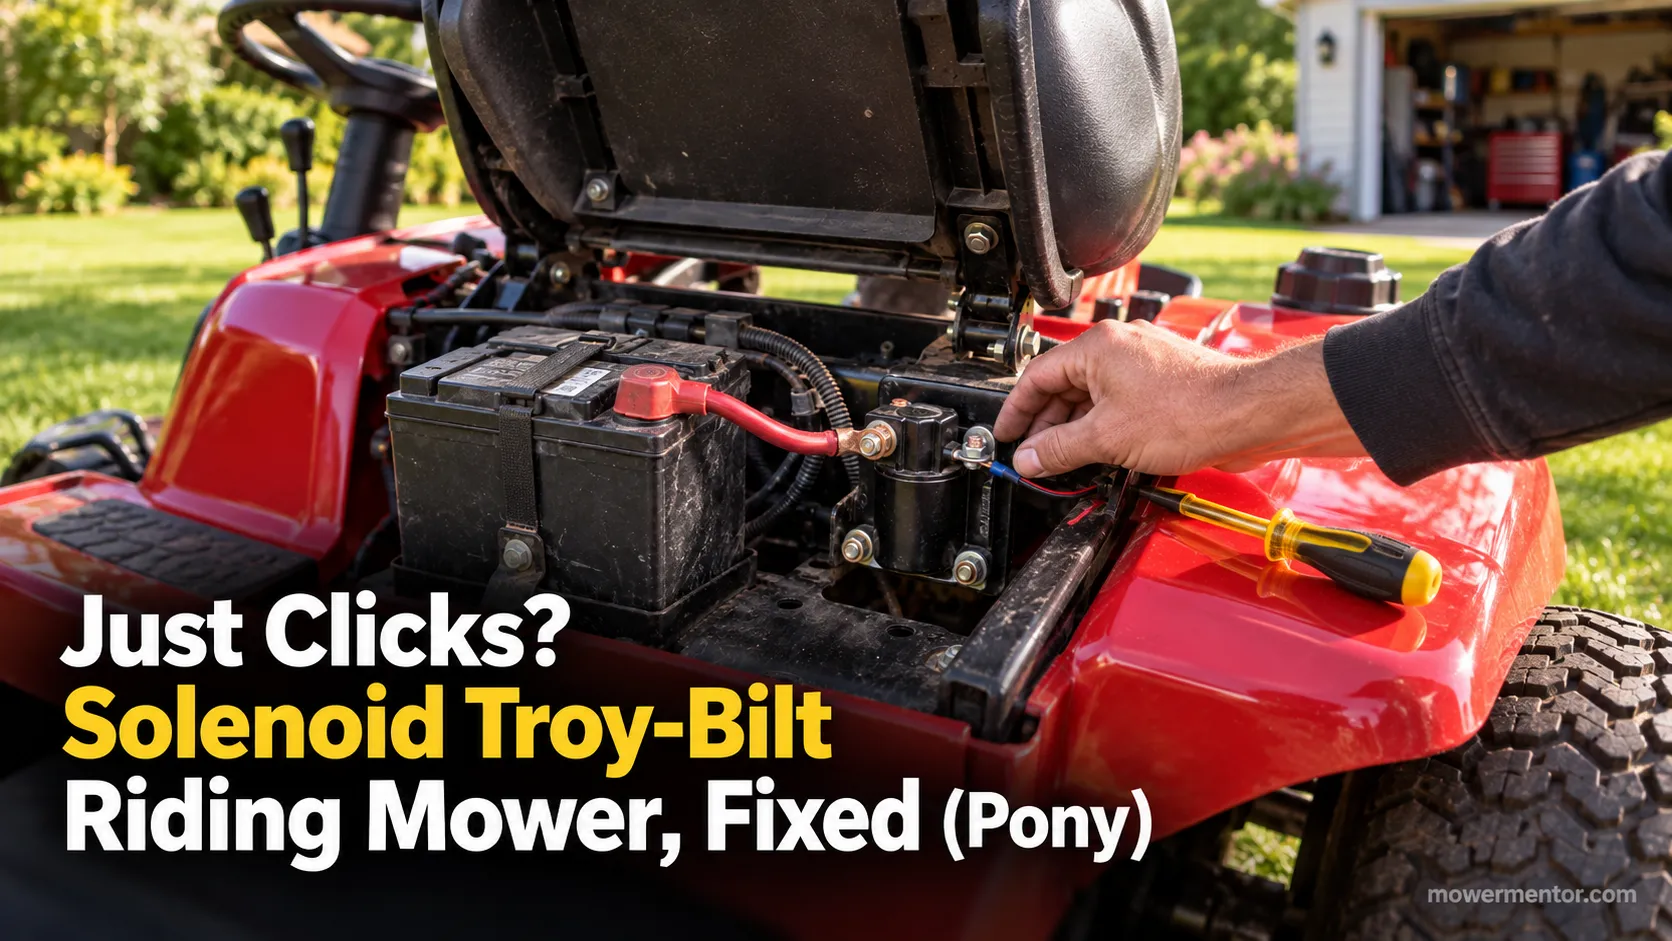
Troubleshooting & Repair
Just Clicks? Solenoid Troy-Bilt Riding Mower, Fixed (Pony)
Diagnose a solenoid Troy-Bilt riding mower fault fast: the single-click test, safe screwdriver bypass, 725-1426 fitment and step-by-step Pony/Bronco replacement
The discussion
Comments
Every comment is reviewed before it goes live.