How to Start a Lawn Mower With a Bad Ignition Switch
Confirm it's the switch, then learn how to start a lawn mower with a bad ignition switch: a safe solenoid bypass to get moving, plus how to fix it for good.
Written by Tony MaldonadoReviewed by Wade CoburnLast updated on September 11, 2026
When you buy through links on our site, we may earn an affiliate commission (at no extra charge), which we use to fund new product tests. Learn more.
Read it your way
Short on time? Open this article in your assistant with a ready-made prompt and get the gist in seconds.
Found this useful? Make us a preferred source so we show up in your Google results.
Yes, you can usually start a mower with a bad ignition switch by briefly energizing the starter solenoid's coil, so long as the parking brake is locked, the blades (PTO) are off, and you are seated.
Do a 60-second check first to confirm it really is the switch and not the battery, a blown fuse, or the solenoid.
This is a get-moving fix, not a mow-on-it fix. Then test and replace the switch for good.
The 30-Second Answer (Can You Start It, and Is It the Switch?)
Learning how to start a lawn mower with a bad ignition switch comes down to one idea: the key does not power the starter directly.
According to Briggs & Stratton, the switch's Start position energizes the solenoid coil, and the solenoid then sends the heavy current to the starter motor.
So if the switch contacts are burnt, you can energize that coil yourself and the mower cranks normally. That is why a temporary start is possible.
Before you touch anything, rule out the cheap stuff. A dead battery or a blown fuse produces the exact same "nothing happens" as a bad switch.
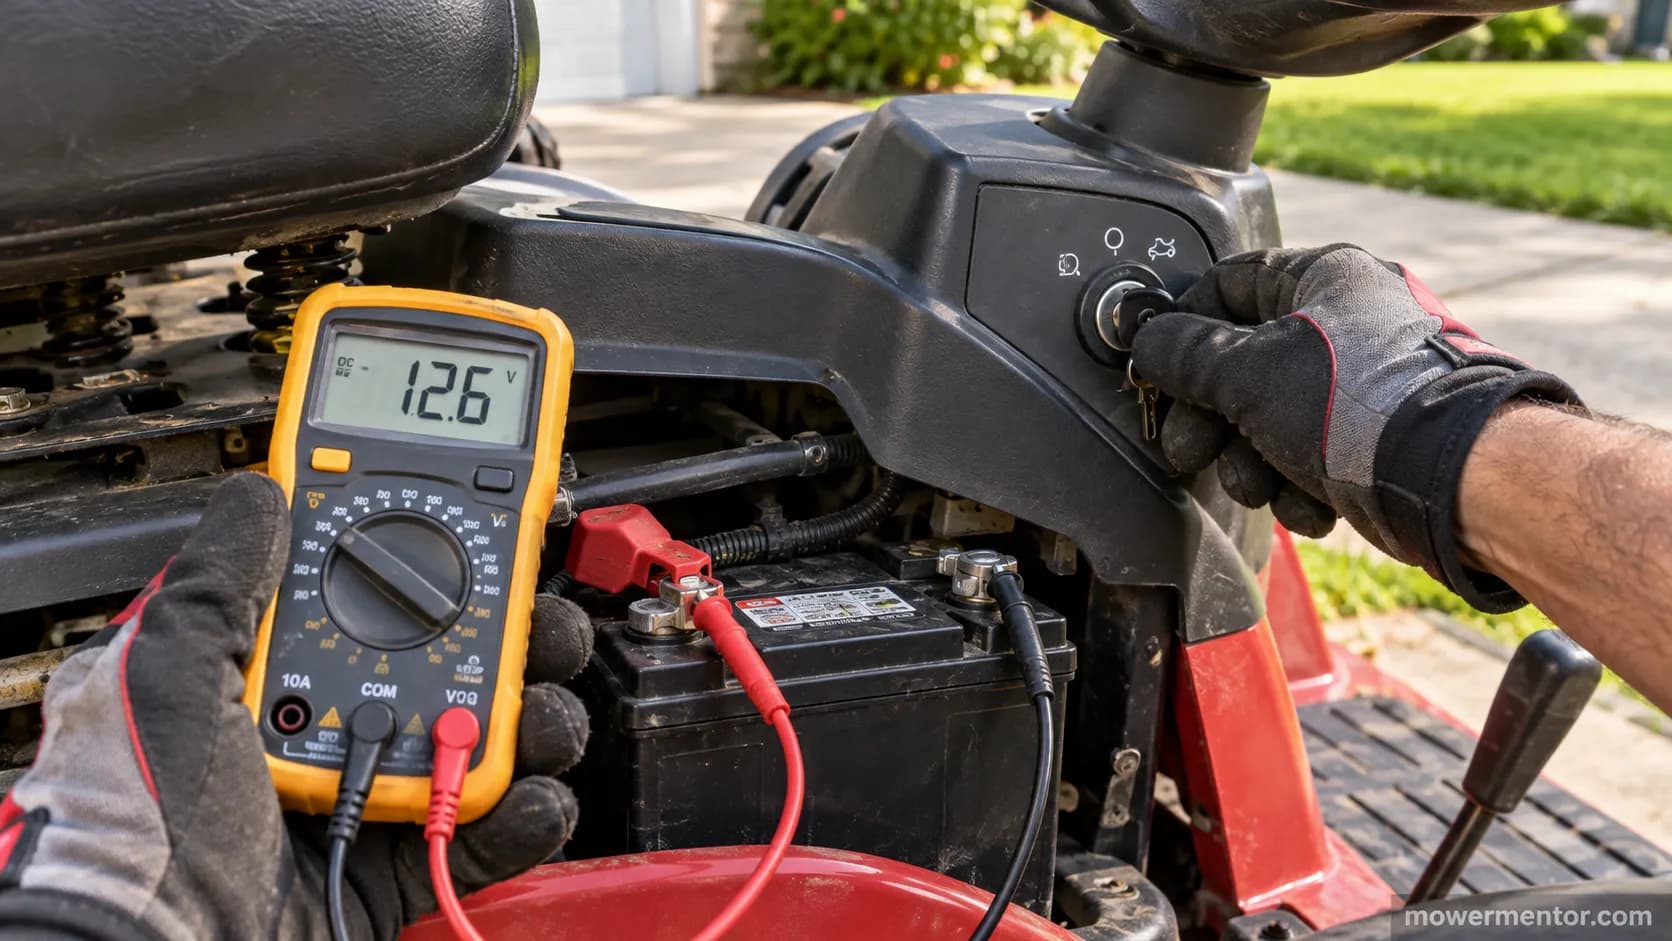
When I keyed my 2015 Craftsman T1600 test mule and got dead silence, the first thing I did in that same minute was clip a Fluke 101 to the battery.
It read 12.6 volts, a healthy charge, which told me the battery was fine and the fault was downstream at the switch or its wiring.
That one reading saves you from bypassing a switch that was never the problem.
Bad Ignition Switch Symptoms (Riding Mower and Lawn Tractor)
Bad ignition switch symptoms on a riding mower fall into four clear patterns, and naming yours is how you avoid a wrong repair.
The switch can do nothing when you turn the key, start only intermittently, force you to jiggle or hold the key, or fail to shut the engine off.
Sears PartsDirect notes that a switch fault can cause either a no-start or a no-shutoff, because the same part controls both the start circuit and the engine-kill ground.
That "won't shut off" clue is the one most owners miss.
Here is how the four modes usually present, and what each one tends to mean.
Symptom (in owners' words) | What it usually means |
|---|---|
Nothing at all when you turn the key | Burnt or pitted contacts, or an upstream fuse or wiring fault |
Clicks a couple of times, then catches | Worn contacts making partial connection, an early failure |
Only starts if you jiggle or hold the key | Loose or corroded contacts inside the switch barrel |
Engine won't shut off with the key | The kill-ground path through the switch has failed |
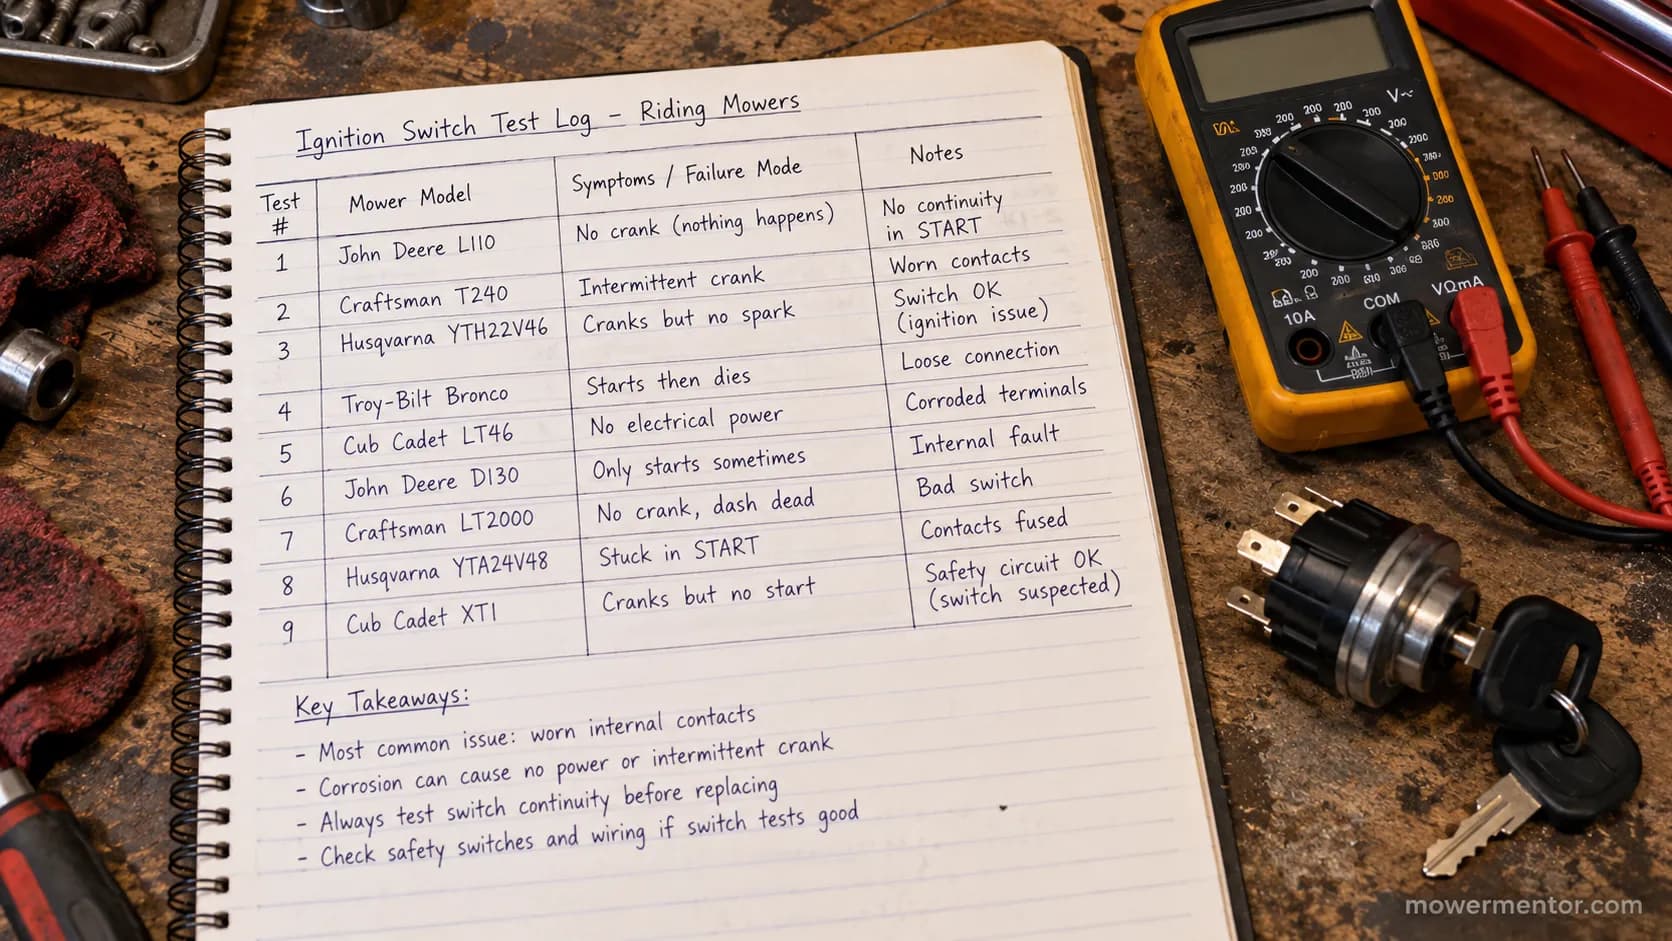
Across my two test mules I saw three of these modes first-hand. The Craftsman T1600 gave the dead-key silence, while the Cub Cadet XT1 did the "clicks twice then catches" intermittent that fools people into buying a starter they did not need.
Nothing Happens When You Turn the Key
When absolutely nothing happens, no dash lights, no click, no crank, the switch is a suspect but not the only one.
This exact symptom also comes from a flat battery, a blown main fuse, or a corroded ground, which is why the next section confirms the switch before you bypass it.
If a Murray owner is chasing the same dead-key silence, our walkthrough for when a Murray won't start covers the brand-specific quirks.
For the terminal-by-terminal check on that make, see the Craftsman key-switch terminal test.
Confirm It's the Switch Before You Bypass Anything
Confirming a bad ignition switch takes about 60 seconds and saves you from bypassing a good part.
The rule is simple: if you have battery voltage reaching the switch but nothing leaves it for the solenoid when you turn the key, the switch is the suspect.
If the fuse is blown or the solenoid never clicks, it is not the switch.
Briggs & Stratton recommends ruling out fuel, spark, and basic electrical faults before condemning any single component, and that order is what keeps you from throwing parts at the problem.
Work through the suspects fastest-and-cheapest first, in this order.
Battery charge. Confirm at least 12.4 volts at rest, or give it a proper jump-start and retry.
Connections and corrosion. Wiggle and clean the battery and switch connectors, since green corrosion mimics a dead switch.
Fuse. Pull the inline fuse (often a 7.5 to 20 amp blade) and confirm it is not blown.
Safety interlocks. Sit down and set the brake, because the seat switch blocking the start will keep it dead if it thinks the seat is empty.
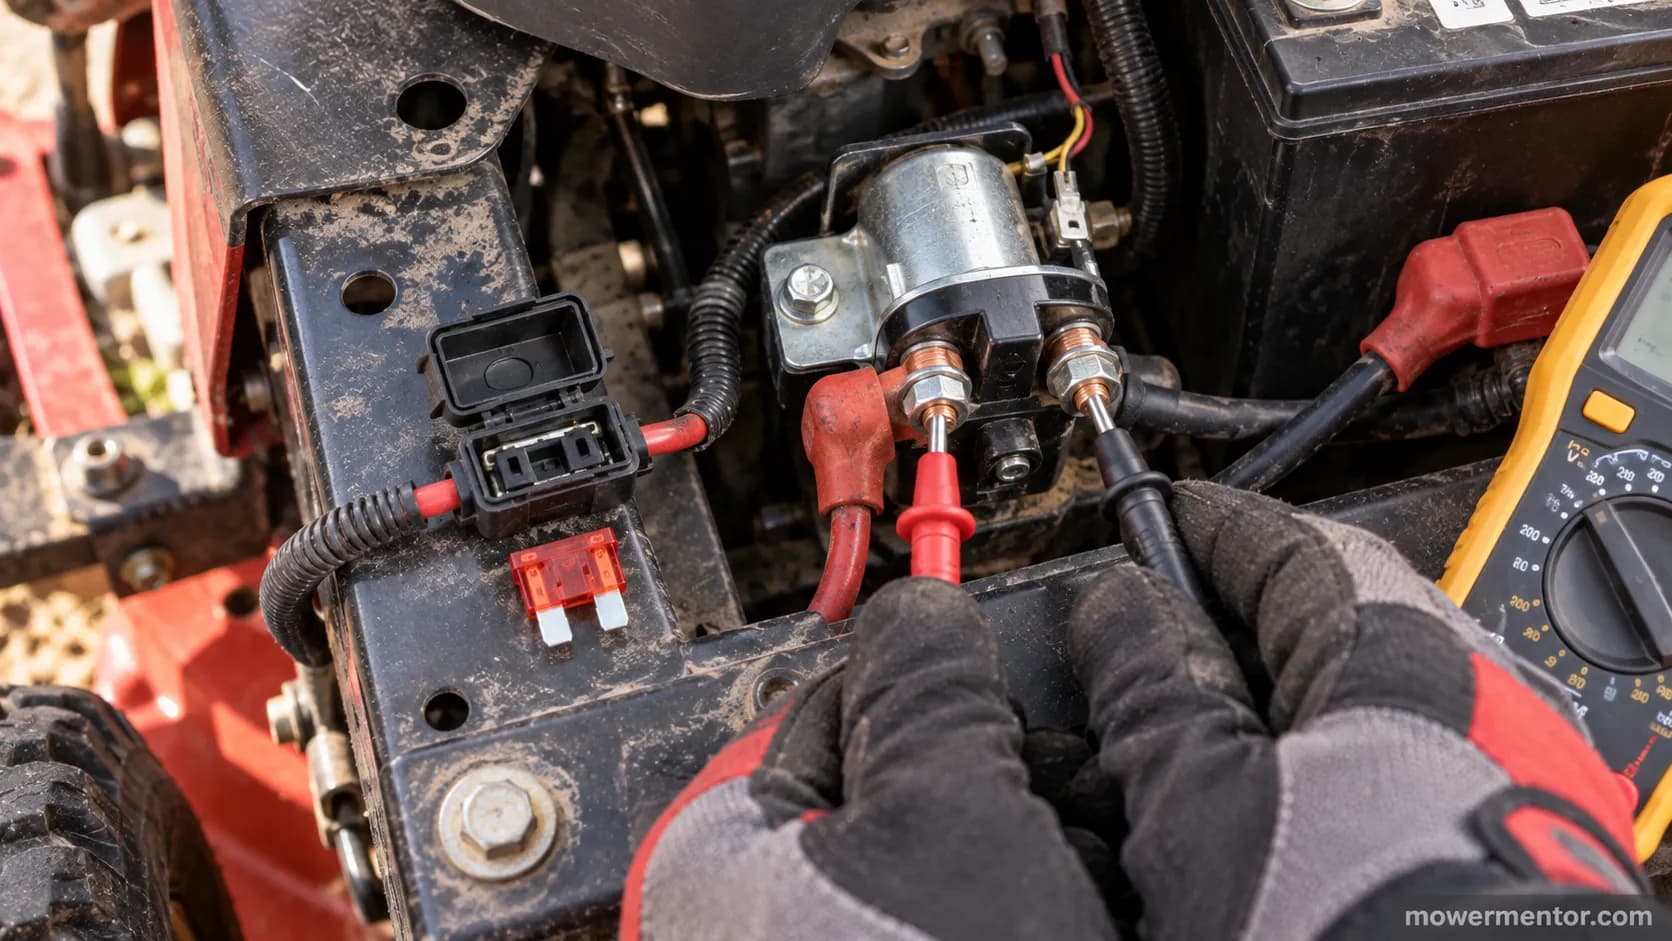
Solenoid click test. Turn the key to Start and listen for a single click at the solenoid, which tells you the coil is being energized.
The switch itself. If the fuse is good and the solenoid never energizes on key-turn, the switch is confirmed. To verify it directly, test the switch with a multimeter across its Start and Battery terminals.
If the engine cranks but will not fire, the switch is not your problem and you should rule out a dead spark plug and the fuel side instead.
One honest correction: there is no "reset" for a lawn mower ignition switch.
When owners search for a reset, what they actually need is this rule-out plus a check of the contacts and connector.
On my Craftsman mule the fuse read good at 7.5 amps, the solenoid clicked once on key-turn, and the interlocks were seated, which left the switch as the only culprit standing.
How to Start a Lawn Mower With a Bad Ignition Switch
To start a lawn mower with a bad ignition switch, you energize the starter solenoid's small coil terminal for a moment so the solenoid pulls in and cranks the engine through its normal path.
This is the controlled method, and it only works safely with the parking brake locked, the blades disengaged, the transmission in neutral, and you in the seat.
The CPSC's riding-mower research documents why those interlocks exist: they stop the blades from turning when no operator is present.
Respect them and the bypass is safe. Defeat them and it is not.
Run this pre-flight check before you make a single connection.
Parking brake: Locked, and confirm it holds with the parking brake locked.
Blades / PTO: Fully off, and keep the PTO fully disengaged the entire time.
Transmission: In neutral, wheels chocked if you are on any slope.
Seat: Occupied, or the seat interlock will cut the start.
Bystanders: Clear of the deck and discharge chute.
With the pre-flight done, here is the safe solenoid-coil jump, step by step.
Find the solenoid. Follow the thick positive battery cable from the battery to a small cylindrical or cube-shaped solenoid, usually near the starter or the battery.
Identify the terminals. Note the two large posts (battery in, starter out) and the small post that is the coil trigger, the one the switch normally feeds on Start.
Match your wiring. If you are unsure which small post is the coil trigger, match your switch's terminal map before you touch anything.
Energize the coil. With an insulated jumper wire, briefly connect the large battery-side post to the small coil post. What you should see: the solenoid clicks and the starter cranks the engine.
Release on start. The instant the engine fires, remove the jumper. If it cranks but will not start, the fault is now fuel or spark, not the switch.
If the starter does nothing when you energize the coil, jump back to the confirm step, because you may be looking at a dead solenoid or starter rather than the switch.
For the solenoid-only version of this trick, our guide to jumping the solenoid with a screwdriver walks through the tool angle that avoids arcing.
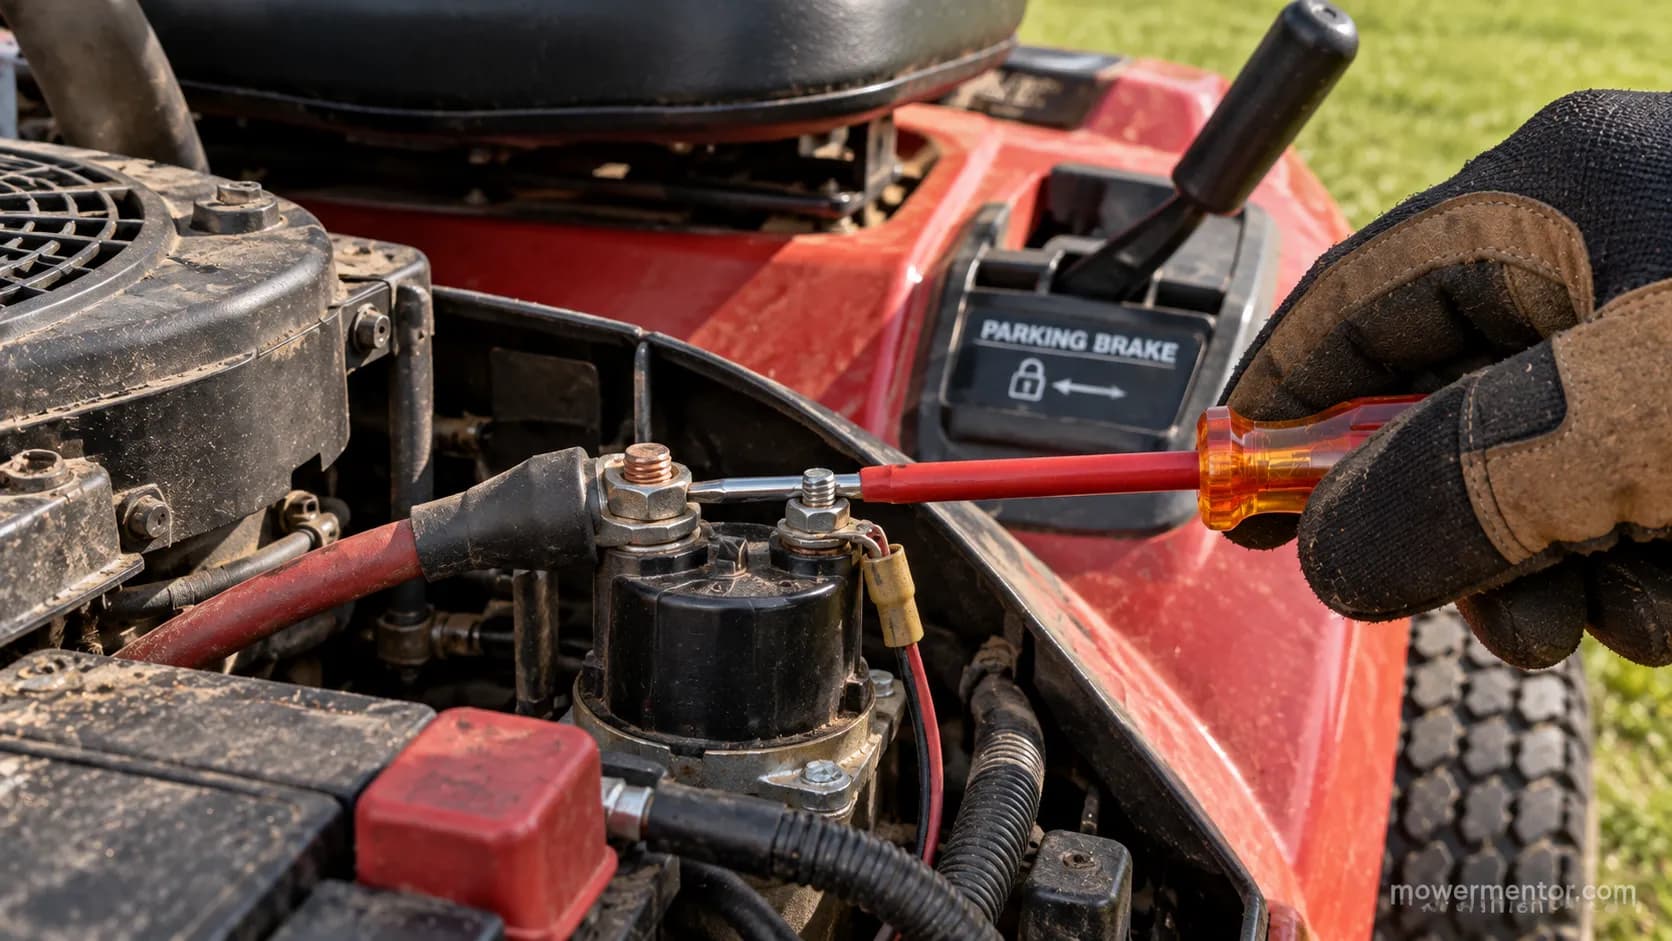
I ran this on the Craftsman T1600 with the brake locked, the PTO off, and me in the seat.
Touching the insulated jumper from the battery post to the coil post for under a second produced a clean solenoid click and a normal crank, and the engine caught on the first try.
The one thing I learned the hard way: keep the jumper square to the posts, because a glancing touch arcs and pits the terminals.
This is a temporary fix. Use it to move the mower or finish the row you are on, then repair the switch properly, because a bypassed start circuit is not something to mow on all season.
The Bypass Methods to Avoid (and Why)
The bypass method to avoid is the popular "battery-to-starter" hotwire, because it defeats the very safety interlocks that stop the blades.
According to the ANSI/OPEI B71.1 standard, riding mowers must include start-interlock systems, and lawn mowers still send roughly 80,000 people to the emergency room each year in the United States.
Jumping straight from the battery to the starter can crank the engine with the blades live and no operator in the seat, which is exactly the scenario those interlocks were written to prevent.
The difference between the safe method and the dangerous one comes down to what each bypasses.
Method | What it bypasses | Risk |
|---|---|---|
Safe: energize the solenoid coil (brake set, PTO off, seated) | Only the failed switch contacts | Low, interlocks stay active |
Unsafe: jump battery straight to the starter | The switch and every safety interlock | High, blades can turn with no operator |
Unsafe: unplug the switch and jump everything | The switch and the engine-kill ground | High, you cannot stop the engine with the key |
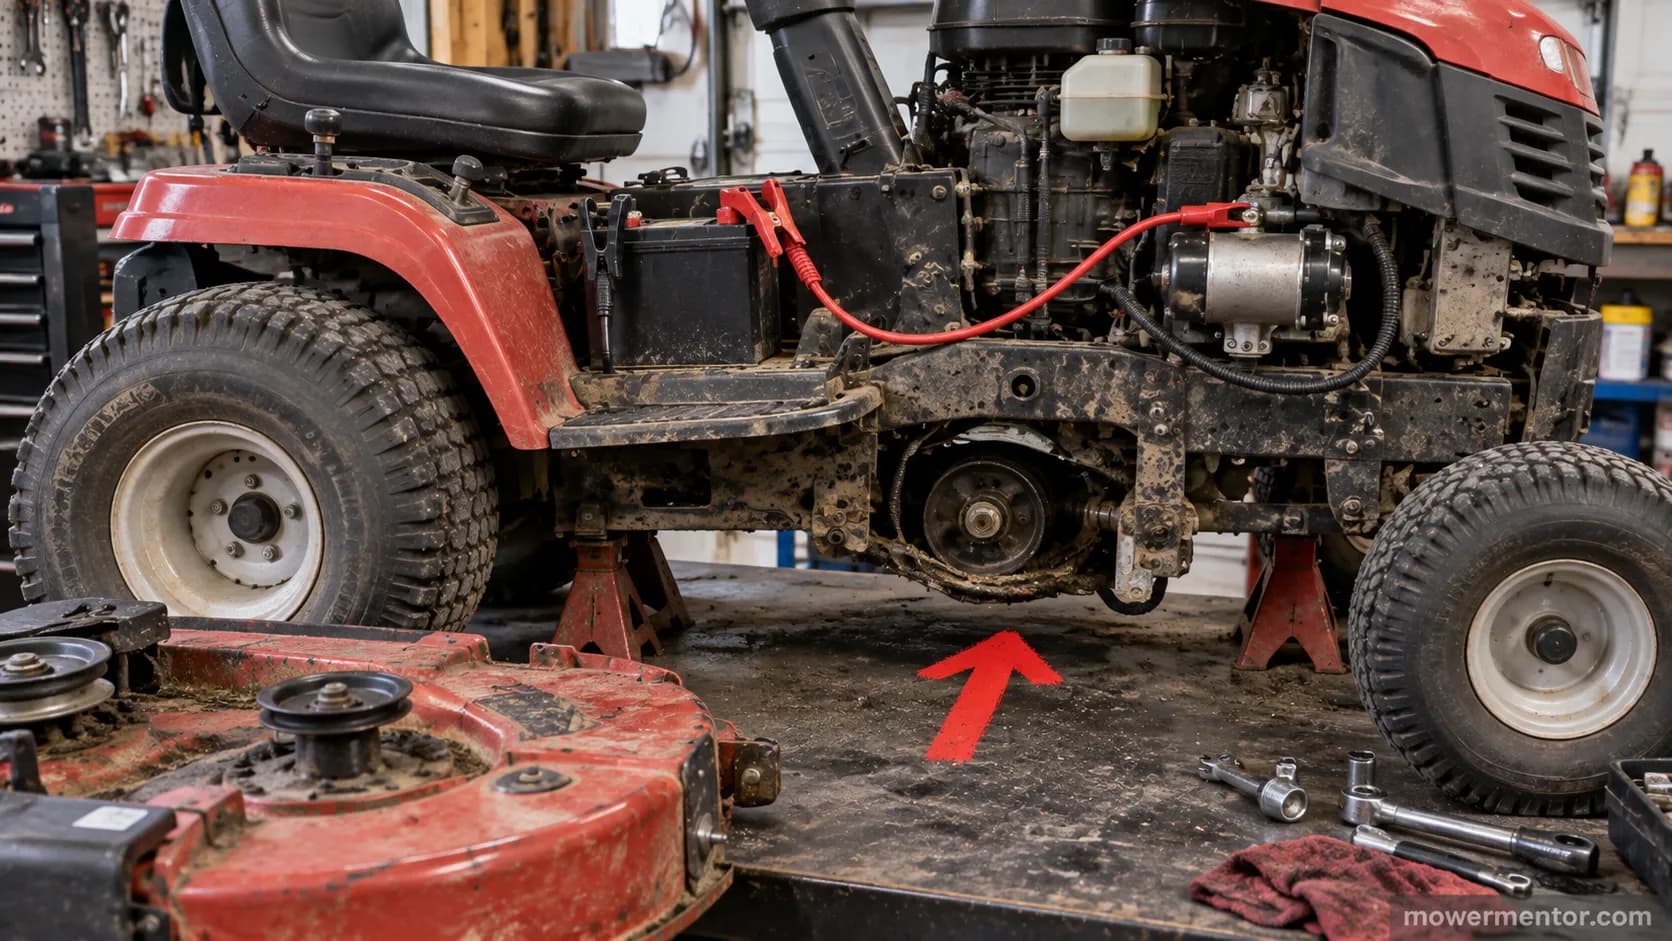
Do not unplug the switch and leave it out to run the mower. That kills your ability to shut the engine off with the key, since the switch also carries the engine-kill ground.
If you want to understand how the seat, brake, and PTO cutoffs work together before you go near a bypass, how the interlocks chain together lays out the sequence, and a Troy-Bilt that won't crank shows the same logic on another brand.
I reproduced the battery-to-starter hotwire on the bench with the deck removed, purely to document it, and the starter engaged instantly with nothing stopping a blade.
Get the terminals wrong on that method and you can weld the solenoid contacts, which is how owners end up saying they jacked something up worse than the original fault.
As the LSU AgCenter safety guidance explains, operator-presence controls are standard equipment for a reason. I did that test only to warn against it, and it is not something to repeat in the yard.
Why Ignition Switches Go Bad (So It Won't Happen Again)
Lawn mower ignition switch problems almost always trace to the same handful of causes, and knowing them keeps the next switch alive longer.
Briggs & Stratton's mower troubleshooting guidance points to corroded or loose electrical connections as a leading no-start cause, and the switch sits right in that firing line.
Arcing at the contacts, moisture in the connector, and vibration all wear the switch out over a few seasons.
Here are the usual culprits, worst offenders first.
Burnt or pitted contacts from repeated arcing on Start, the classic "fried" switch owners describe.
Moisture and corrosion at the connector, which makes contacts intermittent before they fail.
Vibration-loosened terminals that back out and lose contact.
An over-fused circuit that lets the switch cook instead of blowing a fuse first.
The wrong replacement switch, which is the sneaky one: two switches can share the same physical terminals yet be wired differently inside.
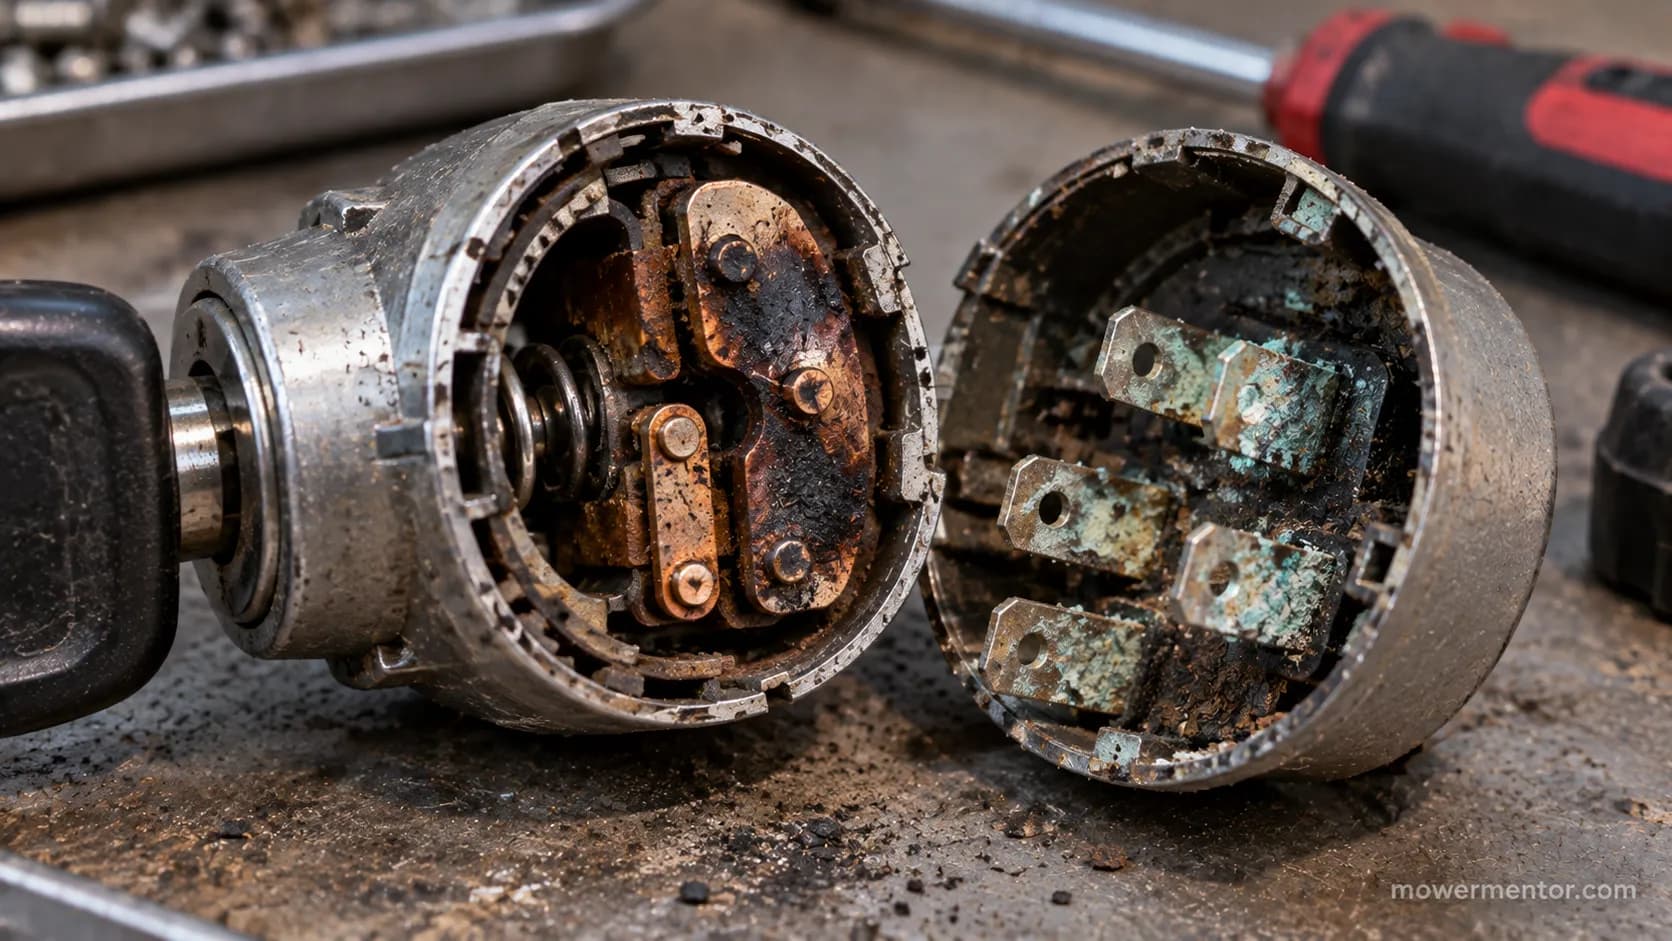
When I opened the failed switch off the Craftsman, the contacts were visibly pitted and one connector spade wore a green fuzz of corrosion.
To prevent a repeat, add dielectric grease to the connector, keep the correct fuse rating, and buy by part number so the internal wiring matches.
If you own a Murray, wiring a Murray key switch correctly is the difference between a fix and a fresh headache.
Keeping the rest of the machine healthy helps too, whether that means learning to keep the whole mower tuned, knowing a clean air filter helps, or following a full Craftsman tune-up.
Fix It for Good: Test, Then Replace the Switch
Fixing a bad ignition switch for good is a two-step job: confirm it with a meter, then swap in the correct part.
Sears PartsDirect describes the direct check as testing for continuity between the Start and Battery terminals when the key is turned, and replacing the switch with a manufacturer-matched part if it fails.
Test before you buy, so you do not replace a switch that was only suffering a corroded connector.
Here is the permanent path.
Continuity-test the switch across its Start and Battery terminals to confirm the failure.
Choose the right part by prong count and part number, since choosing the right replacement switch matters more than price.
Swap it in, and if you want the full walkthrough, replace the switch step by step covers wiring and cost.
A universal switch typically runs about 12 to 25 dollars, while an exact OEM part can be 30 to 60 dollars, and a shop replacement adds labor on top.
If the rule-out in the earlier section did not clearly point at the switch, do not keep throwing parts at it.
Step back to the full no-start diagnosis tree instead, and while you have the toolbox open, it is a fine time to handle small jobs like gapping a new plug.
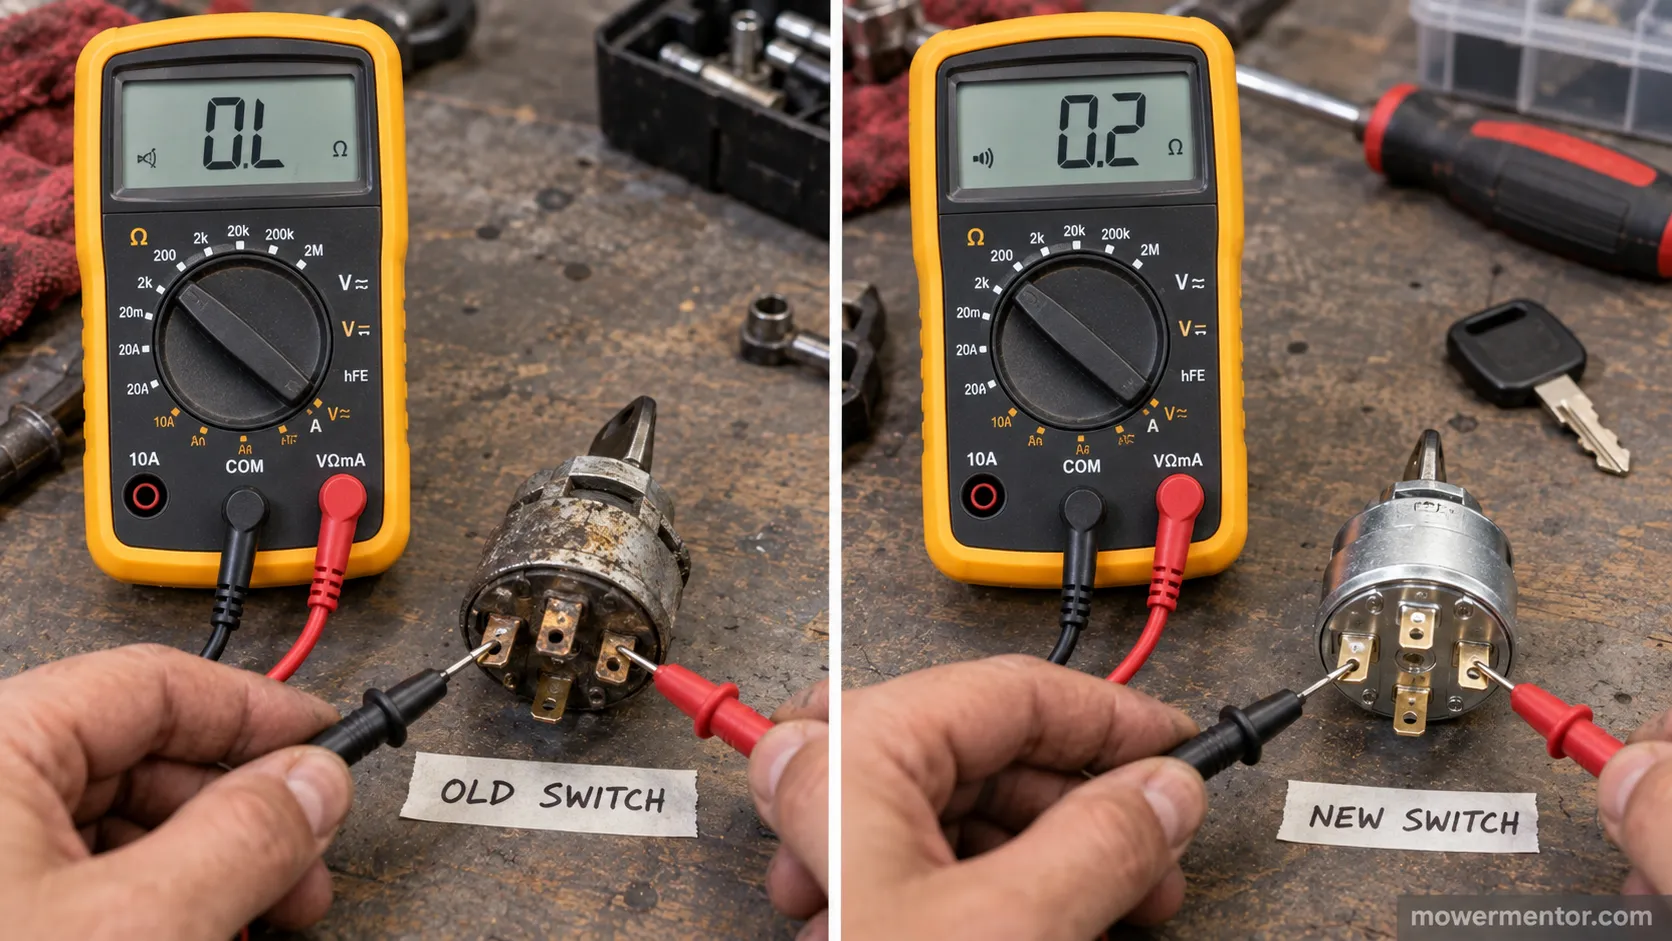
On the Craftsman, the old switch showed no continuity across Start and Battery even with the key turned, and the replacement read a clean closed circuit.
After the swap the mower keyed normally again, no bypass required.
Knowing how to start a lawn mower with a bad ignition switch is what gets you out of the yard today, but the controlled solenoid-coil jump is a bridge, not a destination.
Confirm the switch is truly the fault, use the bypass only with the brake locked and the blades off, and then test and replace the switch so the next time you turn the key, it simply works.
That sequence keeps you moving now and keeps the mower safe for the whole season.
Frequently Asked Questions
Can you start a riding mower with a screwdriver?
Yes, carefully. You bridge the starter solenoid's battery post and its small coil post with an insulated screwdriver to energize the coil, which cranks the engine.
Only do it with the parking brake locked, the blades off, and yourself seated, and use an insulated handle to avoid arcing and shock.
Can a bad ignition switch drain the battery?
Usually no. A failed switch normally just stops making the connection, so it does not pull current when the key is off.
The exception is a switch shorted internally or left in an accessory position, which can bleed the battery down over days.
Will a mower run with the ignition switch unplugged?
It can crank if you jump the solenoid, but you should not run it unplugged. The switch also carries the engine-kill ground, so with it unplugged you lose the ability to shut the engine off with the key.
That is unsafe and is not a real fix.
How do you reset a lawn mower ignition switch?
There is no reset. A switch either works or it does not, so "resetting" it really means checking the fuse, cleaning the connector, and testing the contacts.
If the contacts are burnt, the switch is replaced, not reset.
How much does it cost to replace a lawn mower ignition switch?
A universal switch is usually about 12 to 25 dollars, and an exact OEM switch runs roughly 30 to 60 dollars. Doing it yourself keeps the total to the price of the part, while a repair shop adds labor, which is why testing first pays off.
Read it your way
Short on time? Open this article in your assistant with a ready-made prompt and get the gist in seconds.
Found this useful? Make us a preferred source so we show up in your Google results.
Keep reading
Related articles
Troubleshooting & Repair
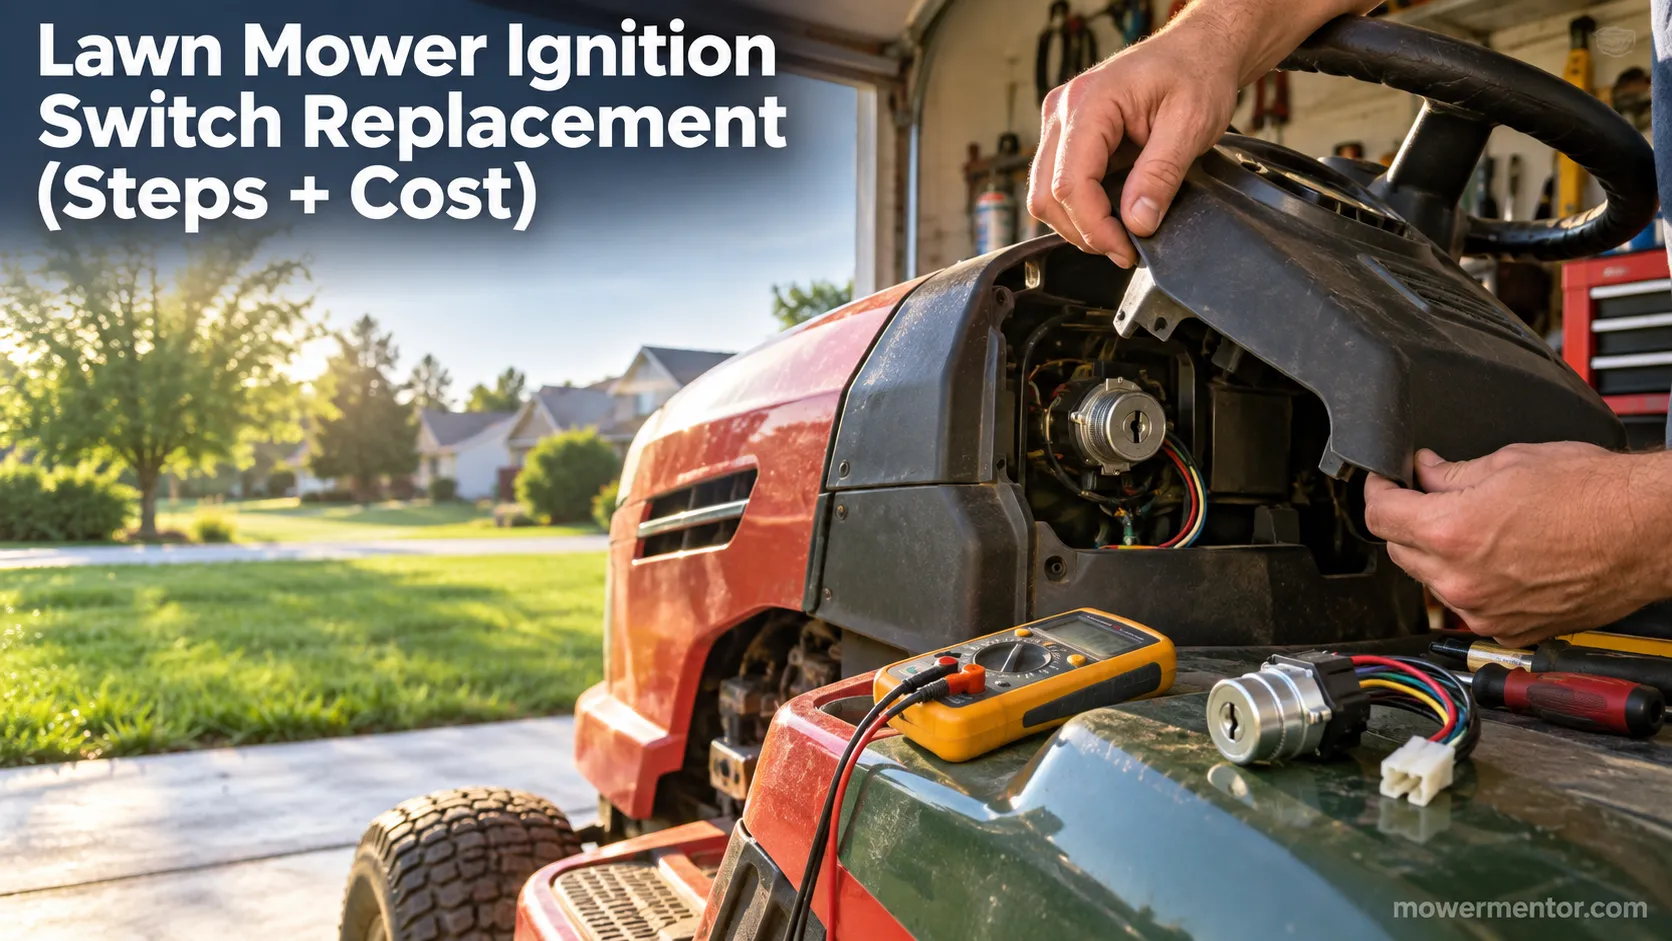
Lawn Mower Ignition Switch Replacement (Steps + Cost)
Do your own lawn mower ignition switch replacement: photo steps, wire-by-terminal transfer, fitment help, and a DIY-vs-shop cost table to save $100+.
Troubleshooting & Repair
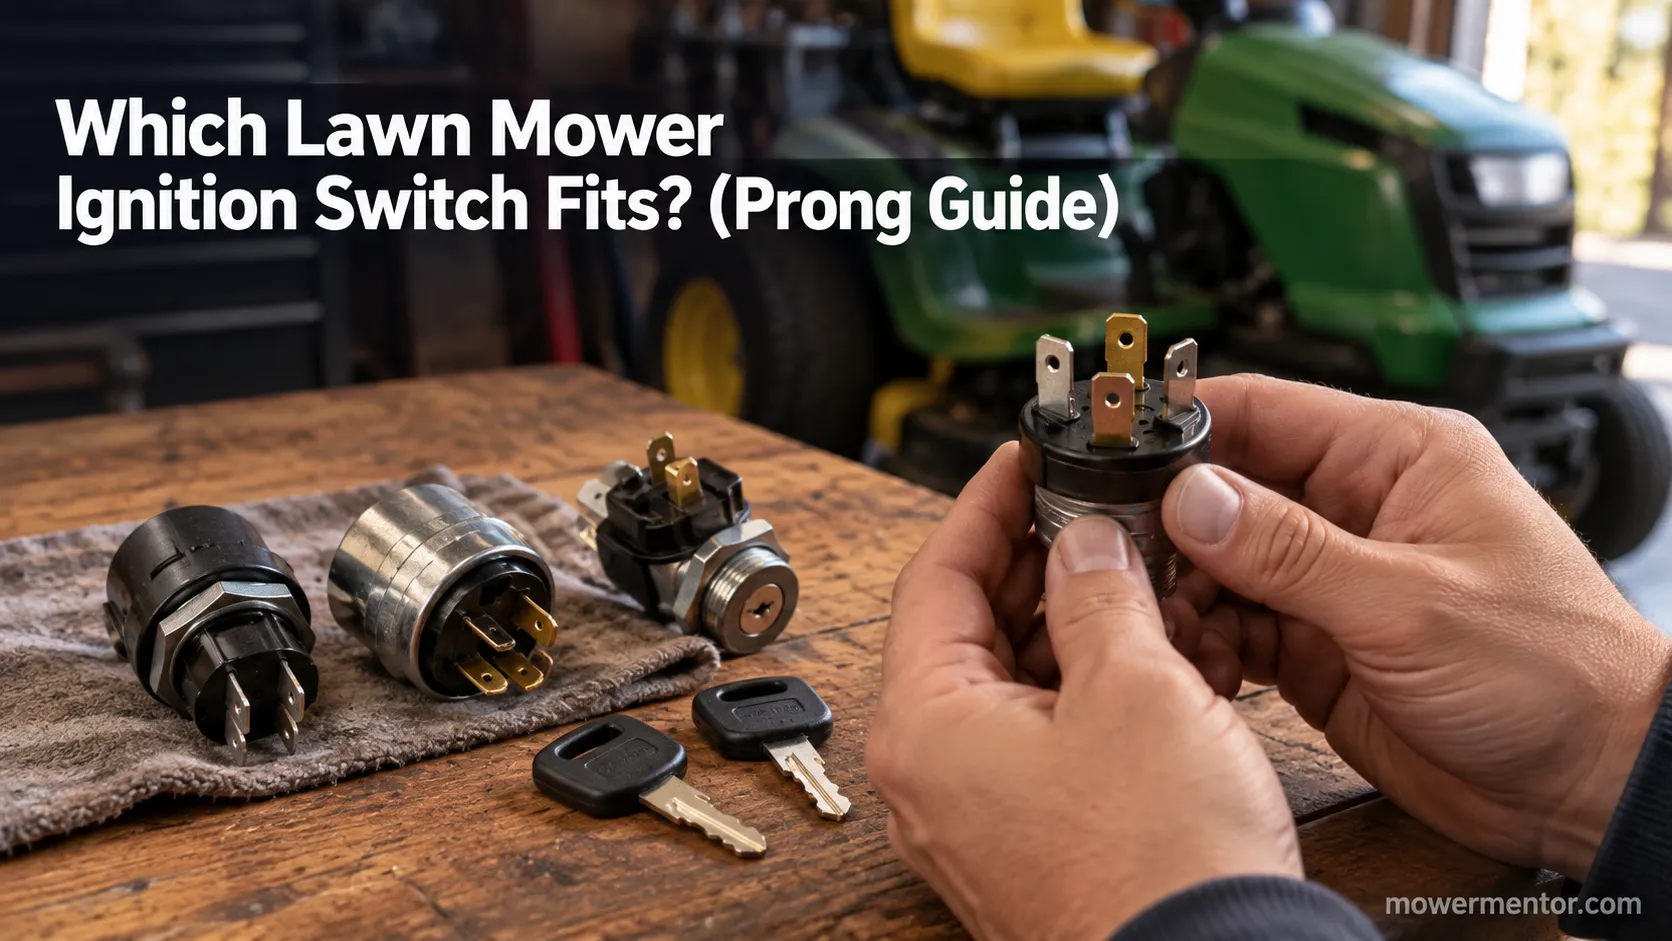
Which Lawn Mower Ignition Switch Fits? (Prong Guide)
hoose the right lawn mower ignition switch by prong count (4/5/6/7), universal vs OEM fit, and key compatibility, plus which one fits your mower.
Troubleshooting & Repair
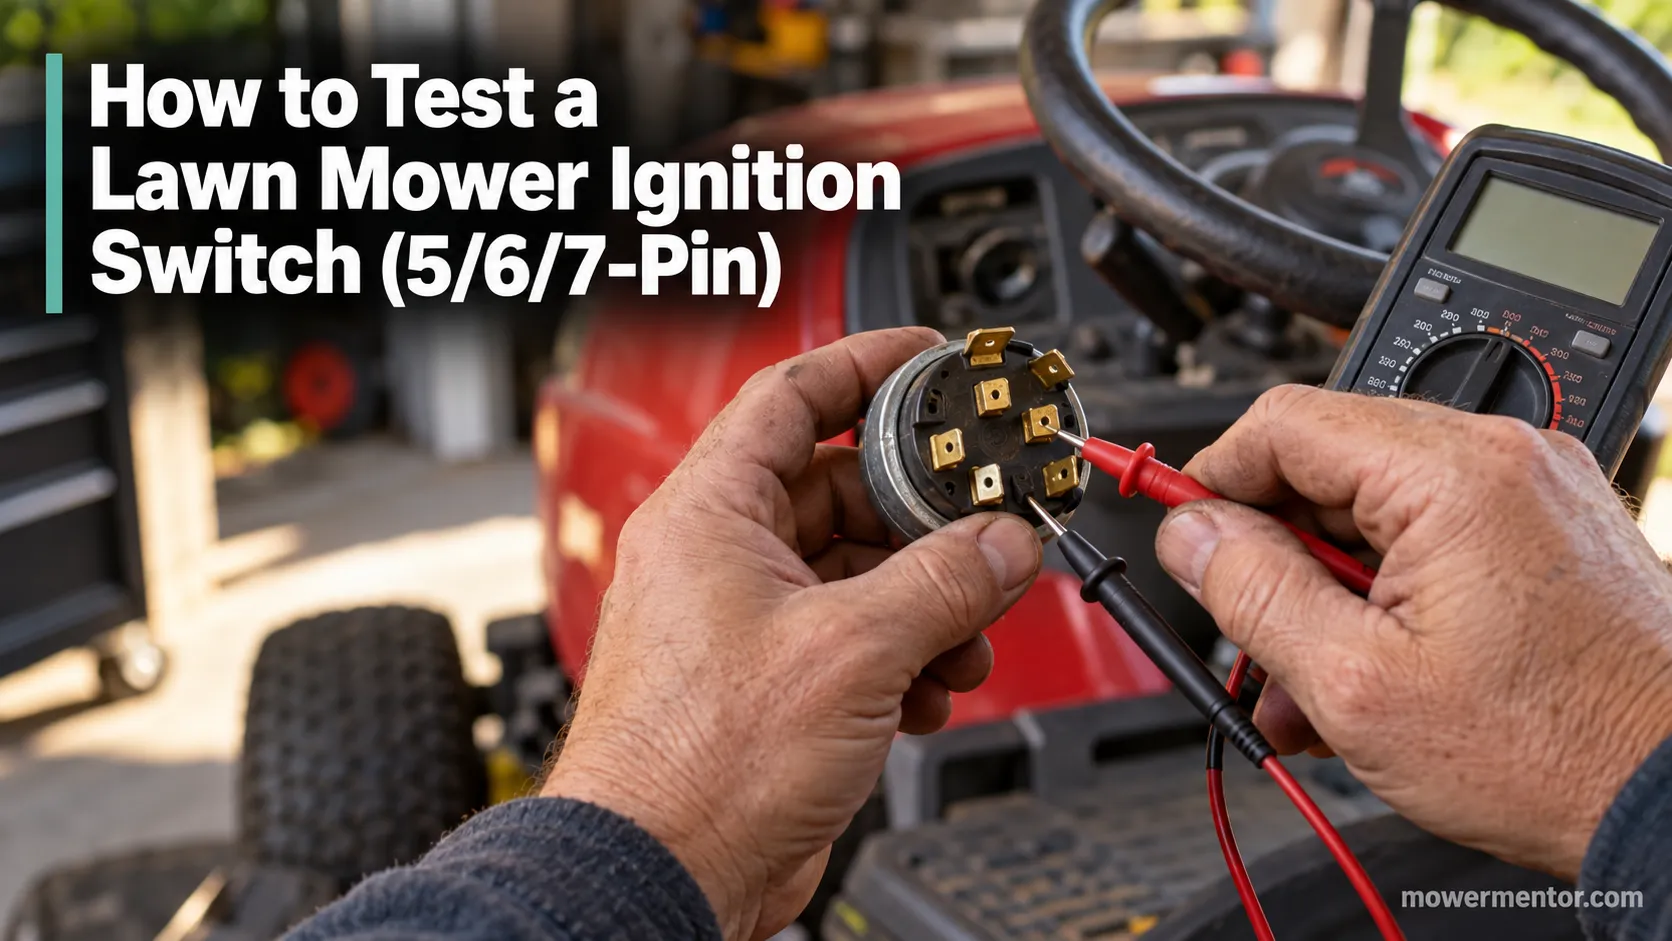
How to Test a Lawn Mower Ignition Switch (5/6/7-Pin)
Learn how to test a lawn mower ignition switch with a multimeter: get continuity tables for 5, 6 & 7-pin switches plus a no-multimeter test-light method.
Troubleshooting & Repair
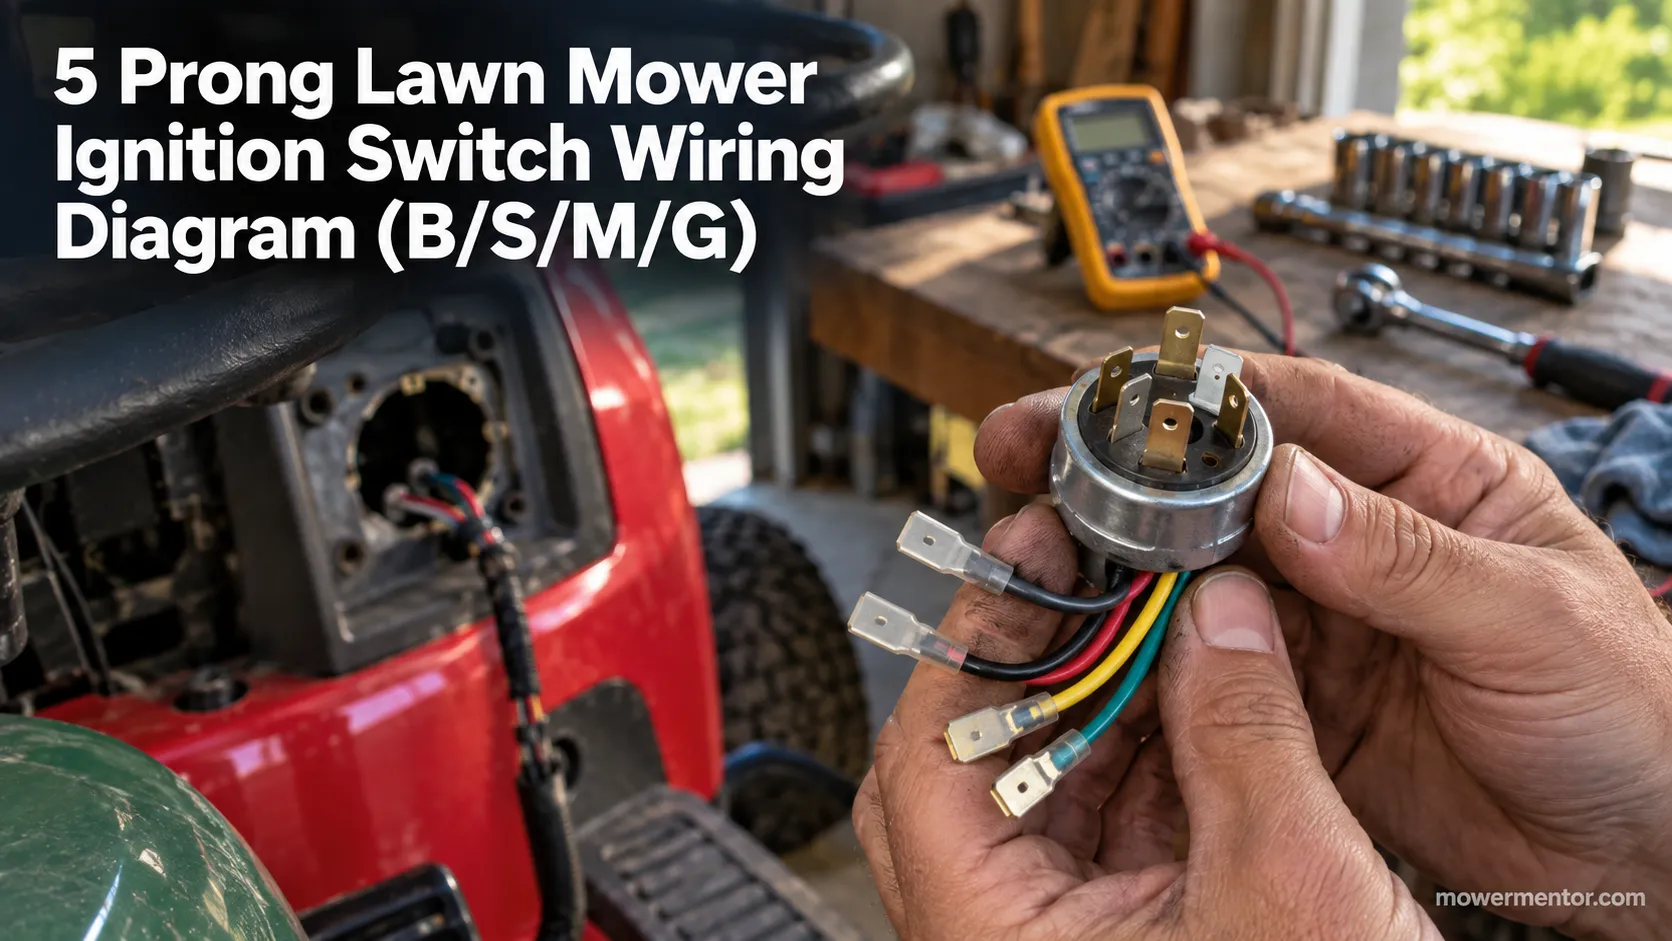
5 Prong Lawn Mower Ignition Switch Wiring Diagram (B/S/M/G)
Match your 5 prong lawn mower ignition switch wiring diagram by terminal letter: B/S/M/L/G, the magneto-vs-battery trap, plus a free PDF.
The discussion
Comments
Every comment is reviewed before it goes live.