
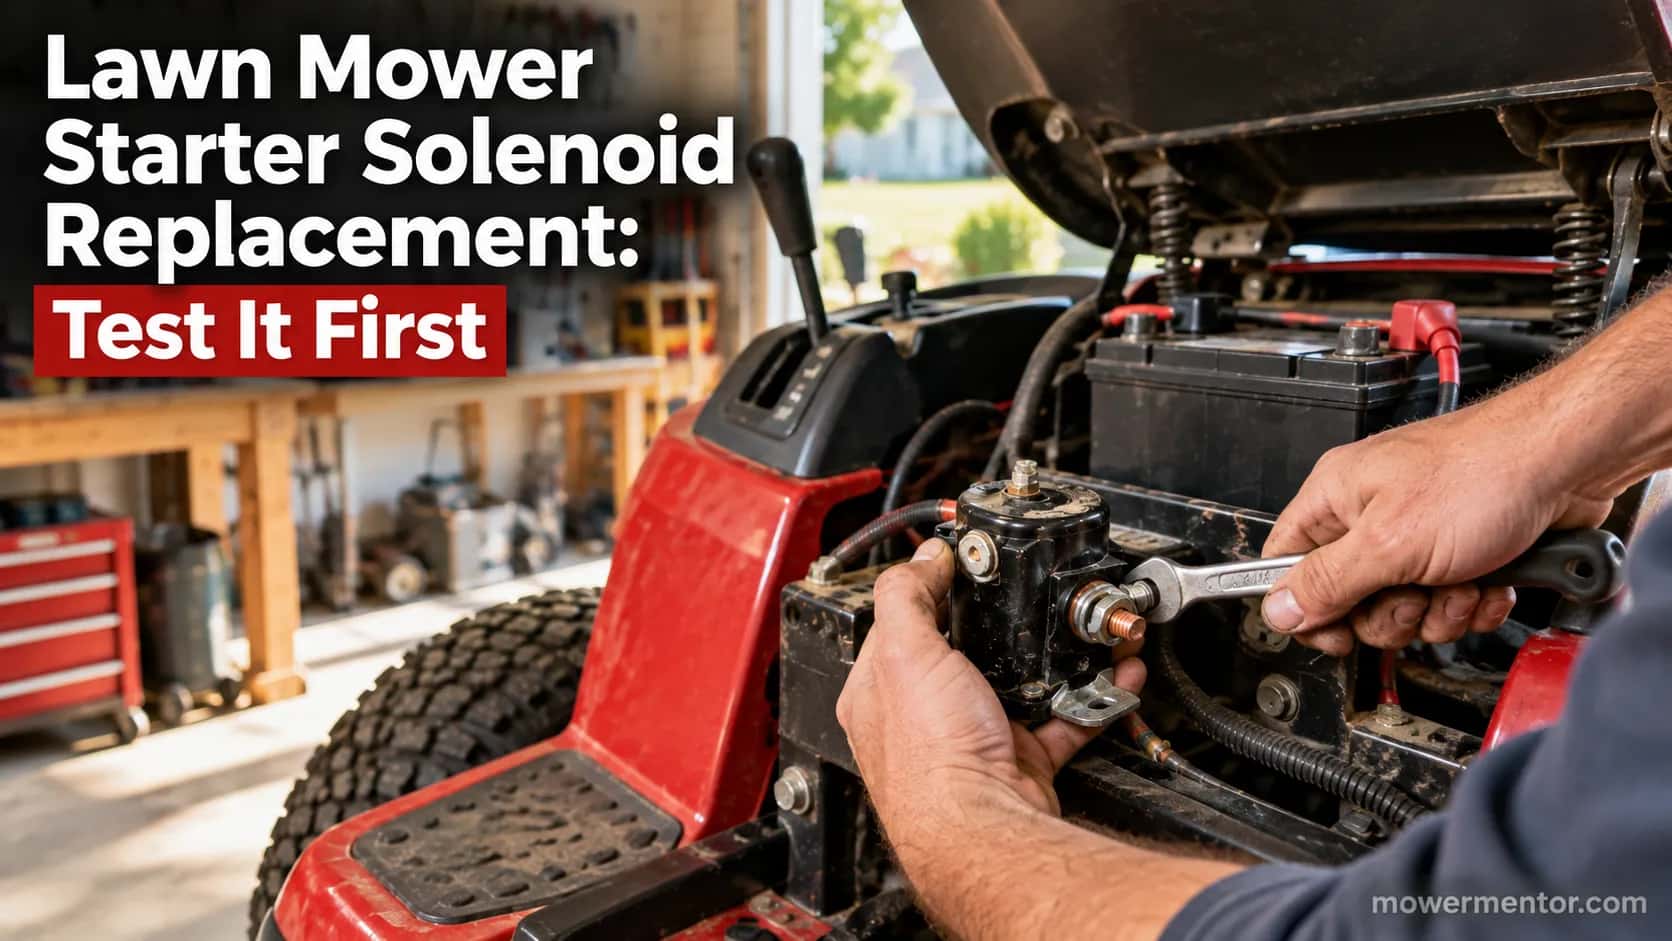
Lawn Mower Starter Solenoid Replacement: Test It First
Test before you buy: this lawn mower starter solenoid replacement guide covers tools, wiring, brand notes, real part costs and a post-swap test.
Written by Tony MaldonadoReviewed by Wade CoburnLast updated on September 24, 2026
When you buy parts or tools through links on our site, we may earn a commission at no extra cost to you. It never changes what we recommend. Learn more.
A lawn mower starter solenoid replacement is a 20 to 30 minute job that usually costs $9 to $25 for an aftermarket part, or roughly $20 to $45 for OEM.
Before you buy anything, confirm the solenoid is actually the fault: bridge its two large posts with a screwdriver, and if the starter spins, the solenoid was the block.
Disconnect the negative battery cable first, photograph the wiring, transfer the mounting clip to the new part, and re-test.
Most "bad solenoids" that still click afterward turn out to be a weak battery, a corroded ground, or a tired starter.
The 30-Second Answer (Time, Cost & the One Check First)
A lawn mower starter solenoid replacement is a short, cheap repair on most riding mowers and lawn tractors: plan on 20 to 30 minutes with basic hand tools and an aftermarket part that runs about $9 to $25.
Industry repair guides such as Repair Clinic put the whole swap in the 15 to 30 minute range using two 7/16 inch wrenches and a 3/8 inch socket.
The one thing almost every guide skips is the most important: make sure the solenoid is really the problem before you spend a dime.
That single check is why this guide leads with testing instead of tools.
A mower that "just clicks" can click for a weak battery, a bad ground, or a worn starter just as easily as a dead solenoid.
Quick facts for this job:
Detail | This repair |
|---|---|
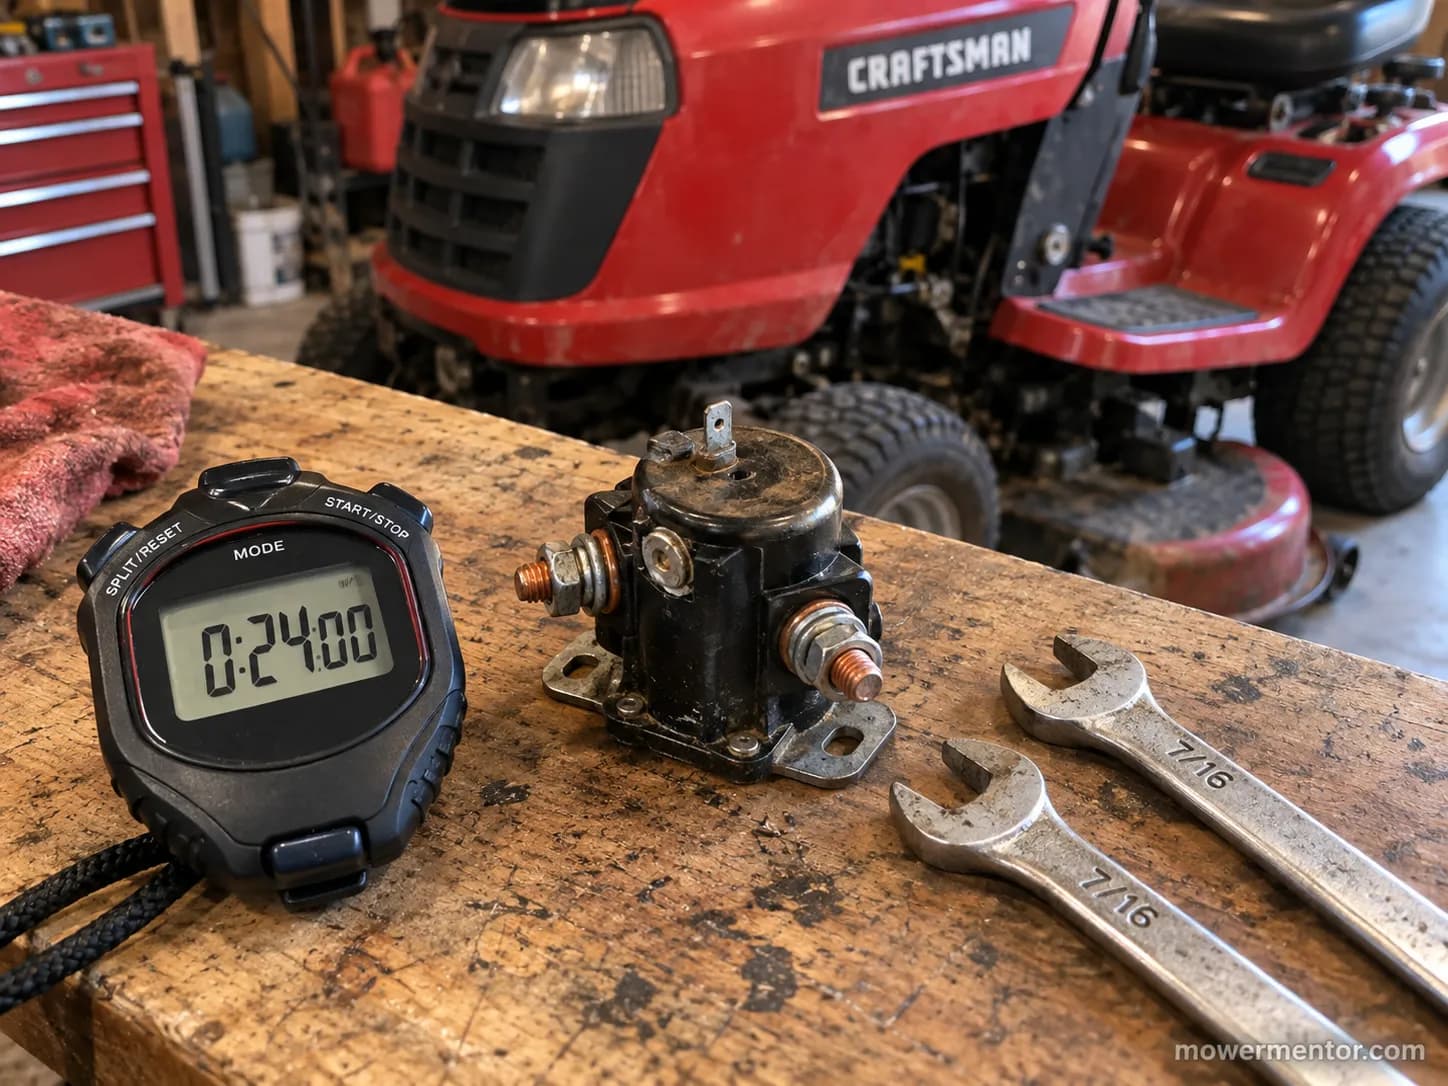
Time | About 20 to 30 minutes (our timed swap ran 24 minutes) |
Difficulty | Easy to medium (basic hand tools) |
Tools | Two 7/16 inch wrenches, 3/8 inch socket, work gloves |
Aftermarket part | About $9 to $25 |
OEM part | About $20 to $45 |
First step | Confirm the solenoid is the fault (see the next section) |
First, Make Sure It's Actually the Solenoid
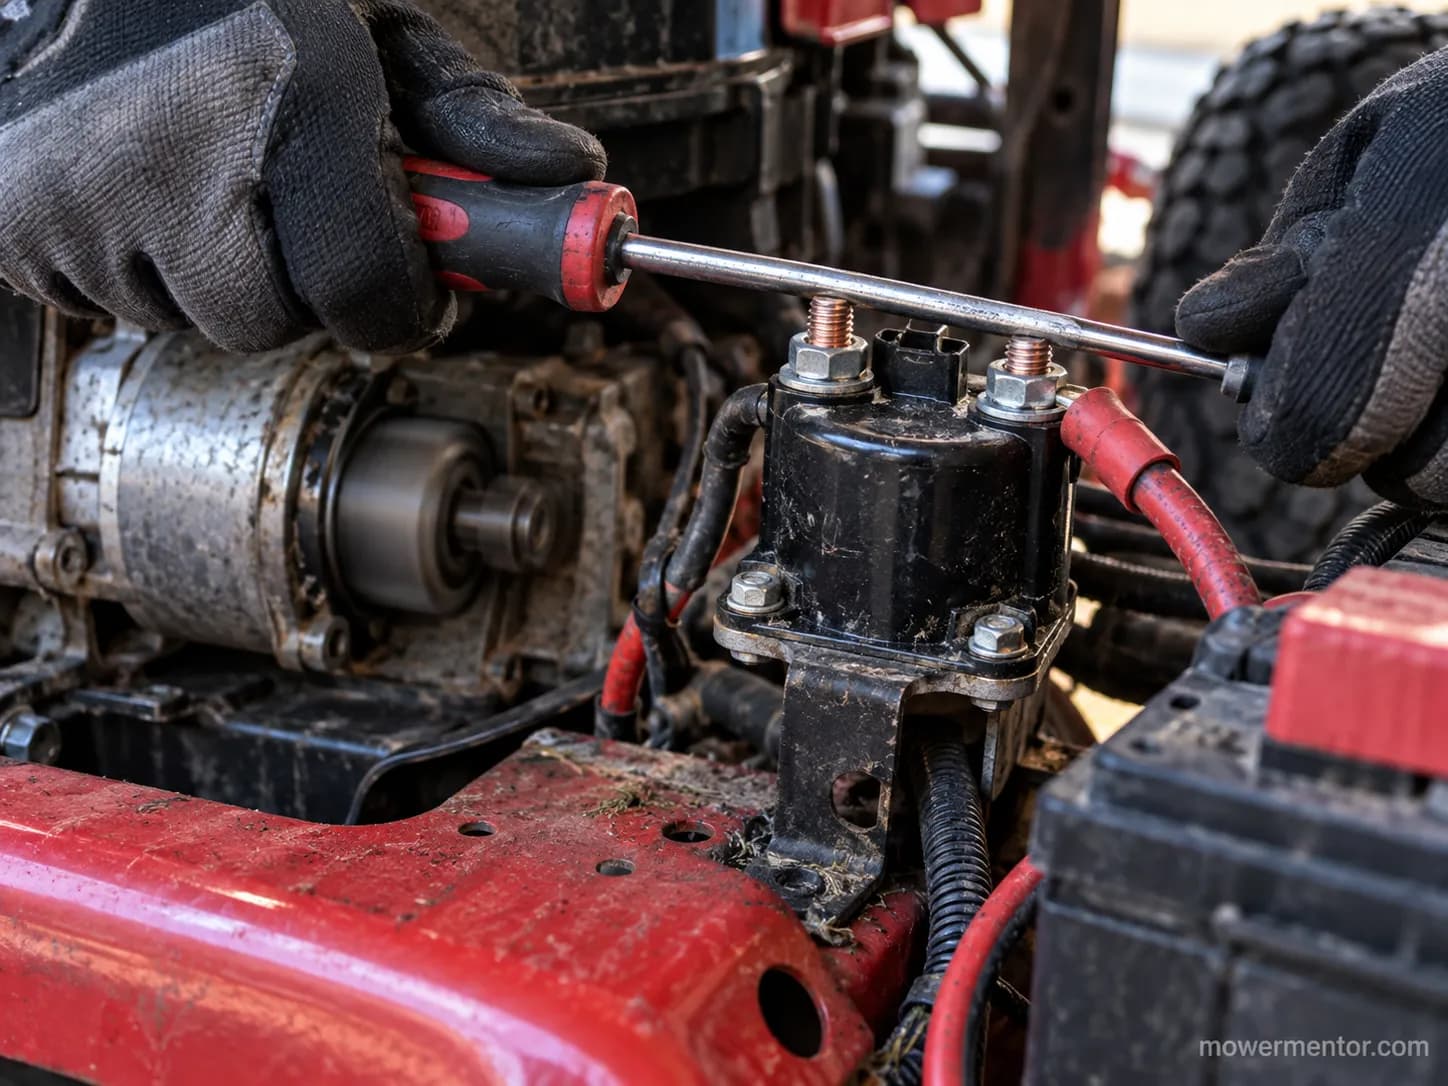
The fastest way to confirm a lawn mower starter solenoid has failed is the screwdriver bridge test: with the key on and the brake set, lay a heavy insulated screwdriver across the two large posts.
If the starter spins immediately, the solenoid was blocking current and needs replacing, and if nothing happens the fault is elsewhere.
Riding-mower owners on community forums confirm this is the standard field check, and it takes under a minute before you spend anything on parts.
On our shop's Craftsman T130 the solenoid clicked but would not crank. Bridging the two large posts spun the starter instantly, which pointed straight at the solenoid rather than the starter motor.
Does It Just Click? Here's Whether the Solenoid Is Even the Problem
A single loud click, rapid machine-gun clicking, and dead silence each point somewhere different, and what each clicking pattern means is worth reading if the symptom is your main clue.
Before condemning the solenoid, rule out the three cheapest suspects first, in this order:
Weak or dead battery. A battery below about 12 volts can click a healthy solenoid.
Corroded terminals. Shine up the battery and post connections; dirty copper mimics a dead part.
Bad ground. A loose or corroded ground strap starves the whole starting circuit.
To force a crank on the spot, owners often bridge it with a screwdriver across the two large posts, which is exactly the confirmation test above.
The technique is well documented in owner threads where people grounded the case and watched the starter kick over.
Here is the honest limit of this test.
If the mower still just clicks after you fit a brand-new solenoid, the solenoid was almost certainly never the fault, a frustrating and common real outcome that we cover in the post-swap section.
When the bridge test is ambiguous, walk through the meter tests before buying a part.
When this test is inconclusive.
The screwdriver bridge tells you the solenoid can or cannot pass current.
It cannot tell you whether a burned contact is intermittent, so if the mower cranks sometimes and clicks other times, treat the solenoid as suspect but verify the ground and battery too.
Tools, the Right Part & What Replacement Costs
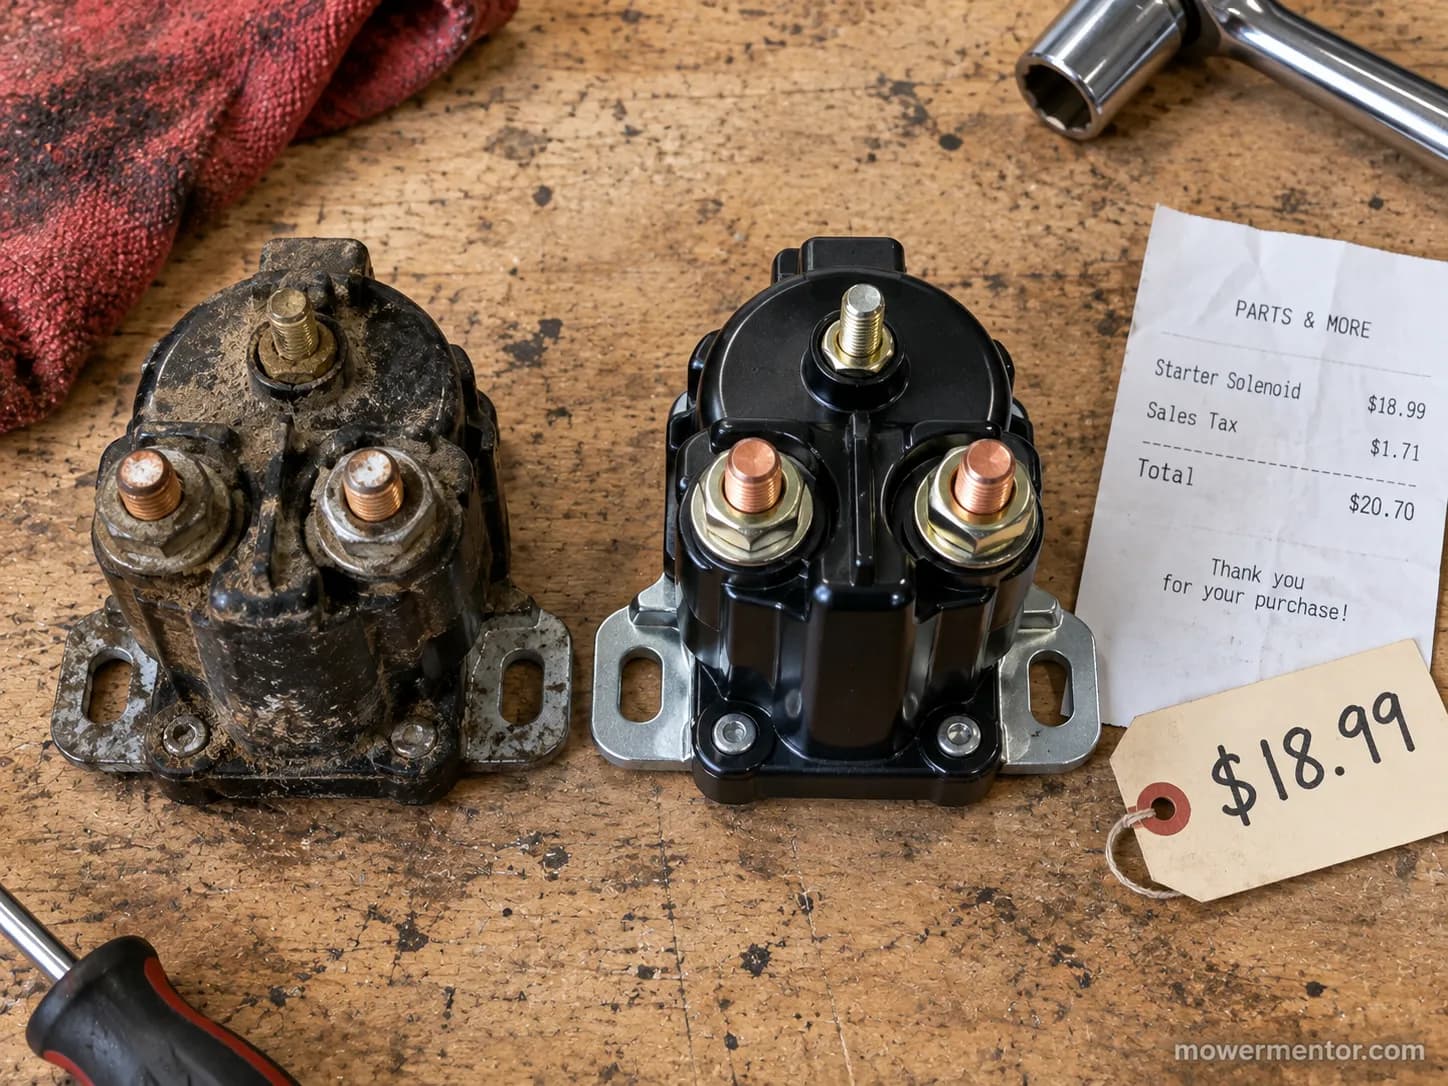
A lawn mower starter solenoid replacement costs far less as a DIY job than a shop visit: the aftermarket part runs about $9 to $25, an OEM unit about $20 to $45, and doing it yourself skips a shop labor charge that often lands near $60 to $120.
The catch is buying the right part.
Riding-mower solenoids come as three-post and four-post units, and OEM catalogs like Ariens sell them as model-specific components, so post count and fitment matter more than price.
Here is what the job actually needs on the bench.
Tools and supplies:
Item | Why you need it |
|---|---|
Two 7/16 inch wrenches | Loosen the post nuts and battery cable nuts |
3/8 inch socket and ratchet | Remove the solenoid mounting bolt |
Work gloves | Protect hands near the frame and posts |
Multimeter (optional) | Verify battery voltage and continuity |
Dielectric grease (optional) | Protect the new posts from corrosion |
Wire brush (optional) | Clean corroded battery and post connections |
Three-Post or Four-Post: Which Do You Need
The difference is the small terminals, not the large ones. Every mower solenoid has two large posts that carry battery current to the starter.
A three-post unit adds one small coil terminal (it grounds through its metal case or mounting bracket), while a four-post unit adds two small terminals (one is a separate ground or accessory trigger).
Match your old part exactly, because a four-post circuit will not work correctly on a three-post replacement.
Feature | Three-post solenoid | Four-post solenoid |
|---|---|---|
Large posts | 2 (battery in, starter out) | 2 (battery in, starter out) |
Small terminals | 1 (coil trigger; grounds via case) | 2 (coil trigger + separate ground) |
Common on | Craftsman, MTD, Troy-Bilt, Murray | Some John Deere, Cub Cadet, Toro |
How to choose | Count the small posts on your old unit and match it |
What it costs, laid out honestly:
Route | Typical price |
|---|---|
Aftermarket part (DIY) | $9 to $25 |
OEM part (DIY) | $20 to $45 |
Shop labor (if you don't DIY) | About $60 to $120 |
DIY total (our build) | $14.99 part, $0 labor |
On our Craftsman the aftermarket three-post unit was $14.99 shipped and the OEM-equivalent was $38, and both bolted straight to the frame with no adapting.
If you are still deciding which solenoid to buy, the part-basics guide covers types and cross-references.
Can you replace just the solenoid, or do you need the whole starter?
You can replace just the solenoid if the starter motor tests good, which is the usual case when the bridge test spins it.
If the motor is suspect, compare choosing a starter motor before you spend. Sometimes the cheaper route is rebuild versus replace on the starter itself.
Aftermarket variance. The cheapest solenoids vary in build quality and lifespan.
A $10 unit can last years or fail in a season, so for a machine you rely on, an OEM or reputable-brand aftermarket part is often worth the small premium.
Lawn Mower Starter Solenoid Replacement: Step-by-Step (7 Steps)
A lawn mower starter solenoid replacement follows the same seven-step sequence across most brands: kill the power, disconnect the battery negative-first, photograph the wiring, swap the part, and reconnect in reverse.
Sears PartsDirect documents this same order for Craftsman, MTD, Troy-Bilt, Toro, Husqvarna, Murray, and Cub Cadet riders.
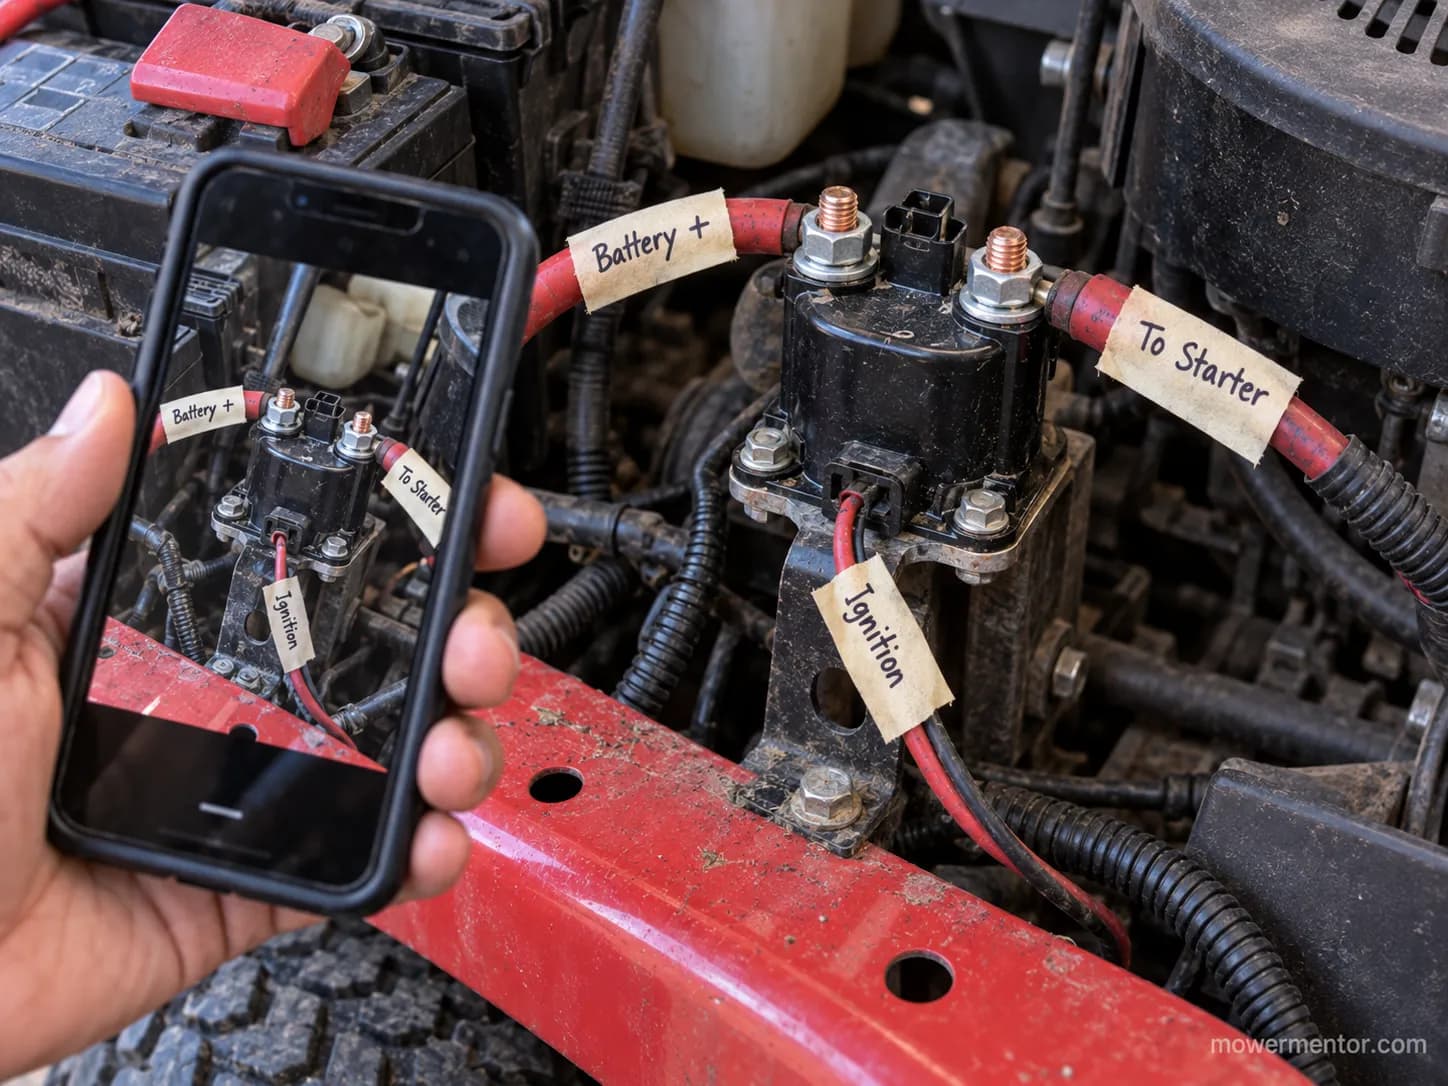
The one discipline that saves the whole job is labeling every wire before you pull it, because a small coil lead and a large-post cable are easy to swap by mistake.
Before you pull anything, it helps to match your layout against the 3- and 4-pole wiring diagram so every wire goes back to the right post.
Kill the power. Turn the ignition off, remove the key, and set the parking brake. No accidental cranks while your hands are near the starter.
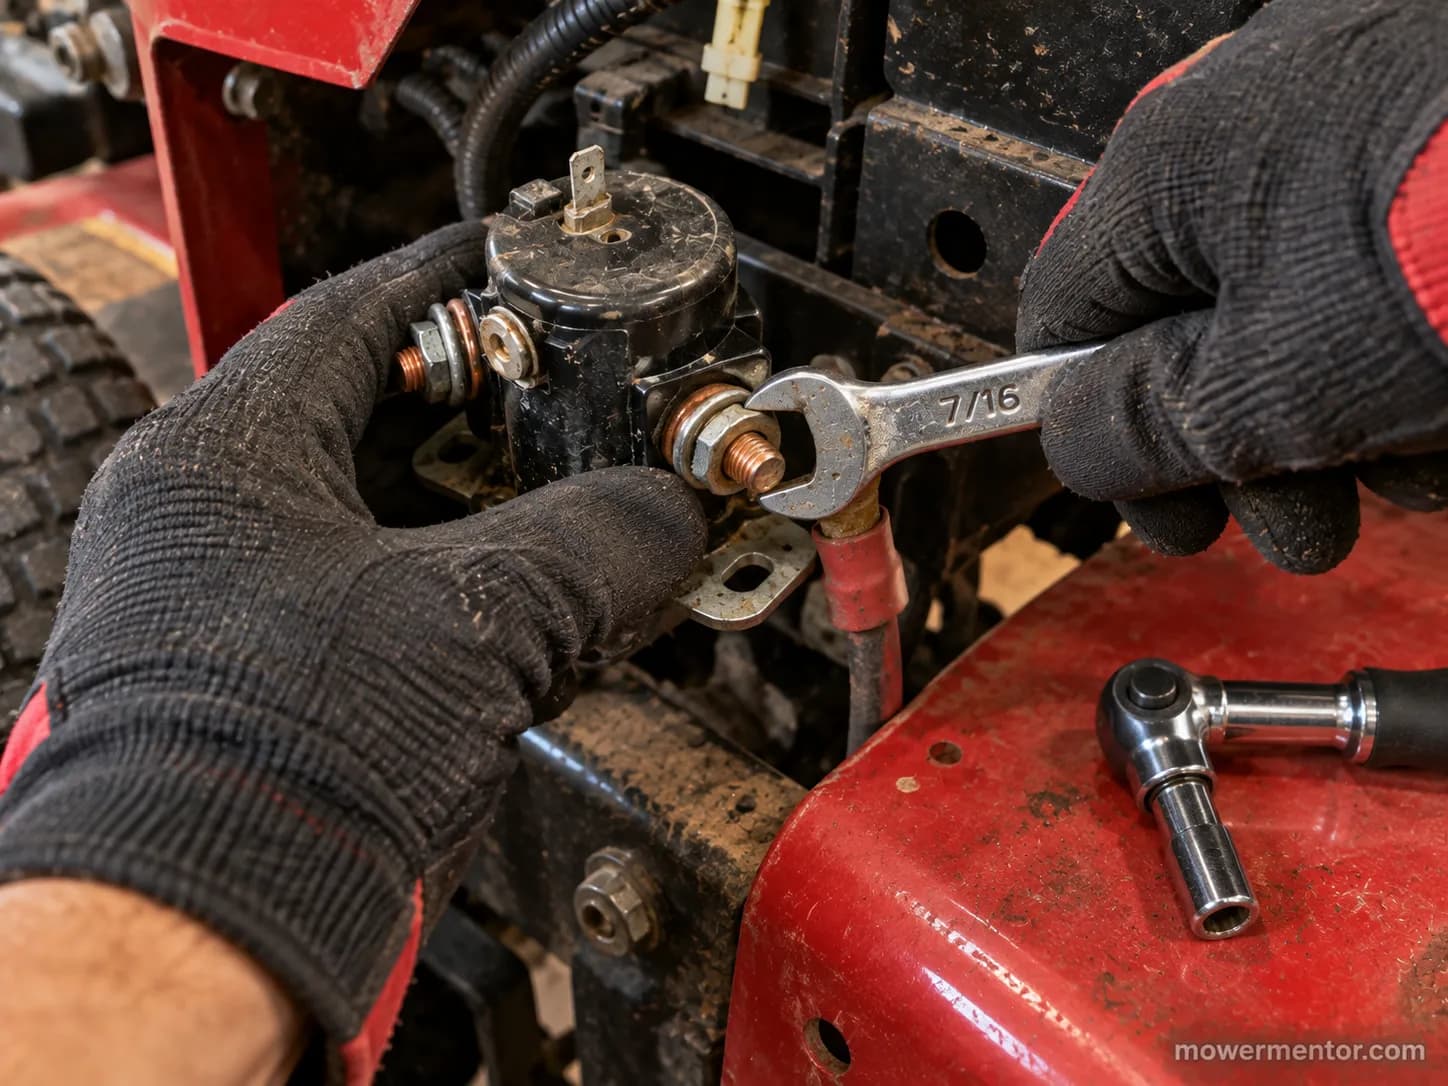
Disconnect the battery, negative first. Lift the seat and, using two 7/16 inch wrenches, remove the negative cable first, then the positive. Lift out the battery and release the battery box.
Photograph and label the wiring. Take a clear photo of every connection, then tape a label on each wire noting its post or coil spade. This is the step that prevents a reversed hookup later.
Remove the old solenoid. Take the nuts off the large posts, pull the small coil-spade wires, remove the mounting bolt, and rotate the solenoid out of the frame.
Transfer the mounting clip. Move the retaining or mounting clip from the old solenoid to the new one, then seat the new unit and install the bolt.
Reconnect the wires exactly. Put each large-post cable and the small coil lead back where your photo shows, then reinstall the battery box and battery.
Reconnect the battery, positive first, negative last. Reattach the positive cable, then the negative, and refit the insulating boot over the positive terminal.
While the seat and battery box are up, it is an easy moment to swap a clogged air filter if yours is due.
Owners of Honda-engined riders will find that clean a Honda air filter fits the same access window.
Cable order matters. Disconnect the negative cable first and reconnect it last.
That order keeps a slipped wrench from shorting a live post to the frame, which is the most common way people damage a mower's wiring during this repair.
Brand-Specific Notes (Deere, Husqvarna, Craftsman, Cub Cadet, Troy-Bilt, Murray, Toro)
The core procedure holds across brands, and retailers like Tractor Supply stock cross-brand solenoids on that basis.
The differences are small: where the solenoid sits, how many small posts it has, and whether it grounds through its case or a separate wire.
Always confirm the exact part number against your model before ordering, because locations and post counts shift even within one brand across model years.
John Deere
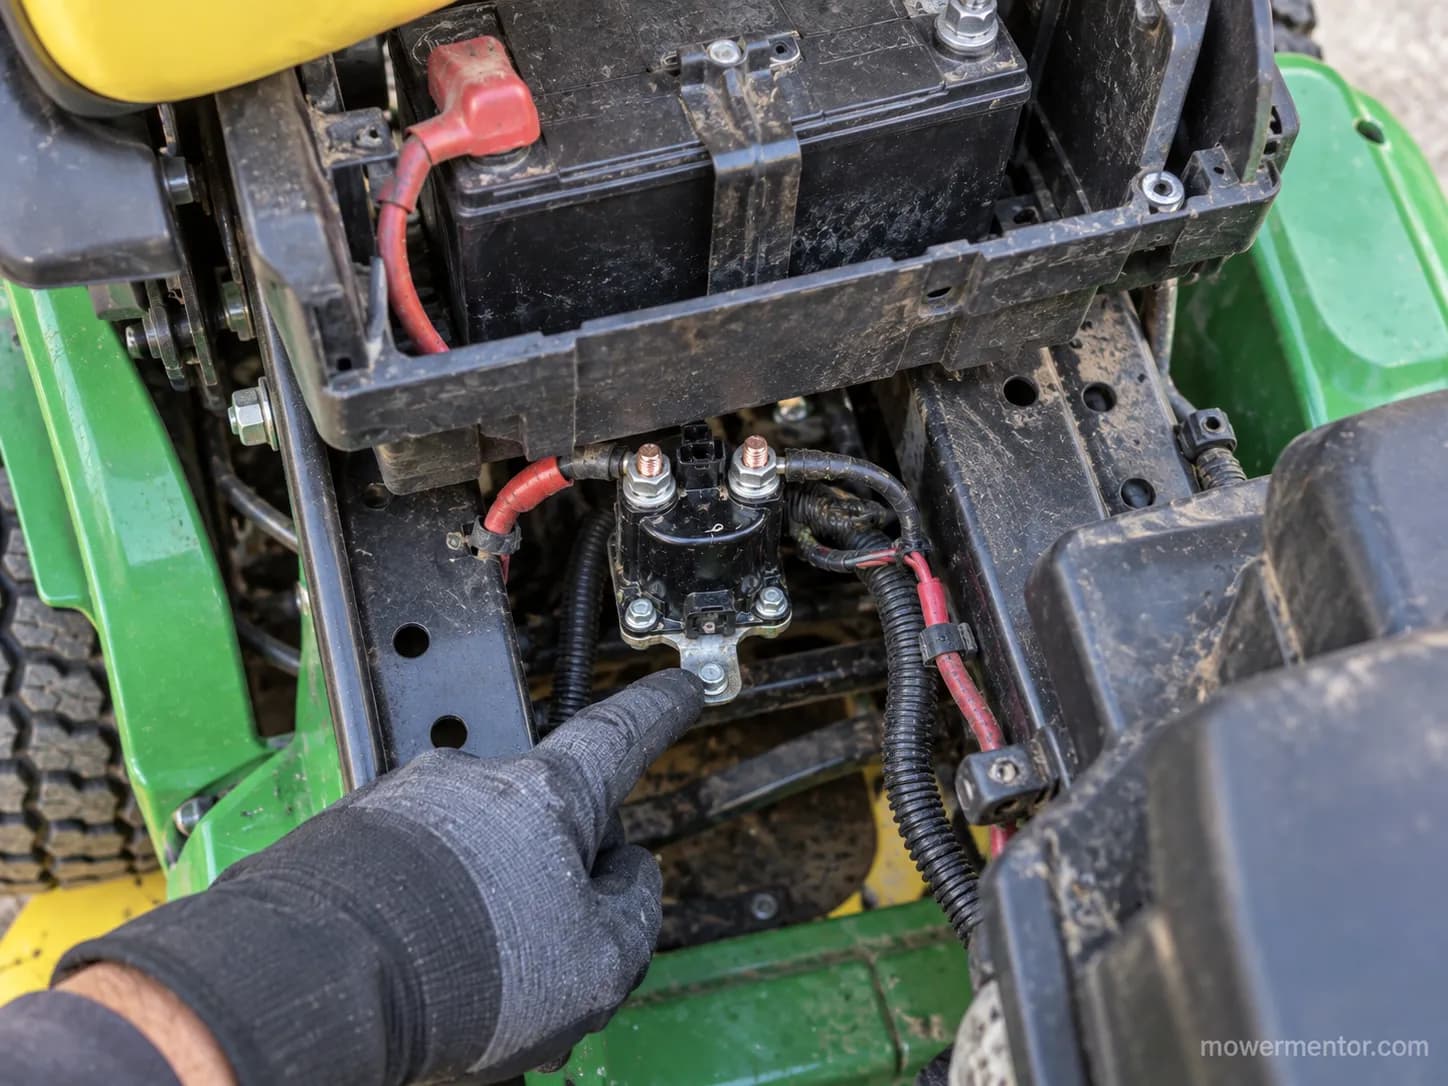
On the John Deere D130 we serviced, the solenoid sat on the frame rail beneath the battery box rather than bolted beside the starter, and several Deere units use a four-post design.
Deere owners can go deeper on the Deere solenoid guide for model-specific part numbers.
Husqvarna
Husqvarna riders typically mount the solenoid near the battery on the frame, grounding through the case, so a clean metal-to-metal bracket matters.
The full Husqvarna's location and test steps cover the common 582042802-series part.
Craftsman
Craftsman and other MTD-built machines usually run a three-post solenoid under the seat by the battery box, which is the unit most aftermarket parts target.
Follow the Craftsman solenoid walkthrough for symptoms-to-replacement detail.
Since the seat is already up, Craftsman owners can also refresh a Craftsman air filter in the same session.
Cub Cadet
Cub Cadet XT1 and XT2 tractors place the solenoid near the starter on the engine side, and some use a four-post layout.
The Cub Cadet XT1/XT2 notes spell out the model-specific quirks.
Troy-Bilt
Troy-Bilt shares the MTD frame family with Craftsman, so the three-post-by-the-battery pattern usually applies, and the same universal parts fit.
Check the ground path, since a painted bracket can starve a case-grounded unit.
Murray
Murray riders often need a careful part cross-reference because the same body appears under several part numbers.
The Murray part cross-reference covers the common swaps.
Toro
Toro and Exmark units, including many zero-turns, commonly use a four-post solenoid mounted near the battery tray.
Match both the post count and the mounting tab orientation before you order.
You Swapped It: Now Test It (And What If It Still Clicks)
After a lawn mower starter solenoid replacement, reconnect the battery, turn the key, and the engine should crank cleanly on the first try.
If it still only clicks, the fresh solenoid is rarely the problem: work the cheap-to-expensive order and check the battery and ground, then the starter, then the ignition and safety switches.
Sears PartsDirect notes that hearing the click while the motor refuses to spin usually points at the starter rather than the solenoid.
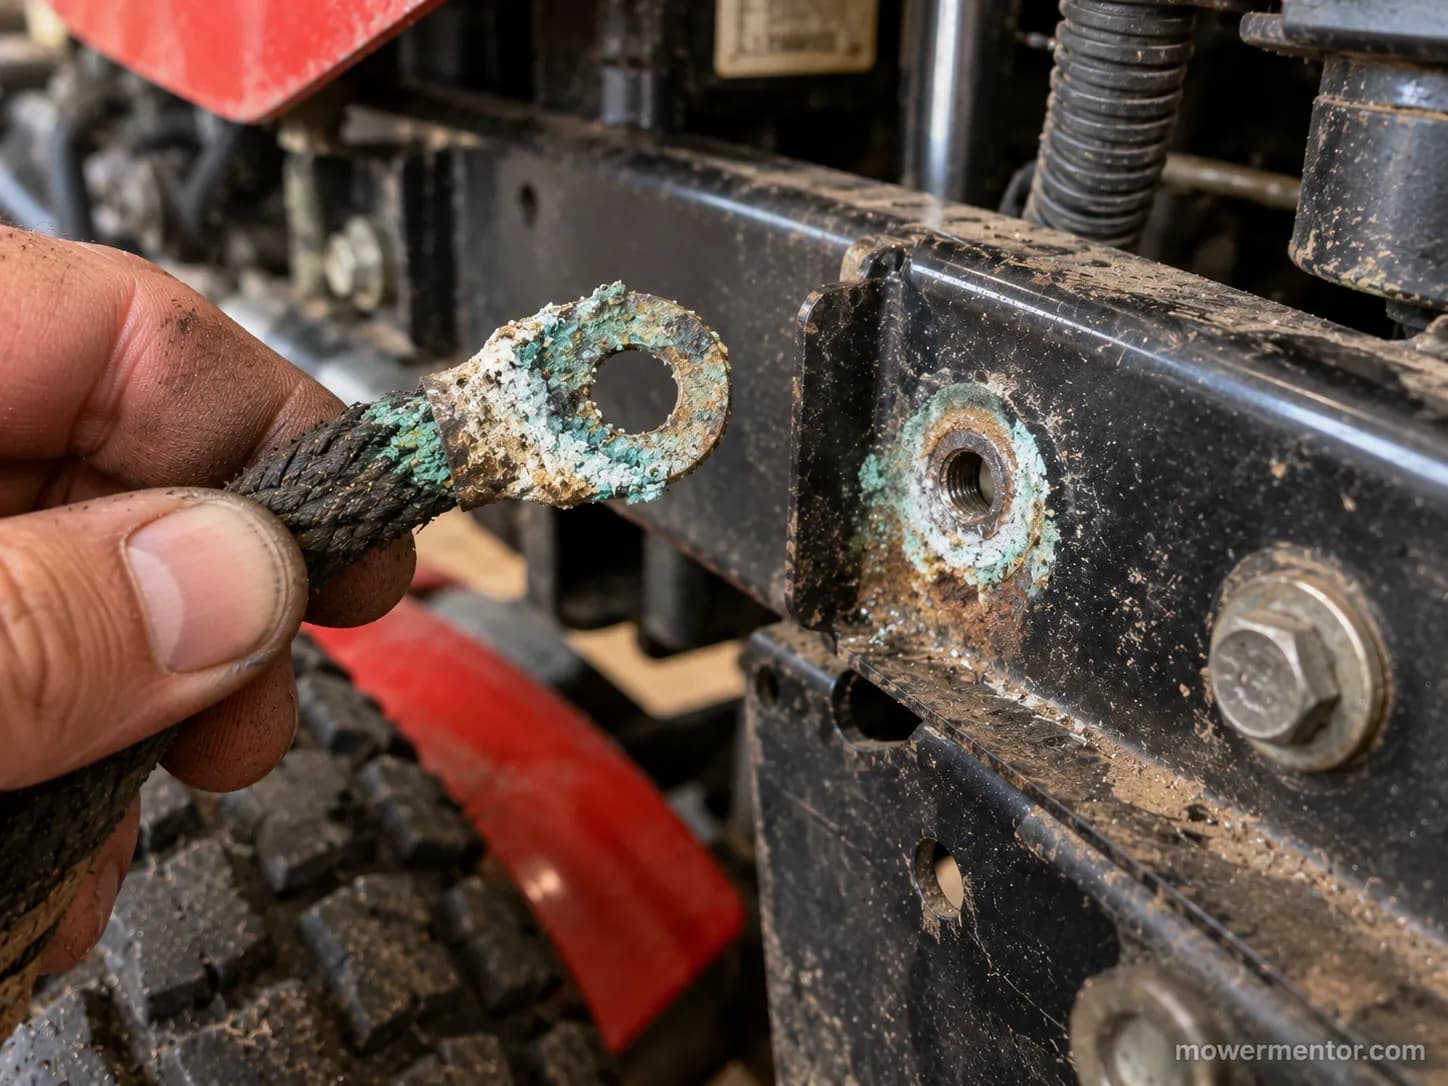
On our Craftsman it cranked on the first turn. On a second machine it still clicked, and the fault was a corroded ground strap, not the new part, which is exactly the misdiagnosis trap from the confirm-the-fault section.
If it still just clicks, check in this order:
Battery and ground. Confirm 12+ volts and a clean, tight ground strap on bare metal.
Starter motor. If the solenoid passes current but nothing spins, test the starter motor next.
Replace the starter if confirmed bad. A verified-bad starter has its own replace the starter motor walkthrough.
Ignition and safety switches. If no click comes at all, a tripped seat, brake, or PTO switch may be the culprit.
If that fourth step points at the key circuit, the ignition switch swap covers the fix in full.
when to stop and take it to a shop. If the battery, ground, solenoid, and starter all test good and the mower still will not crank, the fault is likely in the harness or a hidden safety interlock.
That is a fair point to hand it to a shop rather than throwing more parts at it.
Frequently Asked Questions
Can you replace just the starter solenoid?
Yes, you can replace just the solenoid if the starter motor tests good, which is the usual case when a screwdriver bridge across the two large posts spins the starter. The solenoid is a separate bolt-on switch, so there is no need to replace the whole starter assembly unless the motor itself is worn or seized.
How much does it cost to replace a mower starter solenoid?
Doing it yourself, the aftermarket part is the whole cost, about $9 to $25, with an OEM unit closer to $20 to $45. A shop would add labor of roughly $60 to $120, so the DIY route saves the most on an otherwise inexpensive part.
How long does the job take?
Plan on 20 to 30 minutes for the physical swap once you have the right part in hand. Our timed replacement on a Craftsman ran 24 minutes, including labeling the wires and re-testing the crank.
Why does my mower still click after I replaced the solenoid?
A fresh solenoid that still clicks almost always means the real fault was elsewhere: a weak battery, a corroded ground, or a tired starter.
Work back through the battery and ground first, then the starter, rather than assuming the new part is defective.
A solenoid failing on a long-neglected machine is often a nudge toward a complete mower tune-up, since the same corrosion and vibration that killed it are working on everything else.
While you are refreshing service items, a cracked filter housing is worth checking, and you can replace a filter cover at the same time.
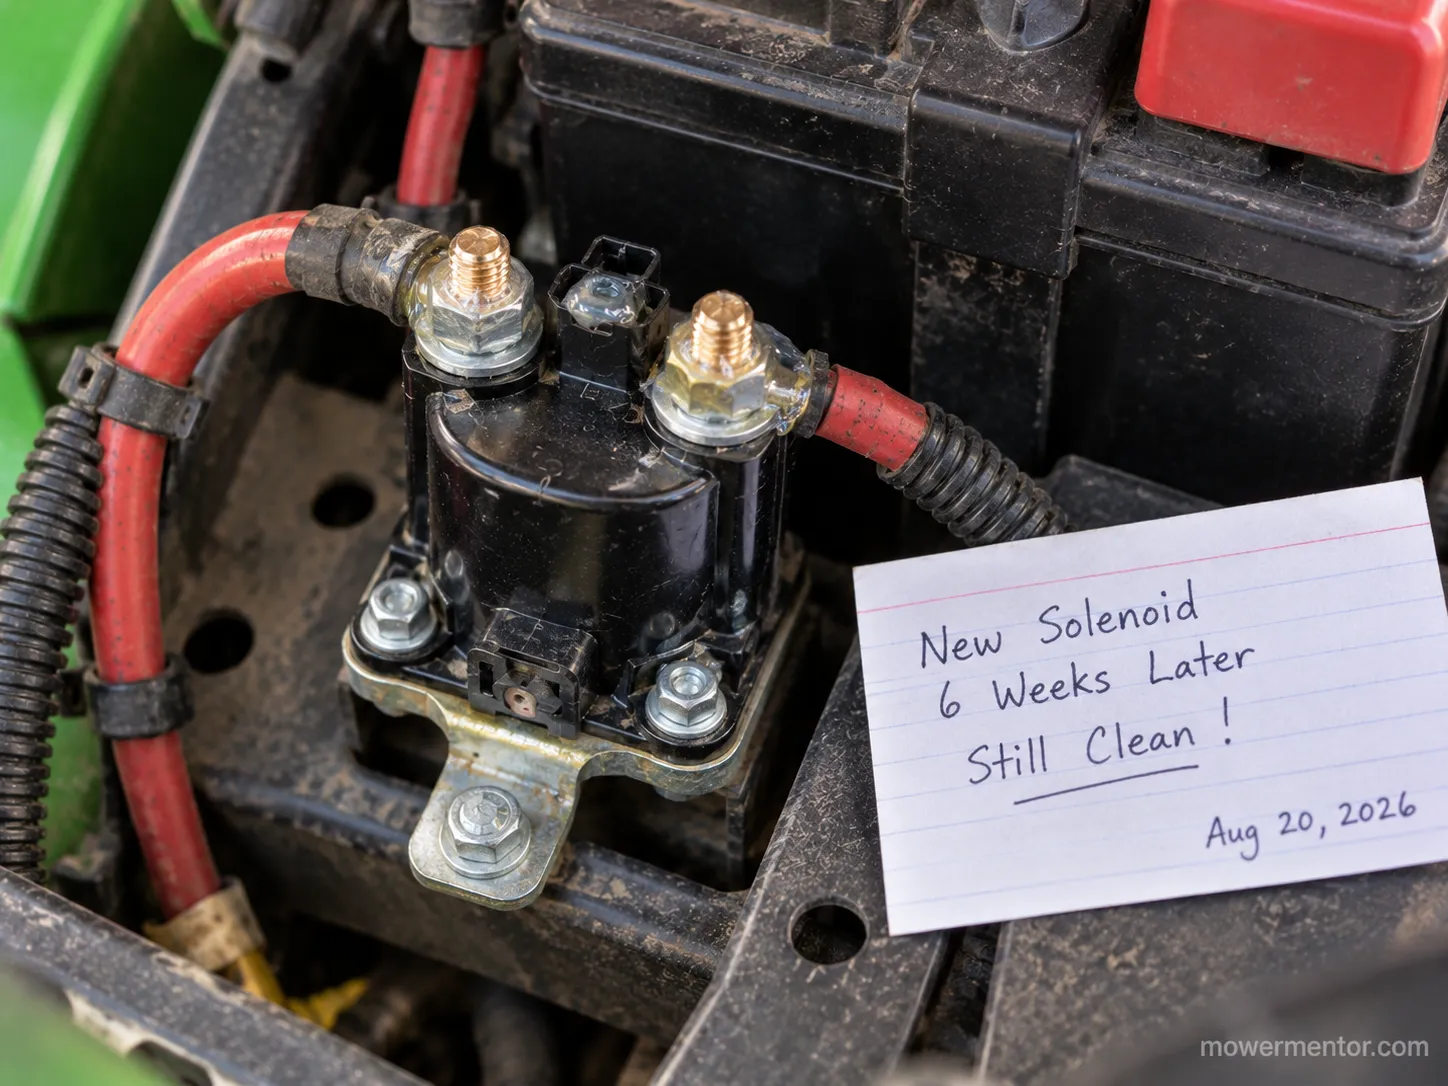
To keep the new part alive, we brushed the posts clean and protected them with dielectric grease, and six weeks later the connections were still bright.
A lawn mower starter solenoid replacement is one of the most satisfying quick wins in small-engine repair precisely because it is cheap, fast, and fixable in an afternoon, as long as you confirm the fault first, fit the correct three-post or four-post part, and re-test before you call it done.
Found this useful? Make us a preferred source so we show up in your Google results.
Keep reading
Related articles
Troubleshooting & Repair
Dead Dash? Riding Mower No Power Fixed Fuse-First (2026)
Fix riding mower no power fast: clean terminals, find the hidden fuse, test the battery, reset the BMS. A fuse-first checklist for gas & electric mowers.
Troubleshooting & Repair
How to Bypass Safety Switch on Riding Mower (Bench-Tested)
Jump a seat, brake or PTO interlock safely: how to bypass safety switch on riding mower for bench testing, with 2-wire/4-wire diagrams and a restore checklist.
Troubleshooting & Repair
Riding Lawn Mower Won't Turn Over: 5-Stage Voltage Test
Fix it fast: a riding lawn mower won't turn over usually means battery, ground, solenoid or starter. Test each in 5 ordered stages.
Troubleshooting & Repair
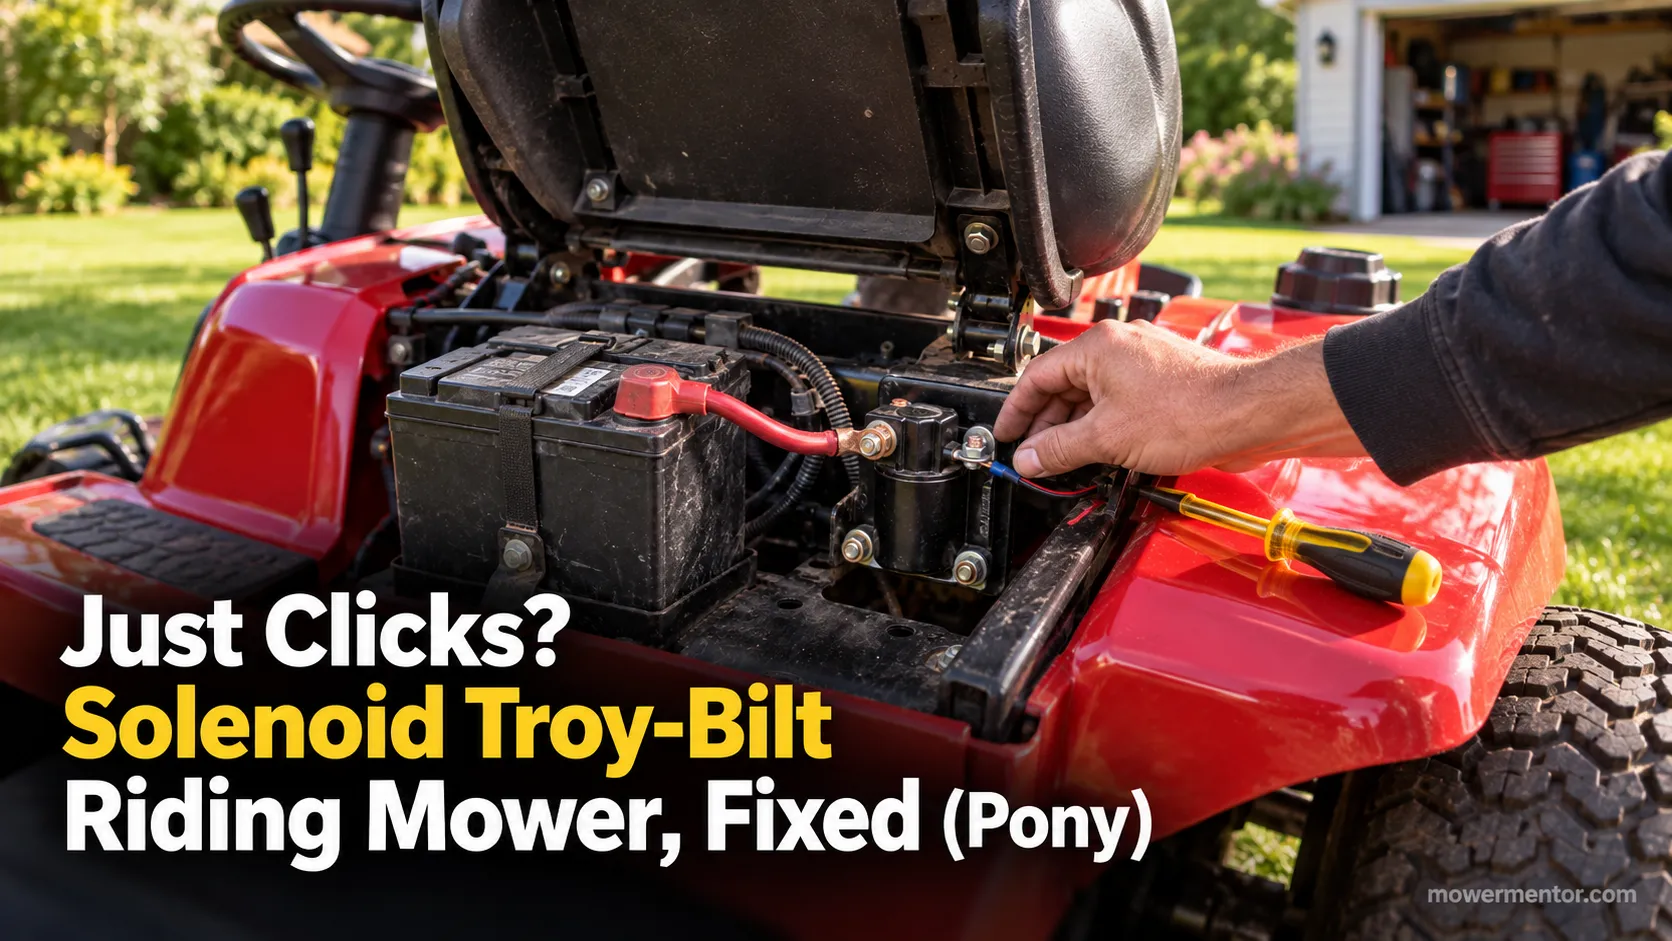
Just Clicks? Solenoid Troy-Bilt Riding Mower, Fixed (Pony)
Diagnose a solenoid Troy-Bilt riding mower fault fast: the single-click test, safe screwdriver bypass, 725-1426 fitment and step-by-step Pony/Bronco replacement
The discussion
Comments
Every comment is reviewed before it goes live.