
How to Bypass Safety Switch on Riding Mower (Bench-Tested)
Jump a seat, brake or PTO interlock safely: how to bypass safety switch on riding mower for bench testing, with 2-wire/4-wire diagrams and a restore checklist.
Written by Tony MaldonadoReviewed by Wade CoburnLast updated on September 24, 2026
When you buy parts or tools through links on our site, we may earn a commission at no extra cost to you. It never changes what we recommend. Learn more.
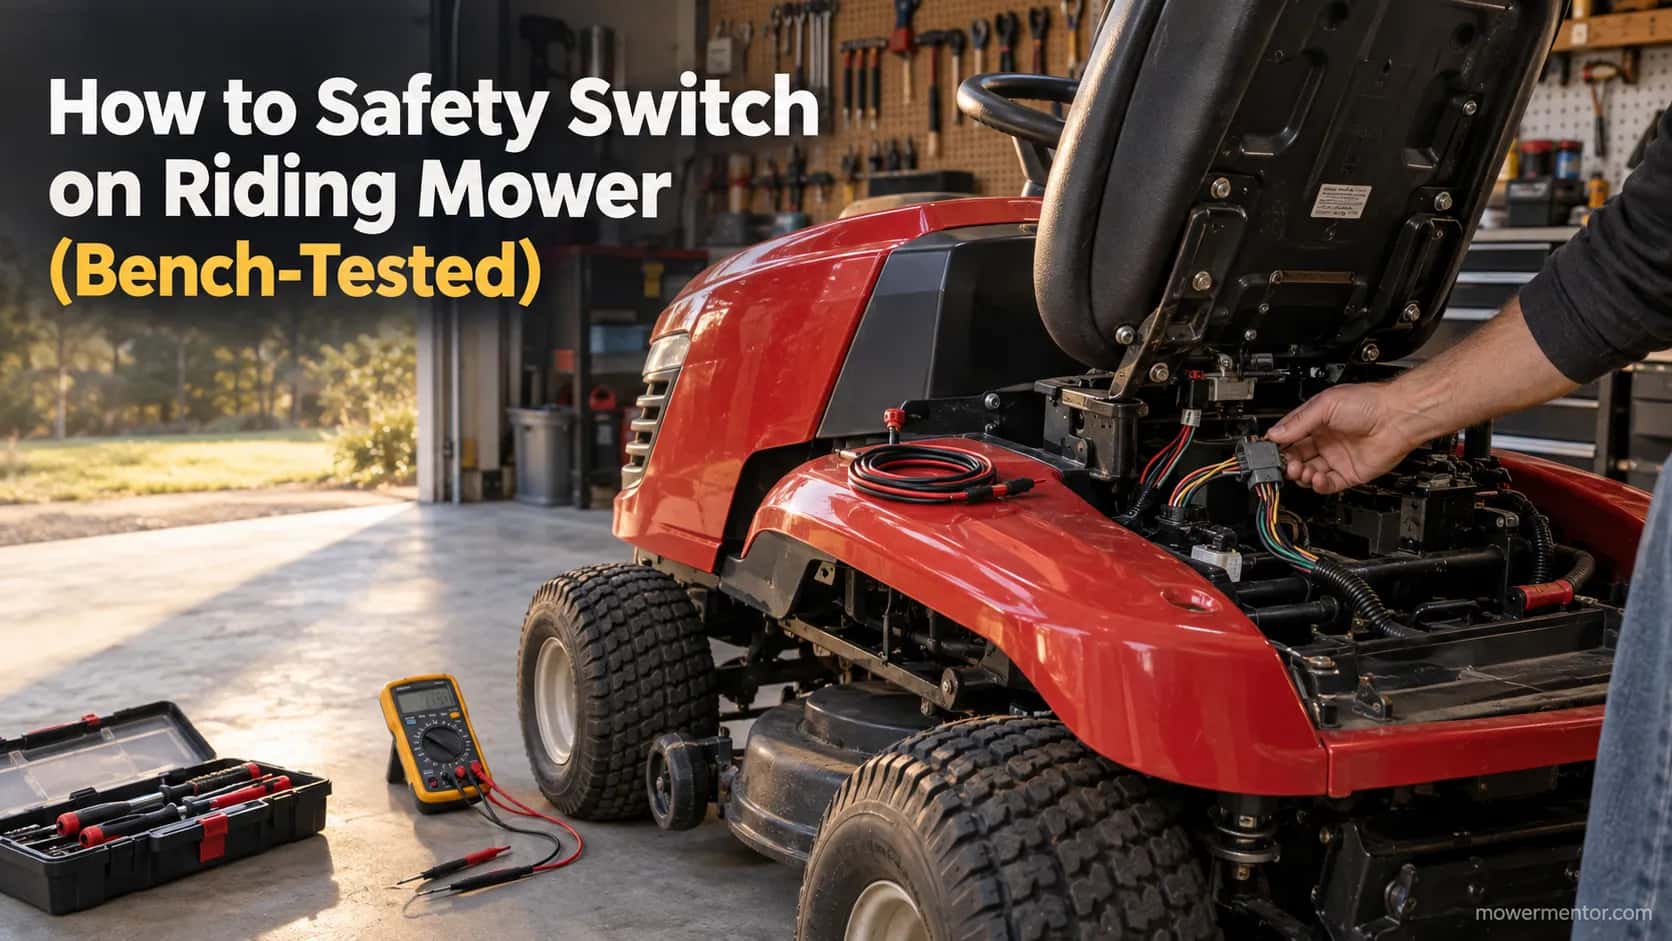
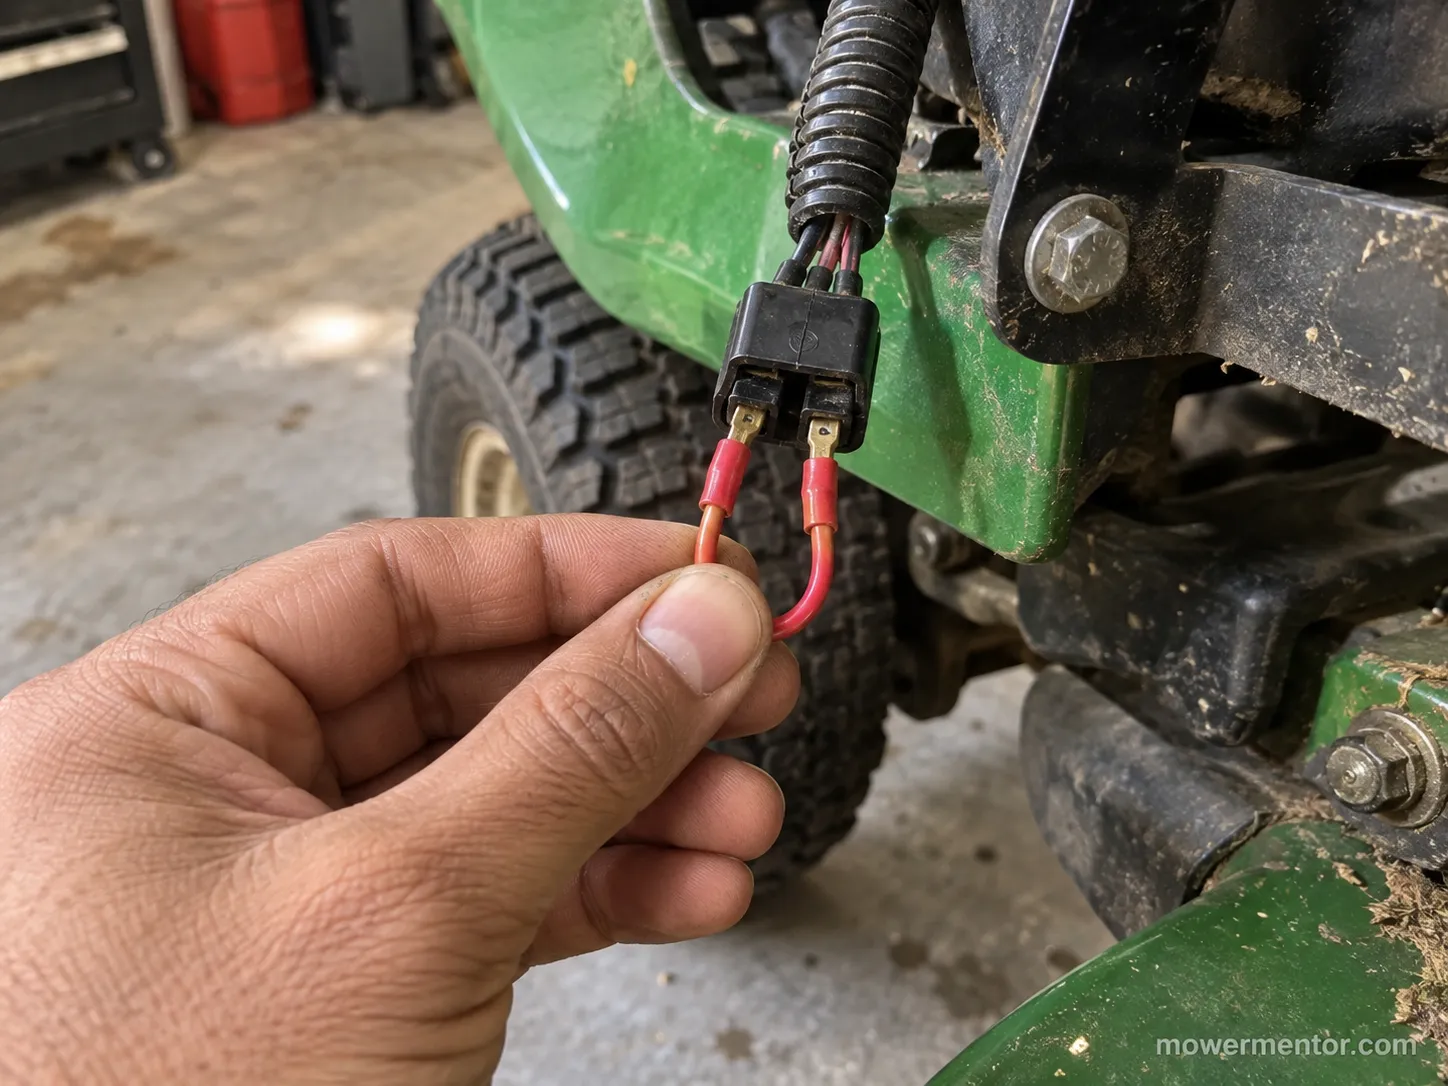
To bypass a riding mower safety switch for testing, unplug the switch connector and bridge the two switched terminals with a jumper wire, then try to crank.
That single move tells you whether a seat, brake, PTO, or reverse interlock is what is blocking your start.
This is a diagnostic bypass, not a permanent fix.
The whole point of learning how to bypass safety switch on riding mower work is to find the fault fast, confirm it, and then put every interlock back before the blades ever spin.
A safety switch on a riding mower is an operator-presence control.
According to the CPSC riding lawnmower fact sheet, it stops the rotary blades when the operator leaves the seat without disengaging the drive.
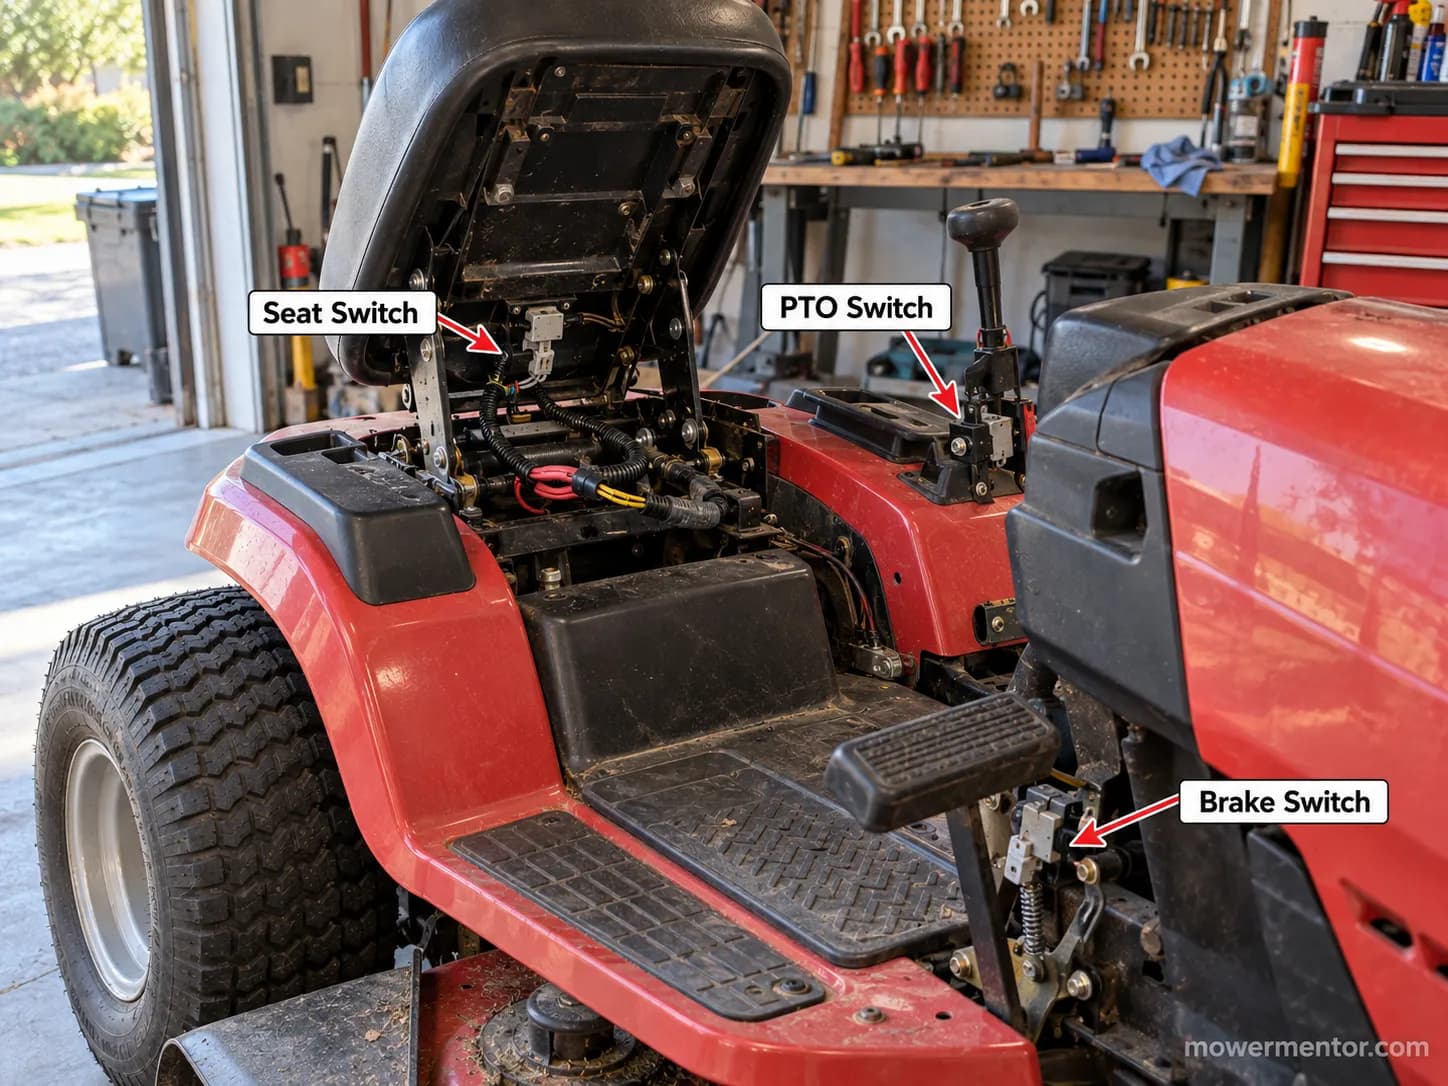
Your mower actually has four of these interlocks working together: the seat switch, the brake or parking-brake switch, the PTO or blade-engagement switch, and the reverse or RIO switch.
Jumping one for thirty seconds is a test, while leaving it jumped is how people get hurt.
Unplug the suspect switch, bridge its two switched terminals with a jumper wire, and crank.
If the engine turns over, that interlock was the block. Reconnect it before you mow.
Which Safety Switch Is Stopping You? Seat, Brake, PTO and Reverse
A riding mower safety switch problem almost always traces to one of four interlocks, and the symptom tells you which.
A brake or PTO switch sits in the starter circuit, so a fault there means no crank at all, while a seat switch sits in the ignition-kill circuit, so a fault there lets the mower crank but kills it the moment you rise.
The Journal of Safety Research traces the operator-presence control to the 1987 ANSI standard.
Those interlock requirements now live in OPEI's B71.1 product standard, so matching your symptom to the table below gives you a sourced suspect.
Symptom you see | Likely interlock | Circuit it sits in |
|---|---|---|
Turns over fine, then dies the instant you stand or slide forward | Seat / operator-presence switch | Run and ignition-kill |
No crank at all, dead silent with the brake up | Brake / parking-brake switch | Starter crank-inhibit |
No crank only when the blades are engaged | PTO / blade-engagement switch | Starter crank-inhibit |
Engine cuts the moment you back up in gear | Reverse / RIO switch | Run and ignition-kill |
Two circuit families explain the whole table.
The brake and PTO switches inhibit the starter, so a bad one leaves you with a no-crank that many owners mistake for a dead battery.
The seat and reverse switches kill a running engine instead, so a bad one lets the mower start and then stop.
That crank-inhibit versus run-kill split is the single most useful idea in this whole guide.
Normally-open and normally-closed logic is where people get turned around.
A crank-inhibit switch usually has to close to let the starter fire, while a run-kill switch usually opens the kill path when you are seated.
If your Cub Cadet dies as you crest a slope, you are probably sliding forward far enough to unload the seat switch.
The switch reads that slide as you leaving the seat, so it cuts the engine mid-climb.
For the full component walkthrough on every interlock, the complete interlock guide covers each switch and how to test it in isolation.
Brand wiring differs in small ways worth knowing before you probe.
If you run a green machine, Husqvarna's switch layout has a couple of model-specific quirks worth checking first.
And how Craftsman wires its interlocks is worth a glance before you start unplugging connectors.
On a Cub Cadet LTX I chased a no-crank on for a friend, releasing the brake killed the crank instantly, which pinned it to the brake interlock in under a minute.
That check order, brake first, then PTO, then seat, is the exact sequence in the table above, and it came from doing it rather than reading it.
When It's Safe to Bypass, and When You Absolutely Shouldn't
A safe bypass is a bench test: battery-disconnected setup, mower on level ground, blades off, jumper on for seconds, every interlock restored afterward.
A dangerous bypass is any permanent removal that lets the mower run with a person off the seat or the deck live in reverse.
Manufacturers are blunt about this line. Stanley Black and Decker's product-safety guidance tells owners never to remove, bypass, or disable a safety device on a riding mower.
Safe to bypass (diagnostic only):
Testing a no-start on level ground with the blades disengaged
Confirming which interlock is faulty before you buy a part
Momentarily jumping a switch to read a live circuit, then unplugging the jumper
Restoring every connector the moment the test is done
Never do this:
Permanently remove or tape over a seat, brake, PTO, or reverse switch
Run the mowing deck while standing off the seat to blow leaves
Let children or bystanders anywhere near a mower with a defeated interlock
Mow in reverse with the reverse or RIO interlock disabled
Reverse deserves its own warning. In a 2023 study in Injury Epidemiology, 59% of pediatric riding-mower injuries happened while the machine was traveling in reverse.
The reverse interlock exists precisely because backing over a child is the worst-case outcome. Defeating it removes the last automatic check against exactly that.
Warranty and liability, in plain terms: Permanently removing a safety device can void your warranty and shift liability to you if someone is hurt.
This is not legal advice, but the moment a bypass stops being a bench test and becomes how you mow, you own every consequence.
A jumper is a diagnostic tool, not a modification.
The CPSC ties riding-mower runover, backover, and rollover incidents directly to serious injury in its 2021 letter to OPEI.
That is the whole reason a jump is a timed test rather than a way to run the machine.
If your mower still will not start after a clean diagnostic test, do not start improvising with the safety circuit.
Work the complete no-start walkthrough instead and keep the interlocks intact.
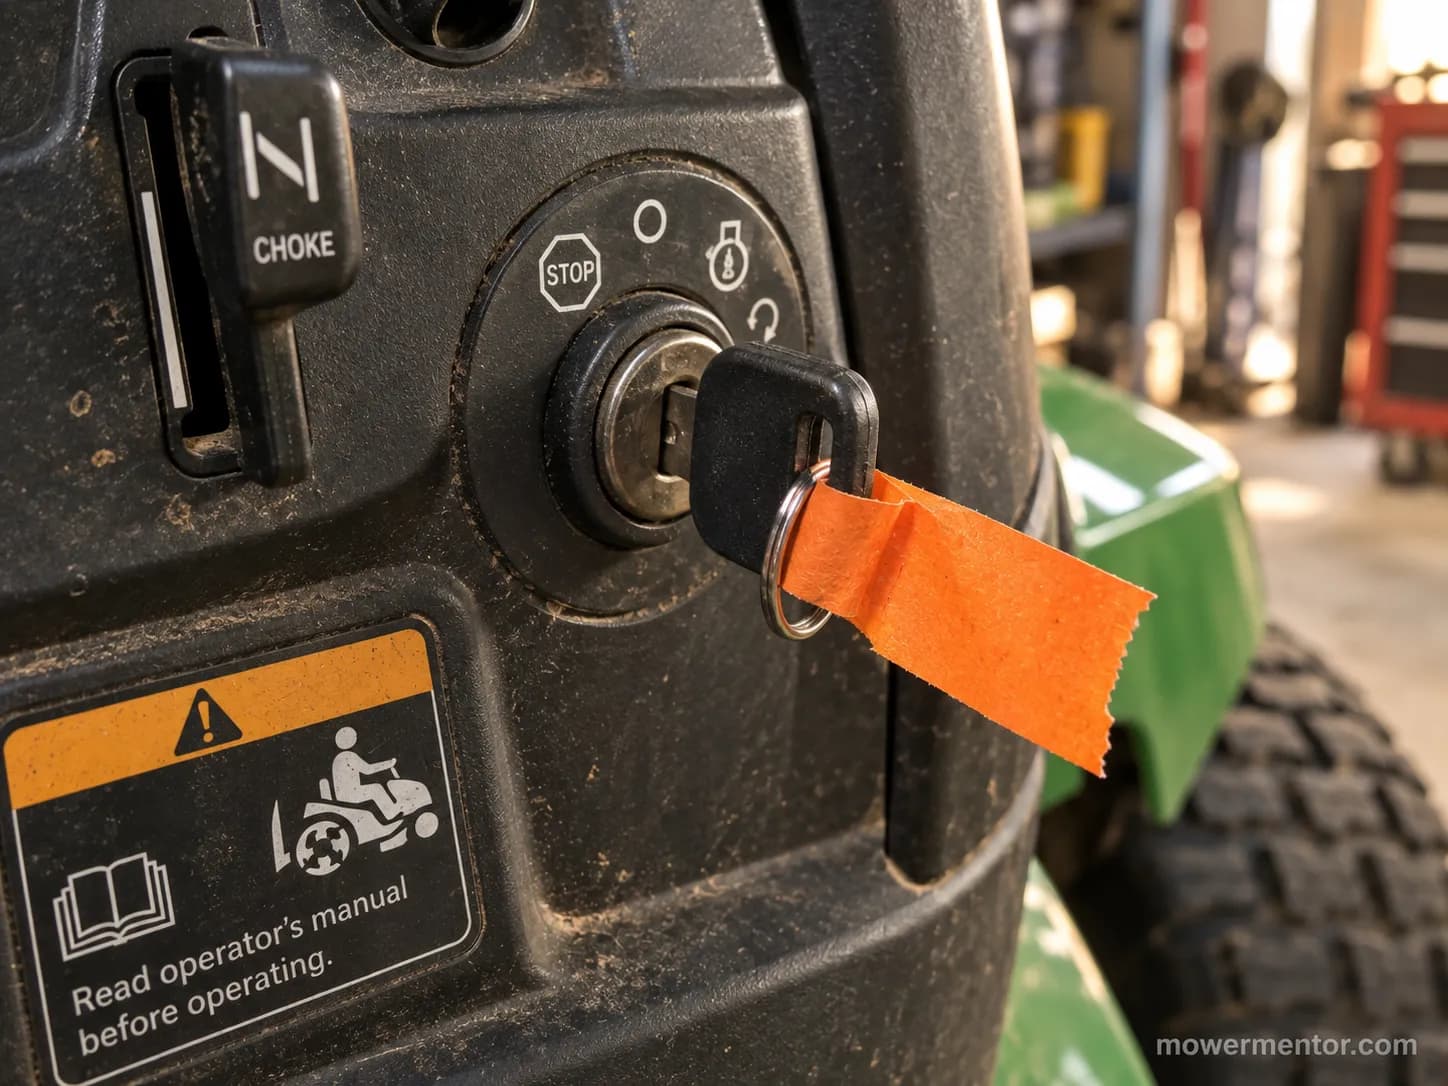
I keep a jumper on the bench and a strip of tape on the key.
The tape reminds me to reconnect the seat switch before the mower ever leaves the garage, and it has saved me from my own shortcuts more than once.
What You Need First: Tools and 2-Wire vs 4-Wire Seat Switches
A riding mower seat safety switch comes in a 2-wire version and a 4-wire version, and they behave differently under a jumper.
A 2-wire plug is a simple pair you can bridge with a paper clip, while a 4-wire plug carries a second internal switch in the connector, so a naive jump across one pair does nothing.
Set a multimeter to continuity and the switched pair announces itself. Keep the kit small and the pre-checks non-negotiable: battery disconnected, mower on level ground, blades off, every time.
Digital multimeter (continuity or resistance mode)
Jumper wire, plus a few male spade disconnects to slip into a female connector
Wire strippers and a crimp tool
Electrical tape
Gloves and eye protection
Reading a connector is just counting. Pull the plug, count the wires or pins, and identify which two go open and closed as the switch actuates.
On a 4-wire seat plug, two of those wires feed the second internal switch that prevents a simple defeat. That is why the table below matters more than any single brand tip.
Feature | 2-wire seat switch | 4-wire seat switch |
|---|---|---|
Wires at the plug | Two | Four |
How to tell | Single switched pair, no extra module | Two pairs, one feeds an internal defeat switch |
Jump method | Bridge the pair (a paper clip works) | Bridge the correct switched pair only; paper clip alone fails |
Common on | Older tractors, simpler decks | Newer riders with reverse-mow logic |
How to Tell a 2-Wire from a 4-Wire Seat Switch
Count the wires at the seat plug first, then confirm with the meter. Two wires means one switched pair, and a paper clip across it will fool it.
Four wires means the plug carries a second internal switch, so you must find the correct switched pair with continuity before bridging. If your plug is 4-wire, do not force a paper clip across all of it and expect a start.
For the wiring-level detail on both plug types, the seat-switch wiring breakdown walks each pinout in full. A meter earns its keep here beyond the seat switch too.
While the multimeter is out, testing the ignition with a multimeter lets you rule the key switch in or out in the same session. That saves you from chasing the wrong part later.
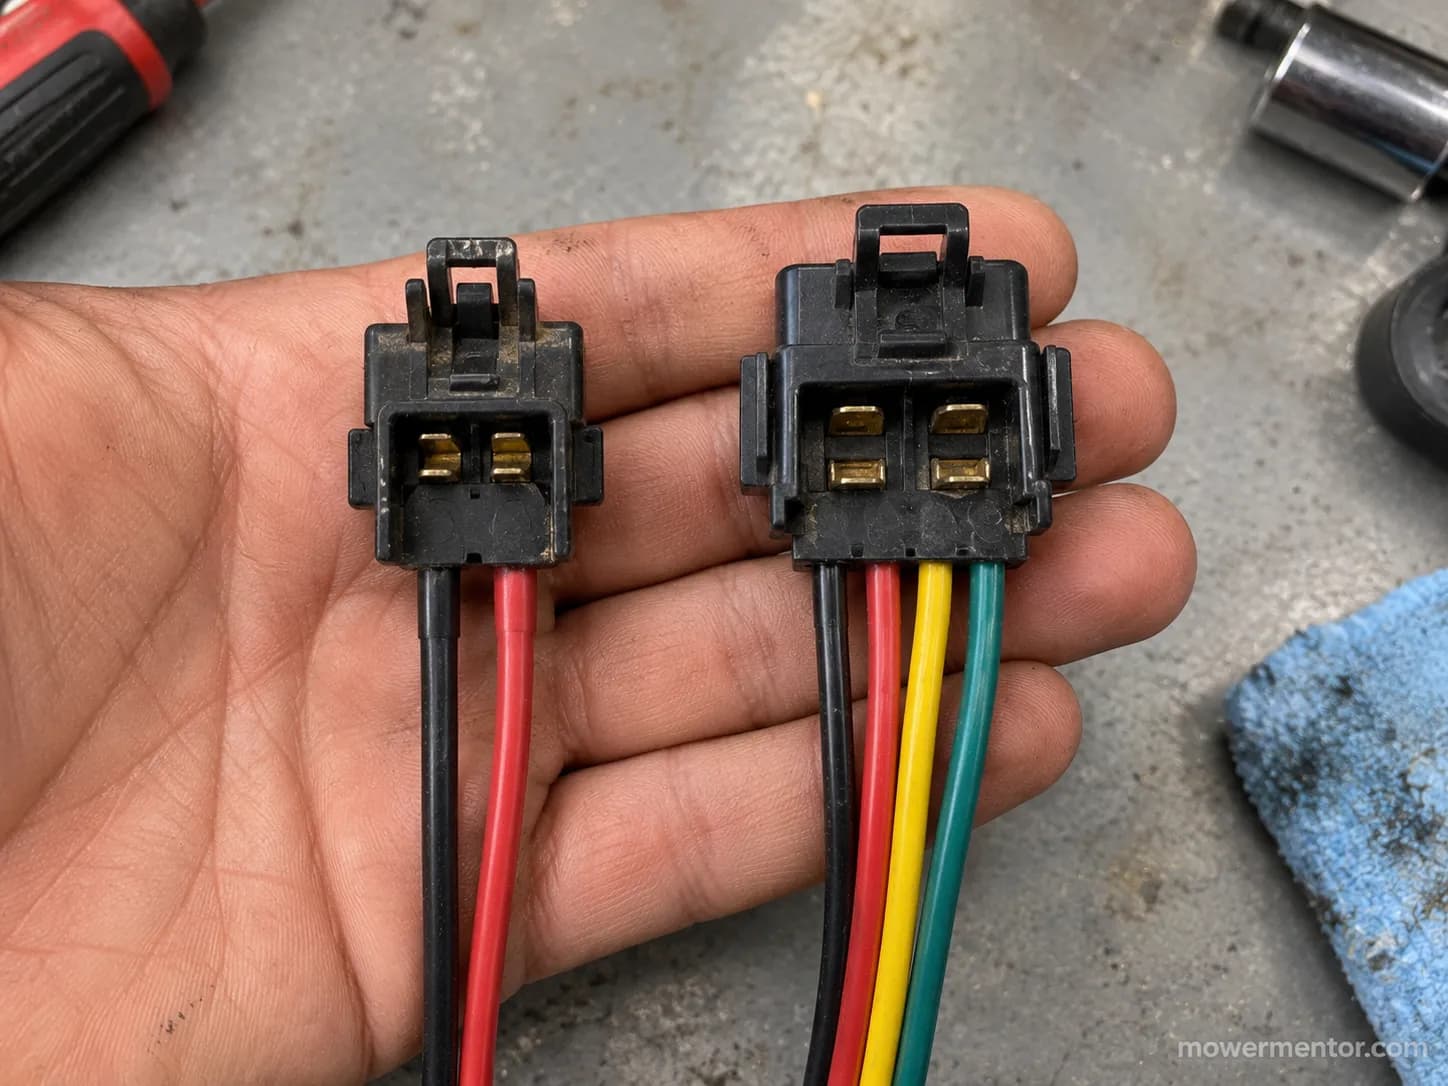
I once wasted twenty minutes jumping a 4-wire seat plug that flatly refused to fool, until I realized the plug itself carried a second switch.
The 2-wire on my older tractor took exactly one paper clip and started on the next turn of the key.
How to Bypass Safety Switch on Riding Mower: Per-Interlock Steps
Here is how to bypass safety switch on riding mower interlocks one at a time, using the same five moves for each: locate the switch, unplug the connector, find the switched pair with a meter, bridge it, and watch for the result.
A brake or PTO jump should let the starter crank, while a seat or reverse jump should let the engine keep running when it otherwise would not.
OPEI's safety guidance is clear that these devices should not be removed, so treat every jump below as a timed test and reconnect after.
Each interlock uses the identical procedure, ending with what you should see and what to do if nothing changes.
Seat Switch, 2-Wire
Locate the seat switch under the seat pan and unplug its two-wire connector.
Set the meter to continuity and confirm the switched pair.
Bridge the pair with a jumper wire or a paper clip.
What you should see: the engine now keeps running when you rise off the seat during the test.
If it still dies when you stand, the fault is elsewhere in the kill circuit, not the seat switch.
Seat Switch, 4-Wire
Unplug the four-wire seat connector and identify the correct switched pair with the meter.
Slip male spade disconnects onto the two switched terminals for a clean bridge.
Bridge only that pair, since the plug's internal switch ignores a full paper-clip short.
What you should see: the run circuit stays live off the seat during the test.
If nothing changes, recheck which pair you bridged before assuming the switch is bad.
Brake and Parking-Brake Switch
Locate the brake switch at the pedal linkage and unplug it.
Confirm the switched pair, then bridge it with a jumper.
What you should see: the starter now cranks where it was dead before.
If the brake switch itself is the fault, replacing the brake safety switch is a straightforward next step rather than leaving it jumped.
PTO and Blade-Engagement Switch
Find the PTO switch near the blade-engagement knob or lever and unplug it.
Bridge the switched pair so the crank-inhibit logic reads blades-off.
What you should see: the starter cranks with the interlock satisfied.
Brand routing varies here, and Deere's PTO interlock setup runs the circuit through the engagement knob in its own way.
Reverse and RIO Switch
Many brands use a key or RIO reset rather than a hard jump, so check your dash for a reverse-caution button first.
If it is a switch, unplug and bridge the switched pair only for the test.
What you should see: the engine tolerates reverse in gear during the timed check.
Reconnect immediately, because a defeated reverse interlock is the highest-risk state to leave a mower in.
Bridging the brake pair on my test mower, the starter cranked on the very next key turn, in about three seconds.
The 4-wire seat plug did nothing until I moved my jumper to the correct terminals, which is the crank-inhibit versus run-kill difference showing itself in real time.
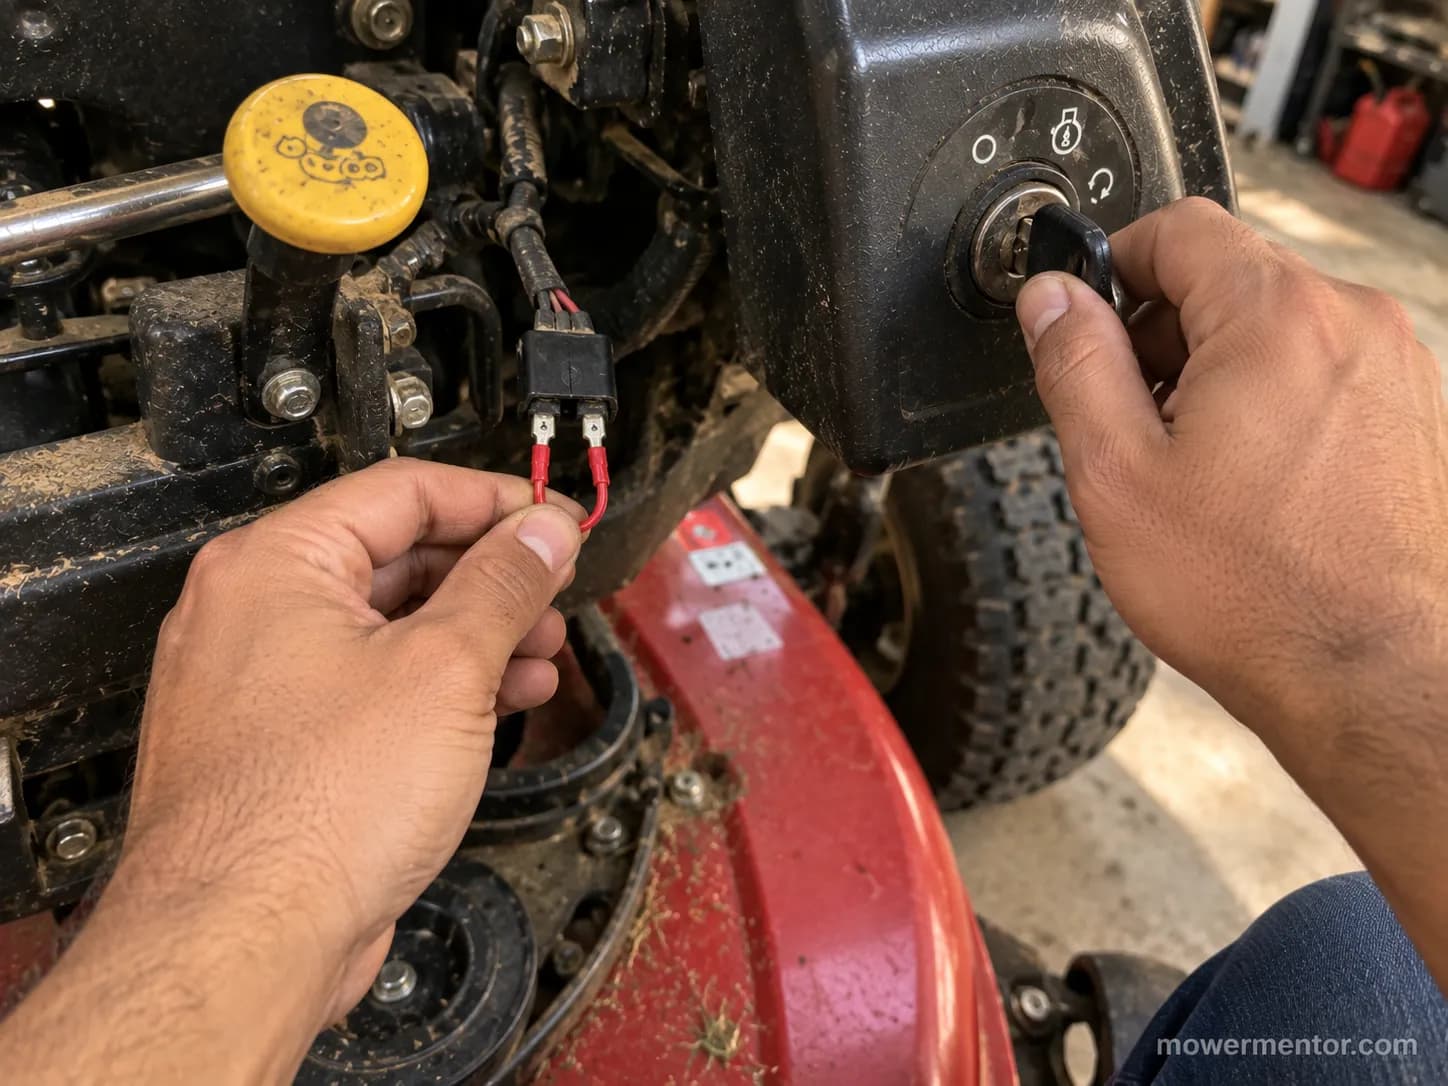
Federal and voluntary standards require the blade to stop within seconds of the operator leaving the position.
The CPSC power-mower injury data has tracked that requirement since these injuries began declining, which is why every jump here ends with a reconnect step.
If the interlock jump cranks but the key switch is suspect, starting past a bad ignition switch is the safer route than living with a jumper.
And if you get a click but no crank even with the interlocks bridged, a Deere that clicks but won't crank points somewhere else entirely.
Owners of other brands hit the same wall in their own way. A Troy-Bilt that only clicks usually means the solenoid path, not the safety circuit.
Still nothing after a clean jump can point to a blown fuse faking a switch. Rule that out before you condemn any interlock.
Wiring Diagrams: Reading the Seat, Brake and PTO Interlock Circuit
A riding mower safety switch circuit splits into two paths, and seeing them separated is what makes the jump points obvious.
The ignition feeds a crank-inhibit path through the brake and PTO switches to the starter solenoid, and a separate run-kill path through the seat and reverse switches to the magneto ground.
The CPSC codes riding-mower injuries separately from walk-behind mowers in its NEISS injury data, a reminder that these are their own hazard class with their own circuits.
Trace those as two circuits instead of one lump and each switched pair you would bridge stands out.
The diagram below is drawn from the harness rather than from a factory manual. The factory print lumped the brake and PTO into one block and hid the very split that matters.
Mapping the generic diagram onto your own machine is a matter of colors. Note your harness colors at each switch, then follow the same two paths on your mower.
Crank-inhibit path: ignition, then brake and PTO switches, then starter solenoid
Run-kill path: seat and reverse switches, then the magneto ground
Leave the magneto kill wire alone as a bypass target. Cutting it is a permanent, unsafe change rather than a test, and it defeats the very circuit that stops the engine when you leave the seat.
If the starter never engages even with the interlocks jumped, the problem is upstream. The no-crank ground-up diagnosis traces it battery to ground.
Keeping the starting circuit healthy also heads off half of these calls. On Deere riders, a complete John Deere tune-up keeps the whole system reliable.
I redrew this circuit from the bench harness on my own test mower for a reason. Separating the brake and PTO from the seat and reverse is what turned a confusing block diagram into four obvious jump points.
Restore Before You Mow: The Put-It-Back Checklist
A bypass is not finished until every interlock is back and proven.
The Texas Department of Insurance is blunt that the operator-presence system exists to stop the machine when you leave the seat, so the test that proves it is back matters most.
Restoring means removing each jumper, reseating each connector, confirming all four interlocks are re-armed, reconnecting the battery, and running one function test.
Work the checklist in order, and do not skip the last step.
Remove every jumper wire and spade disconnect you added.
Reseat each switch connector until it clicks fully home.
Confirm the seat, brake, PTO, and reverse connectors are all reconnected.
Reconnect the battery.
Run the function test: sit, start, then stand.
The function test is the whole proof. Start the mower seated, then stand up, and the engine or blades should cut out within about a second.
If it does not die when you rise, the seat switch is not back in yet, and you are not done. A switch that tested faulty should be replaced, not left jumped.
While the battery is disconnected anyway, it is worth knowing how long a mower battery lasts so a weak one does not masquerade as a switch fault next season.
If the battery is too flat to crank once you reconnect, safely jump-starting the mower gets you a clean test without adding a new variable.
My own function test is deliberately dumb: I start it, I stand, and if it does not die, the seat switch simply is not seated yet.
When to Stop and Test or Replace the Switch Instead
Bypassing is a diagnostic waypoint, not a destination, and once it has named the fault your next move is test or replace.
The CPSC attributes roughly 75 riding-mower deaths a year, with about one in five involving a child, in its consumer alert on lawn and garden care dangers, which is the whole case for replacing a failed interlock rather than removing it.
Sort your result into one of three outcomes and act on it.
Switch tests bad: replace it with the correct part and reconnect, no jumper left behind.
Switch tests good but no start: move to full electrical diagnosis rather than the safety circuit.
Intermittent switch: clean, reseat, then replace, because a thermal-intermittent fault will return.
Twice now, a jumped switch fixed the no-start, yet the switch itself ohmed out fine cold and failed once warm.
I replaced it rather than trust an intermittent, and the cold-versus-warm reading below is why.
Switch condition | Resistance across switched pair | Verdict |
|---|---|---|
Cold, closed | About 0.2 ohms | Reads good on the bench |
Warm, in service | Open (no continuity) | Intermittent, replace it |
Do not leave a mower running on a jumped safety switch while parts are on order. Tag it out of service instead, and knock out the cheap no-start causes first.
Since changing a Craftsman spark plug rules out an easy miss before you spend on a switch, it is worth doing early. Honda owners can clear the same easy causes with swapping a Honda spark plug in only a few minutes.
Frequently Asked Questions
Can I Just Use a Paper Clip to Jump the Seat Switch?
On a 2-wire seat switch, yes, a paper clip bridges the single switched pair and defeats it for a test. On a 4-wire switch, no, because the plug carries an internal second switch that ignores a full short.
A paper clip worked on my 2-wire seat plug and did nothing on the 4-wire, the same trick with the opposite result.
Is It Illegal to Bypass a Mower Safety Switch?
Temporarily jumping a switch to diagnose a no-start is not itself illegal, but permanently removing a safety device can void your warranty and shift liability to you if someone is hurt. This is not legal advice.
The interlocks exist because the CPSC ties runover, backover, and rollover incidents to serious injury, so the safe path is test then restore.
Why Won't My 4-Wire Seat Switch Bypass Work?
Because a 4-wire plug holds a second internal switch that a simple paper-clip short cannot fool. Set your meter to continuity, find the one correct switched pair, and bridge only that pair with spade disconnects.
Bridging all four wires or guessing the pair is why the bypass appears to do nothing.
Can I Leave the Safety Switch Bypassed to Mow?
No. A bypass is a bench test measured in seconds, not a way to run the mower.
Reconnect every interlock and run the stand-up function test before the deck ever engages, because mowing with a defeated seat or reverse switch removes the protection that stops the machine when you leave the seat.
How Do I Know Which Interlock Is Bad?
Match the symptom to the switch: crank-then-die points to the seat or reverse switch, and no-crank points to the brake or PTO switch. The symptom router near the top of this guide sorts all four in under a minute.
Preventing the no-start in the first place helps too, like a full Honda tune-up on Honda riders. For a Deere, changing a John Deere spark plug is the cheapest first move.
Learning how to bypass safety switch on riding mower interlocks is really about diagnosis, not defeat.
Jump the switch for thirty seconds to find the fault, confirm which of the four interlocks is blocking your start, then restore every one of them before the blades ever spin in 2026 or any season after.
Found this useful? Make us a preferred source so we show up in your Google results.
Keep reading
Related articles
Troubleshooting & Repair
Dead Dash? Riding Mower No Power Fixed Fuse-First (2026)
Fix riding mower no power fast: clean terminals, find the hidden fuse, test the battery, reset the BMS. A fuse-first checklist for gas & electric mowers.
Troubleshooting & Repair
Riding Lawn Mower Won't Turn Over: 5-Stage Voltage Test
Fix it fast: a riding lawn mower won't turn over usually means battery, ground, solenoid or starter. Test each in 5 ordered stages.
Troubleshooting & Repair
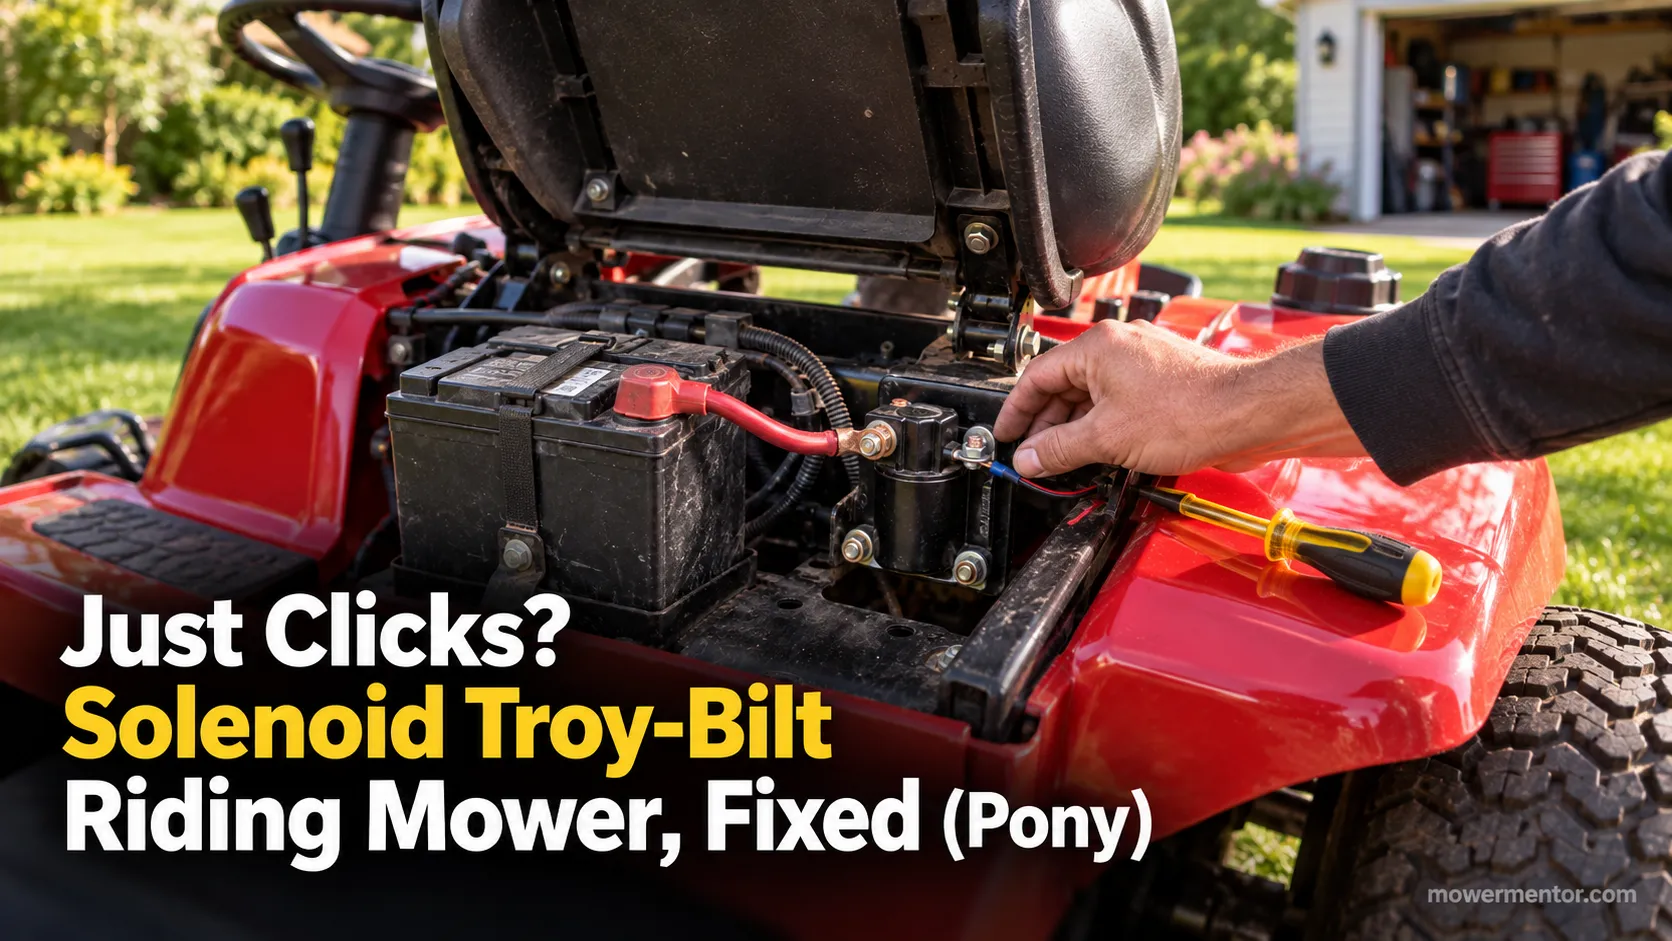
Just Clicks? Solenoid Troy-Bilt Riding Mower, Fixed (Pony)
Diagnose a solenoid Troy-Bilt riding mower fault fast: the single-click test, safe screwdriver bypass, 725-1426 fitment and step-by-step Pony/Bronco replacement
Troubleshooting & Repair
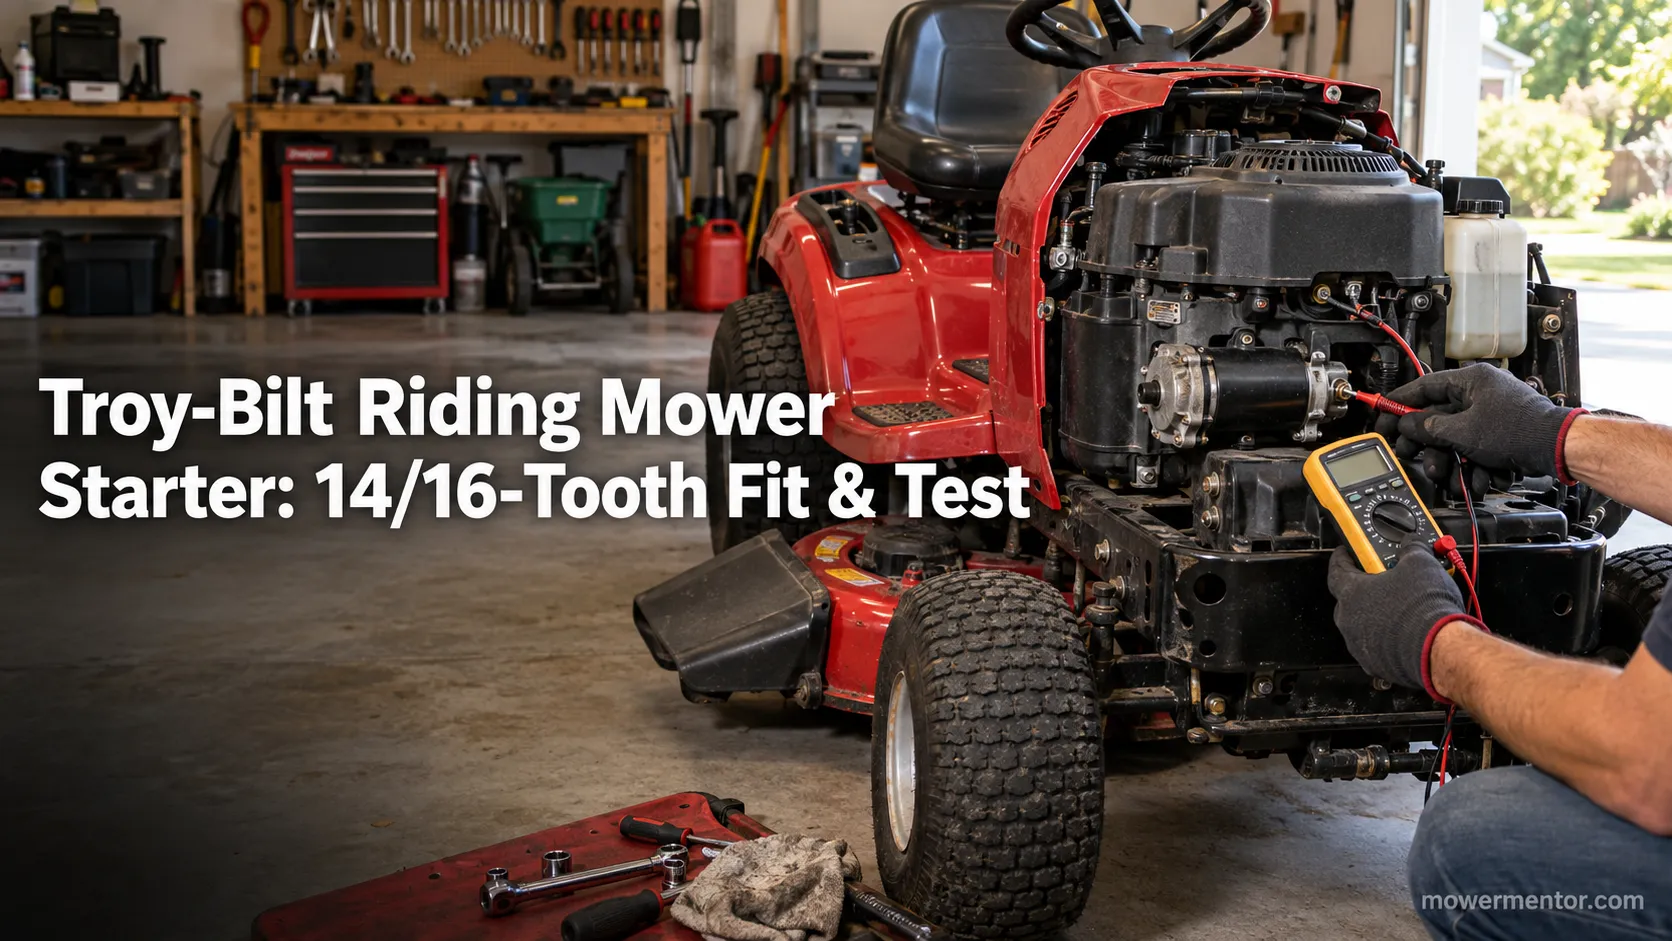
Troy-Bilt Riding Mower Starter: 14/16-Tooth Fit & Test
Test your Troy-Bilt riding mower starter in two minutes, tell it apart from a bad solenoid, and match the 14- or 16-tooth Briggs/Kohler unit before you buy.
The discussion
Comments
Every comment is reviewed before it goes live.