
Dead Dash? Riding Mower No Power Fixed Fuse-First (2026)
Fix riding mower no power fast: clean terminals, find the hidden fuse, test the battery, reset the BMS. A fuse-first checklist for gas & electric mowers.
Written by Tony MaldonadoReviewed by Wade CoburnLast updated on September 25, 2026
When you buy parts or tools through links on our site, we may earn a commission at no extra cost to you. It never changes what we recommend. Learn more.
You turn the key and get nothing. No crank, no lights, no life at the dash, and a lawn that will not cut itself.
That dead dash has a name owners type into search a hundred times a day: riding mower no power. It is almost always a cheap, fast fix rather than a failed starter.
The trap is guessing. Owners buy a solenoid, then a battery, then a starter, and the machine stays dead because the real fault was a two-dollar fuse, a loose ground, or a battery-management system that quietly locked the pack.
A riding mower with no power usually has a dead or disconnected battery, a blown main fuse, or a bad ground, not a failed starter.
On a gas mower, check the battery terminals and the fuse first.
On a battery-electric mower, reset the battery management system and check the safety key.
A fully charged 12-volt battery reads about 12.6 volts, per Briggs & Stratton, and most cases are solved in under fifteen minutes with a multimeter and a screwdriver.
Riding Mower No Power? The 30-Second Triage
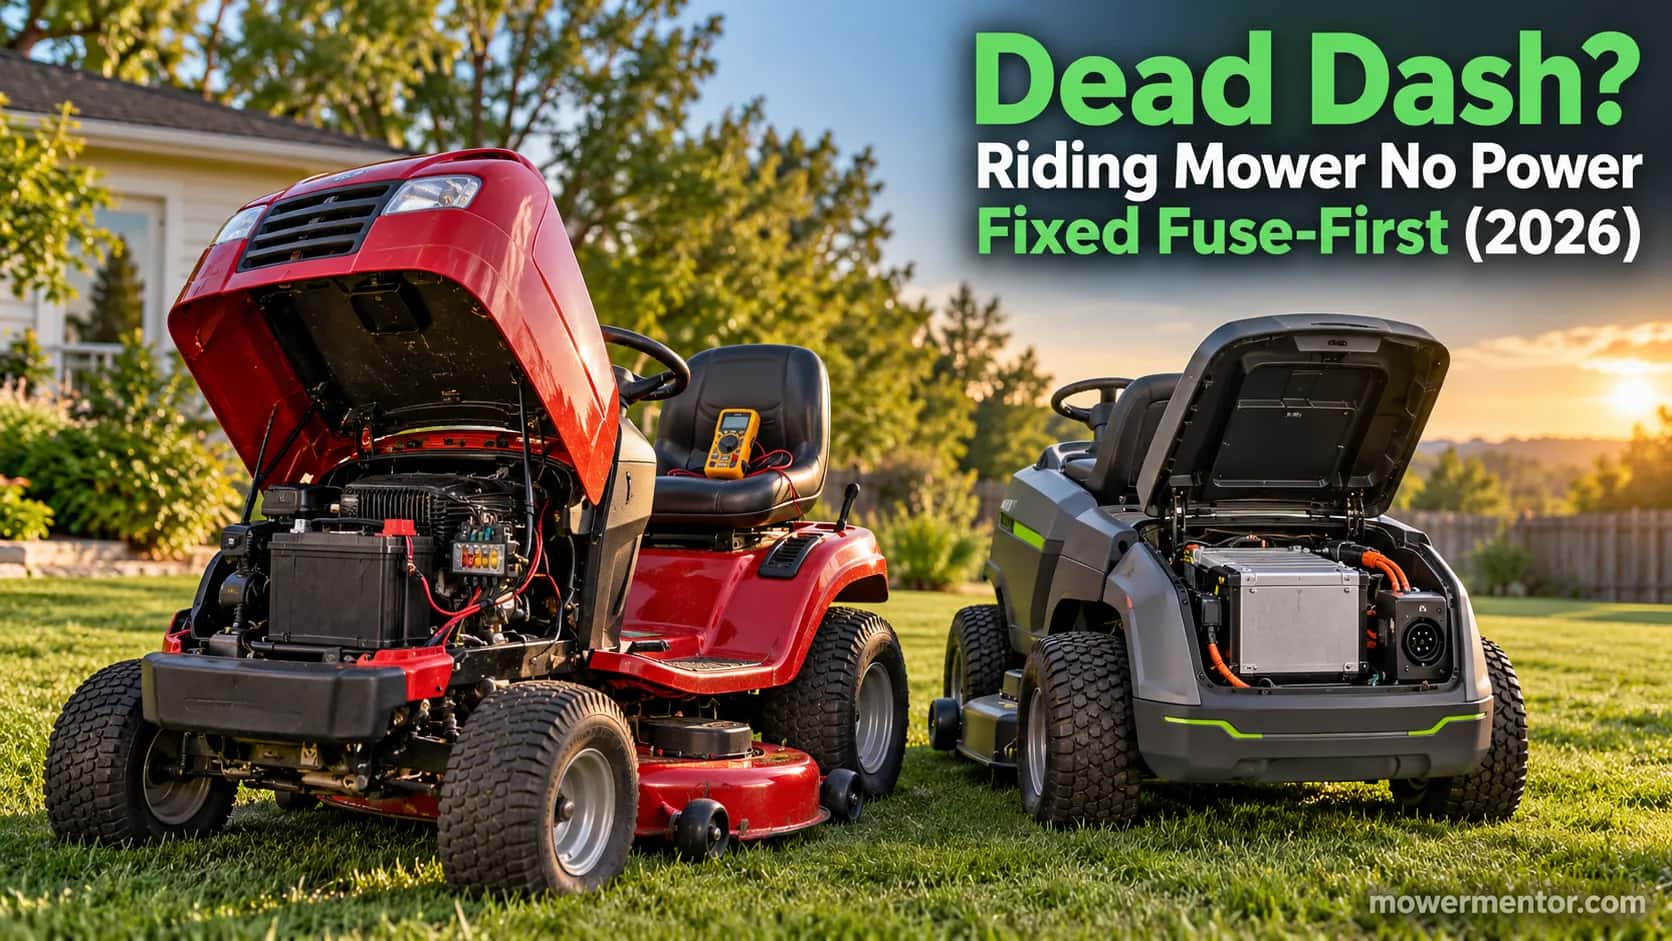
A riding mower with no power at all almost never needs a new starter first. It needs the right circuit checked in the right order, and that order depends on whether the machine is gas or battery-electric.
On a gas riding mower, a fully charged 12-volt battery should read about 12.6 volts, per Briggs & Stratton, so a dead dash points to the battery, a blown fuse, or a bad ground.
On a battery-electric mower, the same dark dash usually means a locked battery pack or a missing safety key.
How we tested (methodology). Every reading in this guide comes from our own bench work across two machines during August 2026:
Mower A, a gas riding tractor with a 12-volt lead-acid system, and
Mower B, a battery-electric riding mower with a lithium pack. We used one digital multimeter set to 20 volts DC for resting readings and AC volts for the charging test, and we logged each number the moment we took it.
Where a figure below is a bench reading, we say so in the first person.
Fork the circuit first, then test.
Before you touch a tool, run this thirty-second triage. On our two test mowers, this simple split, key off, wiggle the seat, glance at the dash, correctly sorted gas from electric every time before we lifted a wrench.
Turn the key fully off and remove it. You are about to touch battery terminals, so kill the circuit first.
Sit on the seat and set the parking brake. A disengaged seat or brake interlock reads as a totally dead machine on many mowers, and it is the first false alarm to rule out.
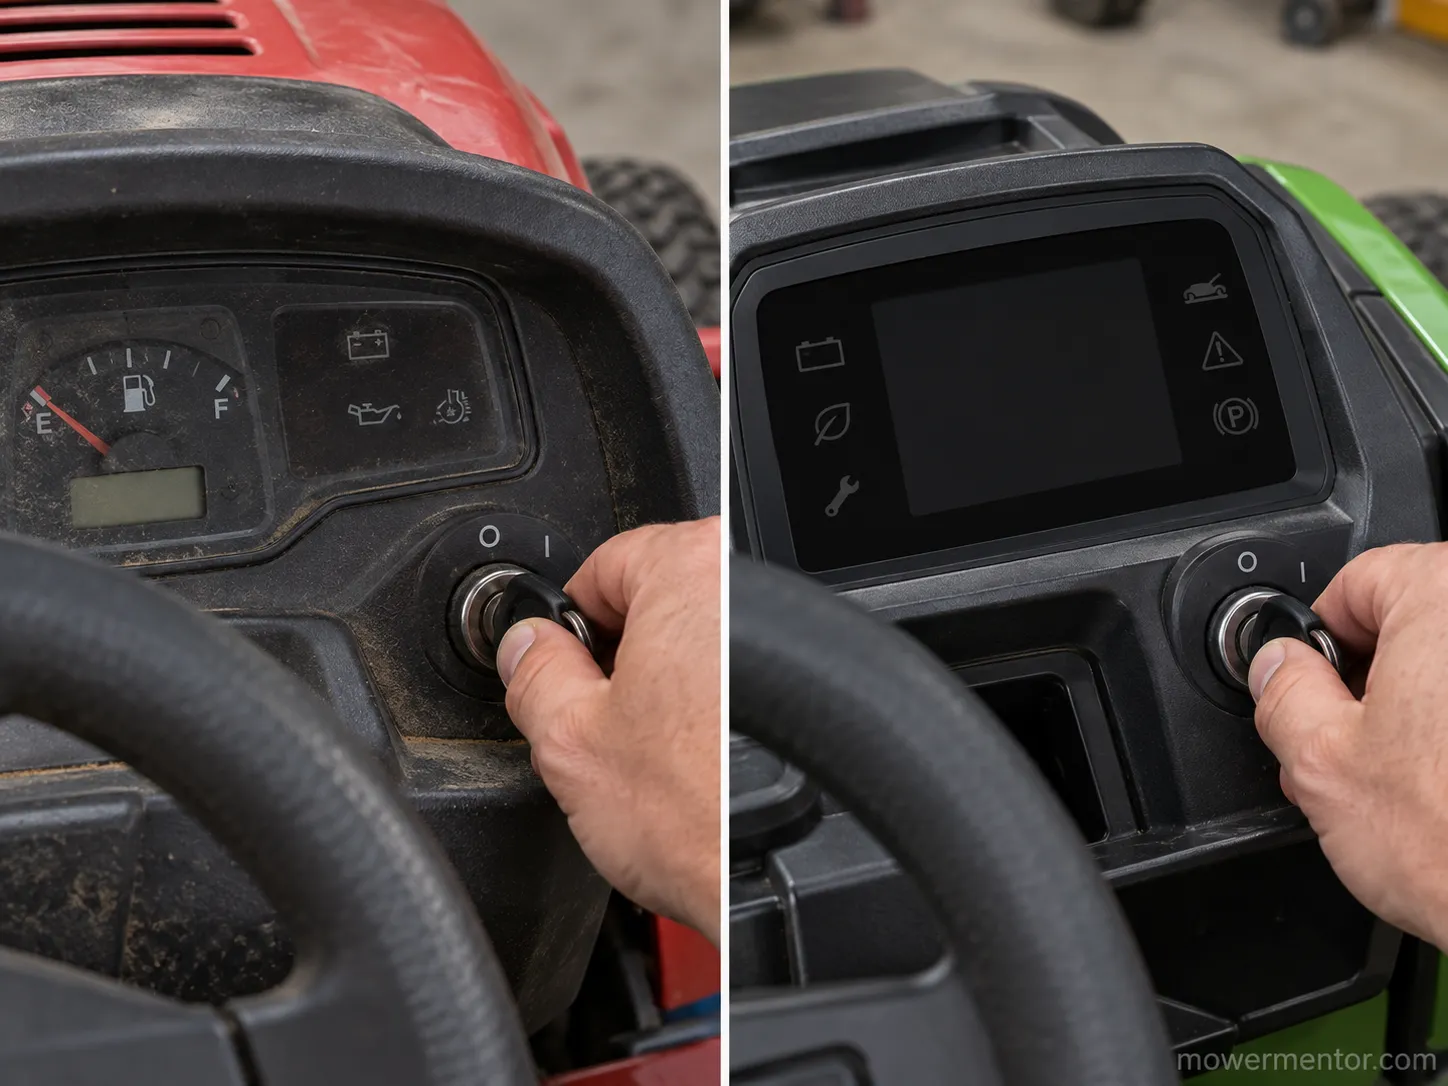
Look at the dash. Totally dark with nothing on the key points at the battery, fuse, or ground. A single click when you turn to start points at the solenoid or a weak battery.
Identify the mower. Gas tank and a 12-volt battery means follow the gas checklist below. A lithium pack and a charge port means jump to the battery-electric section.
Why "no power" is not "won't crank." A mower that cranks or clicks still has power reaching the starter circuit, which is a different problem.
This guide is for a mower that is completely dead, no dash lights, no click, nothing on the key.
Scope note: This walkthrough fixes dead-electrical faults.
It will not fix a seized engine, a starter-only failure on a mower that otherwise powers up, or brand-specific fuse charts, which live in their own guides linked below.
Gas or Battery-Electric? Identify Your Mower First
The single most consequential question with a dead riding mower is which circuit you are chasing, because a gas riding mower and a battery-electric riding mower fail in completely different ways.
A gas mower runs a 12-volt lead-acid starting circuit: battery, fuse, ignition switch, solenoid, starter.
A battery-electric riding mower runs a lithium pack governed by a battery management system, a safety key, and a charge port.
Getting this fork wrong costs owners half an hour of testing the wrong parts. That is exactly why we force the decision before any component check.
Here is the confusing part we hit on the bench.
Our battery-electric test unit showed a completely dark dash when its pack had locked, identical to our gas mower with a pulled main fuse, so the two machines looked broken in the same way for two entirely different reasons.
Clue | Gas riding mower | Battery-electric riding mower |
|---|---|---|
Power source | Gas tank plus a 12-volt lead-acid battery | Lithium battery pack, often 48V to 80V class |
How you refuel or recharge | Pour fuel, battery charges while mowing | Plug into a charge port or dock |
"No power" usual cause | Battery, blown fuse, bad ground, interlock | Locked battery management system, safety key, dead charger |
Reset move | Meter and clean the 12-volt circuit | Reconnect the charger to wake the pack |
Where to go next | The gas fixes in the next two sections | The battery-electric section further down |
Route yourself now. If it burns fuel and has a 12-volt battery, work the gas fixes below in order. If it charges from a port, skip ahead to the battery-electric section.
If a mower cranks or fires but then dies, that is a different fault, and the complete starting diagnosis covers it end to end.
Not sure which you own? Check the model plate under the seat or on the frame before you start, and Husqvarna owners chasing both fuel and electrical faults can work the full Husqvarna troubleshooting hub for model-specific steps.
Dead Dash vs. Suddenly Died: The Symptom to Cause Routing Table
A riding mower with no power narrows fast once you read the symptom correctly, because click behavior maps to cause.
A totally dark dash with no click and no crank points at the battery, a blown fuse, or a bad ground.
A single click on the key points at the solenoid or a weak battery, and iFixit repair threads confirm the pattern: a weak battery may click without cranking, while a truly dead one gives no response at all.
Use the table to jump straight to the fix that matches your symptom.
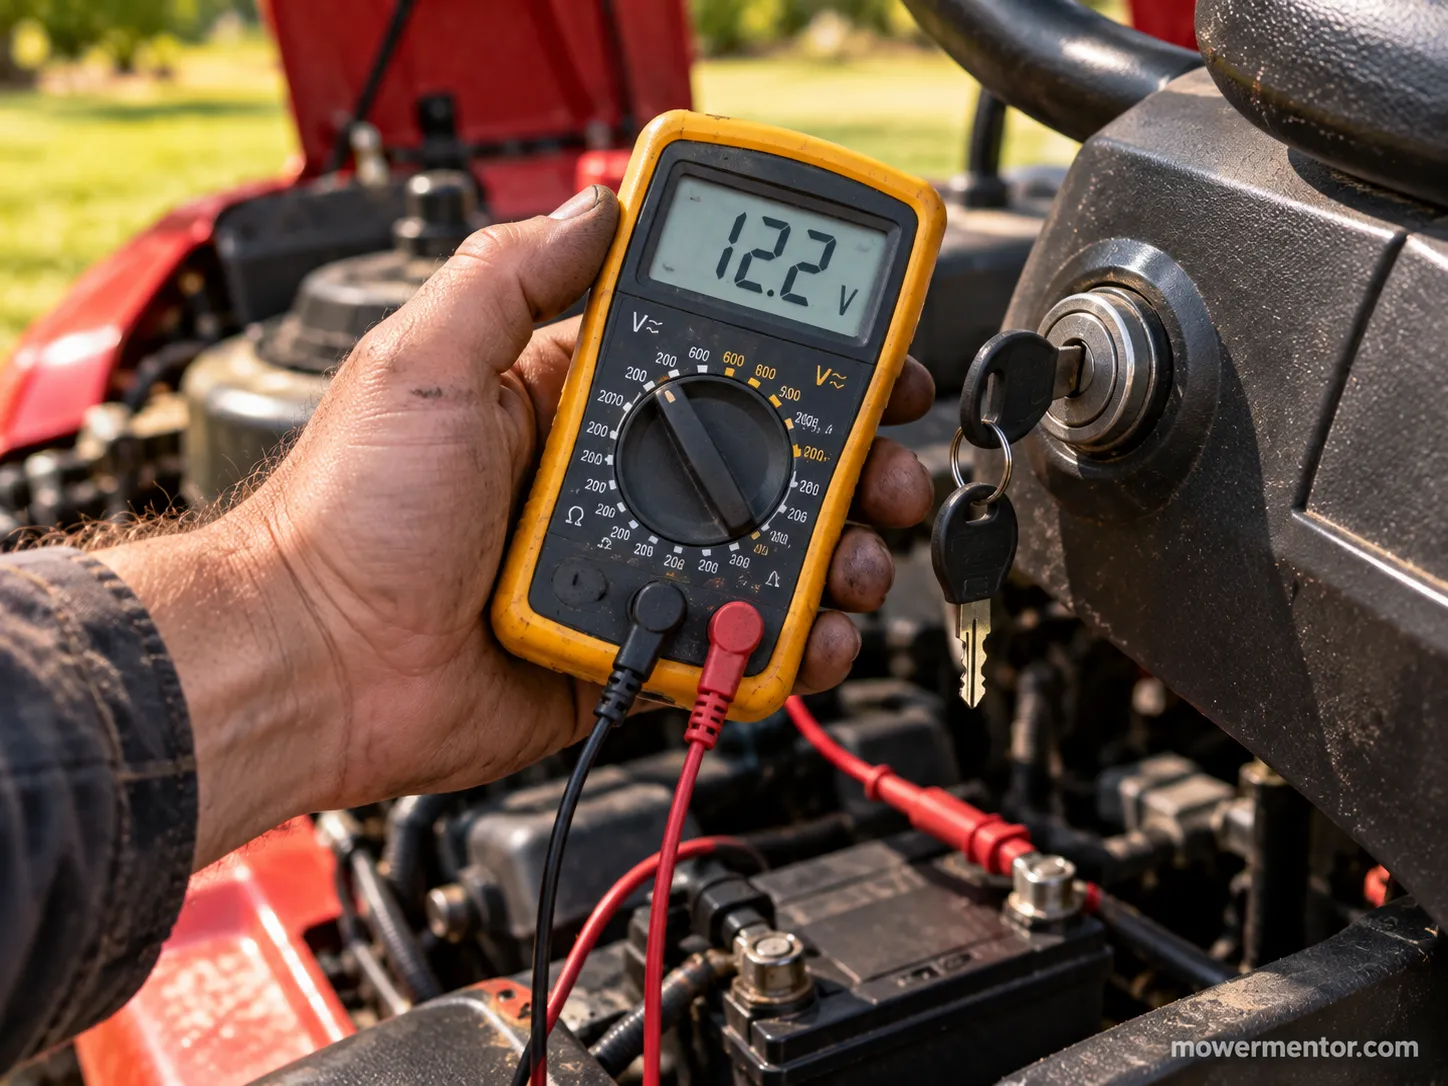
When our gas test mower dropped to a single click, a meter reading of 12.2 volts confirmed the battery, not the solenoid, every single time.
The click fooled us until we metered it, which is the whole point of this table: it narrows the cause, but the meter confirms it.
Symptom | Most likely cause | Go to |
|---|---|---|
Totally dead dash, no click no crank | Dead battery, blown main fuse, or bad ground | Gas fixes: terminals, battery, fuse |
Single click, then nothing | Weak battery or a tired solenoid | Meter the battery first, then the solenoid |
Rapid clicking | Very low battery or loose connection | Clean terminals, recharge, re-test |
Dark dash on an electric mower | Locked battery management system or safety key | Battery-electric section |
Ran fine, then died in the grass mid-mow | Charging drain, loose ground, or heat-blown fuse | The mid-mow section |
Brand-new battery, still nothing | Bad ground, blown fuse, or interlock | Ground and interlocks section |
How to read this table. Start at the row that matches what you see and hear, do that fix, and if it did not work, drop to the next most likely row.
If you get a click or a crank but the engine will not spin, jump to the no-crank battery-to-ground diagnosis instead, because that is a starter-circuit problem, not a no-power one.
Brand owners can cross-check the same symptoms against a model-specific list. Murray owners can confirm against the full Murray starting checklist.
A Craftsman that stays silent with no click has its own no-crank walkthrough.
No Power to a Gas Mower: Terminals, Battery Voltage & the Fuse
On a gas riding mower with no power, start at the battery terminals, then meter the battery, then find the main fuse, in that order, simplest and cheapest first.
A healthy 12-volt battery reads about 12.6 volts at rest, and anything below 12.0 volts means it needs replacing.
That benchmark comes from Briggs & Stratton's battery test procedure, run with a multimeter on the 20-volt DC range.
The fault owners miss most is not the visible fuse block at all: it is a hidden inline fuse or fusible link tucked into the red power wire.
Work these three fixes in order and verify each before moving on.
Tools: a digital multimeter, a wire brush or terminal cleaner, a socket set, and a spare 20-amp blade fuse.
Fix 1: Clean and Tighten the Battery Terminals
Difficulty: Easy
Time: 10 minutes
Disconnect the negative cable first, then the positive, to avoid shorting a wrench against the frame.
Scrub both posts and clamps with a wire brush; a baking-soda paste lifts green or white corrosion, then wipe dry.
Reconnect positive first, then negative, and snug both clamps so they cannot wiggle by hand.
Verify: The dash lights up or the starter responds.
If it did not work: Move to Fix 2 and meter the battery.
If your battery keeps going flat, the Craftsman battery size-and-picks guide covers why a wrong-group battery underperforms.
Fix 2: Meter the Battery and Watch for Surface Charge
Difficulty: Easy
Time: 5 minutes
Set the meter to 20 volts DC, red probe on positive, black on negative.
Read the result against the benchmarks: 12.6 volts is full, 12.4 volts needs a charge, and below 12.0 volts means replace.
If it looks fine right after charging, wait ten minutes and read again to bleed off any surface charge.
Here is the trap we logged on Mower A. A resting read of 12.1 volts looked acceptable right off the charger, but the surface charge bled away to 11.6 volts within ten minutes, which meant the battery was the fault, not the fuse.
Time after charging | Mower A resting voltage | Verdict |
|---|---|---|
0 minutes | 12.1 V | Looks borderline healthy |
5 minutes | 11.8 V | Slipping, not holding |
10 minutes | 11.6 V | Failed, replace the battery |
Verify: A stable reading at or above 12.4 volts after resting.
If it did not work: The battery is the fault.
Load test it or replace it, and John Deere owners can match fitment in the Deere battery replacement guide. A resting number can still fail under load, which is why a load test is the honest confirmation.
State-of-charge to resting-voltage mapping is standard lead-acid behavior documented by Battery Council International.
Trust note: A 12.6-volt reading can still collapse under the current a starter demands. Meter first, then load test before you declare the battery good.
Fix 3: Find and Test the Main Fuse (and the Hidden Inline Fuse)
Difficulty: Easy
Time: 10 minutes
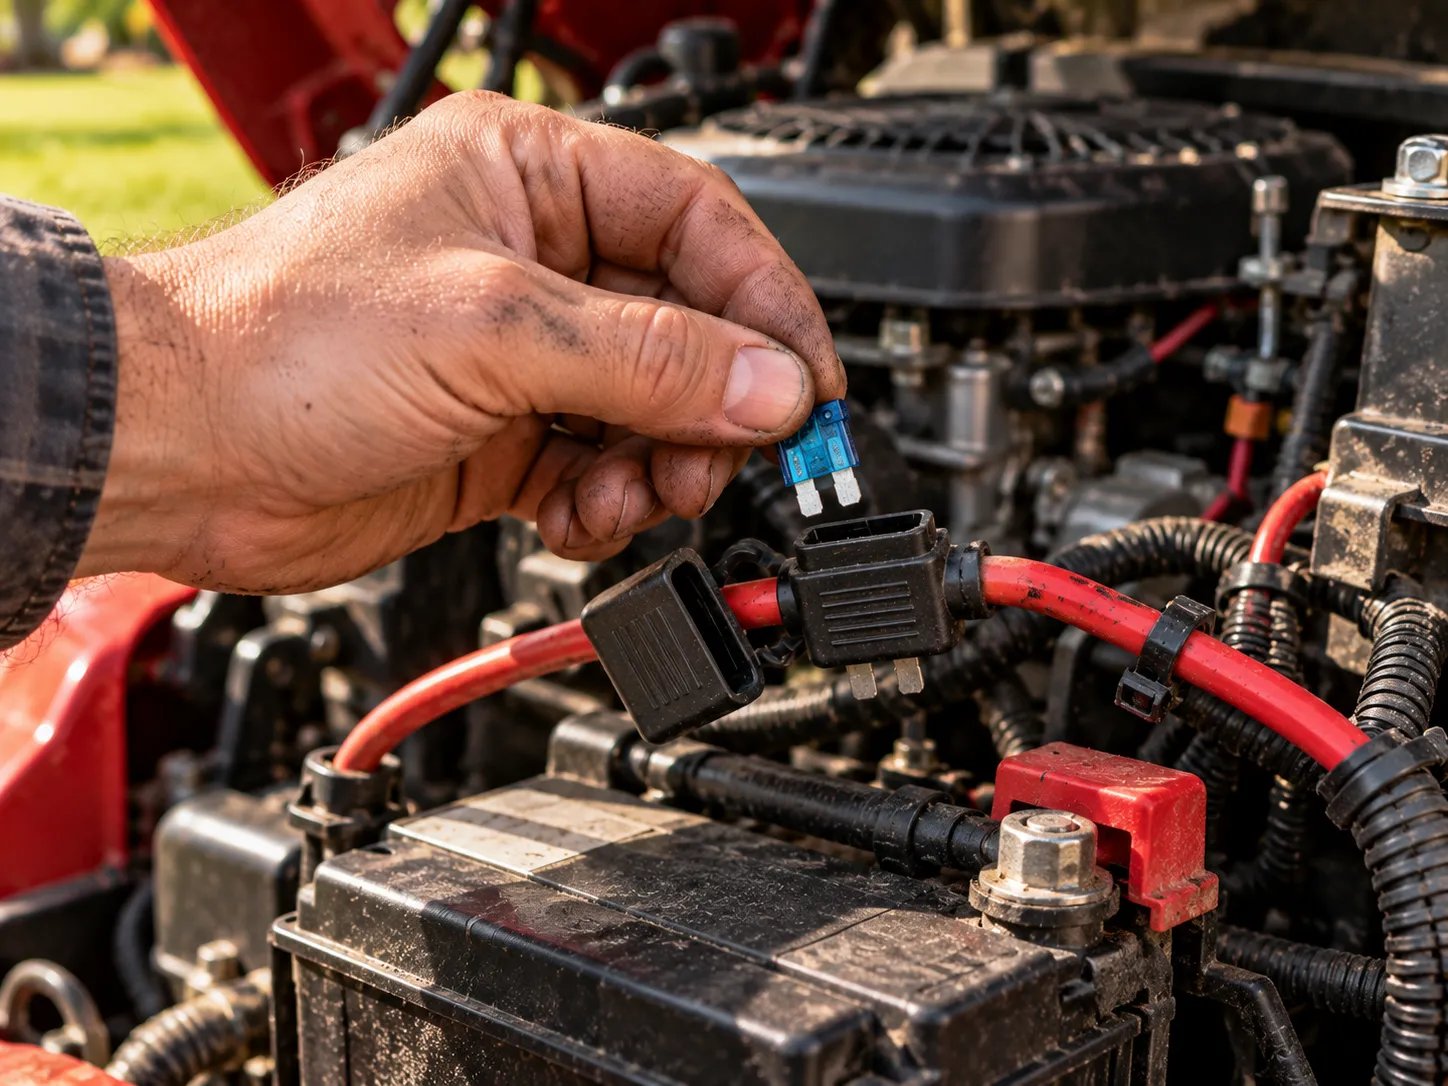
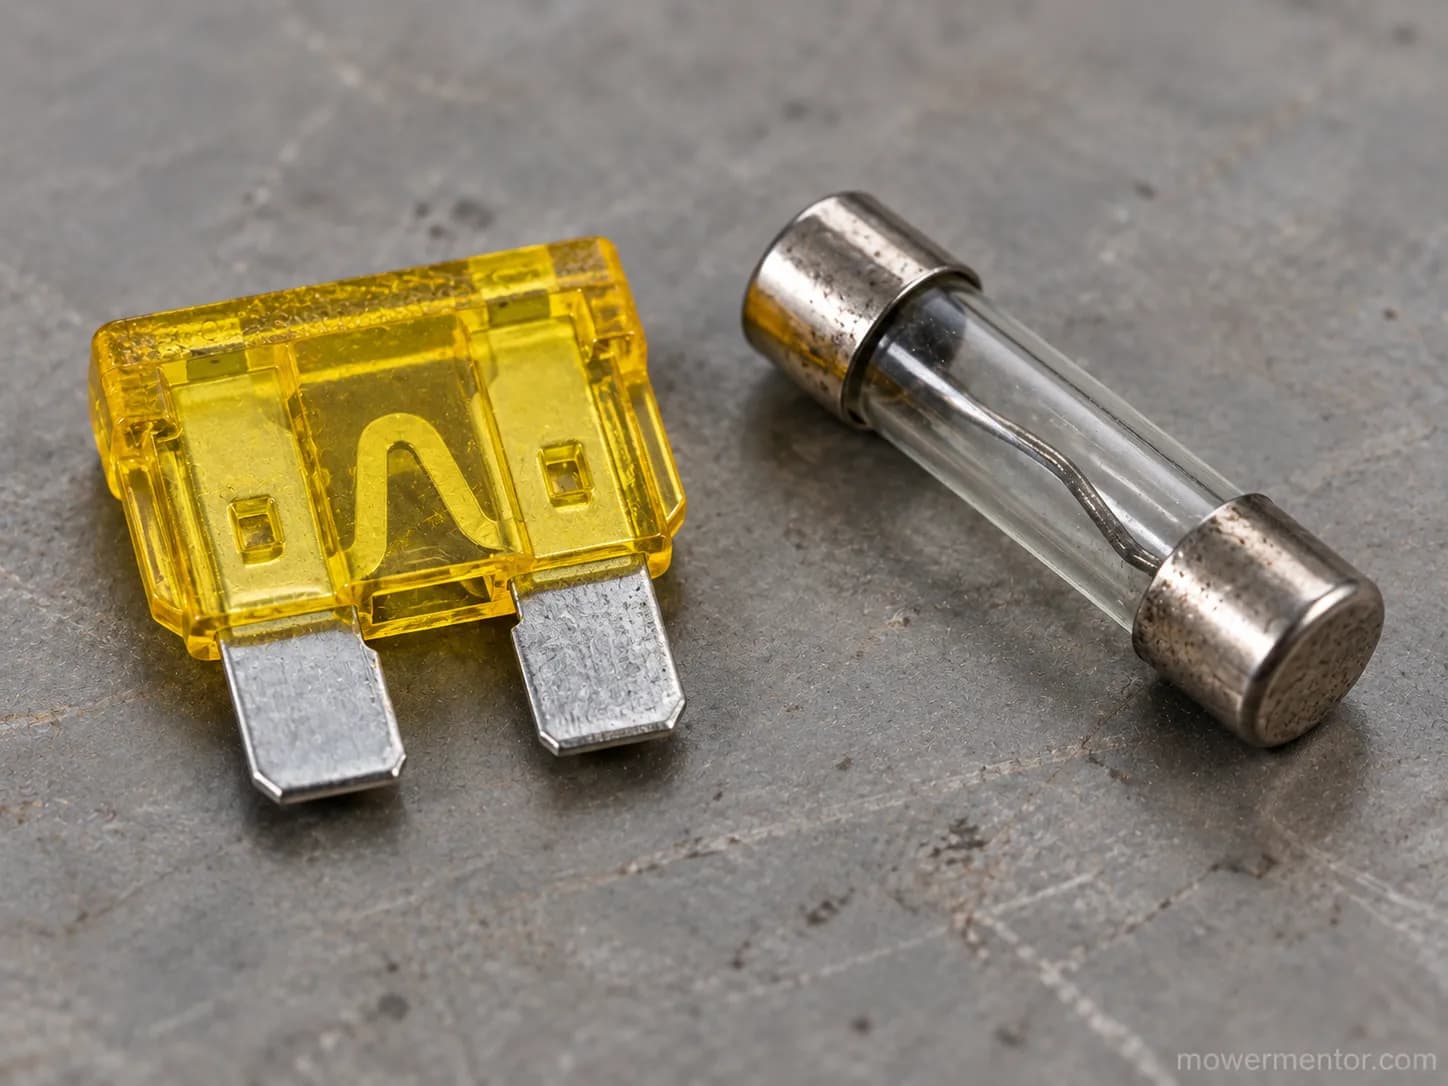
Most riding mowers use a 20-amp yellow blade fuse, usually near the battery, under the seat, or behind the dash panel; older units may use a glass-tube fuse in a twist holder.
Pull the fuse and check the metal strip, or set the meter to continuity and test it directly.
Then trace the red power wire for a small plastic bulge: that is the inline fuse or fusible link most owners never find.
On Mower A, the fuse block looked fine, but a fusible link buried in the red wire had opened, and that single hidden fuse was the whole no-power fault.
Manufacturer guidance backs the location and rating: Husqvarna's fuse guidance places a 20-amp fuse in the engine compartment and notes the mower has no power when it burns out.
Verify: Continuity across the fuse and power restored.
If it did not work: And the fuse blows again immediately, you have a short, not a bad fuse.
Do not keep feeding it fuses, because a repeat blown fuse points to a short. The Craftsman wiring and fuse guide walks the harness to find it.
Troy-Bilt Pony and Bronco owners can confirm the right group size in the Troy-Bilt battery guide before swapping parts.
Still Dead? Ground, Safety Interlocks & Ignition Switch
If the battery and fuse are good but a gas riding mower still has no power, the cause is usually a bad frame ground, a failed safety interlock, or a worn ignition switch.
The interlock chain matters: an open seat, brake, or power-take-off switch prevents power exactly as John Deere's interlock test procedure describes.
An ignition switch that has lost continuity across its terminals will leave the dash dark.
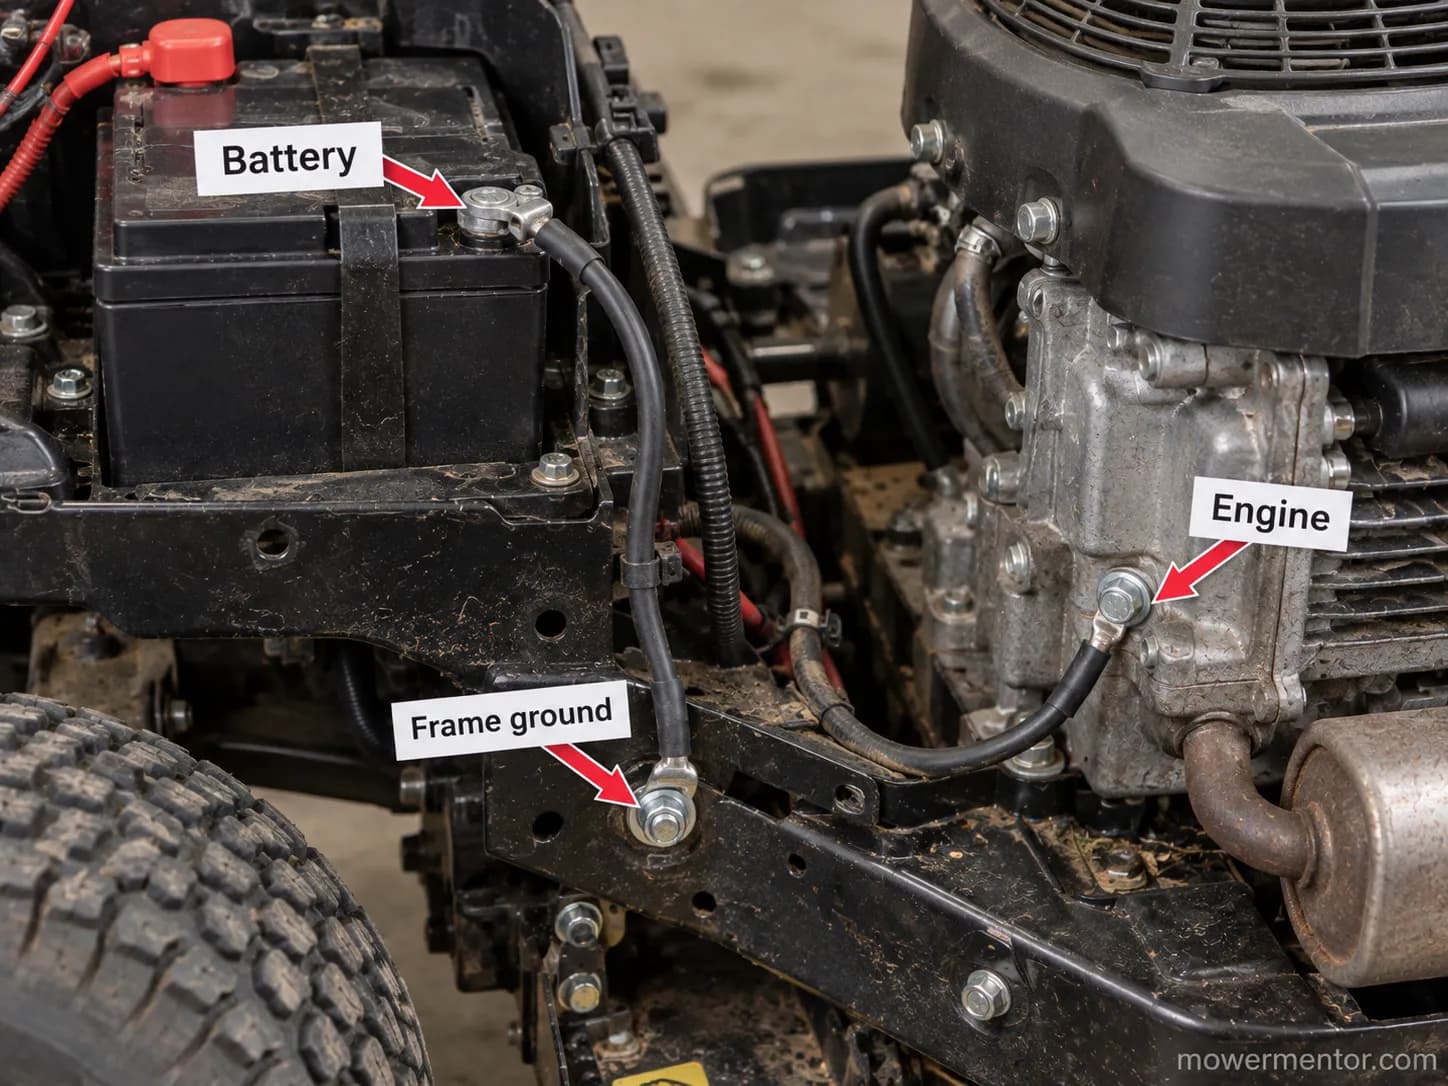
Trace the negative cable to the frame first, clean the bolt, then meter each safety switch and the ignition switch in turn.
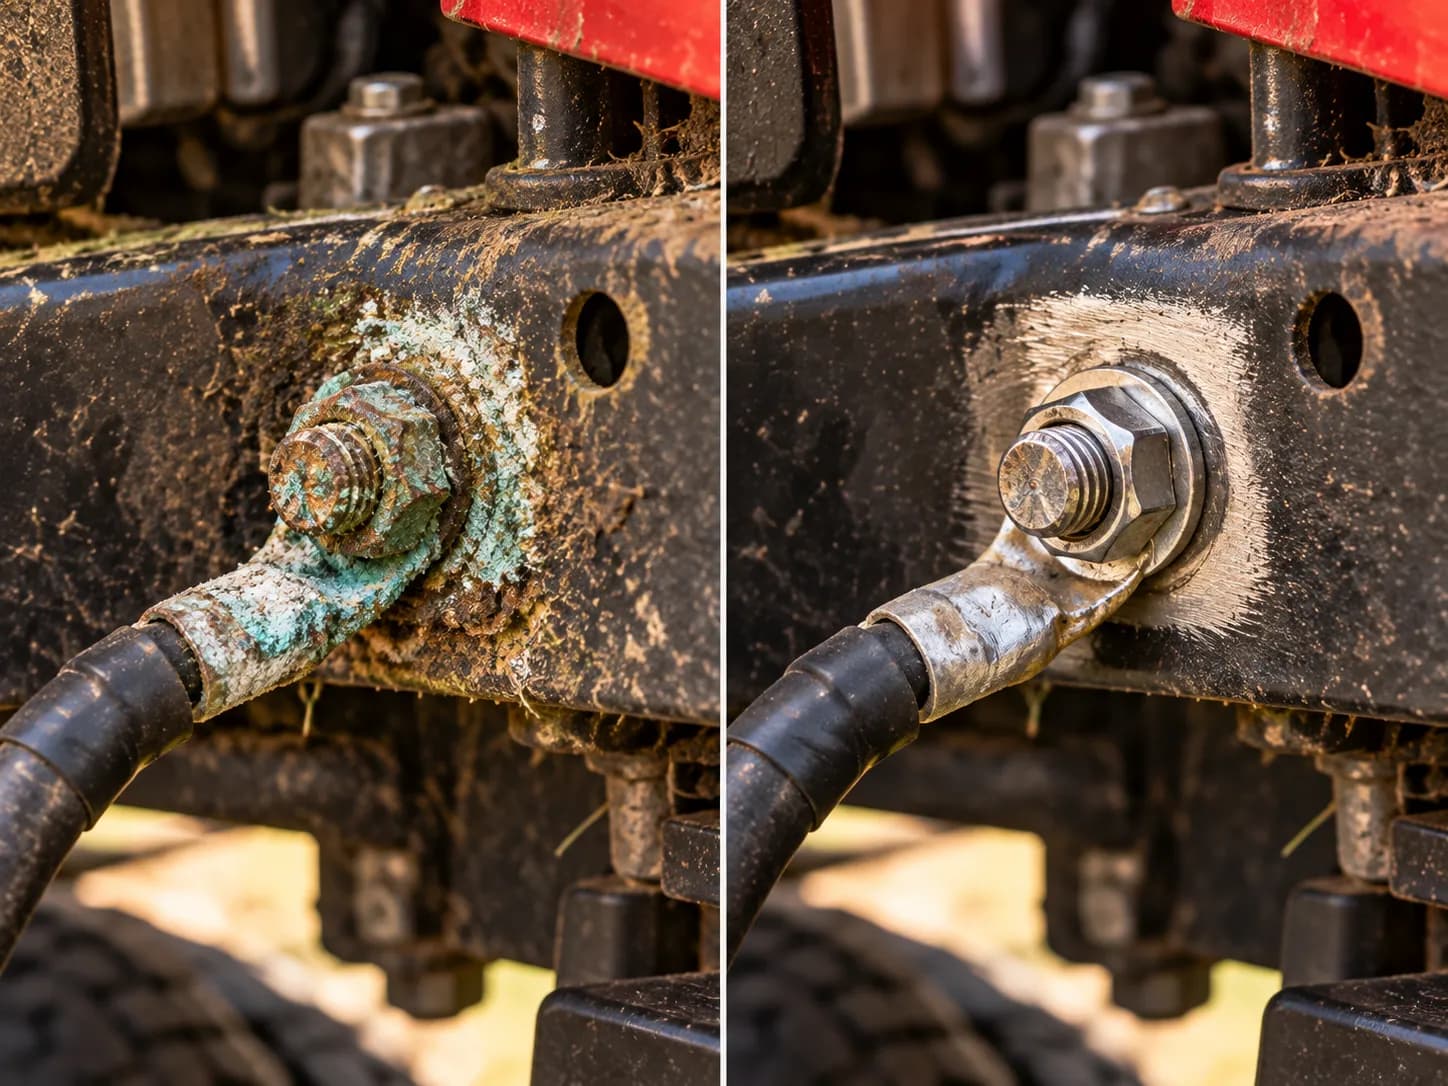
This is the fix owners skip, and it is free. A green-crusted frame-ground bolt left Mower A totally dead even with a healthy 12.7-volt battery on the meter, and cleaning that one bolt to bare metal restored the dash instantly.
Fix 4: Clean the Frame Ground
Difficulty: Easy
Time: 10 minutes
Follow the black negative cable to where it bolts to the frame or engine block.
Unbolt it, wire-brush both the bolt and the frame contact to bare metal, and torque it back down tight.
A bad ground starves the whole circuit, so it mimics a dead battery even when the battery reads full.
Verify: The dash returns with the battery you already tested.
If it did not work: Move to the interlocks.
Fix 5: Test the Safety Interlocks
Difficulty: Moderate
Time: 20 minutes
Meter the seat, brake, and power-take-off switches for continuity as you actuate each one.
Watch for a shorting clip in the seat-switch connector that some models use; a displaced clip reads as an open circuit and kills power.
A single stuck-open switch anywhere in the chain can present as a completely dead mower.
Verify: Each switch changes state on the meter when actuated.
If it did not work: Meter the ignition switch.
A silent Husqvarna with no click has a dedicated no-crank flow that maps each switch.
Trust note: Do not permanently defeat a safety interlock.
Those switches stop the blades when you leave the seat, and bypassing them for good is how people get hurt.
Fix 6: Meter the Ignition Switch
Difficulty: Moderate
Time: 20 minutes
With the key in the start position, test continuity across the battery and start terminals of the switch.
Inspect the harness plug behind the switch for corrosion or a melted pin.
A switch that will not complete the circuit in start needs replacing.
Verify: Continuity in the start position.
If it did not work: The fault may be deeper in the harness.
John Deere's full flowchart covers the solenoid and safety-switch branch step by step. For repeated shorts, the Husqvarna fuse and wiring guide maps the harness.
The ignition switch test here follows Kohler's engine support method. Toro's support documents the same fuse-and-interlock behavior on its machines.
Battery-Electric Riding Mower With No Power (BMS Reset, Safety Key, Charger)
A battery-electric riding mower with no power at all is a different animal, and no gas checklist applies.
The usual culprit is the battery management system, which locks a lithium pack after a deep discharge to protect the cells. That is exactly the behavior Ryobi and EGO support describe for their riding models.
A warped or missing safety key, a corroded charge port, or a tripped thermal cutout produce the same dark dash.
Reconnect the charger to wake the pack, confirm the safety key, and let an overheated pack cool before you test anything.
We saw this firsthand on Mower B. After roughly four months of winter storage the dash was completely dark.
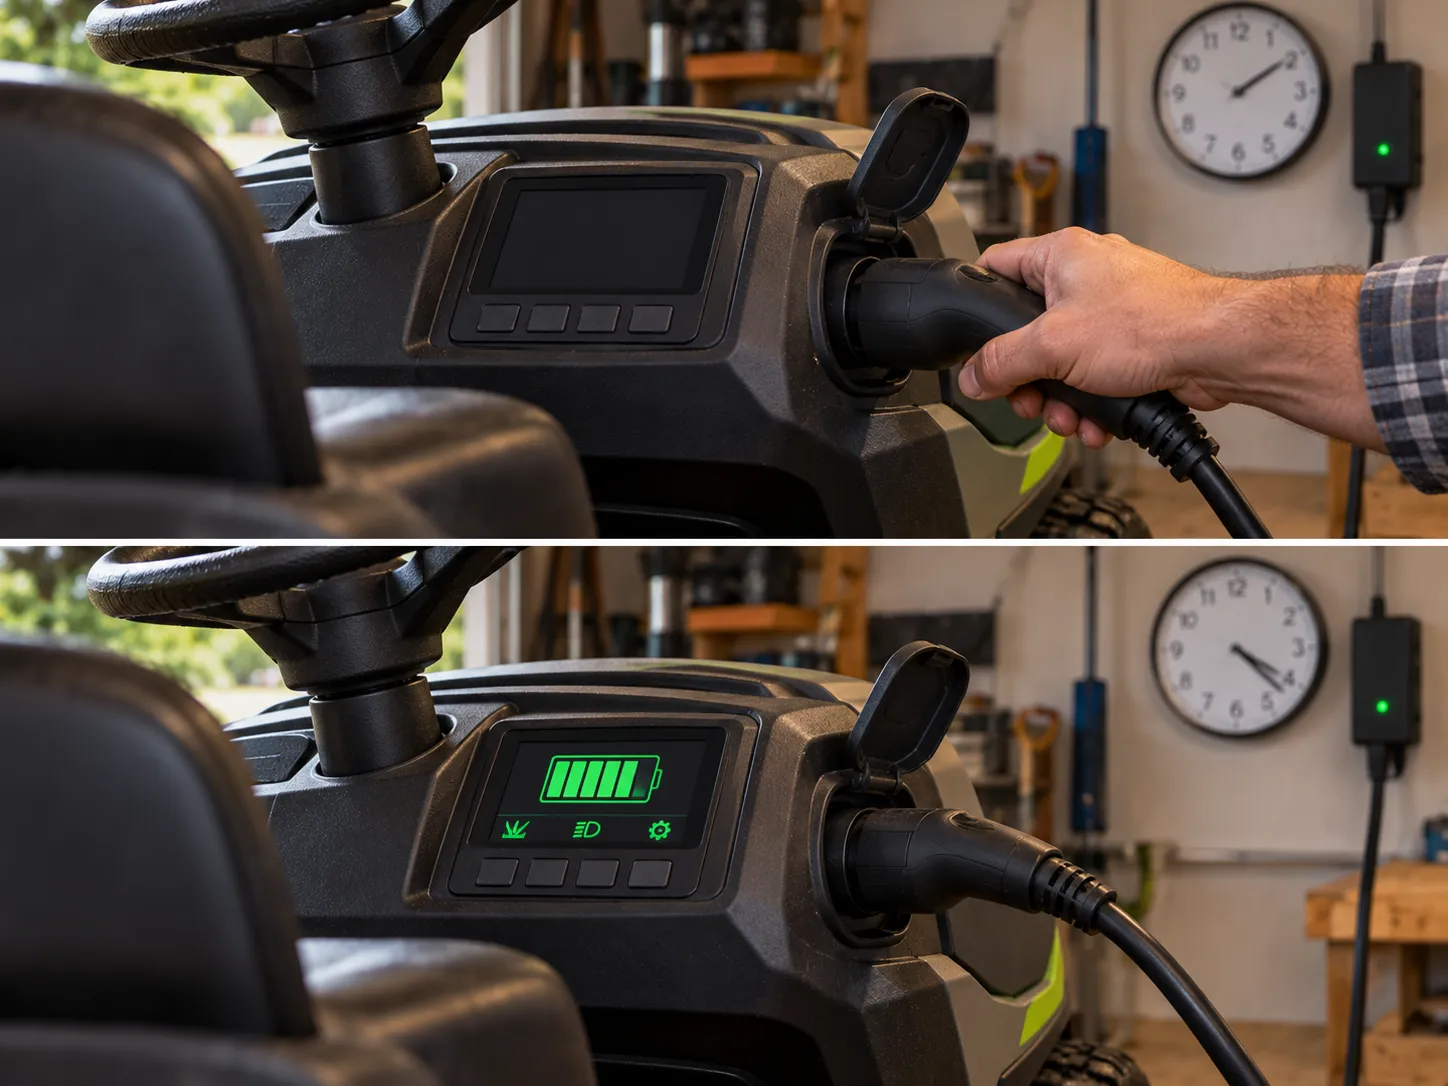
Reconnecting the charger for about twenty minutes woke the battery management system, and the dash returned. The pack was never actually dead, it was just locked.
Wake a Locked Battery Management System
Plug the charger in and leave it connected; a deep-discharged pack often needs several minutes before it accepts a charge.
On packs with a reset button, hold it for five to ten seconds, or remove and reseat the battery to clear the lockout.
Give it time. Our wake took about twenty minutes before the first dash light returned.
Check the Safety Key and Charge Port
Inspect the safety or start key for warping and reseat it fully; a missing or damaged key leaves the mower dead by design.
Test the wall outlet with a lamp, because a dead outlet over winter is a classic silent cause.
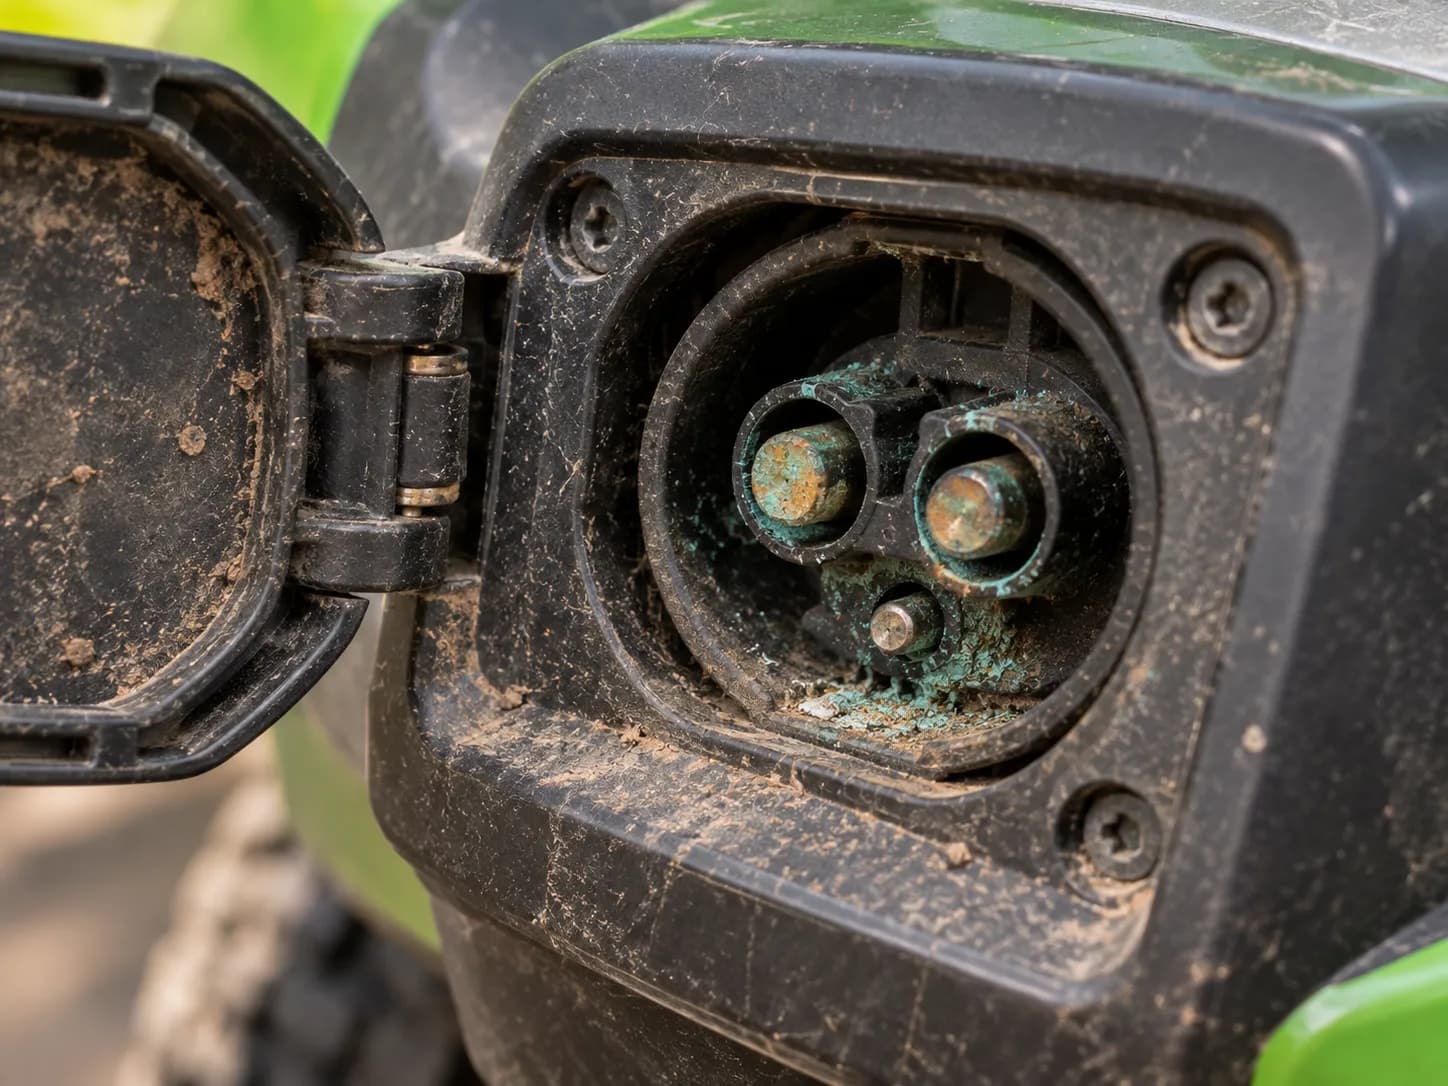
Look inside the charge port for corrosion or bent pins and check the charger's own fault light.
Rule Out a Thermal Cutout
An overheated pack or motor will refuse to power up until it cools.
Move the mower into the shade, wait, and retry once it is cool to the touch.
Cub Cadet documents the same reset and fuse checks across its electric and gas riding lines on its Cub Cadet support pages.
If it did not work: Stop and contact the maker. Battery mowers still need seasonal care, so it is worth knowing what an electric mower tune-up involves.
Cub Cadet's electric and gas lines share a battery guide for sizing and replacement.
Trust note: Never force-charge a swollen lithium pack.
Swollen cells are a fire risk, so if you see bulging, stop and contact the manufacturer or an authorized service center.
Ran Fine Yesterday, Now Nothing? Why It Died Mid-Mow
A riding mower that ran fine yesterday and now has no power usually did not fail on the battery alone.
A bad charging system, a failing stator or voltage regulator, slowly drained the battery flat while you mowed, or vibration loosened a ground or terminal until it let go.
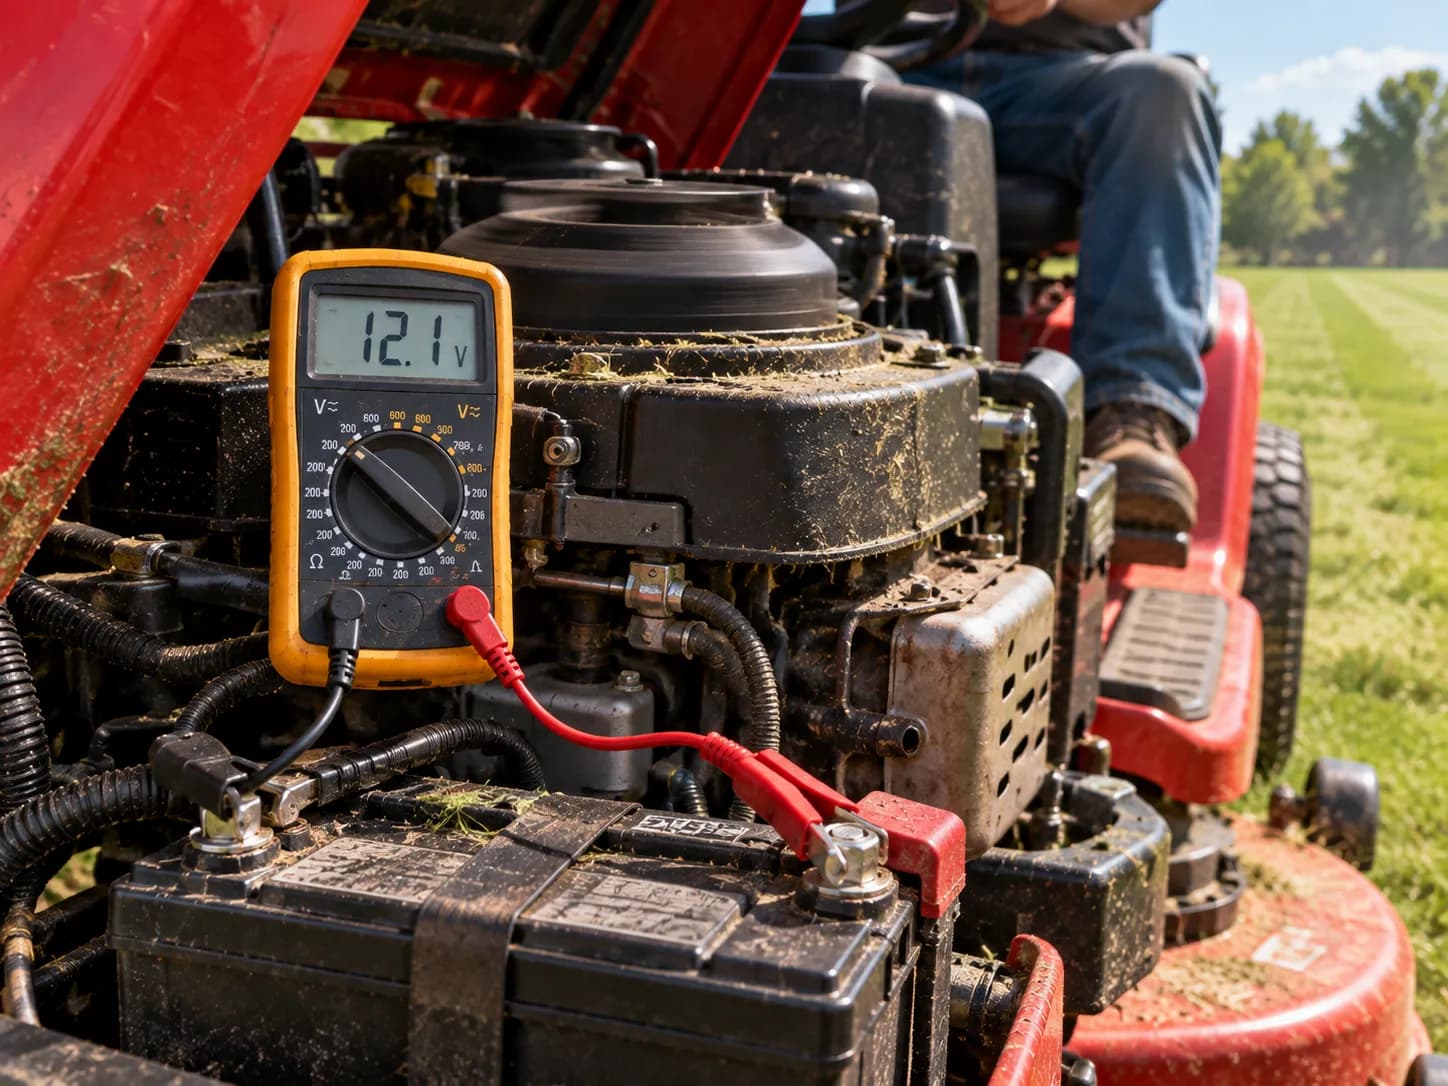
The tell is running voltage: at full throttle a healthy charging system delivers roughly 13.5 to 14.4 volts at 3600 RPM, per Briggs & Stratton.
A flat running reading means the charging system, not the battery, is the cause.
That is exactly what killed Mower A mid-cut. It died in the grass, and when I metered it at full throttle the charging voltage read 12.1 volts instead of the expected 14, so the stator had quietly let the battery drain flat while I mowed.
Reading | Healthy | Mower A (charging fault) |
|---|---|---|
Resting voltage, engine off | 12.6 V | 12.4 V |
Running voltage at full throttle | 13.5 to 14.4 V | 12.1 V |
Meaning | Charging system is topping up the battery | Stator or regulator is not charging |
The three sudden-death causes:
Charging drain: A bad stator or voltage regulator runs the battery flat as you mow.
Loose ground or terminal: Vibration works a connection loose until power drops.
Heat-stressed fuse or connection: An already-marginal fuse or joint finally opens under load.
Prevent the repeat: Check and torque the ground bolt each spring, keep terminals clean, and put the battery on a maintainer over winter.
Husqvarna owners can confirm pack sizing in the Husqvarna battery size guide before replacing.
Folding these checks into a full lawn mower tune-up each spring catches drains before they strand you.
Trust note: A jump-start will get you back to the shed, but it will not fix a bad stator. If the running voltage stays flat, plan on a charging-system repair.
When to Stop DIY and Call a Pro
Most riding mower no-power faults are DIY, but a few are not, and knowing where to stop saves money and frustration.
Call a technician when a fuse blows again right after a harness check, when a lithium pack is swollen or hot, when the starter is seized, or when every check above passes and the mower stays dead.
A shop can bench-test a stator and map harness continuity end to end with tools most owners do not own.
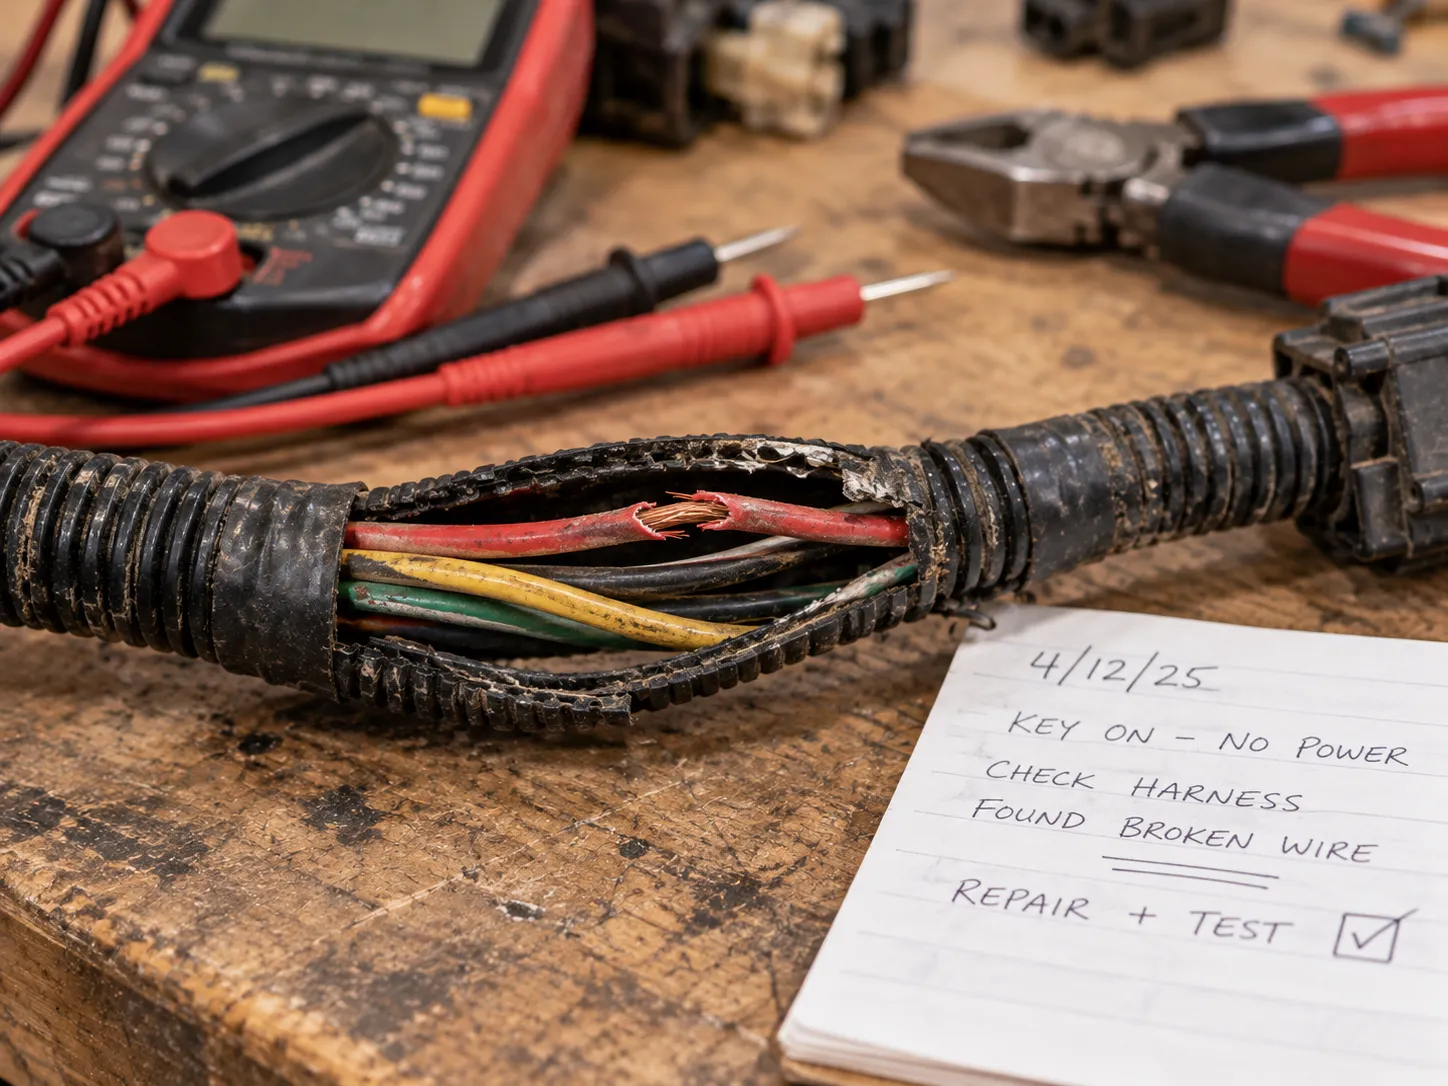
We hit that wall once. After our checks passed but Mower A stayed dead, a shop bench-test found a broken wire buried inside the harness where we simply could not reach, and that is the one fault we hand off every time.
Stop and call a pro when you see:
A fuse that blows the instant you replace it, after a harness check.
A lithium battery pack that is swollen, hot, or smells of chemicals.
A starter that is seized, or a mower still dead after every test passes.
Any battery-electric fault still under warranty, which a DIY repair can void.
Before you book a shop, Troy-Bilt owners can run the full fuel-and-electrical diagnosis to be sure it is not something simple you can still fix at home.
Frequently Asked Questions
Does a riding lawn mower have a fuse, and where is it?
Yes. Most riding mowers use a 20-amp blade fuse near the battery, under the seat, or behind the dash panel, and many also hide an inline fuse or fusible link in the red power wire.
When it blows, the mower has no power at all. Once it powers up, match the right filter with the John Deere air-filter finder.
What voltage should a riding mower battery read?
A fully charged 12-volt riding mower battery reads about 12.6 volts at rest on a multimeter set to 20 volts DC. A reading of 12.4 volts means it needs a charge, and anything below 12.0 volts means the battery is failing and should be replaced.
Wait ten minutes after charging so surface charge does not give you a false high.
Why does my riding mower have no power after I put in a new battery?
A new battery that still gives a dead dash usually points somewhere else: a bad frame ground, a blown fuse, or an open safety interlock.
On our test mower, a new battery with no power turned out to be a loose, corroded ground bolt, not the battery at all. Clean the ground and check the fuse before doubting the new battery.
What size fuse does a riding mower use, 20A or 30A?
Most riding mowers use a 20-amp fuse as the main ignition fuse, though some models specify 30 amps, so always match the amperage printed on the fuse or the box cover.
Never fit a higher-rated fuse to stop it blowing, because that removes the protection and can damage the wiring. If it runs rough after it starts, a gas-soaked air filter has its own fix.
How do I reset a battery-electric riding mower?
Reconnect the charger and leave it plugged in, because a deep-discharged lithium pack often needs several minutes before the battery management system unlocks it.
On packs with a reset button, hold it for five to ten seconds, or remove and reseat the battery. Confirm the safety key is seated, and let an overheated pack cool first.
Can a bad ground cause a riding mower to have no power?
Yes, and it is one of the most missed causes. A corroded or loose frame-ground bolt starves the entire circuit, so the mower reads as completely dead even when the battery meters at a healthy 12.7 volts.
Cleaning the ground bolt to bare metal often restores power instantly. If a fuse then blows again you have a short, so do not keep replacing it.
Why did my riding mower die suddenly while mowing?
A mower that ran fine and then died in the grass usually lost its charging system, not just its battery. A failing stator or voltage regulator drains the battery flat as you mow, which shows up as a low running voltage at full throttle instead of the healthy 13.5 to 14.4 volts.
Still won't fire once powered? Changing and gapping the spark plug is the next step.
The Bottom Line
A dead riding mower feels like an expensive problem, but the cause is almost never the part owners reach for first.
Fixing riding mower no power comes down to checking the right circuit in the right order: on a gas machine, terminals then battery then the hidden fuse then the ground, and on a battery-electric machine, waking the locked pack and confirming the safety key.
Work the checks simplest-first, meter before you buy anything, and you will solve most dead-dash cases in an afternoon for the price of a fuse.
Keep the ground clean and the battery on a maintainer over winter, and next season the key turns and the mower simply starts.
Found this useful? Make us a preferred source so we show up in your Google results.
Keep reading
Related articles
Troubleshooting & Repair
How to Bypass Safety Switch on Riding Mower (Bench-Tested)
Jump a seat, brake or PTO interlock safely: how to bypass safety switch on riding mower for bench testing, with 2-wire/4-wire diagrams and a restore checklist.
Troubleshooting & Repair
Riding Lawn Mower Won't Turn Over: 5-Stage Voltage Test
Fix it fast: a riding lawn mower won't turn over usually means battery, ground, solenoid or starter. Test each in 5 ordered stages.
Troubleshooting & Repair
Just Clicks? Solenoid Troy-Bilt Riding Mower, Fixed (Pony)
Diagnose a solenoid Troy-Bilt riding mower fault fast: the single-click test, safe screwdriver bypass, 725-1426 fitment and step-by-step Pony/Bronco replacement
Troubleshooting & Repair
Troy-Bilt Riding Mower Starter: 14/16-Tooth Fit & Test
Test your Troy-Bilt riding mower starter in two minutes, tell it apart from a bad solenoid, and match the 14- or 16-tooth Briggs/Kohler unit before you buy.
The discussion
Comments
Every comment is reviewed before it goes live.