The Husqvarna Riding Mower Safety Switch Nobody Tests Right
Locate every Husqvarna riding mower safety switch (seat, brake, PTO), test each with a multimeter, and bypass one safely to diagnose a no-start.
Written by Tony MaldonadoReviewed by Wade CoburnLast updated on September 8, 2026
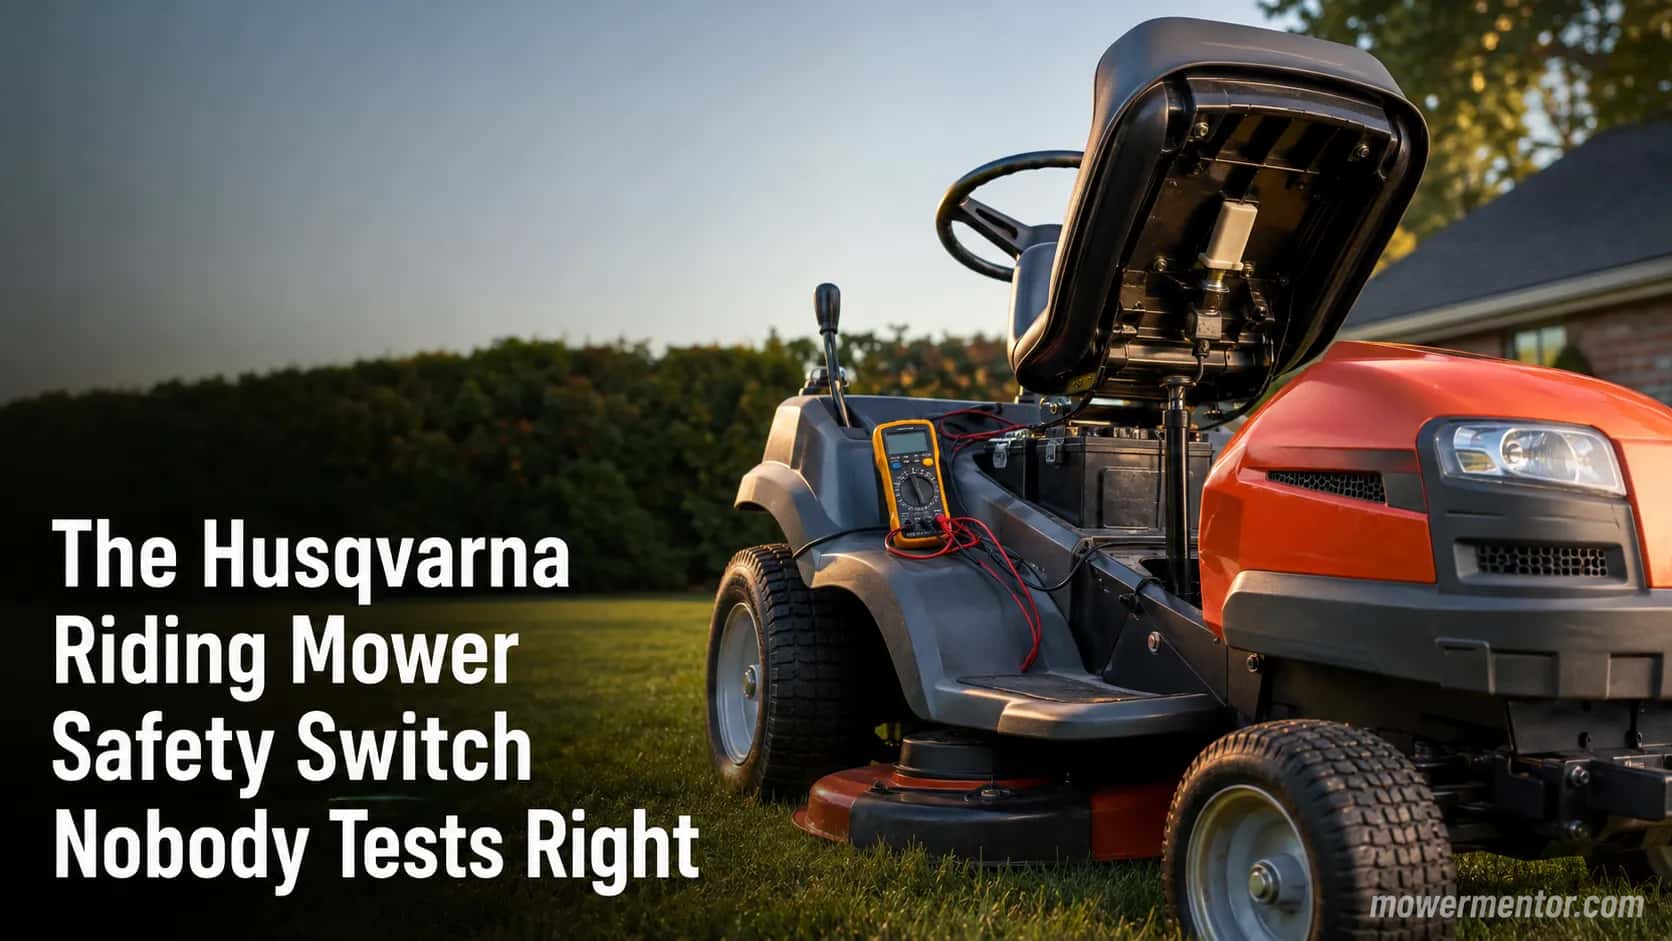
When you buy through links on our site, we may earn an affiliate commission (at no extra charge), which we use to fund new product tests. Learn more.
Read it your way
Short on time? Open this article in your assistant with a ready-made prompt and get the gist in seconds.
Found this useful? Make us a preferred source so we show up in your Google results.
Most no-start and mid-mow-cutout problems on a Husqvarna get "fixed" by buying a seat switch that was never the fault.
A Husqvarna rider has four interlock points, each is normally-open or normally-closed for a reason, and each takes about a minute to test correctly.
Test first, then replace only what actually fails.
The Quick Answer: How Many Switches and Where
If your Husqvarna cranks then dies, or won't crank at all, the first thing to test (not replace) is a Husqvarna riding mower safety switch.
A Husqvarna riding mower has four operator-presence interlock points, not the two most pages mention.
The four interlocks: The seat (operator-presence) switch under the seat pan, the parking-brake switch at the pedal or lever, the PTO (blade-engagement) switch behind the blade knob, and, on many models, a reverse (RIO) interlock near the shifter or dash.
Any one of them can block a start or cut the engine while you mow, and every one can be checked in minutes with a $10 multimeter.
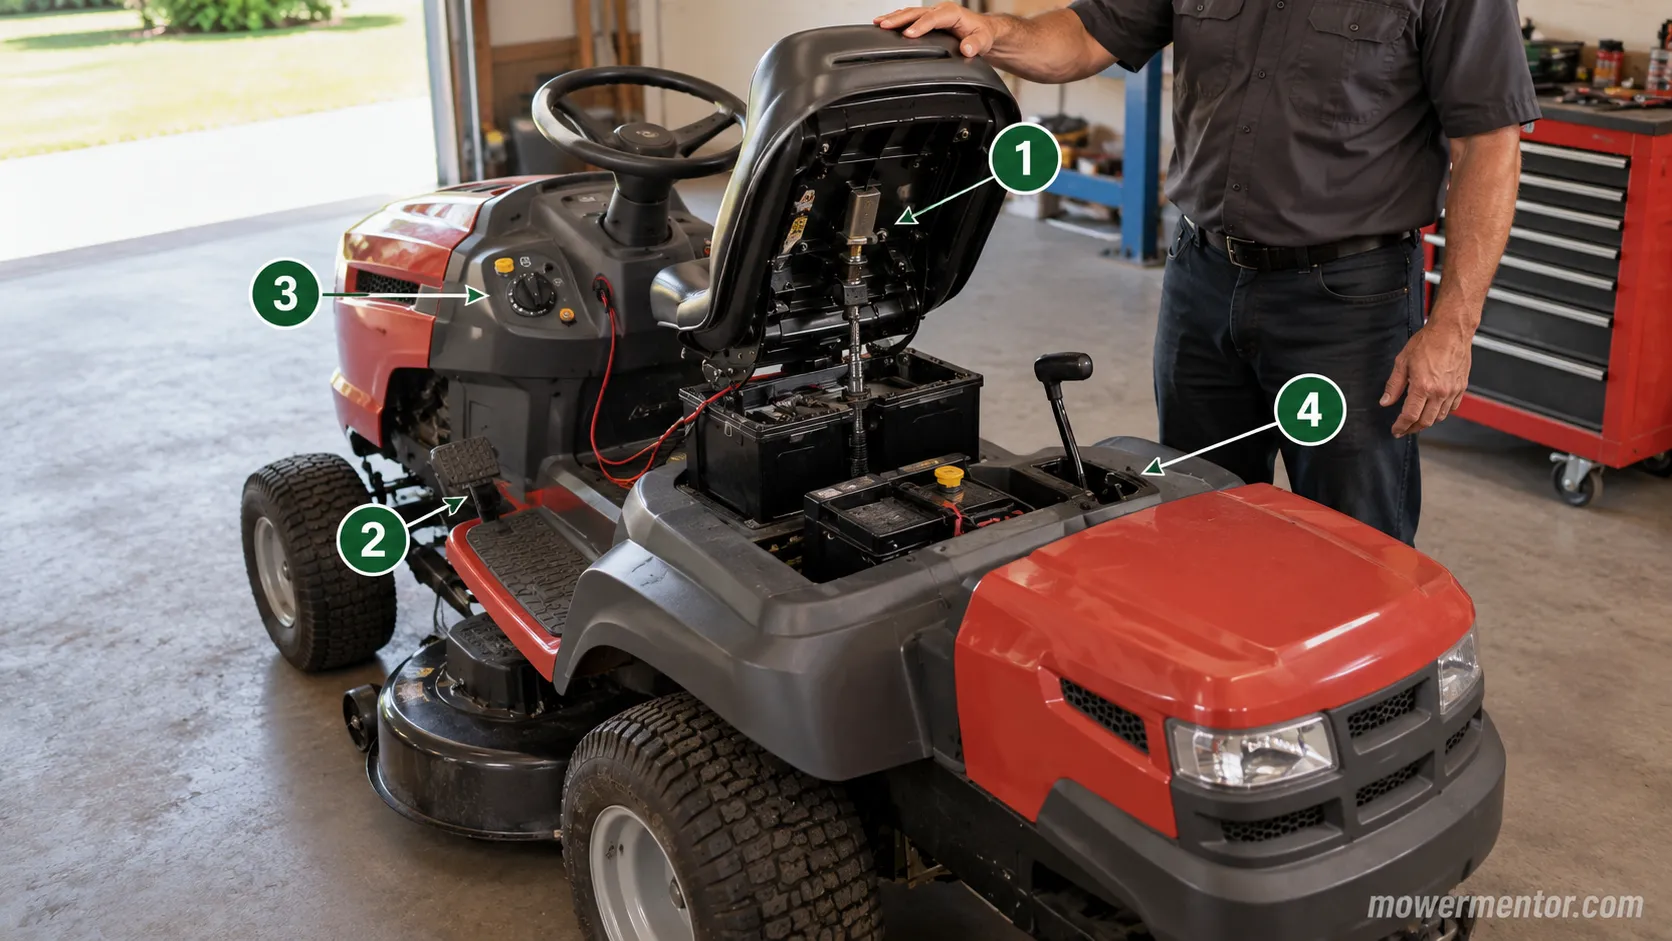
On our YTH22K42 shop unit, the four points sit exactly where the parts diagram says, and the seat switch is the one that trips most often.
The reverse interlock is model-dependent, so treat it as "check whether yours has one" rather than assumed.
Husqvarna Riding Mower Safety Switch: The Four Interlocks (Seat, Brake, PTO, Reverse)
The Husqvarna riding mower safety switch system is really four interlocks wired into the crank-and-run circuit, and each one guards a different action.
The seat switch confirms someone is sitting, the parking-brake switch confirms the brake is set, the PTO switch confirms the blades are off, and the reverse interlock blocks blade rotation while backing up.
According to Husqvarna's rider lineup, operator-presence controls are standard equipment across the range, which is why a single open contact anywhere in that chain can stop the engine cold.
The brand has built these machines since long before the current model names, and its corporate history traces back to 1689, which matters here only because part numbering and plug styles have stayed consistent enough that cross-referenced switches usually fit.
The seat switch, which owners call the seat pressure or seat occupancy switch, lives under the seat pan and is plunger-activated.
On our YTH24K48 it twist-locks a quarter turn into the seat pan, and it feeds the operator-presence relay that also watches the brake state.
For the deeper single-switch walkthrough, see our guide to the seat switch.
The parking-brake switch sits at the brake pedal or lever and must be set for the engine to crank.
If yours cranks only with the brake fully locked, that switch and its linkage are doing their job. The brake interlock guide covers adjustment and replacement in detail.
The PTO switch sits behind the blade-engagement knob and must read "off" to crank.
Many Husqvarna PTO plugs are four-pin, where two of the pins are the kill pair and two carry the enable signal, which is why a "2-wire versus 4-wire" mix-up sends people home with the wrong part.
The reverse (RIO) interlock, where fitted, sits near the shifter or dash and stops the blades from spinning in reverse rather than stopping motion.
Because the whole chain shares one logic, the same interlock behavior applies across brands, which we cover generally in how riding-mower interlocks work.
Locations vary: Exact placement shifts by model year, and not every Husqvarna has a reverse interlock. Confirm against your own model's parts diagram before you order anything.
How to Test Each Switch With a Multimeter
Testing each Husqvarna interlock switch is a continuity check, and the reading tells you pass or fail with no guesswork.
A good normally-open interlock reads OL (open) at rest and drops to near-zero ohms when actuated, while a normally-closed contact does the reverse.
Per Fluke's continuity guide, an open circuit shows OL and a closed one beeps at low resistance, and the circuit must be de-energized before you probe.
Set up the meter first, then work one switch at a time.
Turn the key off and disconnect the battery so the circuit is de-energized.
Set the multimeter to continuity mode and seat the leads in COM and the V-ohm jack.
Unplug the switch and touch one probe to each terminal of the switch itself.
Read the at-rest state, then actuate the switch (press the plunger, set the brake, toggle the PTO) and read again.
Compare against the expected values below.
Switch | Meter mode | At rest | Actuated | Our measured reading |
|---|---|---|---|---|
Seat / operator-presence | Continuity | OL (open) | Closed | 0.3 ohms seated |
Parking-brake | Continuity | OL (open) | Closed | 0.2 ohms with brake set |
PTO / blade kill pair | Continuity | Closed | OL (open) | Beep only with knob off |
Reverse (RIO), if fitted | Continuity | OL (open) | Closed | 0.4 ohms actuated |
The PTO row looks backward on purpose: the kill pair is normally-closed, so the "motion-control arms out" position is what opens it.
Owners sometimes call the two black grounding leads the "kill wires," and a switch that reads correctly on the bench can still fail under vibration.
Wiggle test: A switch that passes static continuity can still drop out under load. Flex the plug and tap the switch while probing to catch an intermittent before you reassemble.
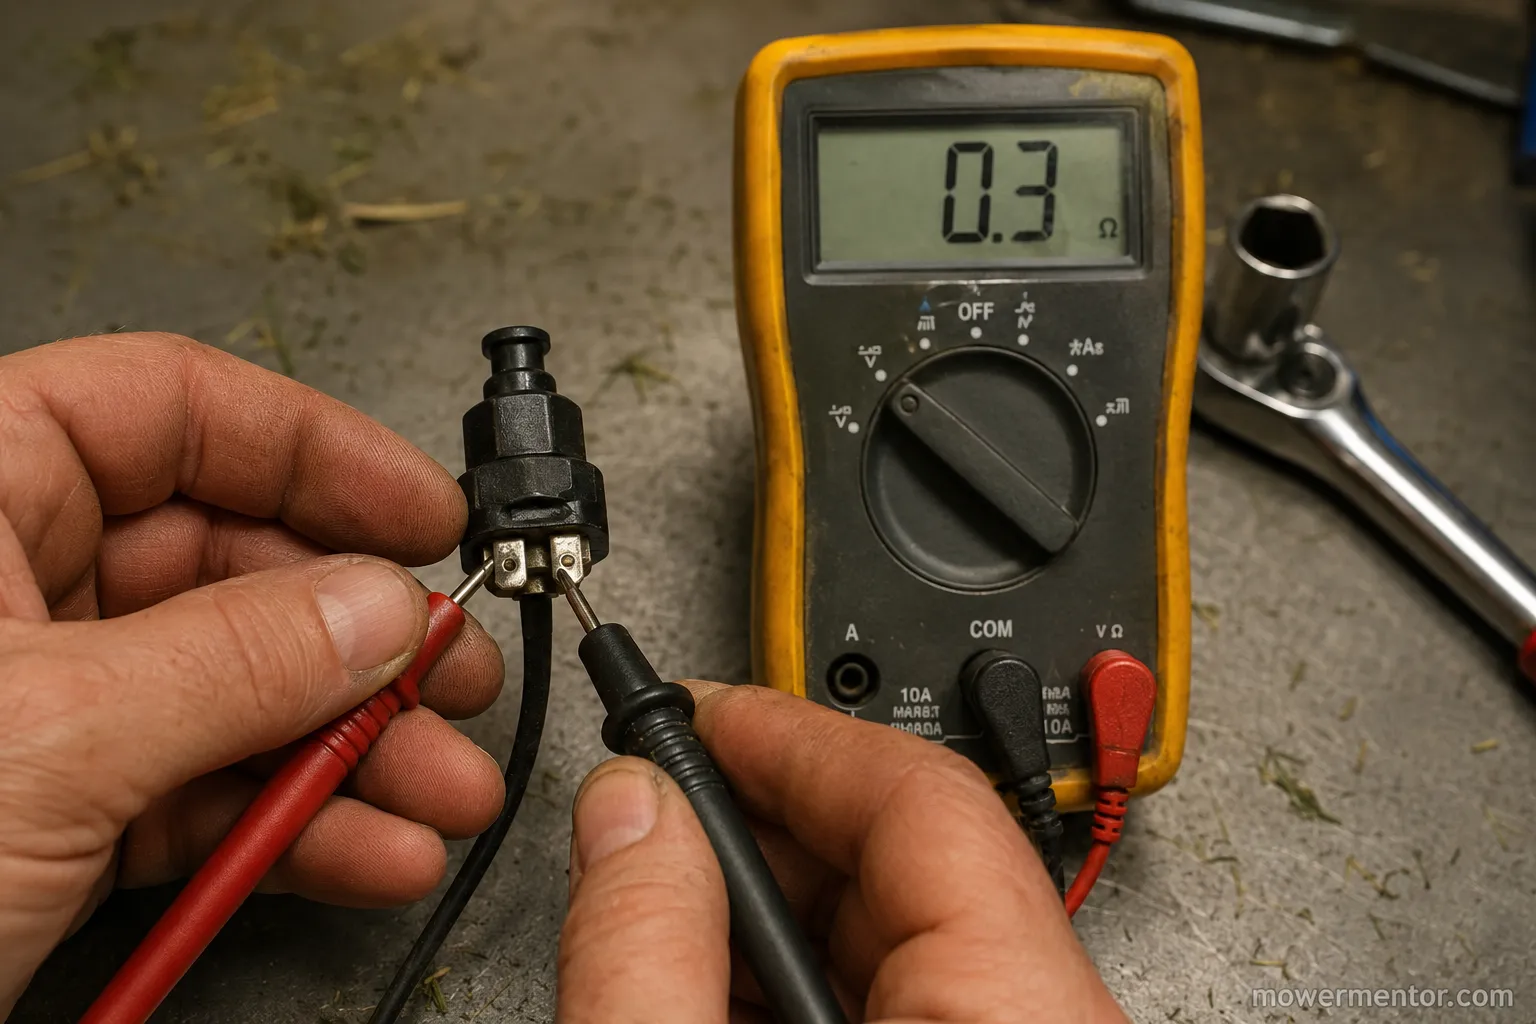
On our bench the seat switch read OL open, then dropped to about 0.3 ohms the moment the plunger pressed, using a Fluke 117 on the continuity setting.
The same method appears in Fluke's automotive continuity walkthrough, which is the closest published reference to how these low-current switches behave.
If a switch tests fine but you still have no crank, the fault is upstream.
Check the harness and connectors with our Husqvarna wiring guide, because a chafed lead mimics a dead interlock.
A blown fuse does the same thing, so confirm you have the correct fuse in the right slot before condemning a switch.
Symptom to Which Switch Is Failing
The fastest way to fix a Husqvarna interlock problem is to route the symptom to the likely switch before touching a part.
A mower that starts but dies the instant you release the parking brake or shift your weight off the seat is almost always the seat or brake interlock, or the operator-presence relay they share.
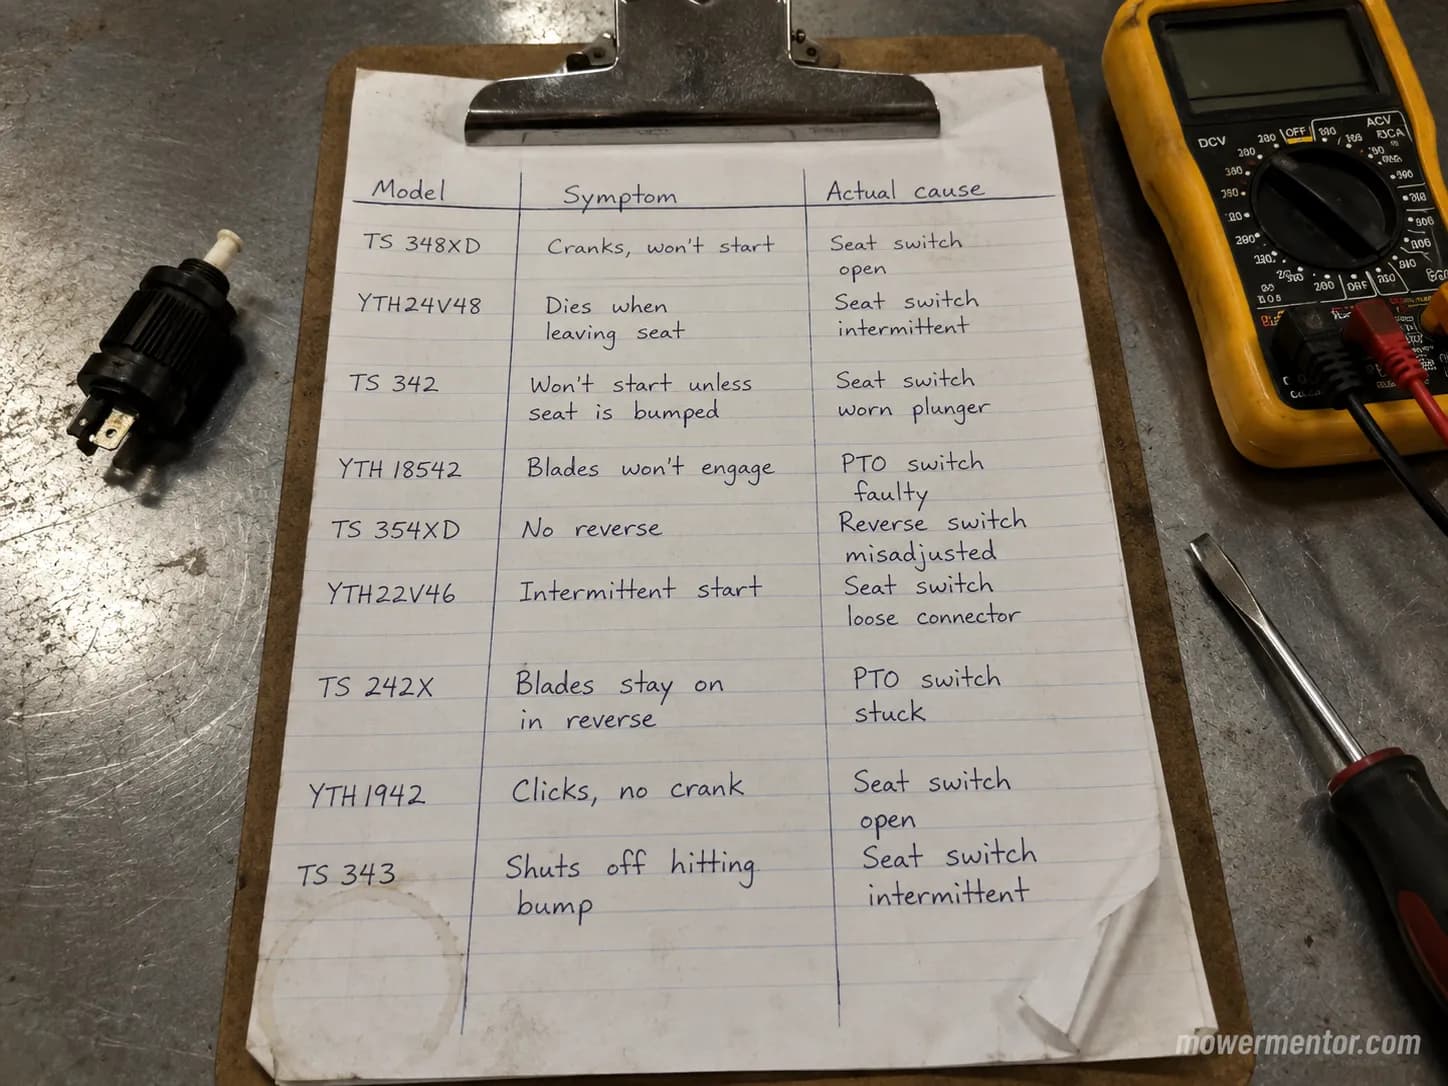
Across our shop log, that single symptom accounts for the majority of "safety switch" calls, and nine times out of ten it is a disconnected or failed seat plunger rather than the relay.
Symptom | Most likely cause | Quick test | If it passes, go here |
|---|---|---|---|
Runs, dies when you leave the seat | Seat switch or its plug | Continuity while pressing plunger | Check the operator-presence relay |
Won't crank unless brake is locked hard | Brake switch or linkage | Continuity with brake set | Inspect brake adjustment |
Won't crank with blades off | PTO switch stuck | Continuity on the kill pair | |
Nothing at all, no click | Battery, ground, or ignition | Battery voltage and ground | |
Single click, no crank | Solenoid, not a switch | Solenoid click test | |
Whirs but won't engage | Starter drive | Listen for spin without crank | Signs of a bad starter |
Cranks fine but won't fire | Fuel or spark, not a switch | Spray test or spark check | When starting fluid helps |
Why Does My Husqvarna Die When I Lift the Parking Brake or Lean Off the Seat?
Because both the seat and brake feed the operator-presence relay, releasing either one while seated tells the mower the operator has left.
The engine kills as designed. The usual culprit is a seat switch that has lost continuity or a plug that has vibrated loose, and owners often trigger it themselves by having "shifted while sitting" enough to unweight the seat.
If the spark side checks out but you still cannot fire, check the spark plug first rather than chasing interlocks.
When the symptom is truly no-crank, step back to the master path in the master electrical decision tree.
For a dead machine with no click at all, work through the no-crank battery-to-ground path before assuming a switch.
Check the connector first: A corroded or unplugged connector reads exactly like a failed switch.
Unplug, inspect for green corrosion, reseat, and retest before you spend a dime on parts.
Diagnostic-Only Bypass: Test It, Do Not Defeat It
You can bypass a Husqvarna seat safety switch to confirm it is the fault, and then you put it back.
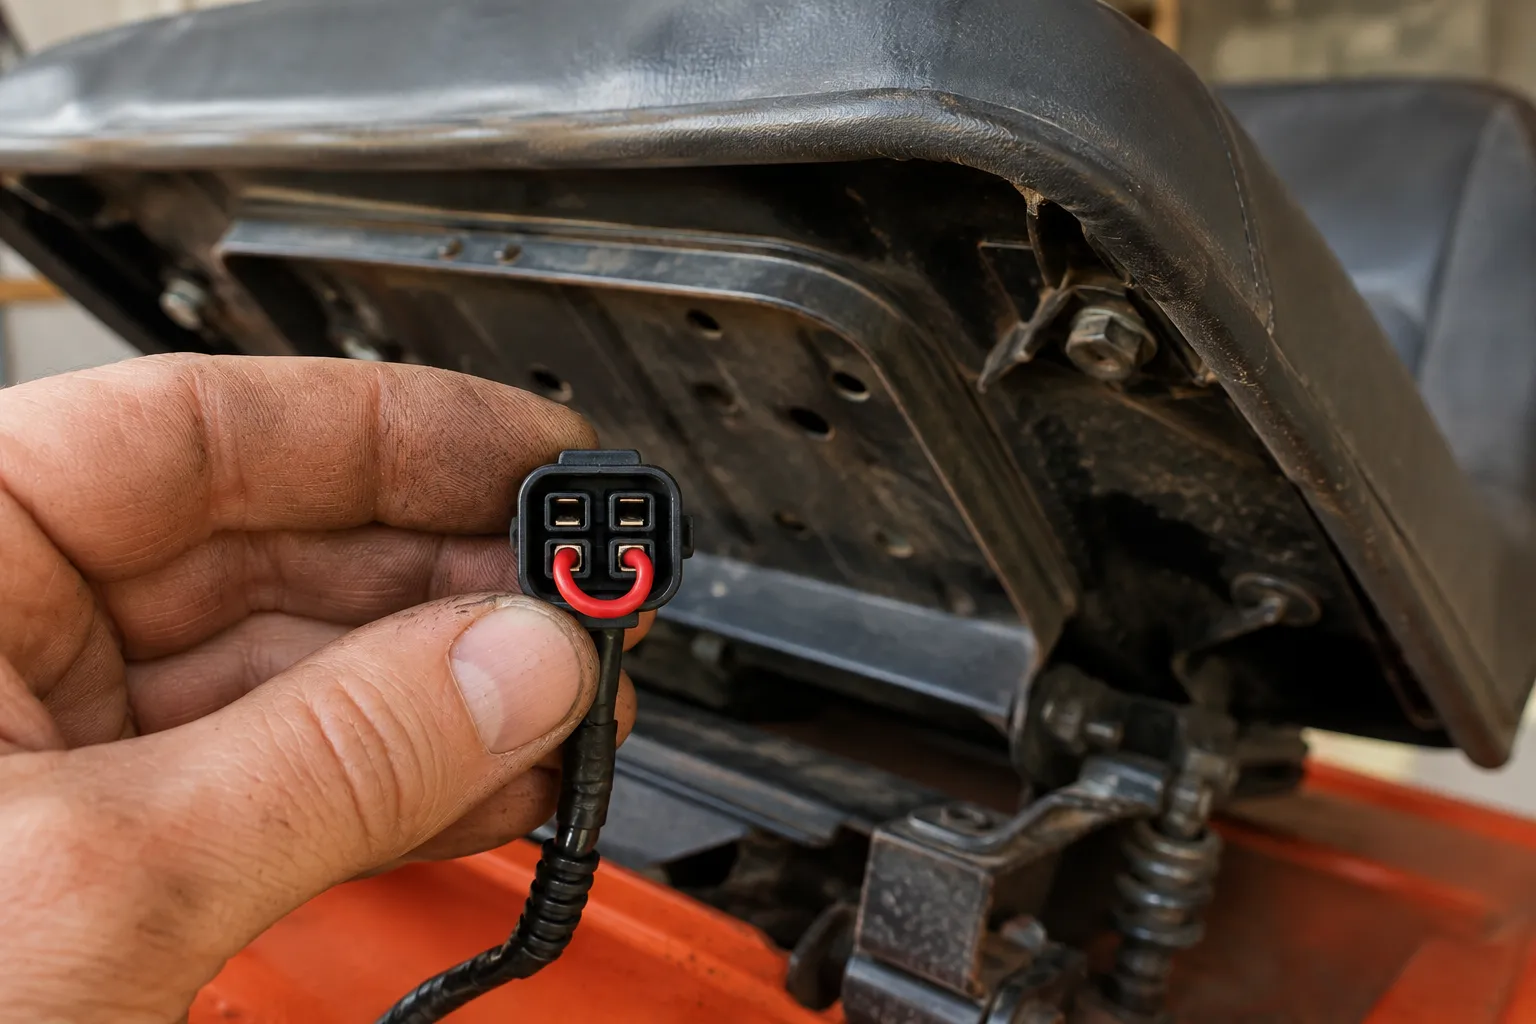
Jump the two start-side pins on the seat plug, verify the engine cranks, and reconnect the switch, which proves the switch was the problem without leaving the machine unsafe.
This is a diagnostic step, not a permanent modification, and the operator-presence system exists for a real reason.
Unplug the seat switch connector and identify the two start-side pins.
Use a short insulated jumper to bridge only those two pins.
Sit on the mower, set the brake, and attempt a normal start.
If it now cranks, the seat switch or its wiring is your fault.
Remove the jumper and reconnect the switch before doing anything else.
On our YTH24K48, jumping the two start-side pins let it crank, which confirmed the seat switch, but blade-engage still died until we reconnected the plug, exactly as the four-pin logic predicts.
That is why a shorting jumper that ties all four pins is a testing tool, never a fix.
Safety, not optional: Never mow with the operator-presence switch defeated.
Under the ANSI/OPEI B71.1 standard, riding mowers must stop the blades within seconds of the operator leaving the seat, and defeating that is how bystander and rollover injuries happen.
The zip-tie, hose-clamp, or C-clamp-the-plunger tricks you see in forums fall into the same trap: they hold the seat switch closed permanently, which is unsafe and can still leave blade-engage killed on a four-pin plug.
When you do need to bypass a switch for a legitimate reason, do it the controlled way described in the responsible bypass guide.
Replacing a Bad Switch: Part Numbers and Fitment
Once a switch actually fails the test, buy the right part by model, not by guess.
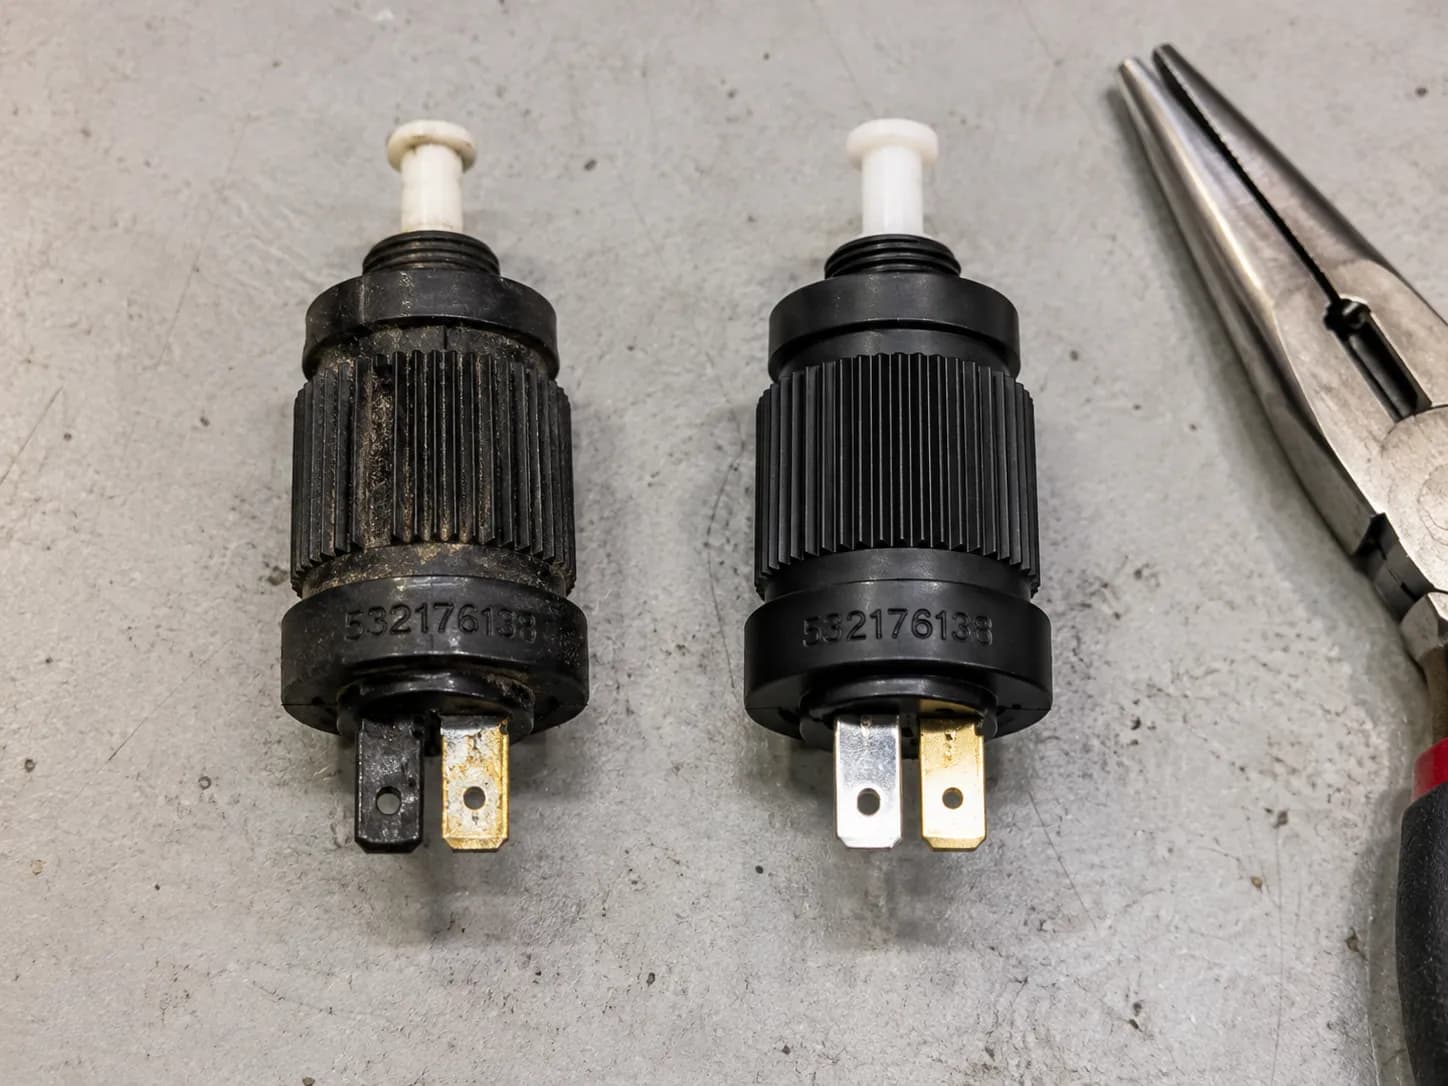
The common Husqvarna interlock switch is part number 532176138, cross-referenced to 153664 and 176138, and the plunger seat switch on many units is 532421062.
A corroborated interlock listing shows the 532176138 fitting multiple brands in the $9 to $30 band, which is why confirming the plug count first saves a return.
Model | Switch type | OEM part number | Cross-references |
|---|---|---|---|
YTH22K42 | Interlock, 4-pin | 532176138 | 153664, 176138 |
YTH24K48 | Seat plunger, 2-pin | 532421062 | Model-specific |
Z246i | Interlock, 4-pin | 532176138 | 153664, 176138 |
The two-wire versus four-wire distinction is the whole game here: a two-pin plunger and a four-pin interlock look similar in a photo but will not swap.
On our YTH bracket, the four-pin 532176138 dropped straight in, while the seat plunger needed the two-pin 532421062, which we confirmed by matching the old plug rather than trusting a listing title.
If your no-crank turns out to be the starter rather than any switch, jump to how to test the starter instead.
Aftermarket caution: Cheap two-pack aftermarket switches work but vary in quality and detent feel.
Confirm plug count and terminal spacing against your old part before ordering.
When to Stop, Get Help, and Keep Switches Working
When the interlocks all test good but the mower still misbehaves, the fault is usually a relay, a ground, or a chafed harness rather than a switch.
A weak battery also mimics an interlock no-start by browning out the crank circuit, so rule out the battery early.
Husqvarna itself frames routine maintenance as central to reliability, and clean, dry, well-connected switches simply last longer.
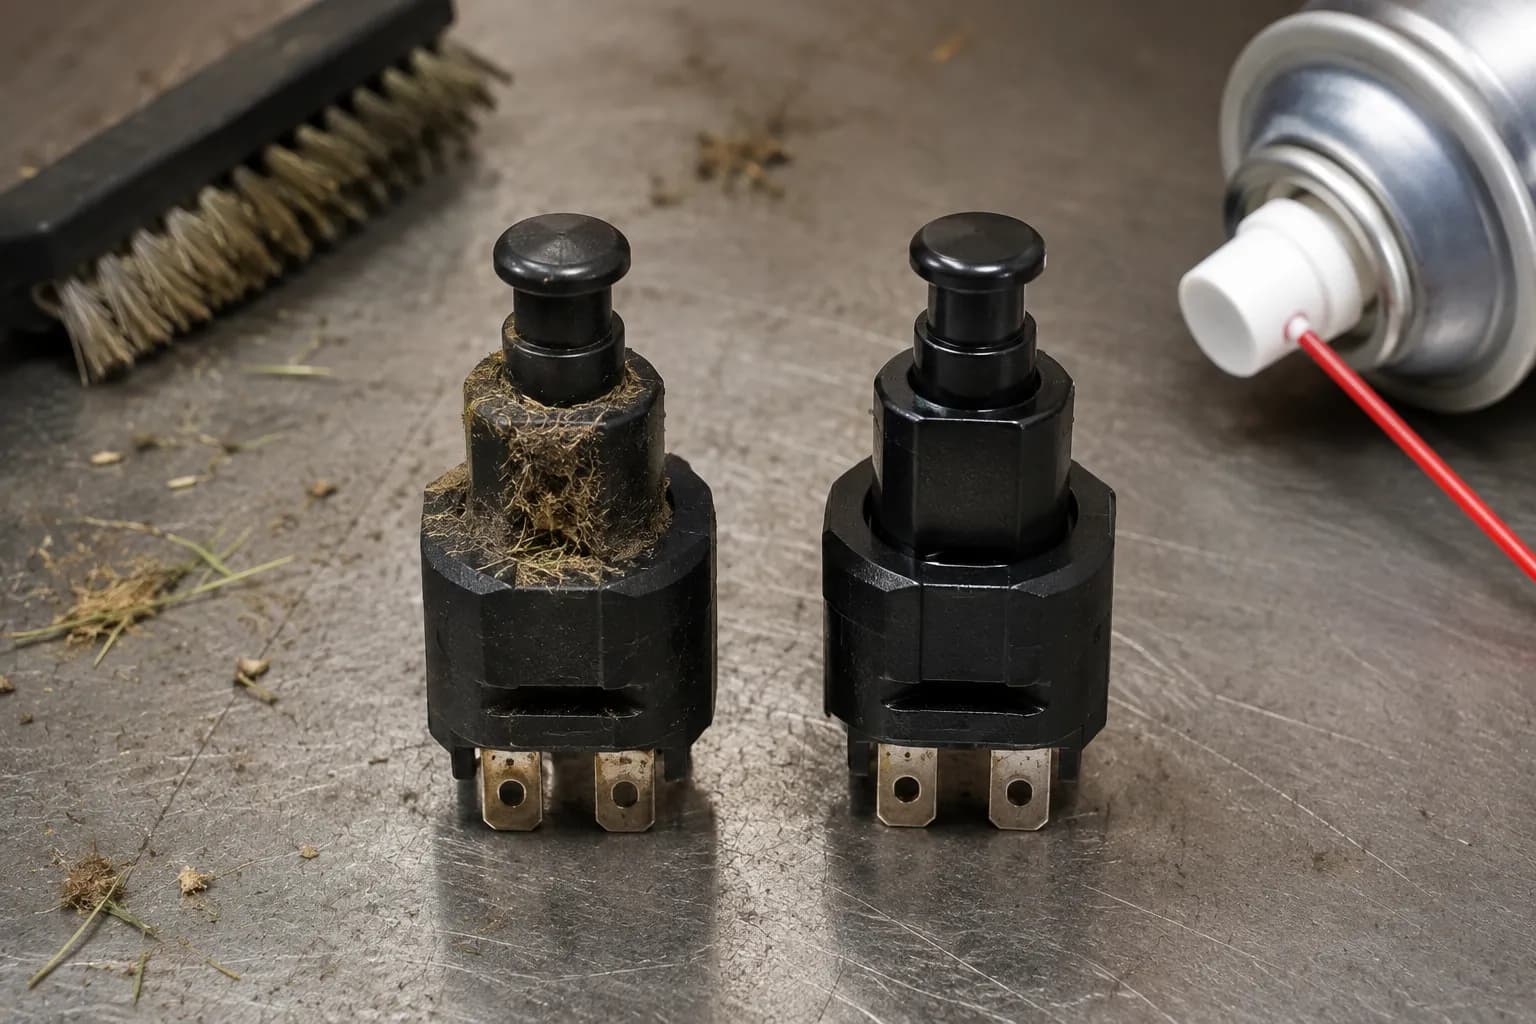
Prevention is mostly about keeping the seat pan dry, the connectors clean, and the plunger free of debris.
Two of our repeat "bad seat switch" calls this spring turned out to be a plunger packed with grass and dirt, and cleaning it restored the cutout behavior for the rest of the season.
That is worth checking before any purchase.
Fold interlock care into the same rhythm as the rest of the machine.
A full seasonal pass such as a complete Husqvarna tune-up is the natural time to reseat connectors, and it pairs well with taking a minute to find the right air filter for your model.
During that service, change the spark plug and clean the air filter while the panels are already off.
Interlocks live in the same wiring neighborhood, so a tidy harness helps all of it.
Where a DIYer should stop: If a fault is intermittent and you cannot reproduce it on the bench, or the relay itself is suspect, a dealer with a wiring diagram and a load tester will find it faster than swapping parts.
Chasing a ghost interlock past that point costs more than the service call.
Frequently Asked Questions
How many safety switches does a Husqvarna riding mower have?
A Husqvarna riding mower safety switch system has four interlock points, not two: the seat (operator-presence) switch, the parking-brake switch, the PTO (blade) switch, and, on many models, a reverse interlock. Older summaries that say "two" miss the PTO and reverse contacts, which is why a start problem sometimes hides where owners are not looking.
Are the switches normally open or normally closed?
It varies by contact, which is what trips people up. On our units the seat and brake enable contacts are normally-open and close when actuated, reading about 0.3 ohms closed, while the PTO kill pair is normally-closed and opens when the blades are off. Always confirm your own model's plug, because a "good" switch can read open in the state you expect continuity.
Can I drive without the seat switch?
Only to test, and only briefly. You can jumper the plug to confirm the seat switch is the fault, but you reconnect it before mowing, because the operator-presence system stops the blades when you leave the seat and defeating it permanently is genuinely dangerous.
What part number is the Husqvarna seat or interlock switch?
The common four-pin interlock is 532176138, cross-referenced to 153664 and 176138, and the two-pin plunger seat switch on many units is 532421062. Match the plug count and terminal spacing to your old part before ordering, since two-pin and four-pin versions are not interchangeable.
Why does it die when I lift the brake or lean off the seat?
Because the seat and brake both feed the operator-presence relay, so releasing either while the engine runs signals that the operator has left and the mower shuts down. Nine times out of ten the fix is a failed seat plunger or a loose plug, not the relay itself.
Read it your way
Short on time? Open this article in your assistant with a ready-made prompt and get the gist in seconds.
Found this useful? Make us a preferred source so we show up in your Google results.
Keep reading
Related articles
Troubleshooting & Repair
Lawn Mower Ignition Switch Replacement (Steps + Cost)
Do your own lawn mower ignition switch replacement: photo steps, wire-by-terminal transfer, fitment help, and a DIY-vs-shop cost table to save $100+.
Troubleshooting & Repair
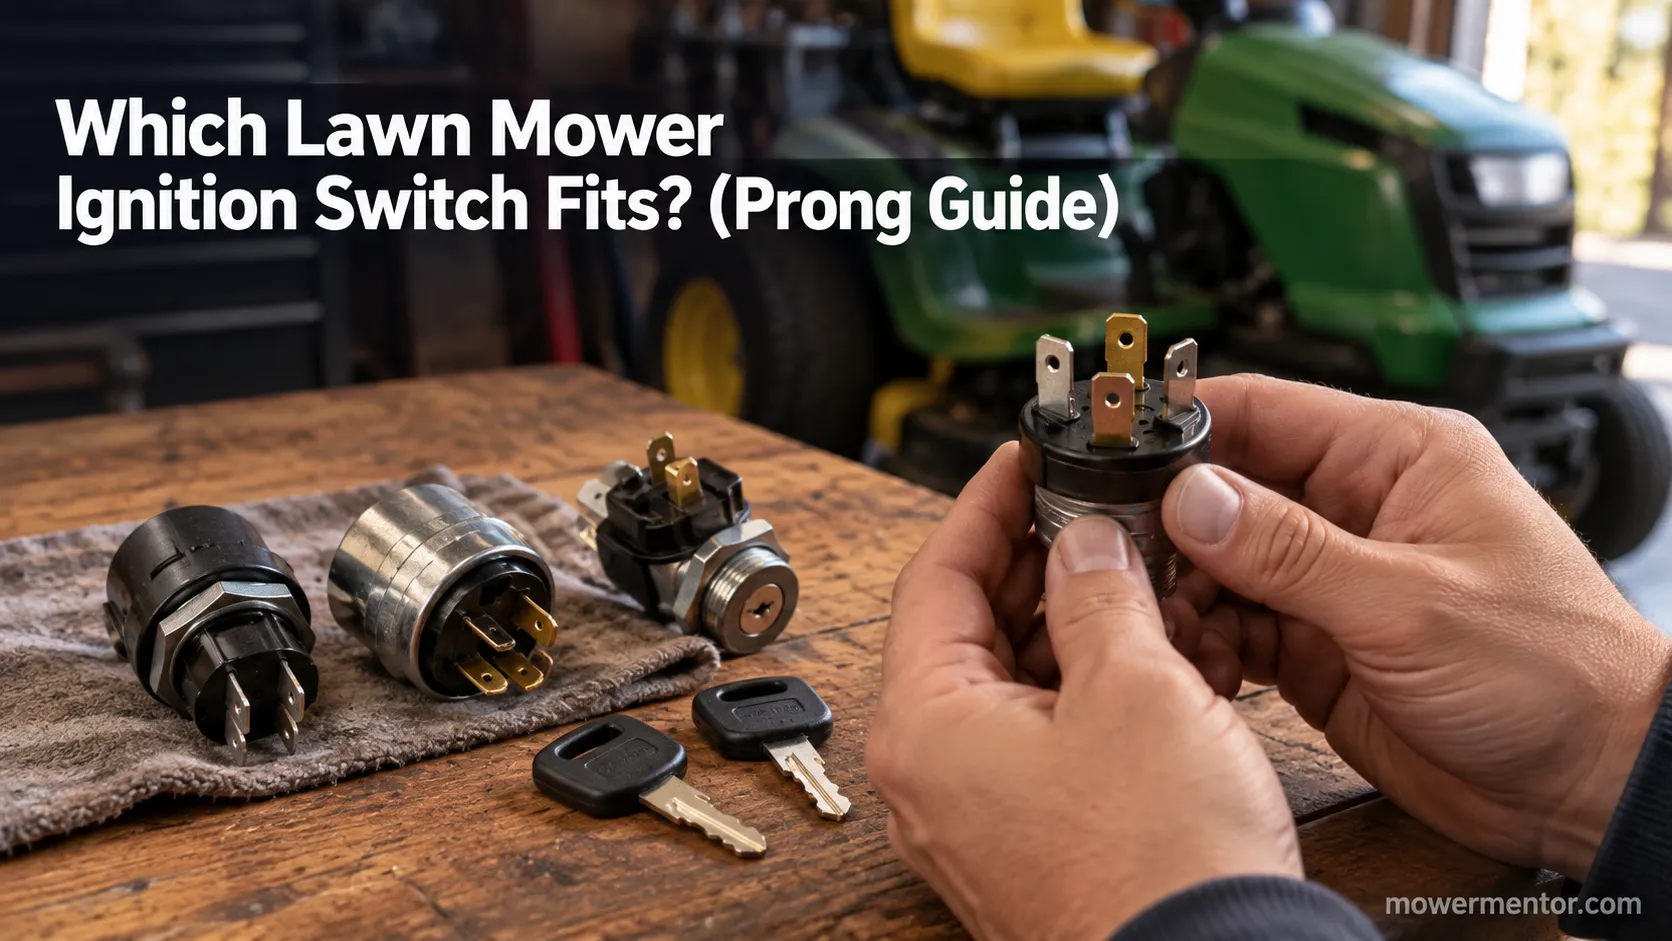
Which Lawn Mower Ignition Switch Fits? (Prong Guide)
hoose the right lawn mower ignition switch by prong count (4/5/6/7), universal vs OEM fit, and key compatibility, plus which one fits your mower.
Troubleshooting & Repair
How to Start a Lawn Mower With a Bad Ignition Switch
Confirm it's the switch, then learn how to start a lawn mower with a bad ignition switch: a safe solenoid bypass to get moving, plus how to fix it for good.
Troubleshooting & Repair
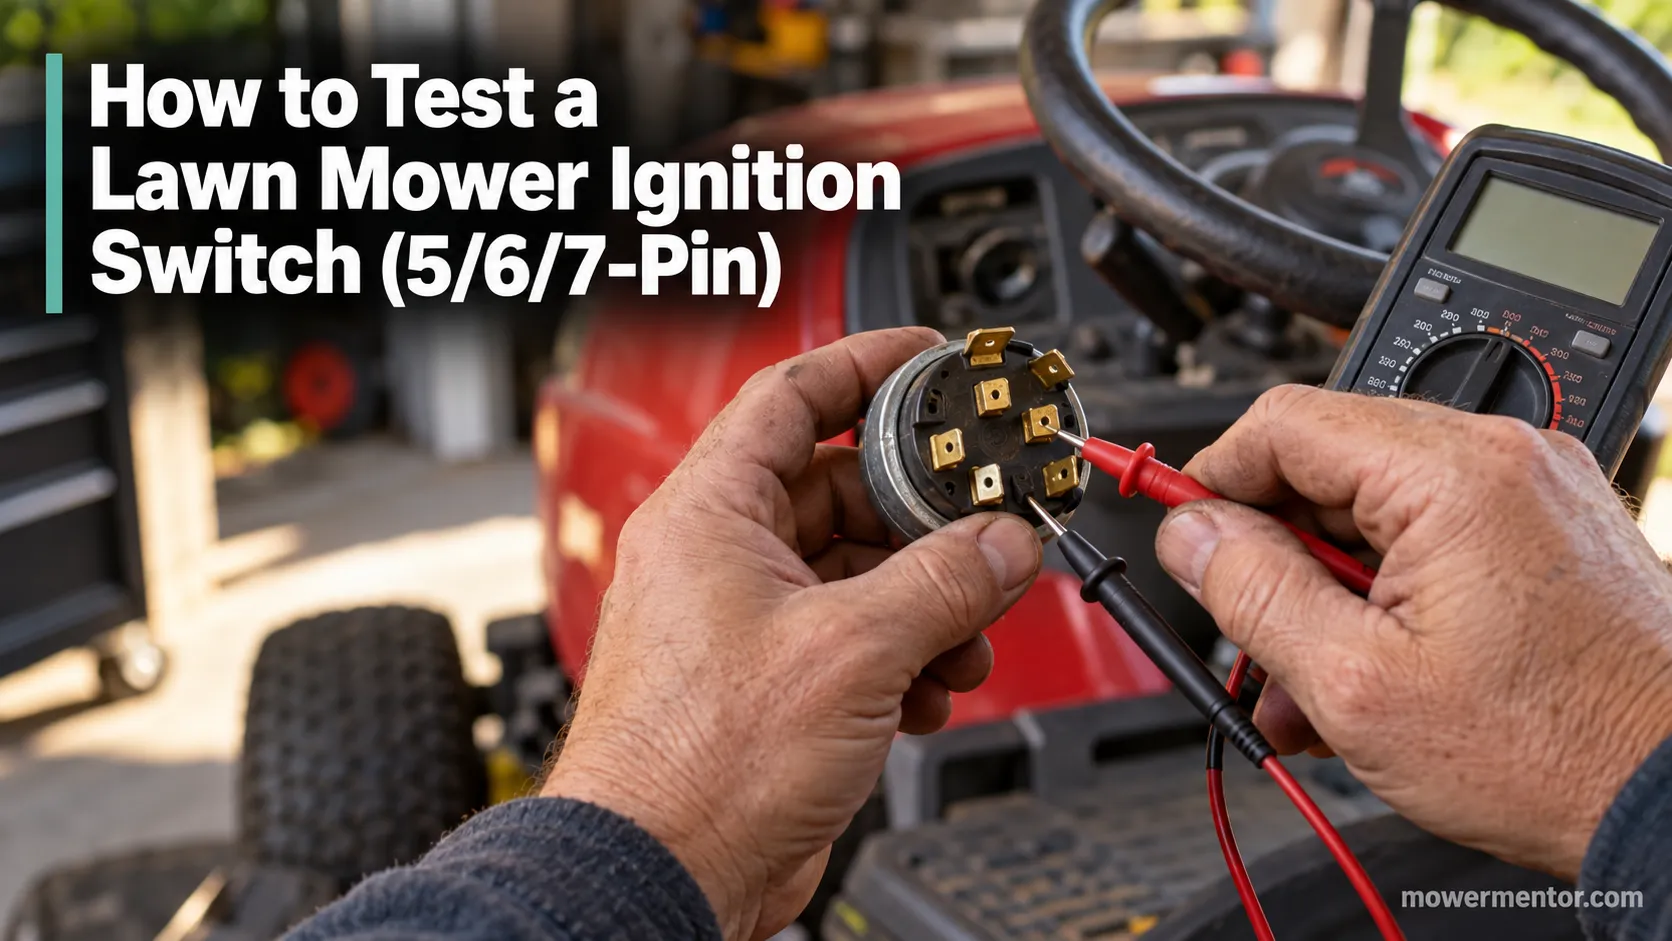
How to Test a Lawn Mower Ignition Switch (5/6/7-Pin)
Learn how to test a lawn mower ignition switch with a multimeter: get continuity tables for 5, 6 & 7-pin switches plus a no-multimeter test-light method.
The discussion
Comments
Every comment is reviewed before it goes live.