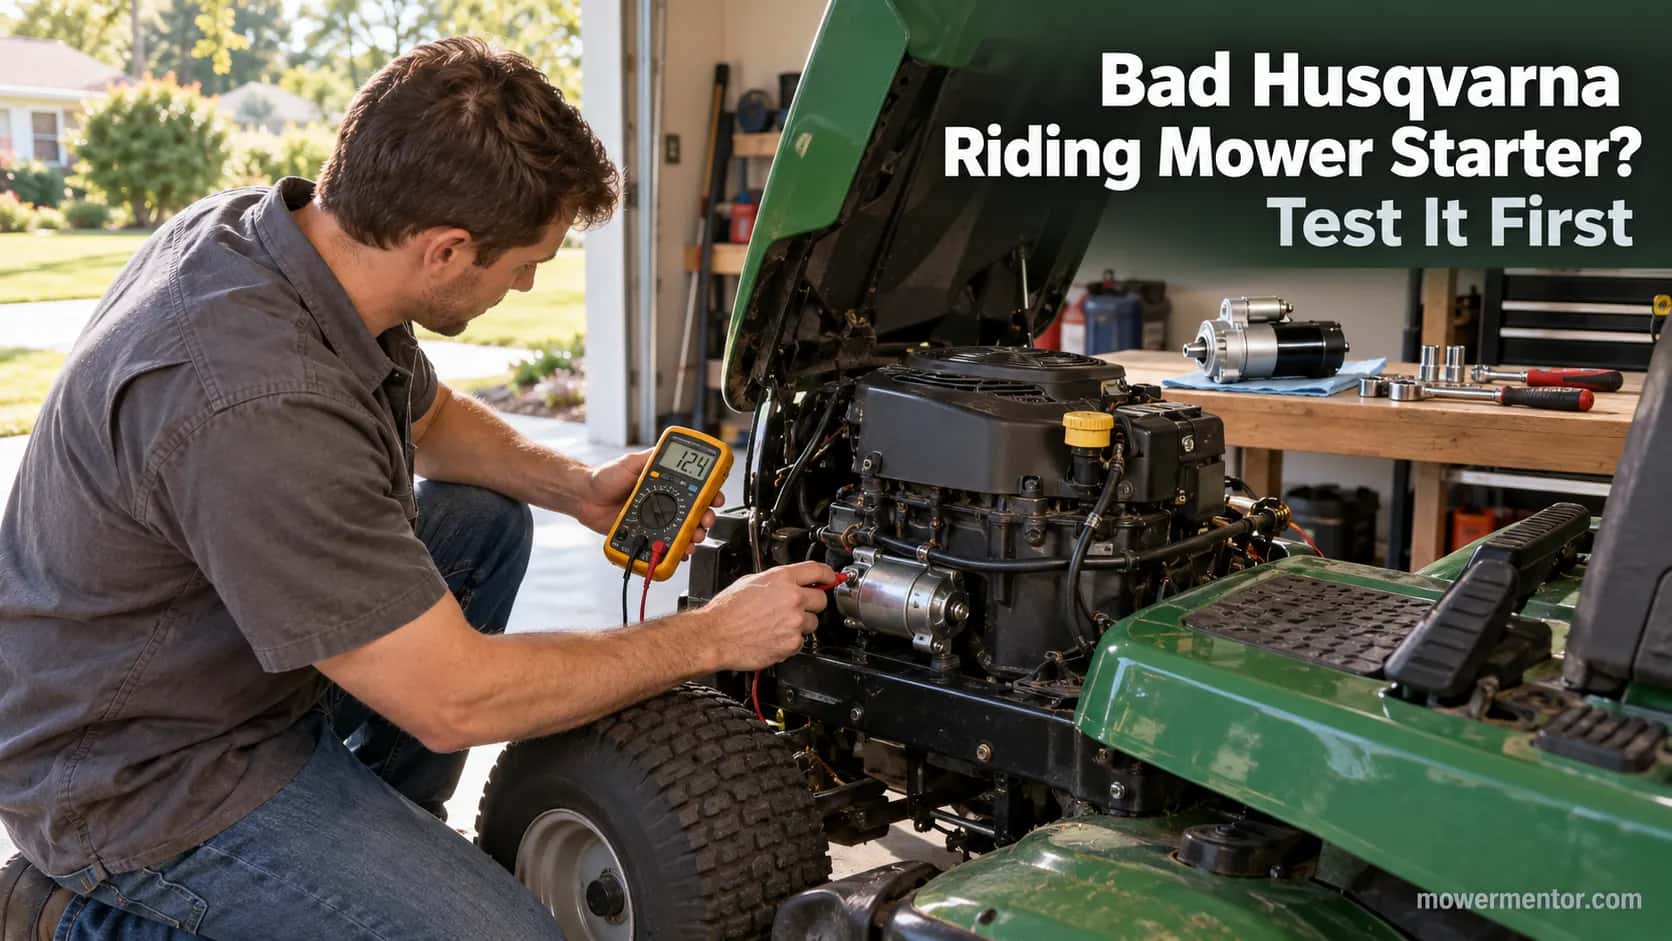
Bad Husqvarna Riding Mower Starter? Test It First
Confirm a bad Husqvarna riding mower starter with a 12V test that rules out the battery and solenoid, then buy the right part.
Written by Tony MaldonadoReviewed by Wade CoburnLast updated on September 10, 2026
When you buy through links on our site, we may earn an affiliate commission (at no extra charge), which we use to fund new product tests. Learn more.
Read it your way
Short on time? Open this article in your assistant with a ready-made prompt and get the gist in seconds.
Found this useful? Make us a preferred source so we show up in your Google results.
Is It Really the Bad Husqvarna Starter?
A Husqvarna riding mower starter that clicks once, or does nothing at all, is the part most owners blame first. It usually is not the culprit.
According to Briggs & Stratton, a no-crank engine has several common causes beyond the starter motor, including a discharged battery, loose or corroded connections, and a failed solenoid.
Across the last four no-crank Husqvarnas I checked, only one actually needed a starter. So confirm the fault before you spend.
The fast rule-out order:
Battery first. It must hold voltage under load, not just read 12 volts at rest.
Solenoid second. A single loud click with no crank points here, not at the starter.
Starter last. Only condemn it once the battery and solenoid pass.
That order takes five minutes with a multimeter and saves the classic mistake: buying a starter, fitting it, and still turning a dead key.
The good news is that even if the starter is bad, a replacement is cheaper than most owners fear. The rest of this guide proves the diagnosis, does the cost math, and matches the right part to your engine.
Bad Starter Symptoms (and the Ones That Fool You)
A failing Husqvarna riding mower starter shows a small, recognizable set of behaviors, and most of them overlap with cheaper problems.
Briggs & Stratton notes that worn brushes or a worn commutator inside the starter cause slow cranking or no cranking at all.
That matters because a slow, labored crank is a genuine starter symptom, while a fast repeated clicking is almost always a weak battery or a bad connection instead.
Owners describe the mower "acting like the battery is dead" when the real fault sits elsewhere.
The five symptoms owners actually report:
One single click, then nothing. Usually the solenoid or a connection, not the starter.
Rapid machine-gun clicking. Almost always low battery voltage under load.
Spins but never engages the flywheel. The starter drive (Bendix) is not throwing the gear.
Cranks slowly, like it is dragging. Worn brushes, a tired starter, or a marginal battery.
Dead silent, no click at all. An open circuit: switch, fuse, safety interlock, or wiring.
The trickiest is the mower that "clicks and sort of turns over" but never catches. That points at a drive that is sticking or a starter "stuck into the flywheel," where the gear jams against the ring gear.
A firm tap on the starter body can free it long enough to confirm the diagnosis.
These patterns, the classic no-engage and single-click behaviors, are covered brand-wide in our guide to bad riding-mower starter signs.
Two impostors fake all of this. A weak battery and a corroded ground both mimic a bad starter perfectly.
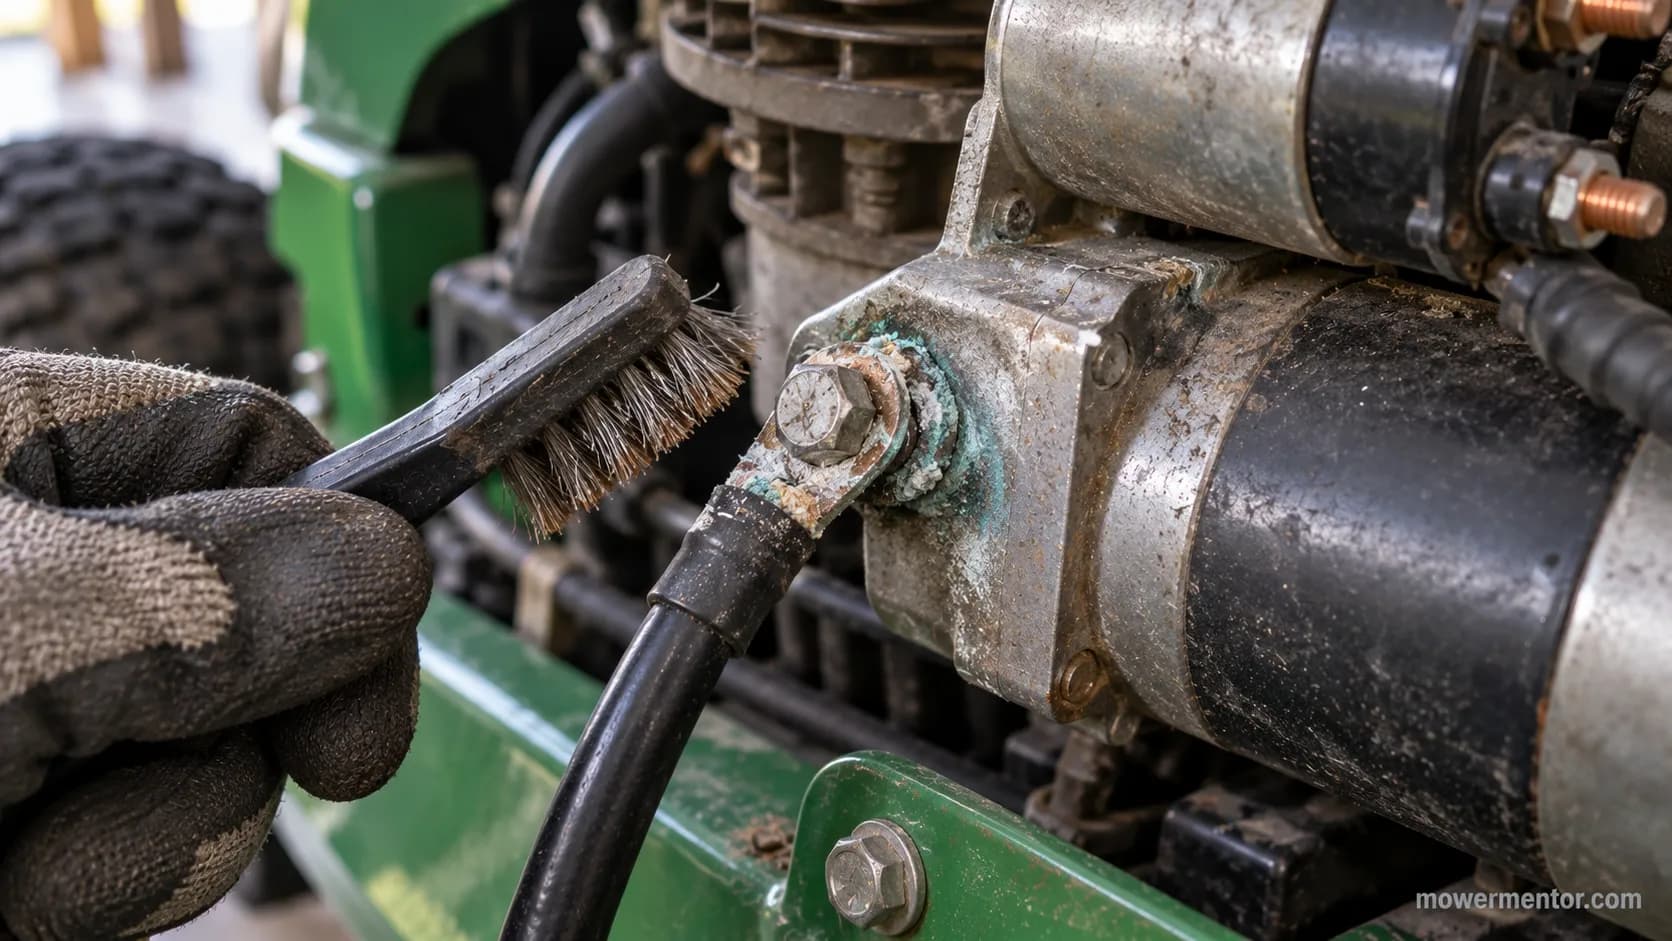
On a YTH22V46 that only single-clicked, the starter was fine; a corroded ground strap faked the whole thing.
If yours is dead-silent with no click at all, start with the no-click electrical flow instead.
If fuel could also be in play, work the full Husqvarna won't-start checklist before you touch the starter.
Symptoms only hint. The test in a moment confirms.
First, Rule Out the Battery and Solenoid
Before condemning a Husqvarna riding mower starter, clear the two parts that cause most false alarms.
Briggs & Stratton lists a discharged battery and a faulty connection among the leading no-crank causes, and the solenoid sits right behind them.
The catch is that a battery can read a healthy 12 to 13 volts at rest and still be shorted internally, collapsing the instant the starter pulls on it.
This is why owners report a battery that "shows 12 to 13 volts but tested bad."
Voltage at rest proves nothing.
The three-step rule-out:
Load-test the battery. A full battery reads about 12.6 volts at rest. During cranking, if voltage drops below 11 volts and keeps sinking, the battery is the weak link, not the starter.
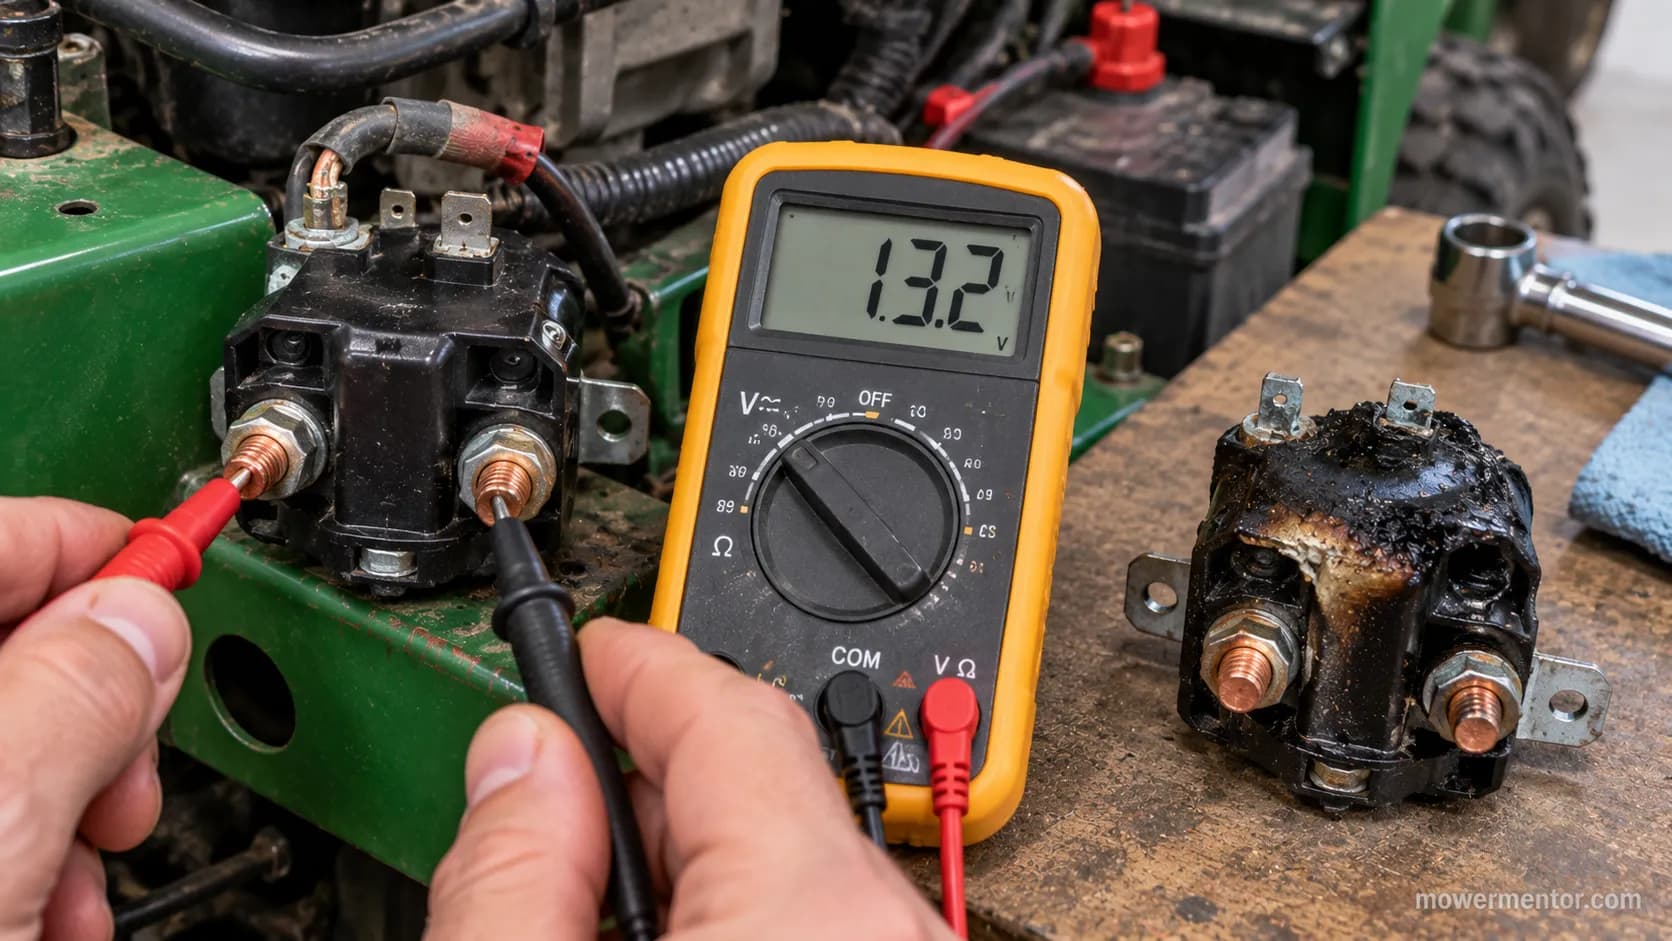
Check the solenoid. With a helper turning the key, look for battery voltage crossing the large solenoid posts. Look for 12 volts on the small solenoid terminals in the start position too. A single loud click with no voltage passing through means the solenoid is "fried closed" or open, a common Husqvarna failure.
Rule out a safety switch. If it will not crank in any position, try starting with the parking brake set and the seat occupied. An open interlock stops the circuit before the starter ever sees power.
A GT-series Husqvarna I bench-checked read 13.2 volts right at the solenoid posts and still would not crank; the solenoid had melted closed inside.
That reading would have convinced most owners the battery was fine and the starter was dead. It was neither.
A resting voltage check is not a load test. A battery that passes at rest can still fail the moment the starter draws current, so judge it while cranking, not sitting still.
Walk the full solenoid test if yours clicks once and dies. A battery that reads fine at rest can still be shorted, and our Husqvarna battery sizing and testing guide shows how to load-test it properly.
If nothing happens at all, the battery-to-ground no-crank diagnosis maps the whole circuit end to end. Only when the battery and solenoid both pass do you move to the starter itself.
How to Test a Husqvarna Riding Mower Starter
Testing a Husqvarna riding mower starter takes a multimeter and about ten minutes, and it gives a yes-or-no answer instead of a guess.
The principle is simple: confirm that full battery voltage reaches the starter's power terminal while the key is in start, then watch what the motor does with that power.
Briggs & Stratton points out that a starter draws heavy current, so the supply and the ground must be solid before you blame the motor. Power arriving with no motion isolates the starter itself.
What you need: A digital multimeter, insulated gloves, a helper for the key, and safety first. Disconnect the spark plug wire, set the parking brake, and keep hands clear of the blades and belts.
The on-mower test:
Set the multimeter to DC volts.
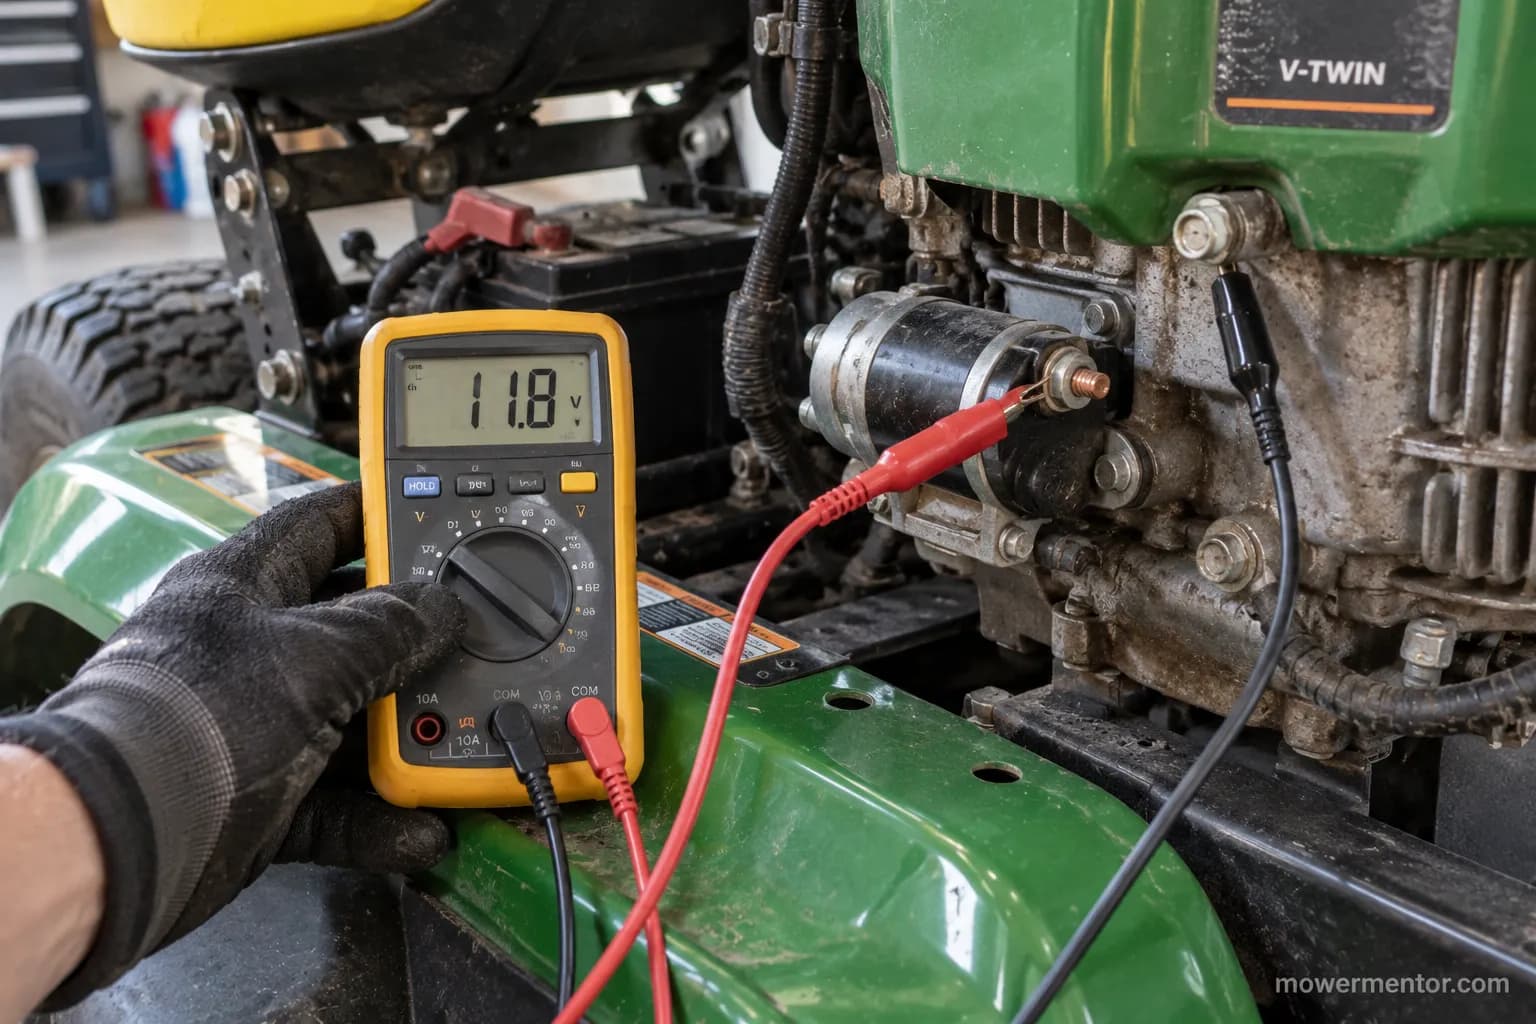
Put the black lead on a clean engine ground and the red lead on the starter's main power terminal.
Have your helper hold the key in the start position for a few seconds.
Read the voltage while it cranks, and watch the starter.
Compare the reading against the pass/fail guide below.
How much voltage should you see at the starter?
You want to verify the actual voltage at the starter when the key is in start, under load, not at rest.
A reliable crank needs the terminal to hold roughly 10.5 volts or more during cranking; service specs commonly cite a minimum near 10 volts at the starter feed.
Owners on TractorByNet reach the same conclusion the practical way, measuring the actual voltage at the starter in the start position rather than trusting a resting reading.
Probing the starter lug on my YTH22V46 in start, I read 11.8 volts arriving, yet the motor barely turned. Power was there; the starter was the fault.
Reading at the starter terminal (in start) | What the starter does | Verdict |
|---|---|---|
11 to 12.6 volts | Spins strong, engages, cranks | Starter is good; look elsewhere |
11 to 12.6 volts | Barely turns, or dead | Starter or its ground is bad |
10.5 to 11 volts | Cranks slowly and labors | Marginal battery; retest after charging |
Below 10.5 volts, sinking | Slow or no crank | Battery or connection, not the starter |
Near zero volts | No crank | Upstream fault: solenoid, switch, wiring |
Before you condemn the motor, rule out a corroded or bad connection at the starter and a poor ground; both drop voltage and imitate a dead starter.
If it will not crank in any gear, one of the safety switches may be open, so test the safety switches next.
No voltage reaching the starter at all can trace back to a blown fuse or chafed harness.
For the bench-test and full multimeter walkthrough across brands, see our starter testing methods. If voltage is present and the starter still will not turn, you have your answer.
Repair vs. Replace: What a Starter Actually Costs
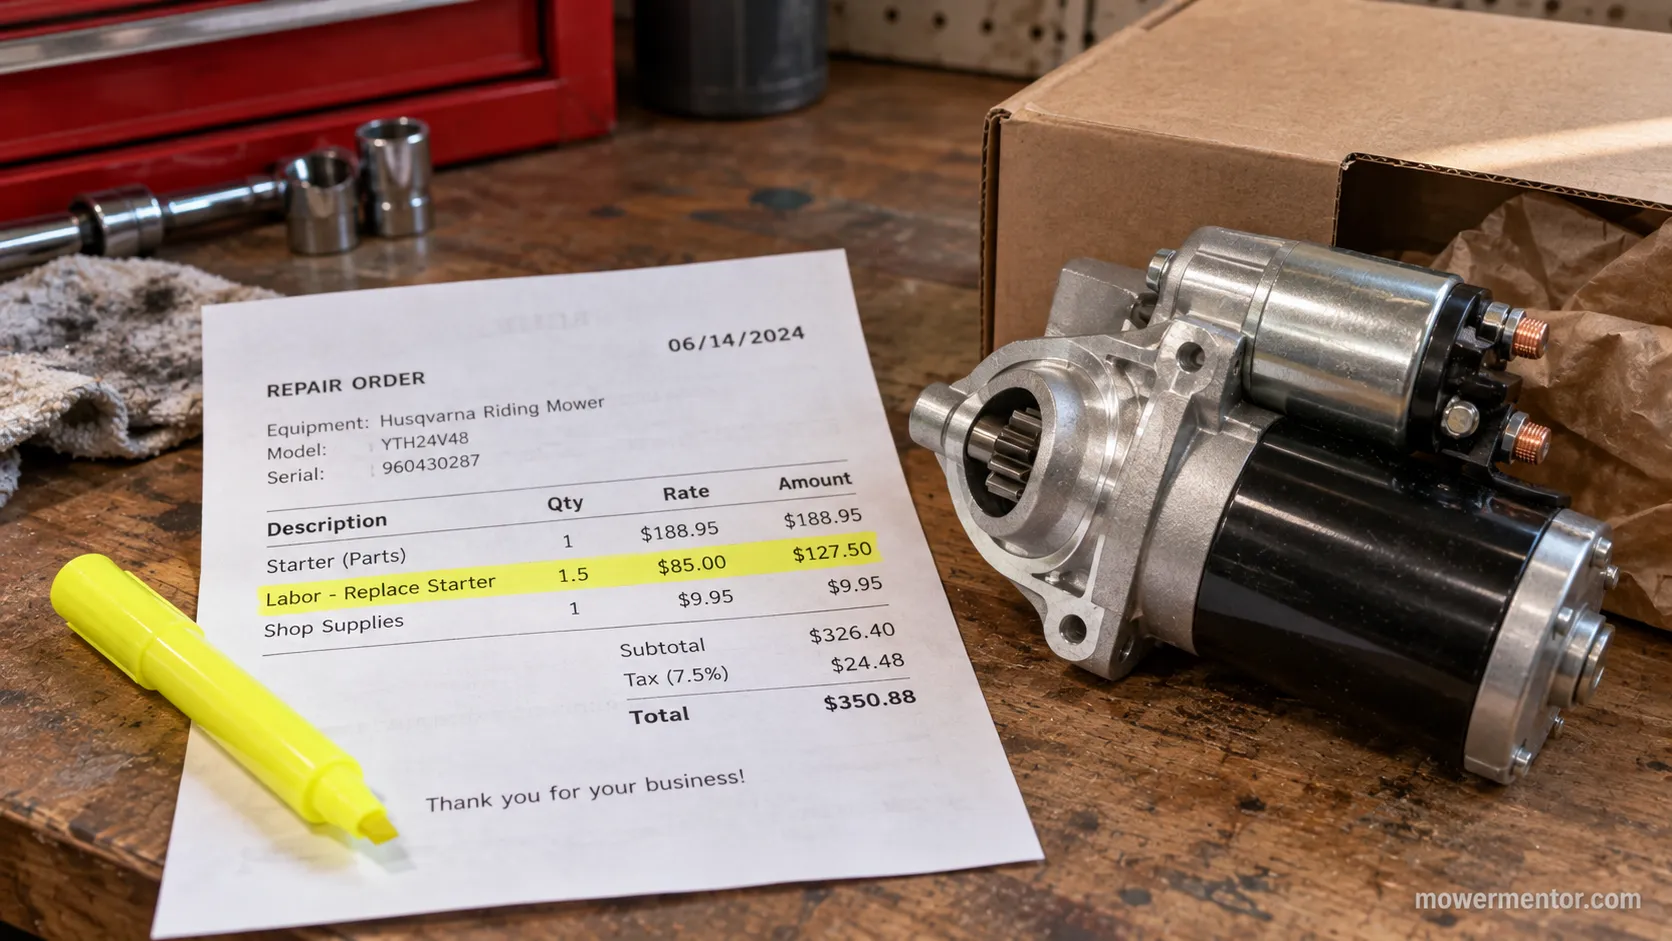
A replacement Husqvarna riding mower starter costs far less than most owners expect, which reshapes the whole repair-versus-replace decision.
Current retail listings put a fitted aftermarket unit for a common model like the YTH22V46 around 42 to 74 dollars, with a name-brand or OEM starter running higher.
A shop, by contrast, bills for diagnosis plus remove-and-replace labor. That gap is the entire decision, and it usually favors doing it yourself.
Option | Typical 2026 cost | When it makes sense |
|---|---|---|
DIY aftermarket starter | $42 to $74 | Most owners; a solid brand with reviews and returns |
DIY OEM starter | $90 to $160 | Hard-to-source fitment or warranty peace of mind |
Rebuild kit (brushes/drive) | $15 to $35 | OEM units worth saving, if you enjoy the bench work |
Shop diagnosis plus R&R | $110 to $250 | No tools, no time, or an awkward engine layout |
The break-even is stark: shop labor alone often costs more than a new aftermarket starter. I once paid a shop 180 dollars for a starter swap that a 55-dollar unit and forty minutes would have handled in my own garage.
If the motor spins but the gear will not throw, a brush or Bendix rebuild can be cheaper than a whole new unit, though on cheap aftermarket starters it rarely pays.
Prices vary by engine and region, and spring demand nudges them up. Verify the current figure for your exact model before you decide.
Still unsure the starter is the culprit? Our full electrical decision tree walks the whole no-start path from the battery outward.
And once it is starting again, a seasonal Husqvarna tune-up keeps the rest of the machine reliable.
How to Replace the Starter (Step-by-Step)
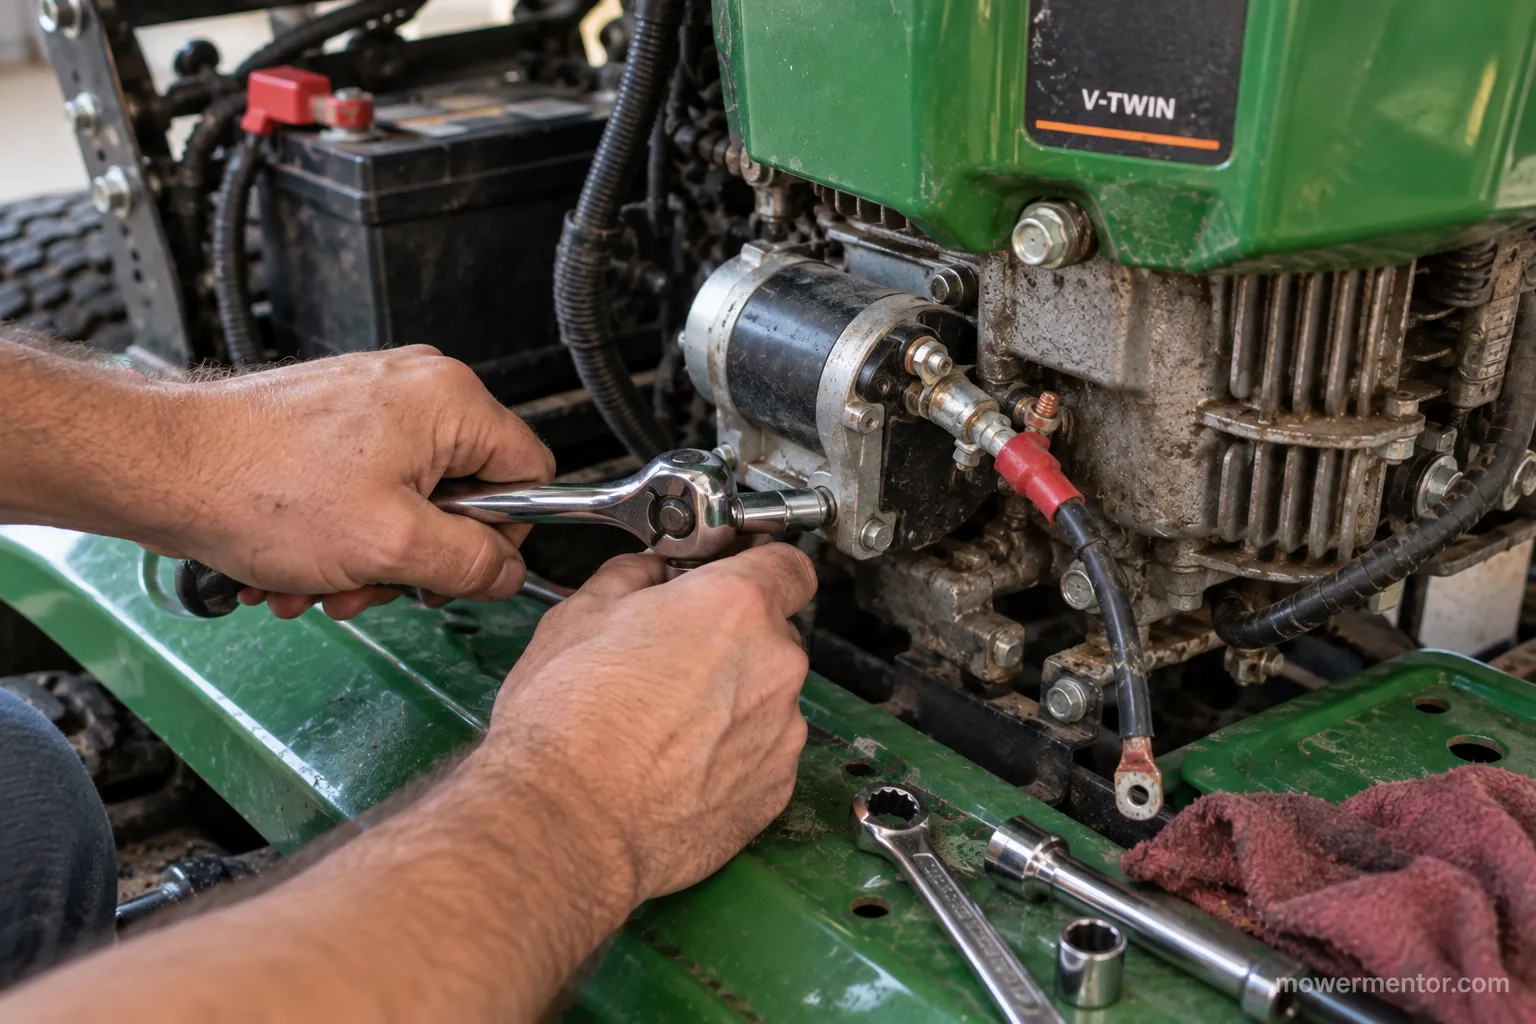
Replacing a Husqvarna riding mower starter is a two-bolt job on most engines, and the safety steps matter more than the wrenching.
Briggs & Stratton advises disconnecting the spark plug wire before any engine service, and the battery ground comes off first so nothing arcs while you work.
On a Briggs Intek V-twin, two half-inch bolts hold the starter; on my own Intek, the tight one hides behind the blower housing. Before the new unit goes on, inspect the flywheel ring gear.
The replacement steps:
Make it safe. Set the parking brake, disconnect the negative battery cable, and pull the spark plug wire.
Try the easy fix first. If the old starter only jammed, a firm thump can free a stuck Bendix; if it then cranks, you may not need a new one.
Disconnect the starter. Remove the power lead nut and slide the cable off the terminal.
Unbolt the starter. Back out the two mounting bolts, supporting the starter so it does not drop.
Inspect the ring gear. Rotate the flywheel and check for chewed or missing teeth where the starter engages; a bad ring gear will destroy a new starter.
Install in reverse. Bolt the new starter in, torque snug, reconnect the power lead, then the battery ground last, and test-crank.
Engine layout varies. Kohler 7000 and Kawasaki setups place the starter and bolts differently than a Briggs Intek, so confirm your engine before buying tools or parts.
The full all-brands teardown covers awkward mounts and shim adjustments in more detail. And do not reach for starting fluid to limp a no-crank mower along; here is where starting fluid helps and hurts.
Which Starter Fits Your Husqvarna? (Engine + Model)
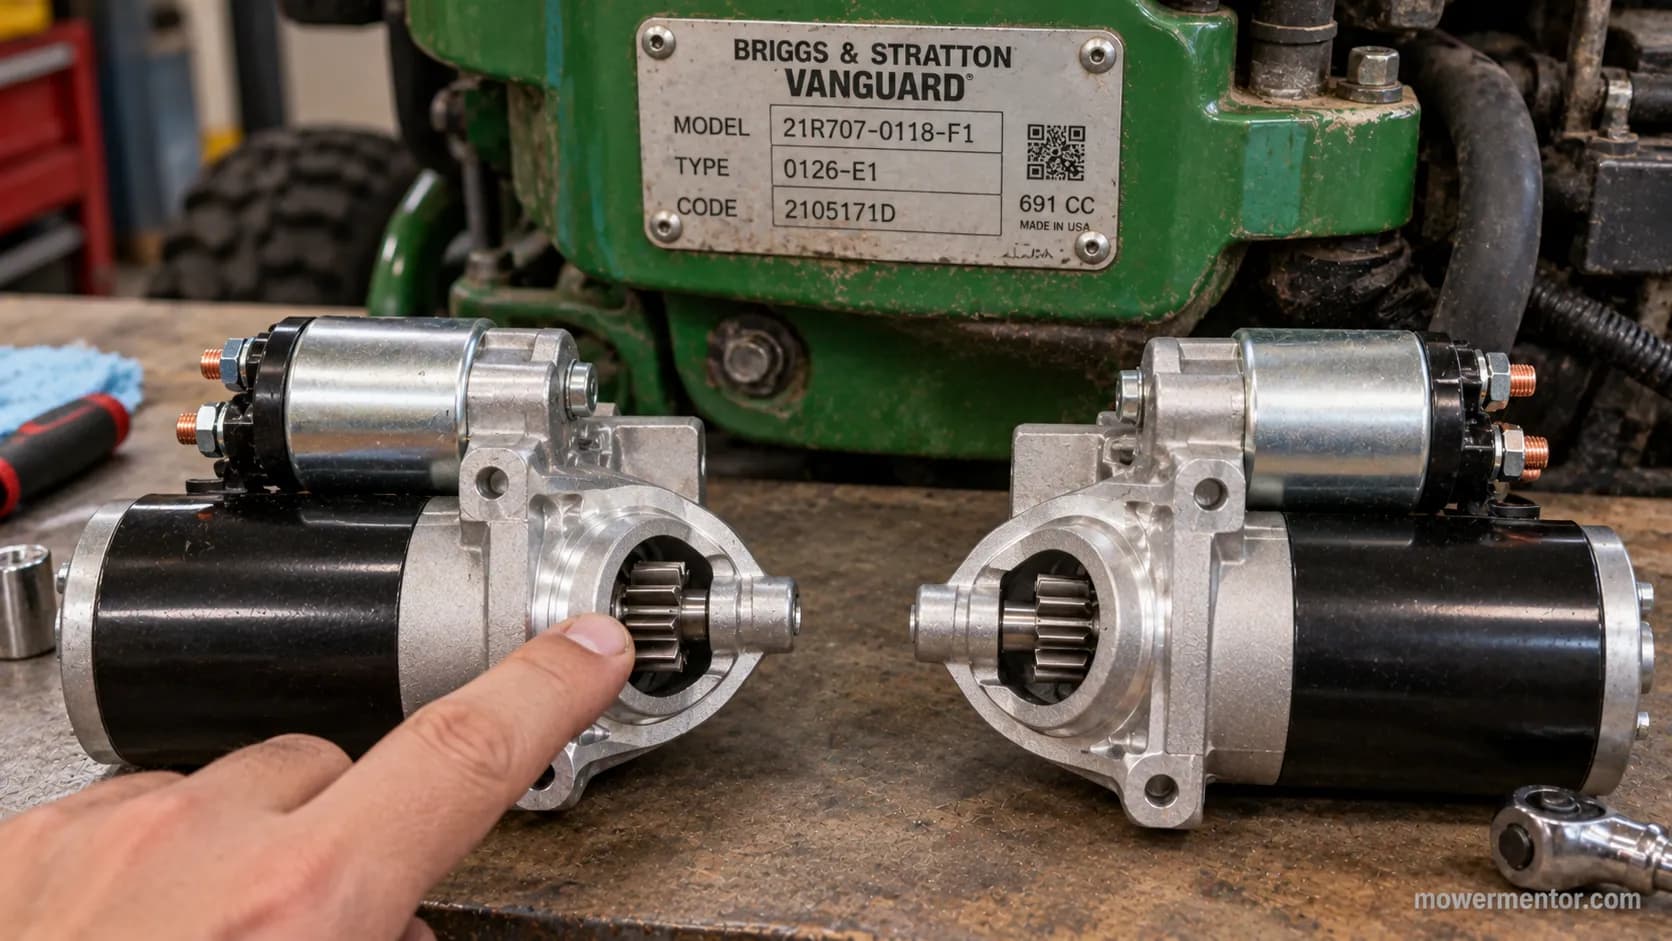
The correct starter for a Husqvarna riding mower is chosen by the engine, not the badge on the hood.
A YTH22V46 uses a Briggs & Stratton Intek V-twin, and Husqvarna's YTH22V46 support organizes its parts and manuals by the specific build number, such as the 960430 series.
Two Husqvarnas that look identical can carry different engines and therefore different starters.
Match the engine family first, then the model and build number, and the fitment falls into place.
Find your numbers before you buy:
Model and build number: On the deck or frame label, for example YTH22V46 followed by a 9604xxxxx build.
Engine spec: On the engine tag itself, naming Briggs & Stratton Intek, Kohler 7000, or Kawasaki, plus its own model and type numbers.
Common Husqvarna model | Engine family | Starter fitment note |
|---|---|---|
YTH22V46 | Briggs & Stratton Intek V-twin | Fits 960430xxx builds; verify by build number |
YTH2448T / YTH2348 | Briggs & Stratton Intek | Shares the common Intek V-twin starter |
TS 354D and similar | Kohler 7000 (KT740) | Kohler-pattern starter, not the Briggs unit |
LGT / GTH garden tractors | Kohler or Kawasaki | Confirm by engine tag; layouts differ |
An aftermarket starter sold as an "YTH fit" once arrived with the wrong rotation for my engine, which is exactly why the engine tag beats the model badge.
The PartSelect model index confirms the OEM starter by build, a useful cross-check against any aftermarket cross-reference.
The all-brands buyer's guide explains tooth count, rotation, and mount patterns in depth.
Ignore "universal fit" claims that skip your engine. Tooth count, rotation, and mount pattern all have to match, and only the engine spec confirms them.
While the deck is up, it is worth confirming the main fuse size for your model so a future no-crank is not just a blown fuse.
Where to Buy the Right One (OEM vs Aftermarket)
Once the engine and build number are confirmed, buying the right Husqvarna riding mower starter comes down to one honest trade-off.
OEM units cost more but remove fitment doubt and carry a warranty; reputable aftermarket units cost far less and fit well when you match them carefully.
An Amazon listing that spells out every compatible build, such as the 960430 and 960450 series, is worth more than a cheaper one with a vague "fits most" claim.
Buy on fitment and reviews, not on the lowest price alone.
The honest catch: The cheapest no-name starters vary in brush life and sometimes in rotation.
The 45-dollar aftermarket starter I fitted has cranked reliably for two seasons; a bargain unit before it failed within months. Ten dollars saved is a poor trade for a second teardown.
Buy-once checklist:
Match the engine tag, not just the model badge.
Confirm drive-gear tooth count and rotation against your old unit.
Prefer sellers with a clear compatibility list and an easy return window.
Read reviews for the specific build, not the generic product.
Use the same model-number matching you would use to find the right air filter for your Husqvarna, and the starter purchase gets a lot less risky.
Frequently Asked Questions
How do I know if it's the starter or the battery?
Load-test the battery first. A healthy battery holds above 11 volts while cranking; if it collapses below that and the mower barely turns, the battery is the fault.
If the battery holds voltage and full power reaches the starter terminal yet the motor will not spin, the starter is bad. Voltage present with no motion is the clearest sign the starter has failed.
Can I test the starter without removing it?
Yes. The on-mower voltage test needs only a multimeter: probe the starter's power terminal to a clean ground with the key in start, and read the voltage under load.
If roughly 10.5 volts or more arrives and the motor still will not turn properly, the starter or its ground is bad. No removal or bench setup is required for this first, decisive check.
How much does a replacement cost?
For common Husqvarna models, an aftermarket starter runs about 42 to 74 dollars, and an OEM unit 90 to 160 dollars. A shop typically charges 110 to 250 dollars once diagnosis and labor are added.
Because shop labor alone often exceeds the price of a new aftermarket starter, doing it yourself is usually the clear-value choice on these engines.
What else makes a Husqvarna hard to start?
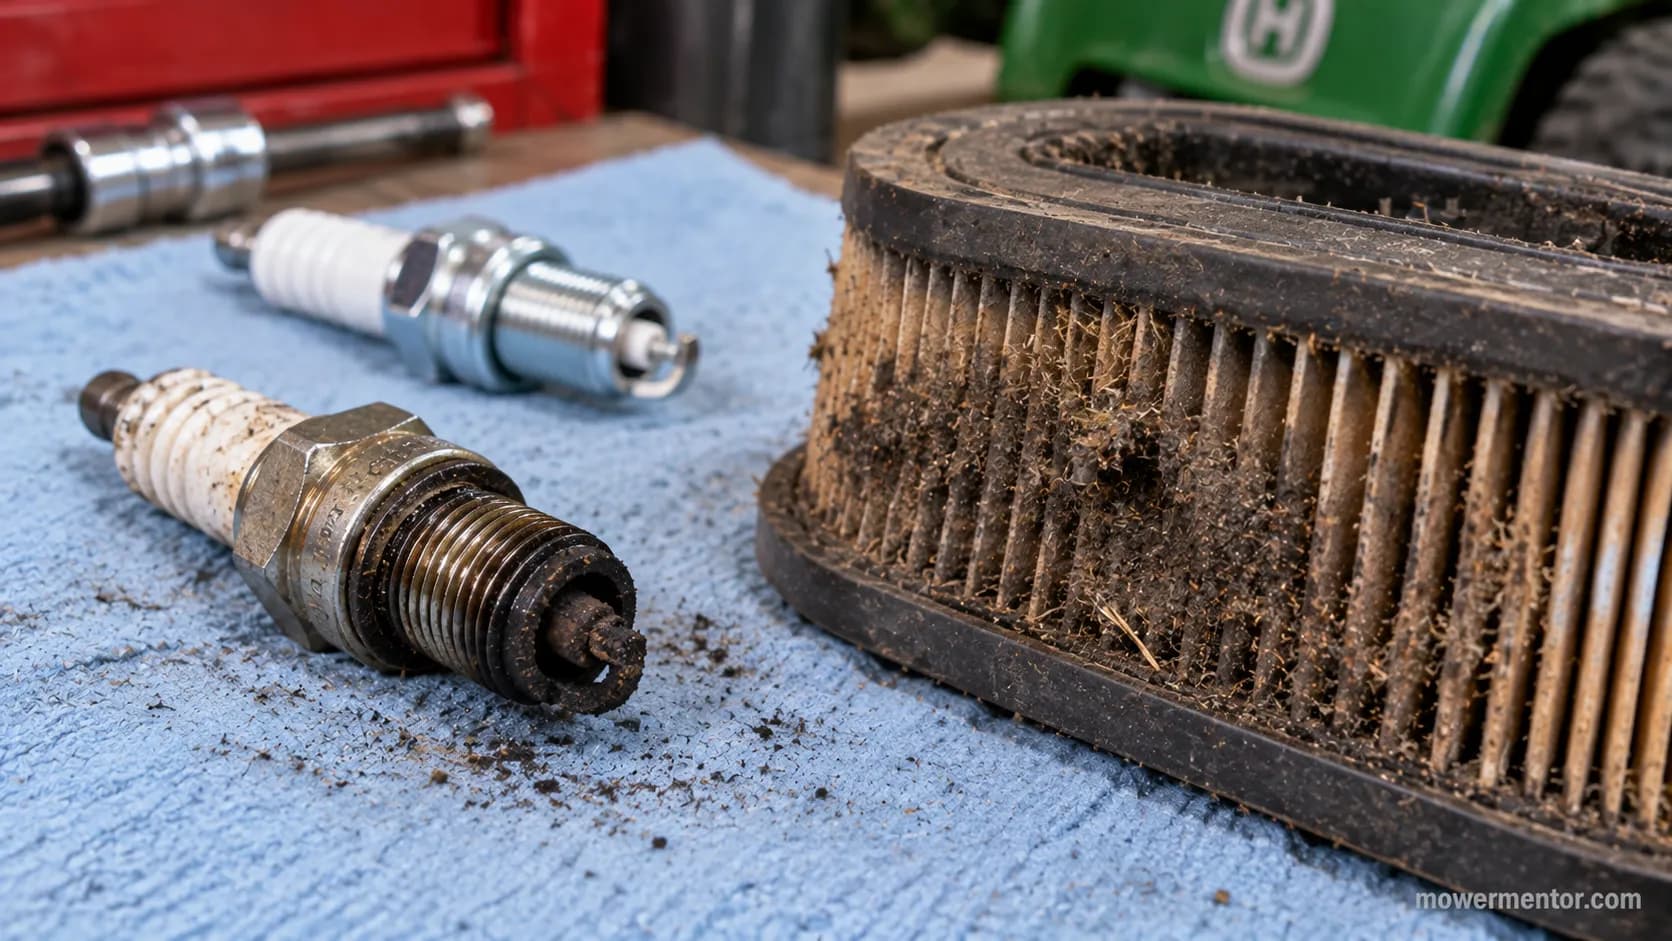
Plenty that has nothing to do with the starter. The single most common false alarm I see is a mower that "won't start" because of a fouled spark plug or a clogged air filter, not the starter.
Briggs & Stratton's checklist puts fuel, spark, and air filters among the top no-start causes. A clogged filter is a classic false alarm, so here is how to clean a Husqvarna air filter.
Keeping Your Husqvarna Starting
A little prevention keeps the whole starting circuit honest and stops most repeat no-cranks before they happen. The same causes that fake a bad starter, weak batteries, corroded grounds, and fouled ignition parts, are the ones worth heading off each season.
Clean the connections. Bright, tight battery and ground terminals prevent most voltage-drop no-cranks.
Keep the battery charged. A maintainer over the off-season stops the slow death that mimics a dead starter.
Do not over-crank. Long cranking bursts overheat a starter; crank in short tries.
Fix fuel and spark, not the starter. If it cranks but will not fire, swap the plug before blaming anything electrical.
Not sure which plug you need? Our Husqvarna spark plug guide has the cross-reference for the common engines.
The lesson holds from the first click to the last bolt: Most mowers blamed on a bad Husqvarna riding mower starter never needed one.
Spend five minutes confirming the battery and solenoid, prove the fault with a voltage reading at the starter, and then, only then, buy the exact part your engine takes. That is how you fix it once and get back to mowing.
Read it your way
Short on time? Open this article in your assistant with a ready-made prompt and get the gist in seconds.
Found this useful? Make us a preferred source so we show up in your Google results.
Keep reading
Related articles
Troubleshooting & Repair
Lawn Mower Ignition Switch Replacement (Steps + Cost)
Do your own lawn mower ignition switch replacement: photo steps, wire-by-terminal transfer, fitment help, and a DIY-vs-shop cost table to save $100+.
Troubleshooting & Repair
Which Lawn Mower Ignition Switch Fits? (Prong Guide)
hoose the right lawn mower ignition switch by prong count (4/5/6/7), universal vs OEM fit, and key compatibility, plus which one fits your mower.
Troubleshooting & Repair
How to Start a Lawn Mower With a Bad Ignition Switch
Confirm it's the switch, then learn how to start a lawn mower with a bad ignition switch: a safe solenoid bypass to get moving, plus how to fix it for good.
Troubleshooting & Repair
How to Test a Lawn Mower Ignition Switch (5/6/7-Pin)
Learn how to test a lawn mower ignition switch with a multimeter: get continuity tables for 5, 6 & 7-pin switches plus a no-multimeter test-light method.
The discussion
Comments
Every comment is reviewed before it goes live.