
Clean a Honda Air Filter: Paper, Foam & Dual (Bench-Tested)
Clean your Honda mower air filter the right way: tap or replace the GCV paper element, wash and re-oil foam, and fix an oil-soaked filter fast.
Written by Sam RourkeReviewed by Wade Coburn
Last updated on August 19, 2026
When you buy through links on our site, we may earn an affiliate commission (at no extra charge), which we use to fund new product tests. Learn more.
Summarize with AI
Learning how to clean a Honda lawn mower air filter starts with one question most guides skip: which filter do you actually have? Get that wrong and the "fix" makes things worse, because washing a Honda paper element ruins it.
A clogged filter chokes the engine and shows up as rough running, hard starts, and black smoke, per LawnLove's mower-maintenance guide. The good news is that the right service takes a minute once you know your filter type.
Quick answer: clean a Honda air filter by type
Paper element (most GCV160/190 walk-behinds): tap it out or blow it clean at low pressure, then reinstall. Never wash it. If it's dark or torn, replace it.
Foam pre-filter: wash in mild soap and water, dry fully, then lightly re-oil.
Dual-stage (foam over paper): wash and re-oil the foam, tap or replace the paper core, keep them as a set.
Oil-soaked filter: you tipped the mower the wrong way or overfilled the oil. Replace the element and fix the cause. Always disconnect the spark-plug lead first.
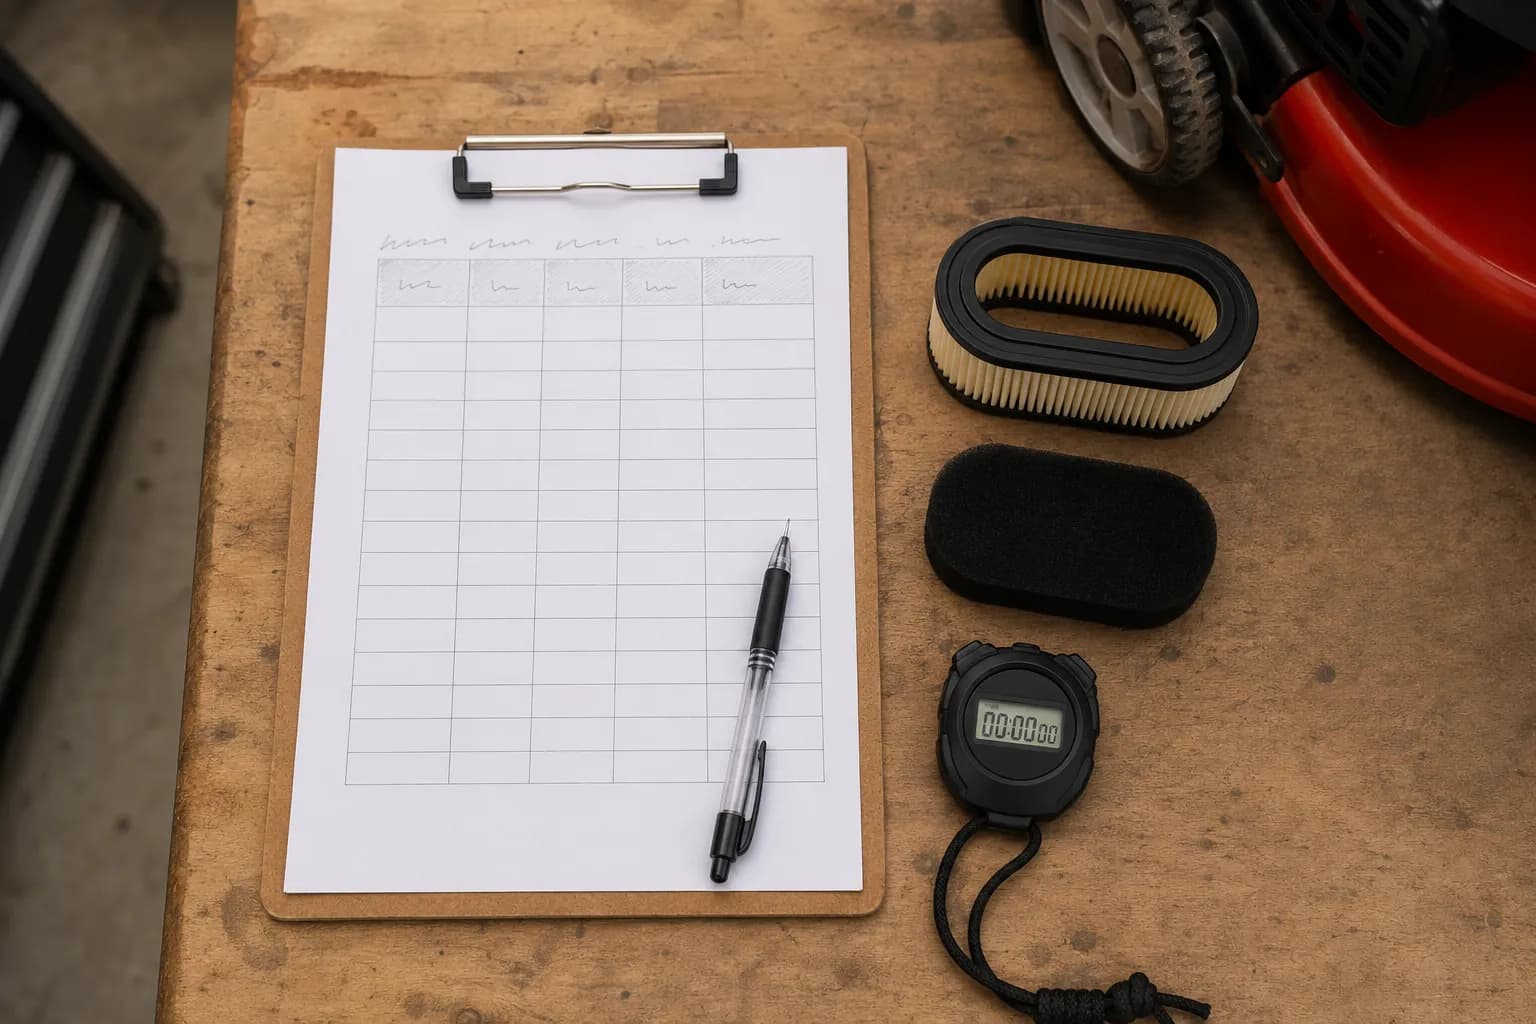
On my GCV160-powered HRR216 test mower, I logged each method during one spring service session so you know what to expect before you start.
Filter type | Typical service time | Wash it? | Replace interval |
|---|---|---|---|
Paper (GCV160/190) | About 1 minute | No, tap or blow only | Seasonally, or when dark |
Foam pre-filter | About 10 minutes plus 1 hour dry | Yes, then re-oil | When brittle or torn |
Dual-stage set | About 12 minutes plus dry time | Foam yes, paper no | Paper seasonally |
Which Honda Air Filter Do You Have?
Most modern Honda walk-behind mowers, the GCV160, GCV170, and GCV190 engines under decks like the HRR216 and HRN216, use a flat oval paper element that you tap or blow clean and never wash. According to Honda's owner's manual, that paper element is cleaned by tapping it on a hard surface or blowing compressed air under 30 psi from the clean side, never by brushing or soaking. Older GC engines and some commercial units instead use a foam or dual-stage filter, so identifying yours is the first real step in how to clean a Honda lawn mower air filter.
Two markings tell you what you own. The engine code (GCV160, GCV190) is stamped on the engine shroud, and the mower model (HRR216, HRX217, HRN216) sits on the deck.
Once the cover is off, the media itself is the giveaway.
Filter type | What it looks like | Which Hondas usually use it | Correct action |
|---|---|---|---|
Paper element | Flat oval with white or cream pleats | GCV160/170/190 walk-behinds (HRR, HRN) | Tap it out or blow clean, never wash |
Foam pre-filter | Soft black open-cell foam sleeve | Older GC engines, some pressure-washer and utility units | Wash, dry, lightly re-oil |
Dual-stage | Foam sleeve wrapped over a paper core | Certain commercial and older Honda engines | Service both, keep as a set |
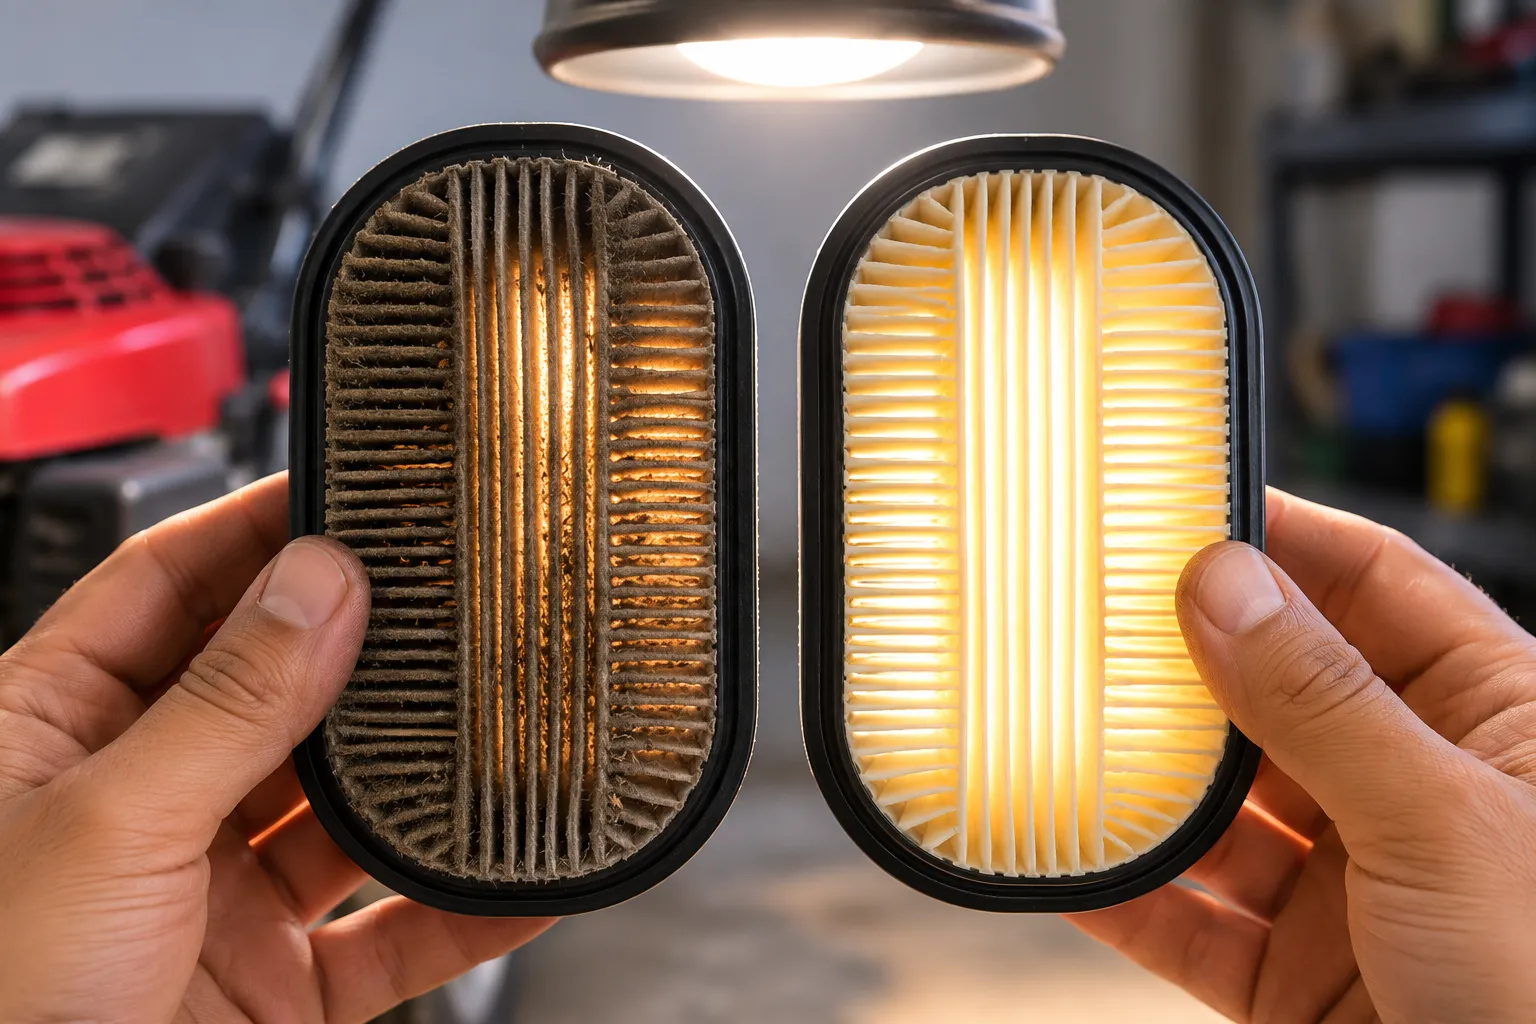
To judge a paper element, I hold it up to a shop light and look through the pleats. If light barely passes and the folds look grey-brown across the whole element, cleaning won't save it and it gets replaced.
If your mower is not a Honda, the media rules still apply and you can follow the general air-filter cleaning steps we cover for other brands. This guide stays Honda-specific from here.
Safety First and What You Will Need
Before touching a Honda air filter, disconnect the spark-plug lead so the engine cannot start, let it cool, and work outdoors or in a ventilated space. This one habit is the difference between a two-minute job and a hospital story, and Honda's manual lists it first for a reason.
Keep one detail in mind that saves you a mess later. If you tip the mower to reach the underside, tip it with the carburetor side up, never down.
That single rule prevents the oil-in-the-filter problem covered later. Cleaning the filter is also one job inside a full mower tune-up you can knock out the same afternoon.
Here is everything the job takes.
Tool or supply | What it is for |
|---|---|
Nut driver or Phillips screwdriver | Removing cover screws on models that use them |
Clean shop rag | Wiping the housing and cover |
Mild dish soap and warm water | Washing a foam pre-filter |
Foam-filter oil or clean engine oil | Re-oiling the foam after it dries |
Replacement element (right part number) | Swapping in a new filter if yours is spent |
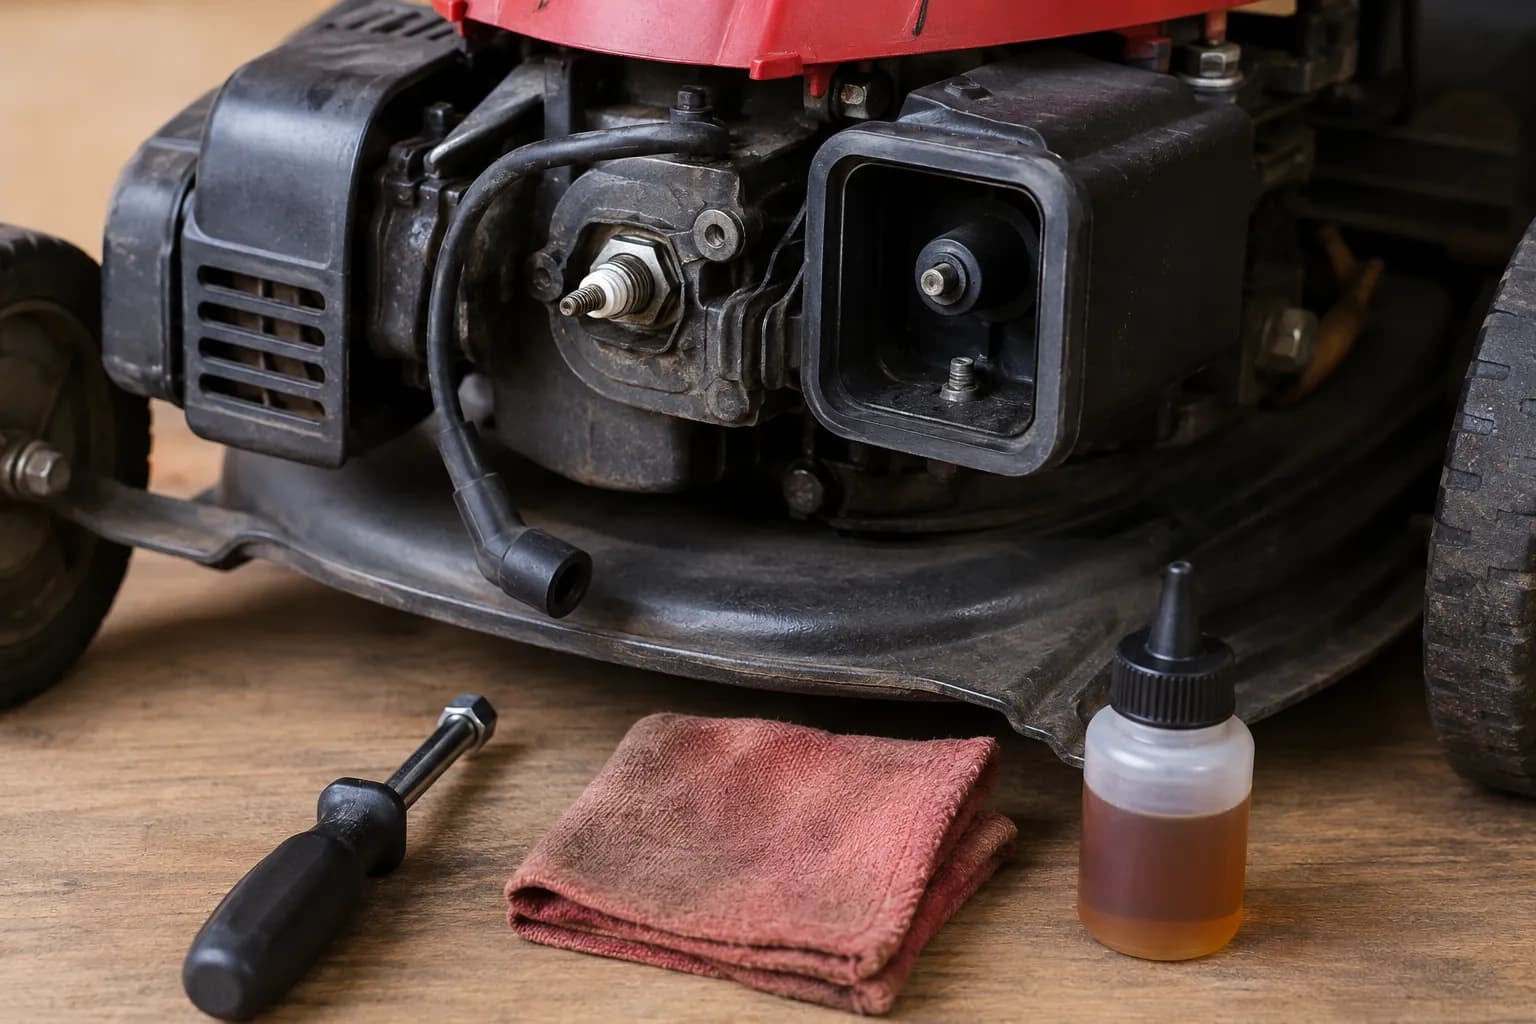
Most GCV walk-behind covers pop off by hand or with one screw, so the whole job needs almost no tools.
How to Clean a Honda Paper Air Filter (GCV160/190): Tap, Do Not Wash
To clean the flat paper air filter on a Honda GCV160 or GCV190 mower, tap the element on a hard surface to knock the dust out, or blow it with compressed air under 30 psi from the clean side that faces the engine, then wipe the housing and reinstall. Honda's owner's manual is explicit that you never brush the media, because brushing forces grit into the fibers, and it never mentions washing because water destroys a paper element. This is the most common case in how to clean a Honda lawn mower air filter, and it is genuinely a one-minute job.
Follow these steps in order.
Lift the cover and note the filter's orientation. What you should see: the flat oval element seated in the housing. Snap a quick phone photo so it goes back the same way.
Remove the element and tap it out. What you should see: a small cloud of dust falling away with each firm tap on the bench edge. Keep your mouth closed, because the dust flies.
Optional, blow it clean at low pressure. What you should see: remaining dust lifting off as you blow from the clean side. Stay under 30 psi so you do not tear the pleats.
Wipe the housing and cover with a dry rag. What you should see: a clean housing with no debris near the intake duct. Do not let dirt fall into the duct.
Reinstall the element and close the cover. What you should see: the filter seated flat, cover secure, no gaps.
The tap test is where owners hesitate, so here is the honest limit. Tapping refreshes a lightly dusty element, but if you held it to the light earlier and could not see through it, tap it once, then replace it.
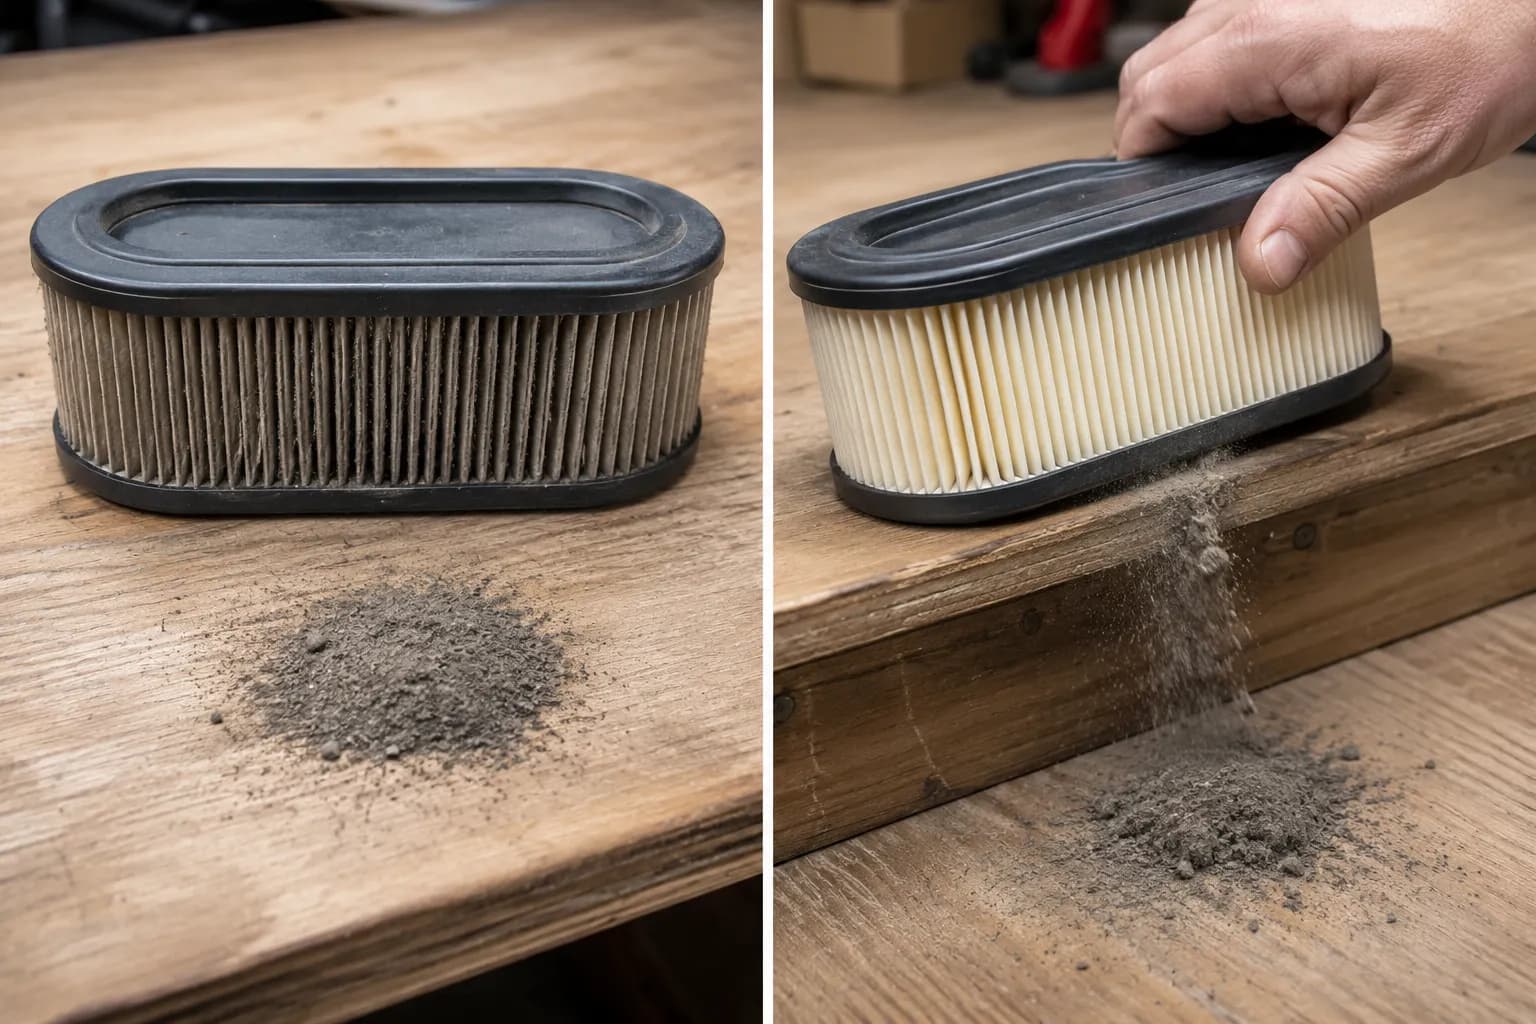
A clean filter is one of three quick jobs in your complete Honda tune-up, alongside the oil and the spark plug.
How to Wash and Re-Oil a Honda Foam Pre-Filter
If your Honda uses a foam pre-filter, wash it in warm water with a little mild dish soap, squeeze it gently until the water runs clear, dry it fully, then work in a light coat of oil and blot the excess. Briggs & Stratton's air-filter guidance sets the small-engine standard here: a foam element must be oiled to trap fine dust, because dry foam catches only the big stuff. The technique matters more than the products.
Work through it in this order.
Wash the foam in warm soapy water. What you should see: dark, gritty water squeezing out. Press and release the foam, do not wring or twist it, so the open cells stay intact.
Rinse until the water runs clear. What you should see: clean water and pale foam. Repeat if it still runs grey.
Squeeze out the water and dry the foam fully. What you should see: a damp but not dripping element after at least an hour. Never install it wet.
Re-oil the foam. What you should see: an even, light coat with no dry patches. Drop it in a plastic bag with a little oil and work it through, a trick echoed by the foam-oiling regulars at BobIsTheOilGuy.
Blot the excess and reinstall. What you should see: damp, not dripping. Over-oiled foam smokes and floods, so blot with a paper towel until it stops transferring oil.
One caution keeps foam alive for years. Never use gasoline, brake cleaner, or carburetor cleaner on it, because solvents dissolve the foam and its glue seams.
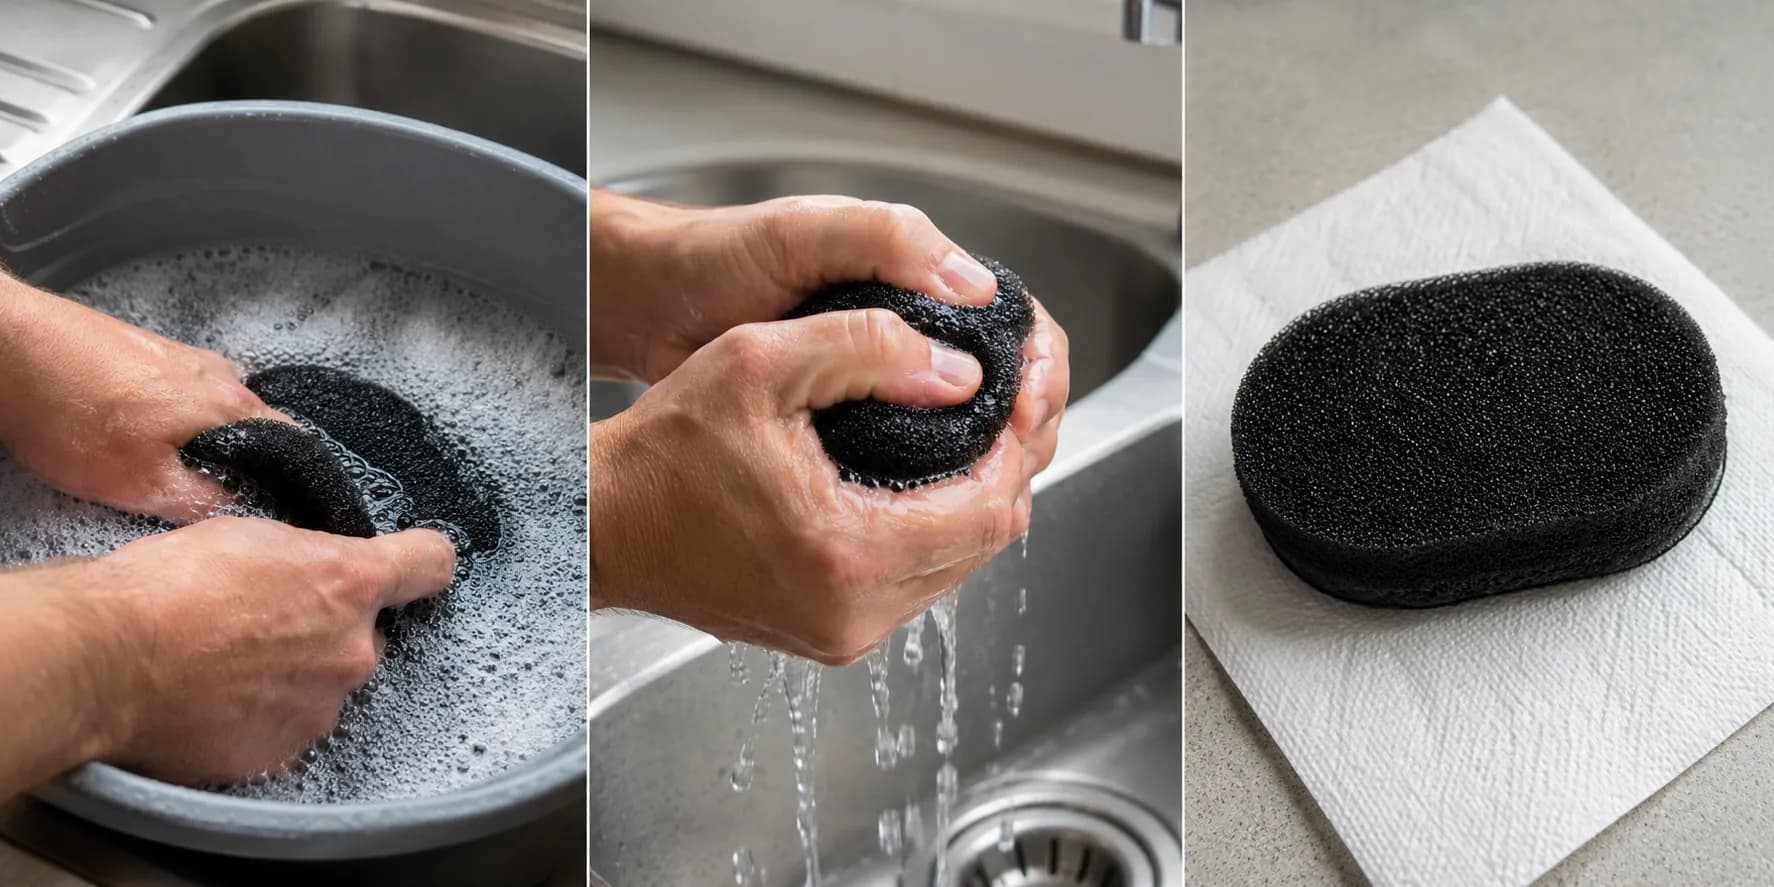
How to Service a Honda Dual-Stage Filter
A Honda dual-stage filter is a foam pre-filter wrapped over a paper core, and each layer gets its own treatment: wash and re-oil the foam, tap or replace the paper, and keep the two together as a matched set. Treating the whole thing as one washable unit is the classic mistake, because soaking the paper core wrecks it exactly as it would a standalone paper element. Honda and Briggs both build these so the foam pre-cleans the air and extends the paper's life.
Here is the correct sequence.
Separate the foam sleeve from the paper core. What you should see: two distinct pieces, a soft foam outer and a pleated paper inner. Pull gently so you do not tear the foam.
Service the foam using the wash and re-oil steps above. What you should see: clean, lightly oiled, blotted foam. Same rules, no solvents.
Service the paper core using the tap or replace steps above. What you should see: dust tapped out, or a fresh core if light will not pass. Never wash the paper core.
Replace either layer that is torn or brittle. What you should see: intact foam and paper with no holes. A torn pre-filter lets grit reach the paper.
Reassemble foam over paper and seat the set. What you should see: the foam fully covering the core, gasket seated for a tight seal. A poor seal lets dust bypass both layers.
The payoff of doing this right is quiet reliability. A properly serviced dual-stage set gives the cleanest air of any filter style, which is why Honda uses it on harder-working engines.
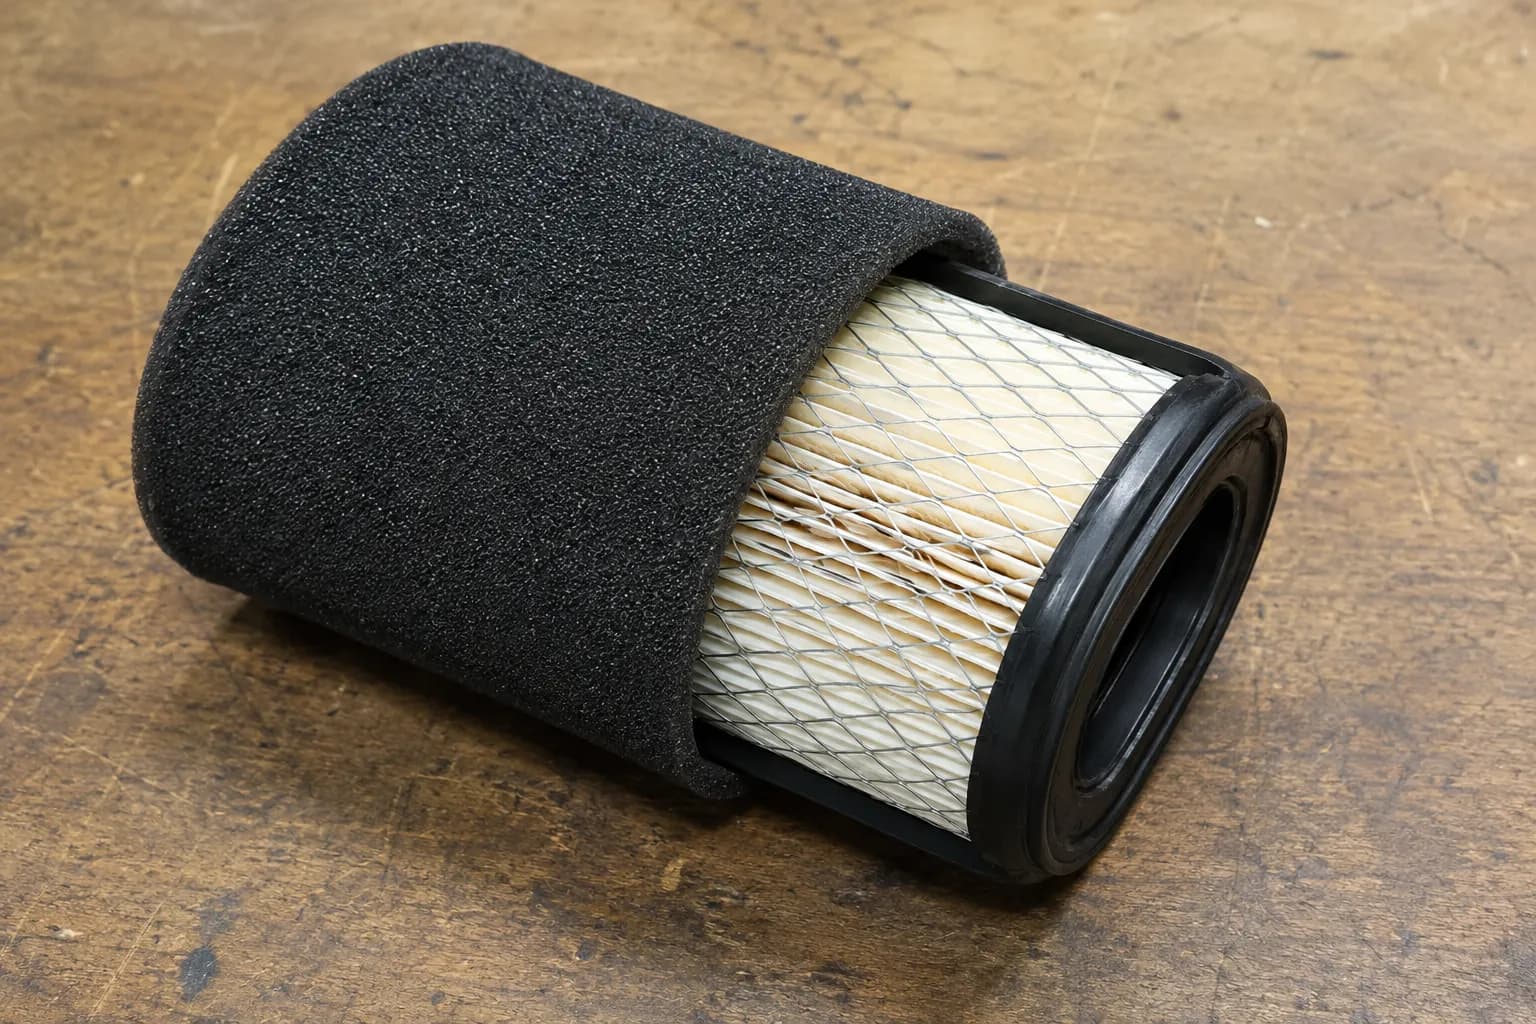
Oil in Your Honda Air Filter? Here Is Why and How to Fix It
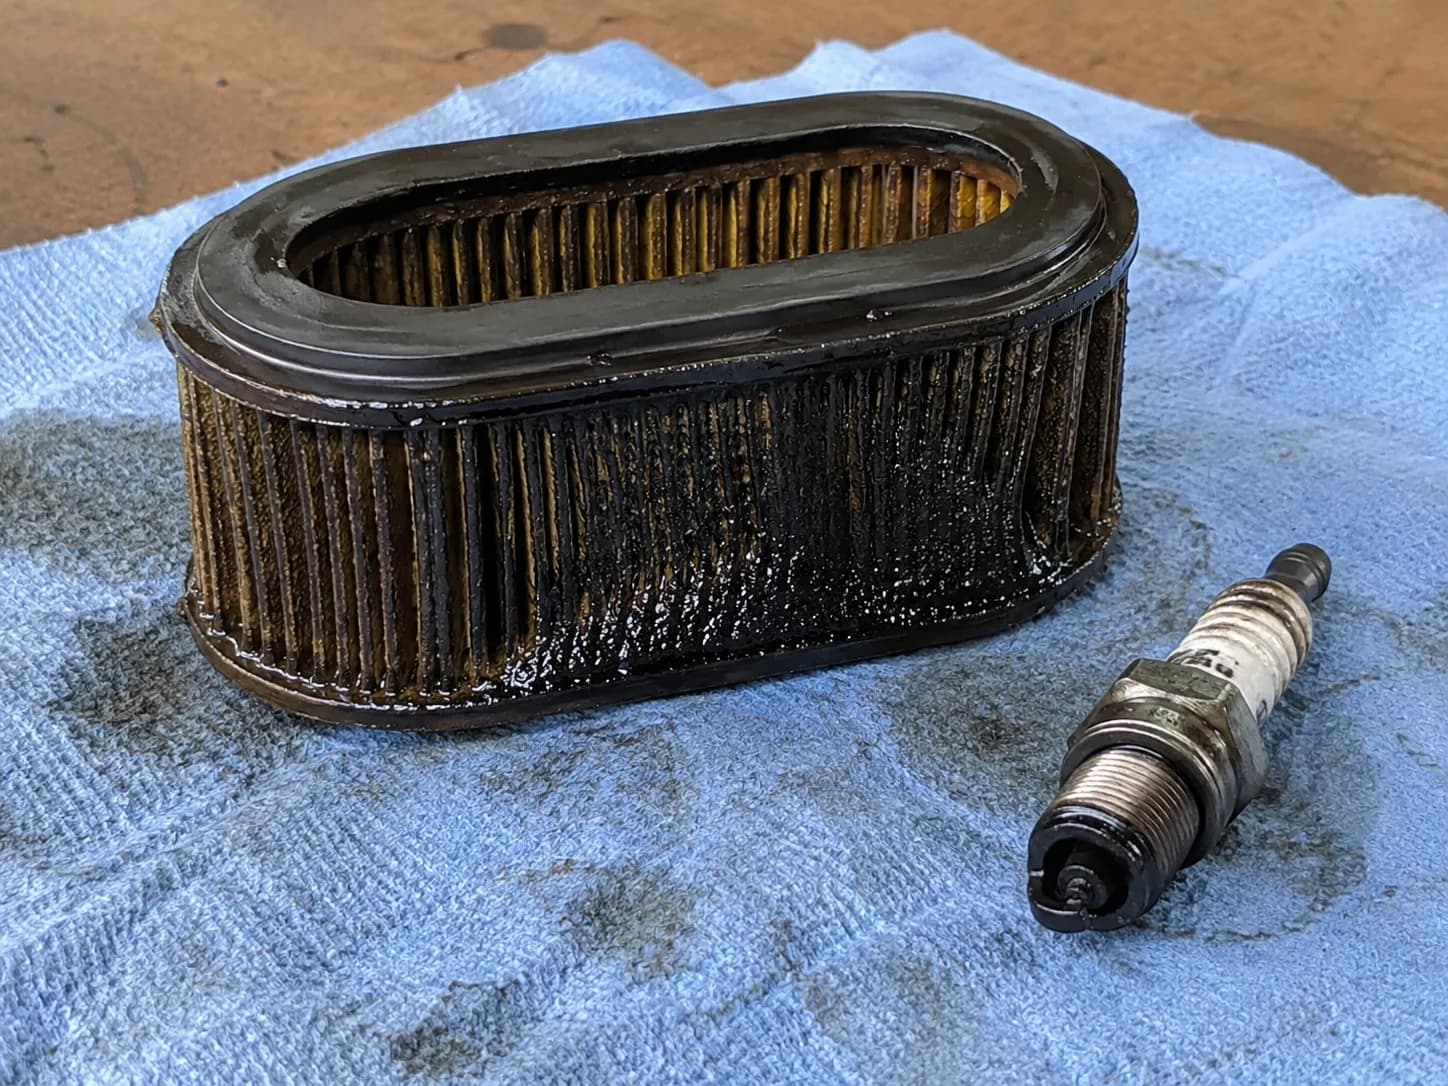
Oil in a Honda air filter almost always means one thing: you tipped the mower the wrong way or overfilled the crankcase, and oil traveled up the breather tube into the air-cleaner housing. This is the problem the generic guides skip, yet it fills the small-engine forums, and the fix is simple once you know the path. Oil reaches the filter through the crankcase breather tube, as owners work through on the Lawn Mower Forum for the HRR216VKA, where a wrong-way tip sent oil straight into the carburetor and fouled the plug.
Start by matching the symptom to the cause.
Symptom | Cause | Fix |
|---|---|---|
Oil-soaked filter, blows smoke on startup | Tipped the mower carburetor-side down | Replace the element, tip carb-side up from now on |
Oil in the housing after an oil change | Overfilled the crankcase | Correct the oil level, then clean the housing |
Oily filter plus a fouled plug | Oil carried through to the carburetor | Clean the plug, clear the carburetor, replace the filter |
The mechanism is worth picturing, because it explains why prevention is so easy.
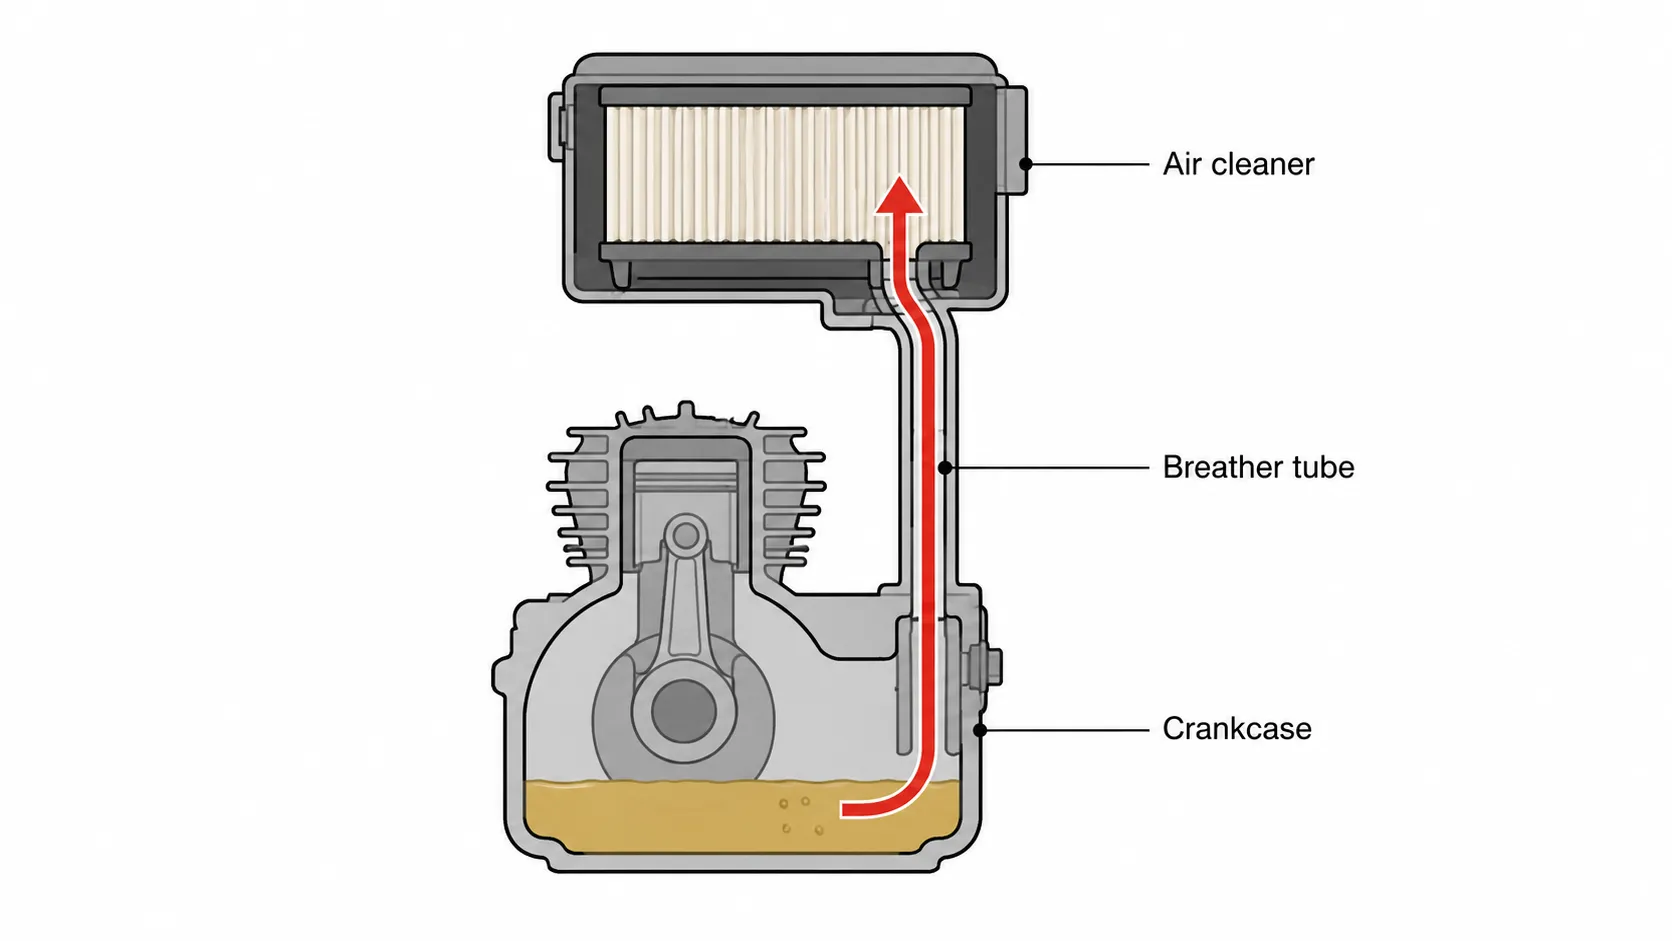
Now the fix. An oil-soaked paper element cannot be saved, so replace it rather than trying to wash it clean.
Replace the oil-soaked element. What you should see: a dry, clean new filter. Soaked paper is done, no exceptions.
Wipe the housing dry. What you should see: no pooled oil in the air-cleaner body. A rag handles it.
Clear any oil that reached the engine. What you should see: fumes thinning as you pull the starter rope with the plug removed and the fuel off. Give the float bowl a quick swish if oil got into the carburetor.
Clean and dry the spark plug. What you should see: a dry electrode with no oily film. A fouled plug is why it will not start cleanly.
Correct the cause. What you should see: the oil at the right level on the dipstick, and a habit of tipping carb-side up. Expect a little smoke on the first restart as residue burns off.
If the element is beyond saving and you want a match by size, you can cross-reference a compatible replacement before you buy.
Clean, Replace, or the Right Part Number
Stop cleaning and replace the filter when the paper is torn, will not pass light, or is oil-soaked, or when a foam element has gone brittle. For a Honda GCV160, the OEM element is a 17211-ZL8 part, and the exact suffix depends on your engine's serial range, confirmed against Honda's own parts listing. Matching the serial range is the step most owners miss when changing an air filter in a Honda lawn mower.
Here is the mapping for the common GCV160.
Engine and serial range | OEM air-filter element |
|---|---|
GCV160, serial up to 2240610 | 17211-ZL8-000 |
GCV160, serial 2240611 and up | 17211-ZL8-003 or 17211-ZL8-023 |
GCV160 (WIX-supplied service part) | 17211-Z8B-901 |
Read the serial number off the deck or engine before you order, because the pre and post-2240610 elements differ.
Aftermarket options exist, and searches for an Atlas-style replacement Honda engine air filter turn up plenty of them. They can fit, but confirm the cross-reference to your exact element before buying, since a loose or undersized filter lets grit past the seal.
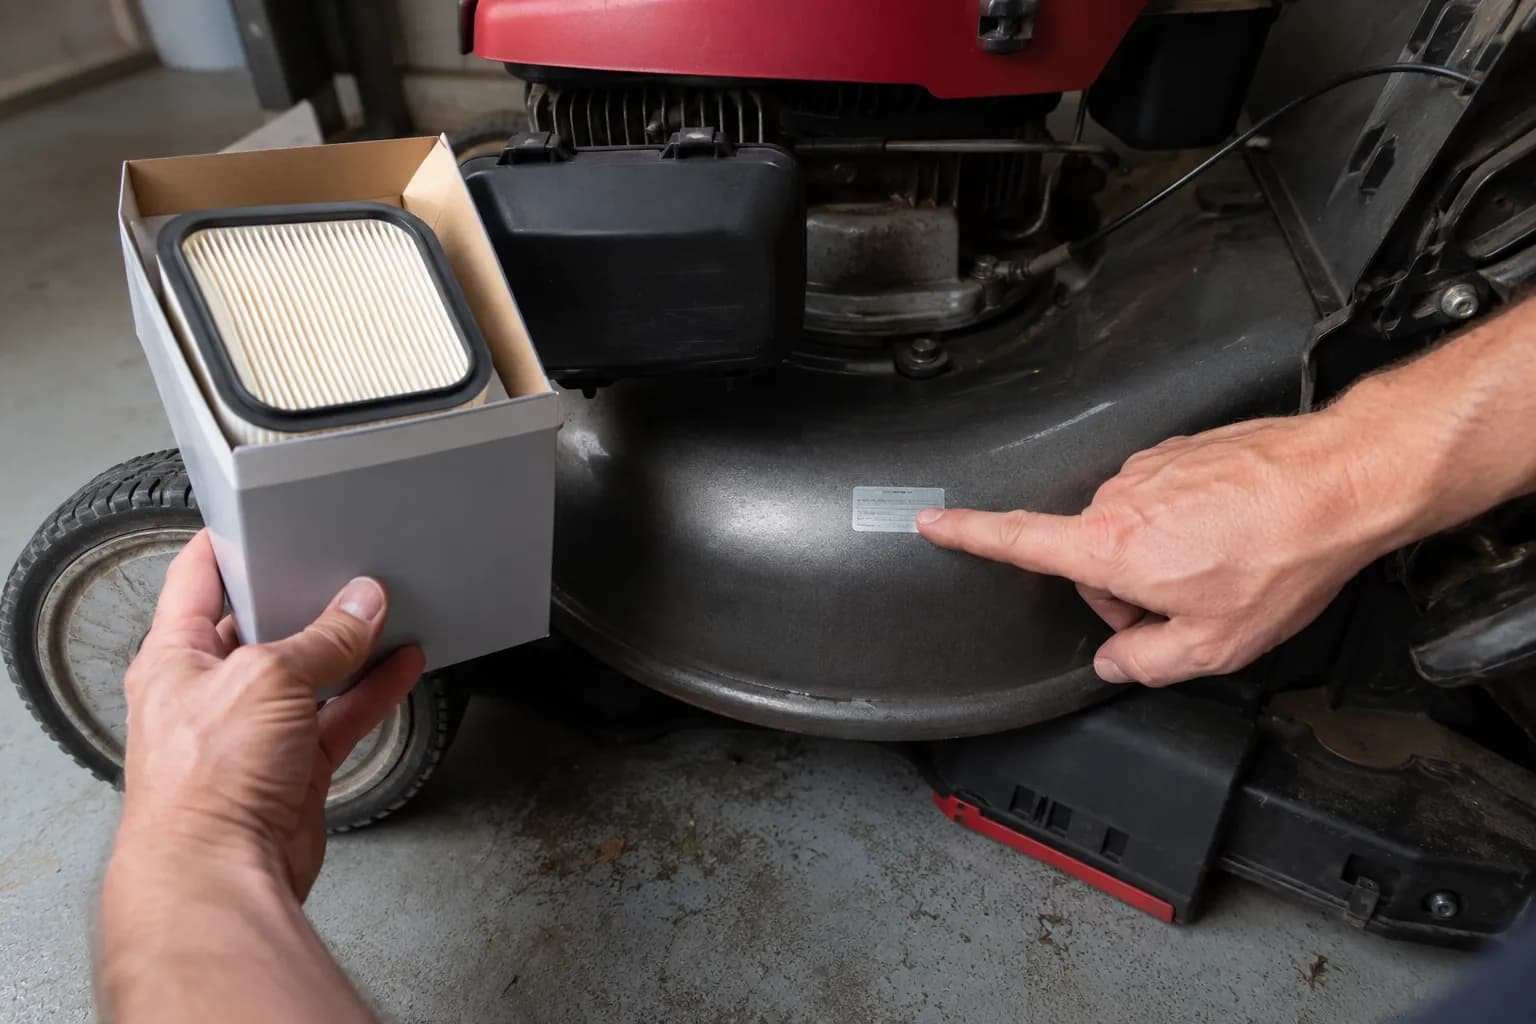
To match the exact element to your specific model and engine, our Honda filter tool helps you find your engine's exact filter by code and serial.
Honda Air Filter FAQ
Can you wash a Honda air filter?
Only the foam kind. A foam pre-filter is washed in mild soap and water, dried, and lightly re-oiled. The paper element used on most GCV160 and GCV190 mowers is never washed, because water collapses the paper media. Tap it out or replace it instead.
How often should you clean or change a Honda air filter?
Check it every 25 hours of use or once a month in mowing season, and replace a paper element at least once a season, sooner in dusty conditions. Honda's GCV160 owner's manual ties service to that maintenance schedule. A foam pre-filter gets cleaned as needed and replaced when it turns brittle.
Can you use compressed air on a Honda paper filter?
Yes, carefully. Blow from the clean side that faces the engine and keep the pressure under 30 psi. Higher pressure or blowing from the dirty side tears the pleats and pushes grit deeper, so when in doubt, just tap it out.
Why is my Honda smoking after I cleaned the filter?
Usually over-oiled foam or leftover oil in the housing. Blot a re-oiled foam element until it stops transferring oil, and wipe any pooled oil from the air-cleaner body. A little smoke on the first restart is normal as residue burns off.
Do I need a genuine Honda filter or is aftermarket okay?
Aftermarket elements can fit if the cross-reference matches your exact part and serial range. Genuine Honda elements take the guesswork out and keep warranty questions simple. Either way, confirm the size seals properly before you run the mower.
Your Next Mow
Knowing how to clean a Honda lawn mower air filter comes down to reading the filter before you touch it. Identify the media, then match the method: tap or replace paper, wash and re-oil foam, service both layers on a dual-stage set.
The one problem worth remembering is oil in the filter, and it is entirely preventable. Tip the mower carburetor-side up and keep the oil at the right level, and you will never fish an oil-soaked element out of the housing again.
Do the quick check this spring, keep a spare element on the shelf, and your Honda starts on the first pull all season. That is the whole payoff: a minute of the right service instead of a shop bill.
Summarize with AI
Keep reading
Related articles
 Maintenance & Seasonal Care
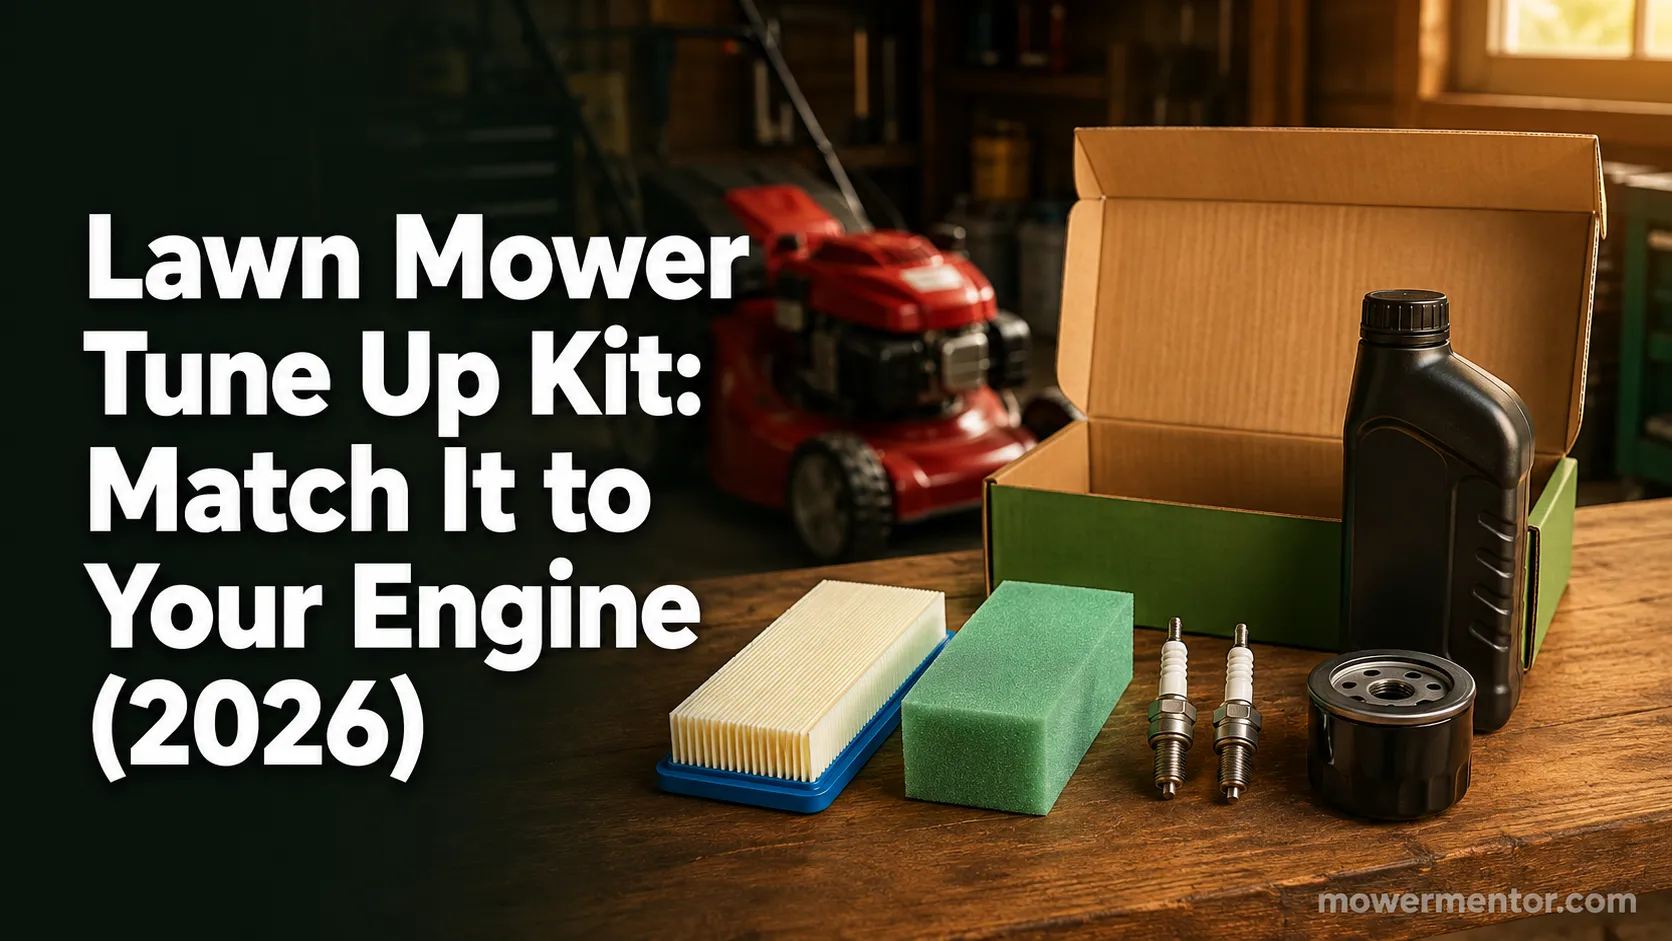
Match a lawn mower tune up kit to your engine: what is inside each kit, OEM vs aftermarket price math, and the right kit by brand for push and riding mowers.
 Maintenance & Seasonal Care
Compare mobile vs drop-off shop for a lawn mower tune up near me: real 2026 price ranges from 12 quotes, the 7 questions to ask, and when to just DIY it.
 Maintenance & Seasonal Care
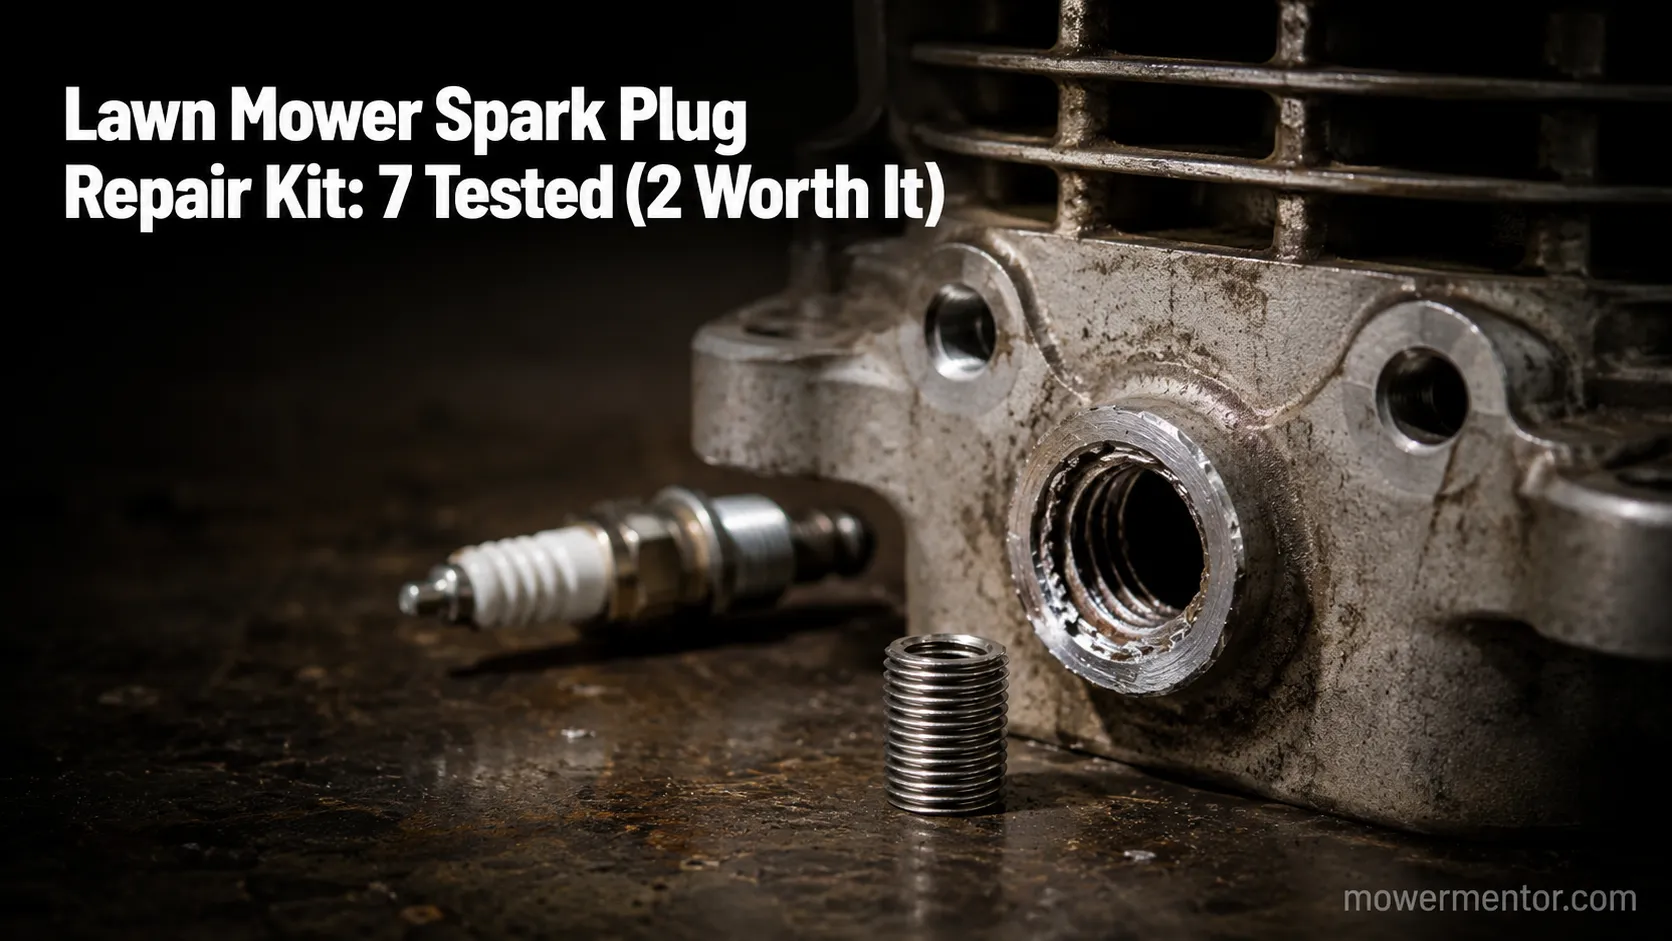
Match a lawn mower spark plug repair kit to your fault in 30 seconds. 7 kits tested on 9 engines: M14x1.25 sizing, insert lengths, and the $5 boot fix.
 Maintenance & Seasonal Care
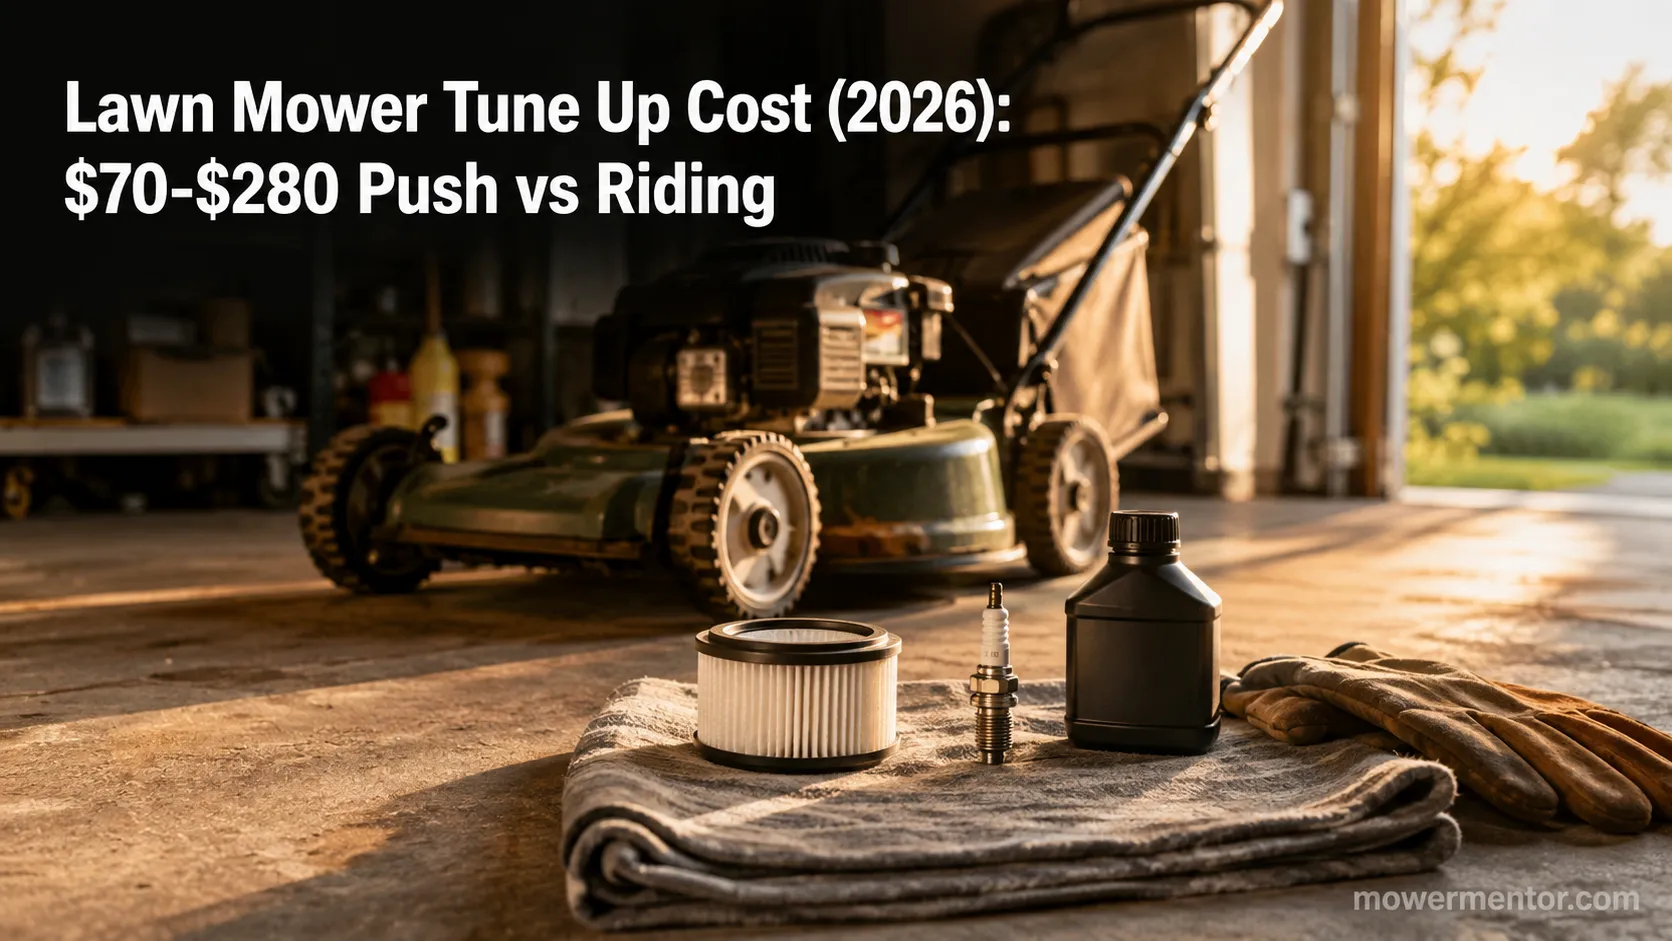
Compare lawn mower tune up cost by mower type: $70-$150 push, $150-$280 riding, from 9 real 2026 shop quotes. Plus the same parts for about $18 DIY.
Comments
Moderated for quality. Share a correction, ask a follow-up, or tell us what worked for you - every comment is reviewed before it goes live.