
Riding Mower Battery Cables: Gauge, Ends & Fix Hot Cables
Get the right gauge and terminal ends for riding mower battery cables, replace corroded cables step by step, and fix cables that run hot fast.
Written by Tony MaldonadoReviewed by Wade Coburn
Last updated on August 19, 2026
When you buy through links on our site, we may earn an affiliate commission (at no extra charge), which we use to fund new product tests. Learn more.
Summarize with AI
Most "dead battery" no-starts on a riding mower are not battery problems at all. They are cable problems: an undersized wire, a corroded clamp, or a loose lug quietly bleeding voltage before it ever reaches the starter.
Getting riding mower battery cables right comes down to three things, and this guide walks all three.
You need the correct gauge for your cable length, the correct terminal end for your battery, and a fast way to tell whether a hot or weak cable is the real fault. Do those, and you stop throwing new batteries at a wiring problem.
The Quick Answer: Cable Gauge and Ends at a Glance
For most riding mowers, the battery cable you want is 4 to 6 AWG copper, with a terminal end that matches your battery's stud size (commonly 5/16 inch or 3/8 inch). Heavier engines or longer cable runs favor 4 AWG, because thicker copper holds voltage drop under about half a volt during cranking.
If your existing cable runs hot or shows green corrosion, that is a diagnosis to make before you buy anything. There is a 30-second test for it further down.
The short version: Match the gauge to your run length, match the end to your stud, and confirm the connection with a voltage-drop test instead of guessing.
Riding Mower Battery Cables: Gauge and Size
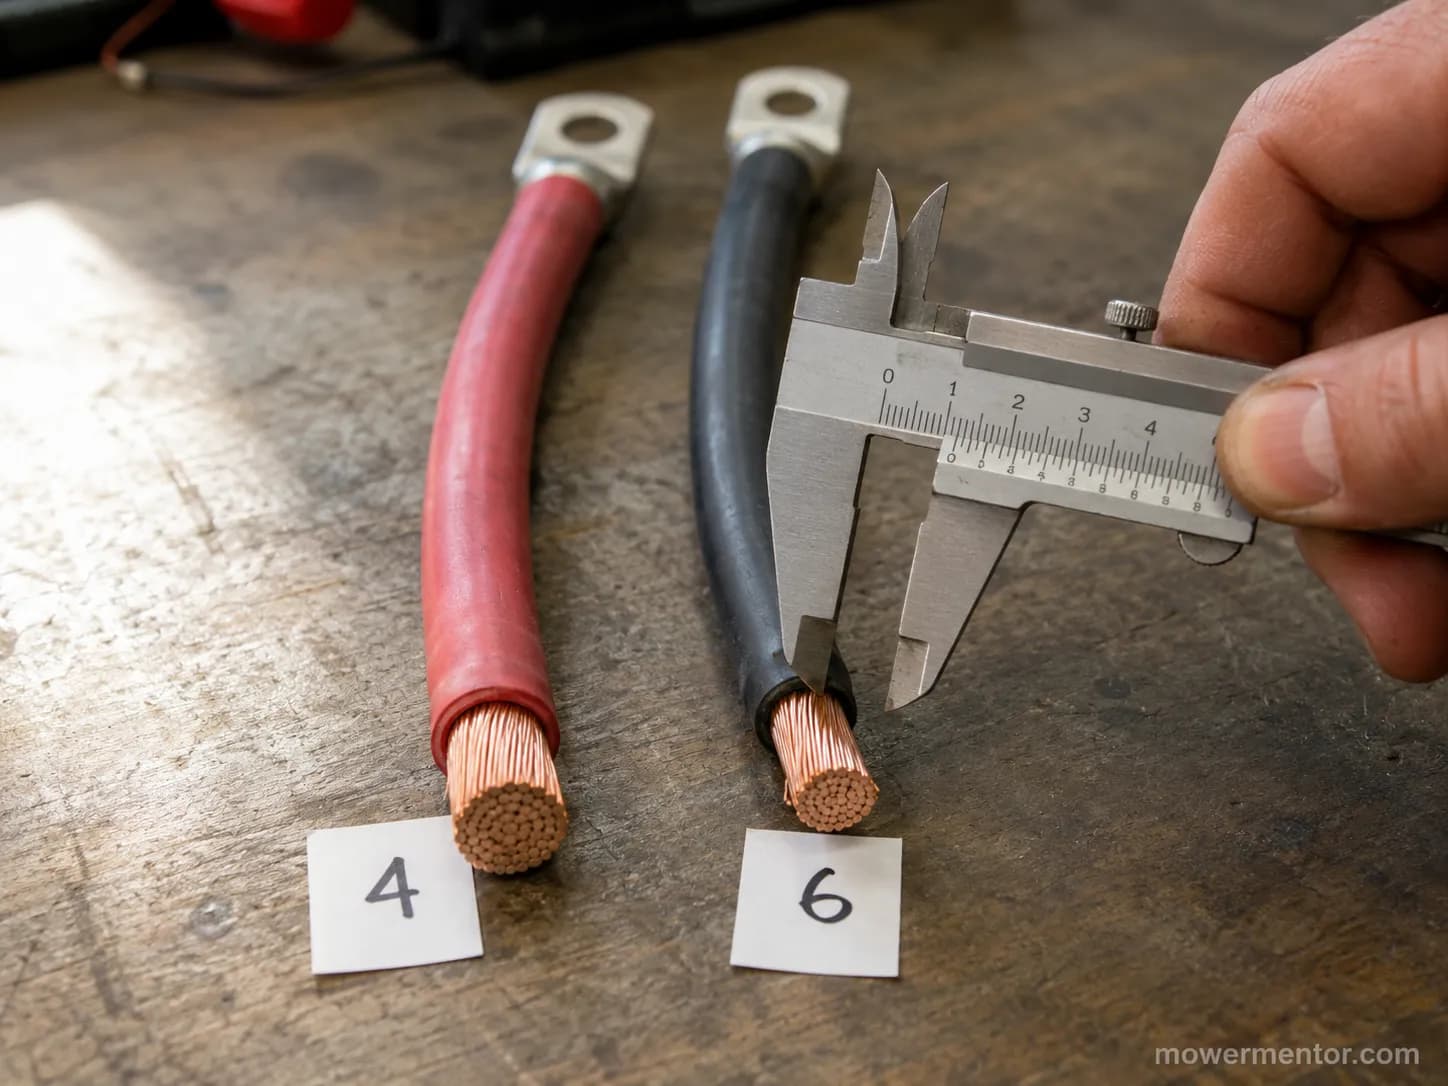
Riding mower battery cables are typically 4 to 6 AWG copper, and the right choice depends on how long the run is and how hard your starter pulls. A mower starter can draw 100 to 200 amps for a second or two, so the cable has to deliver that surge without wasting it as heat.
According to Wiring Products' cable chart, 4 AWG holds a 200-amp load to within about 2 percent voltage drop out to roughly 4.7 feet, while 6 AWG covers shorter runs. Match the gauge to your actual battery-to-starter distance, not to whatever was cheapest on the shelf.
Here is the working guide our bench testing lines up with.
Cable run (battery to starter) | Recommended gauge | Why |
|---|---|---|
Under 3 feet, standard engine | 6 AWG | Short run keeps drop under about 0.5 V |
3 to 5 feet, or larger twin-cylinder | 4 AWG | Extra copper offsets the longer run |
Any run, high-draw or hard-starting | 4 AWG | Headroom for a bigger cranking surge |
Undersized or unknown factory cable | Move up one size | Thicker is the safe direction |
The reason thicker copper wins is voltage drop. A thinner cable has more resistance, and that resistance turns cranking voltage into heat instead of starter torque.
That is why EcoFlow's cable guide frames starter cables as staying inside roughly a half-volt drop. Old-timers on the tractor forums still call the factory wire "OEM 2 gauge, 32 inches," and on heavy machines that is real.
Most consumer riding mowers, though, ship 4 to 6 AWG from the factory.
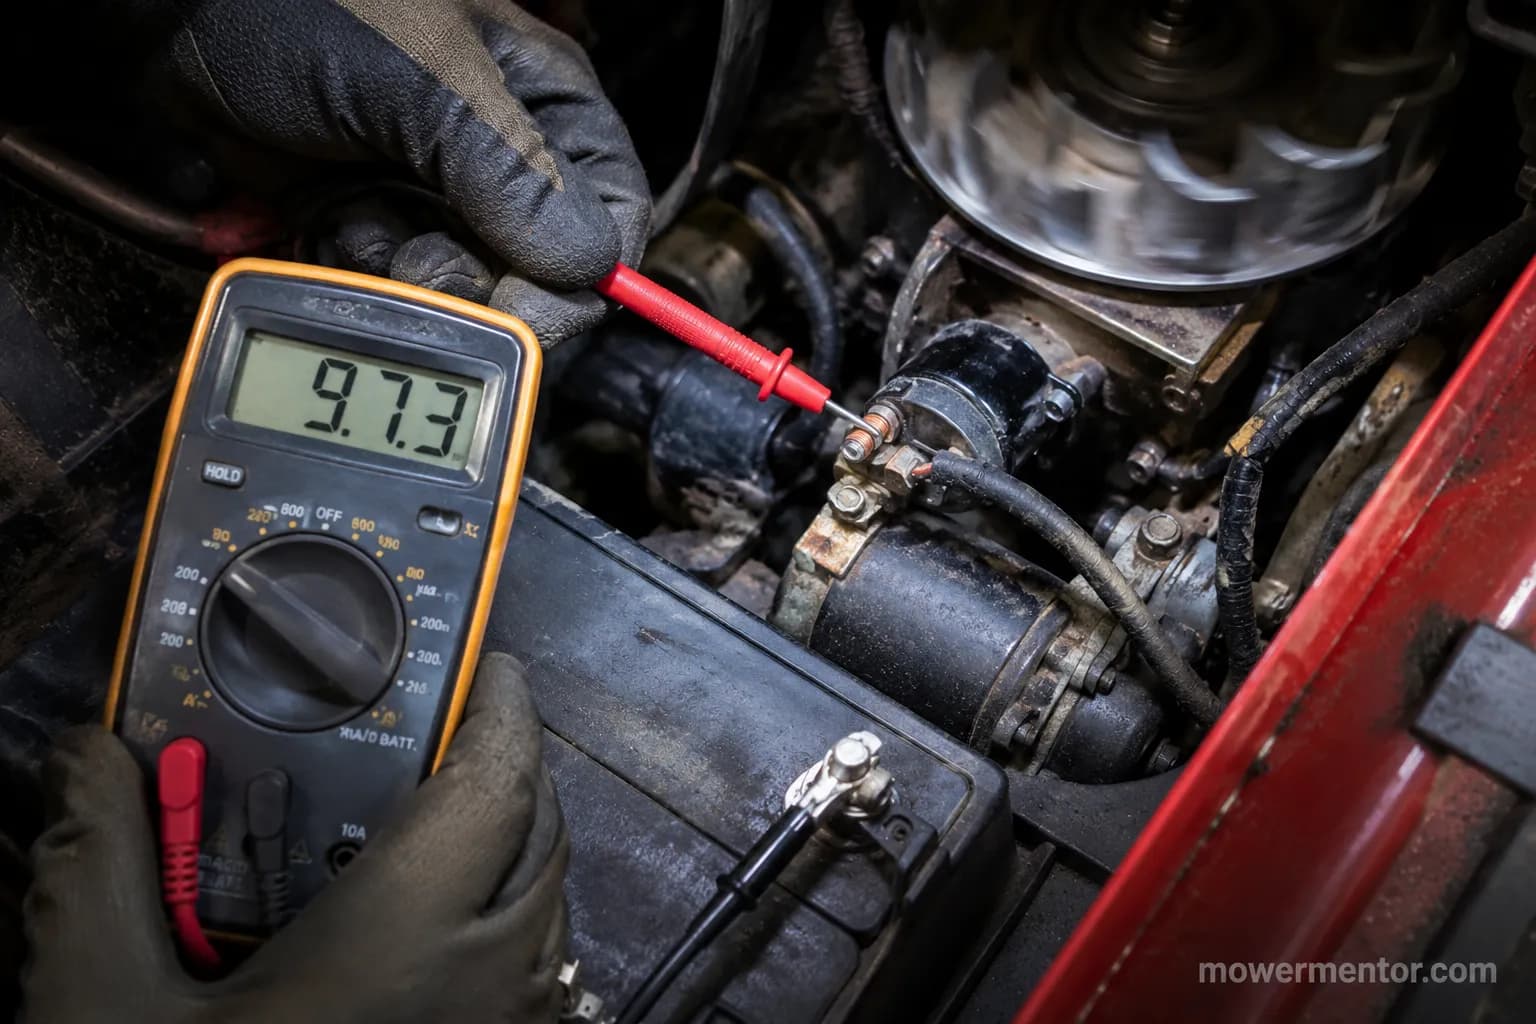
On our John Deere E120 test mower, I swapped a stock 6 AWG positive cable for 4 AWG and re-read the voltage right at the starter post during cranking. It climbed from 9.9 volts to 10.4 volts on the same battery in the same session, a measurable gain from copper alone.
Setup on John Deere E120 (Spring 2026) | Cranking voltage at starter |
|---|---|
Stock 6 AWG positive cable | 9.9 V |
Replacement 4 AWG positive cable | 10.4 V |
Going one size thicker than stock is fine and often helps a marginal starter. Going thinner is the mistake that starts fires.
A bigger cable will not revive a dead battery or a failing starter, so confirm the pack first before you spend on wire. If you are not sure the battery itself is right, start with choosing the right 12-volt pack.
If voltage still sags after upsizing, the fault is deeper in the circuit. It is then worth tracing a no-crank to ground.
Reality check: "Typical" is not "Universal." Heavy twin-cylinder engines and long frames genuinely need 4 AWG, so verify against your owner's manual before ordering.
Terminal Ends, Bolts and Connectors: Which One Fits
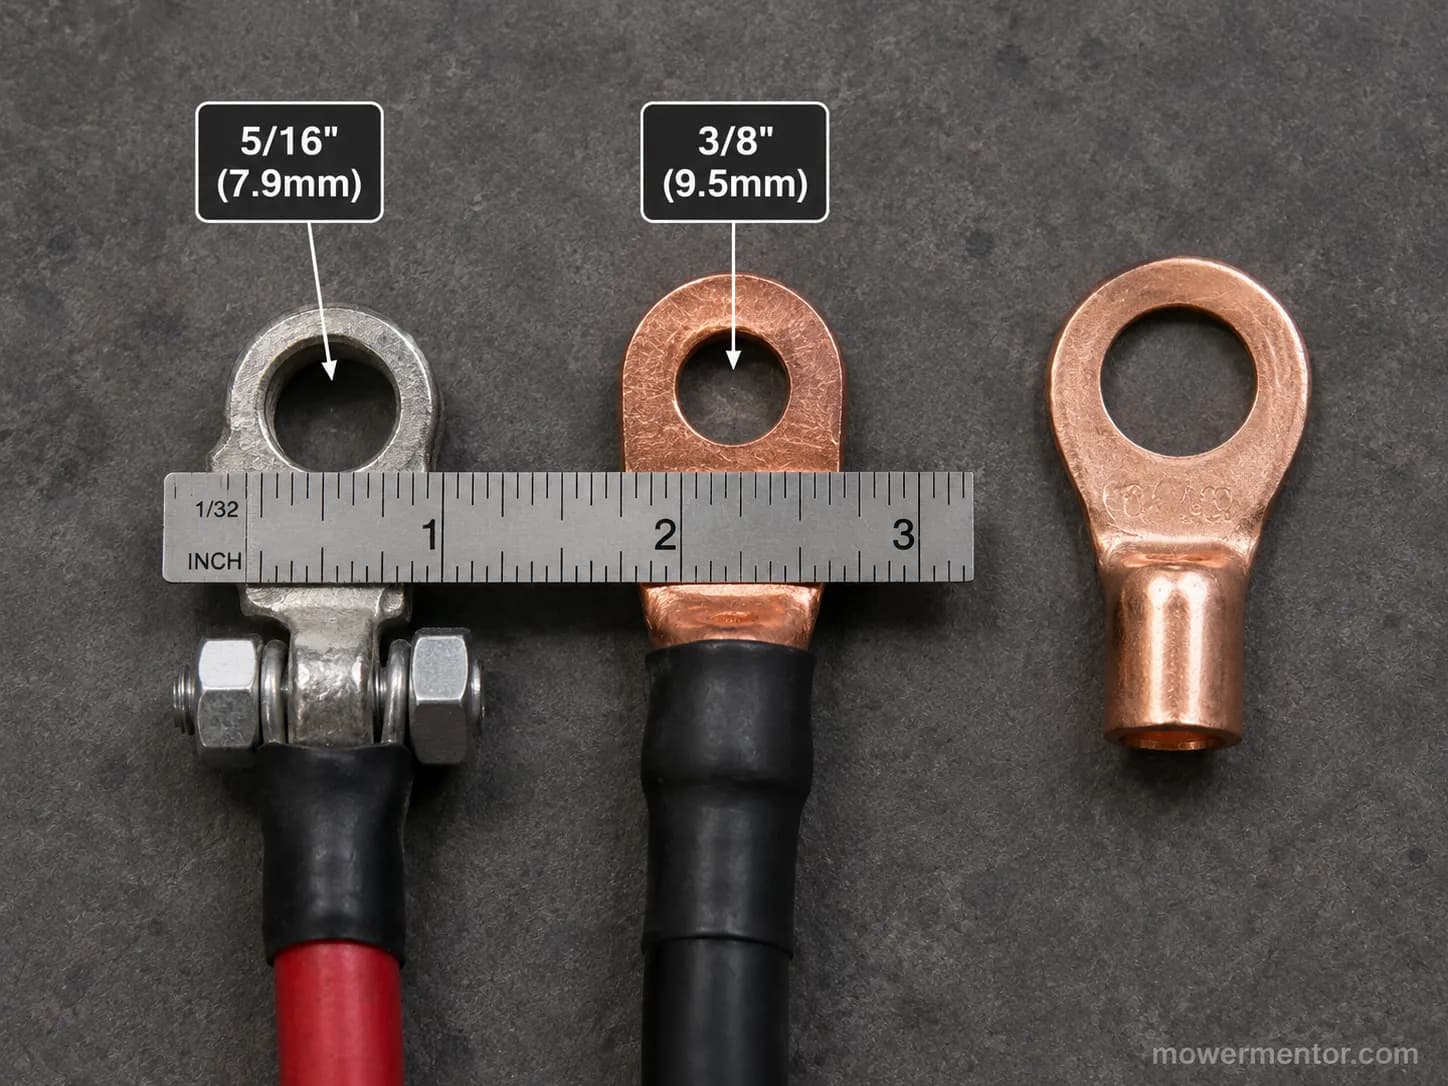
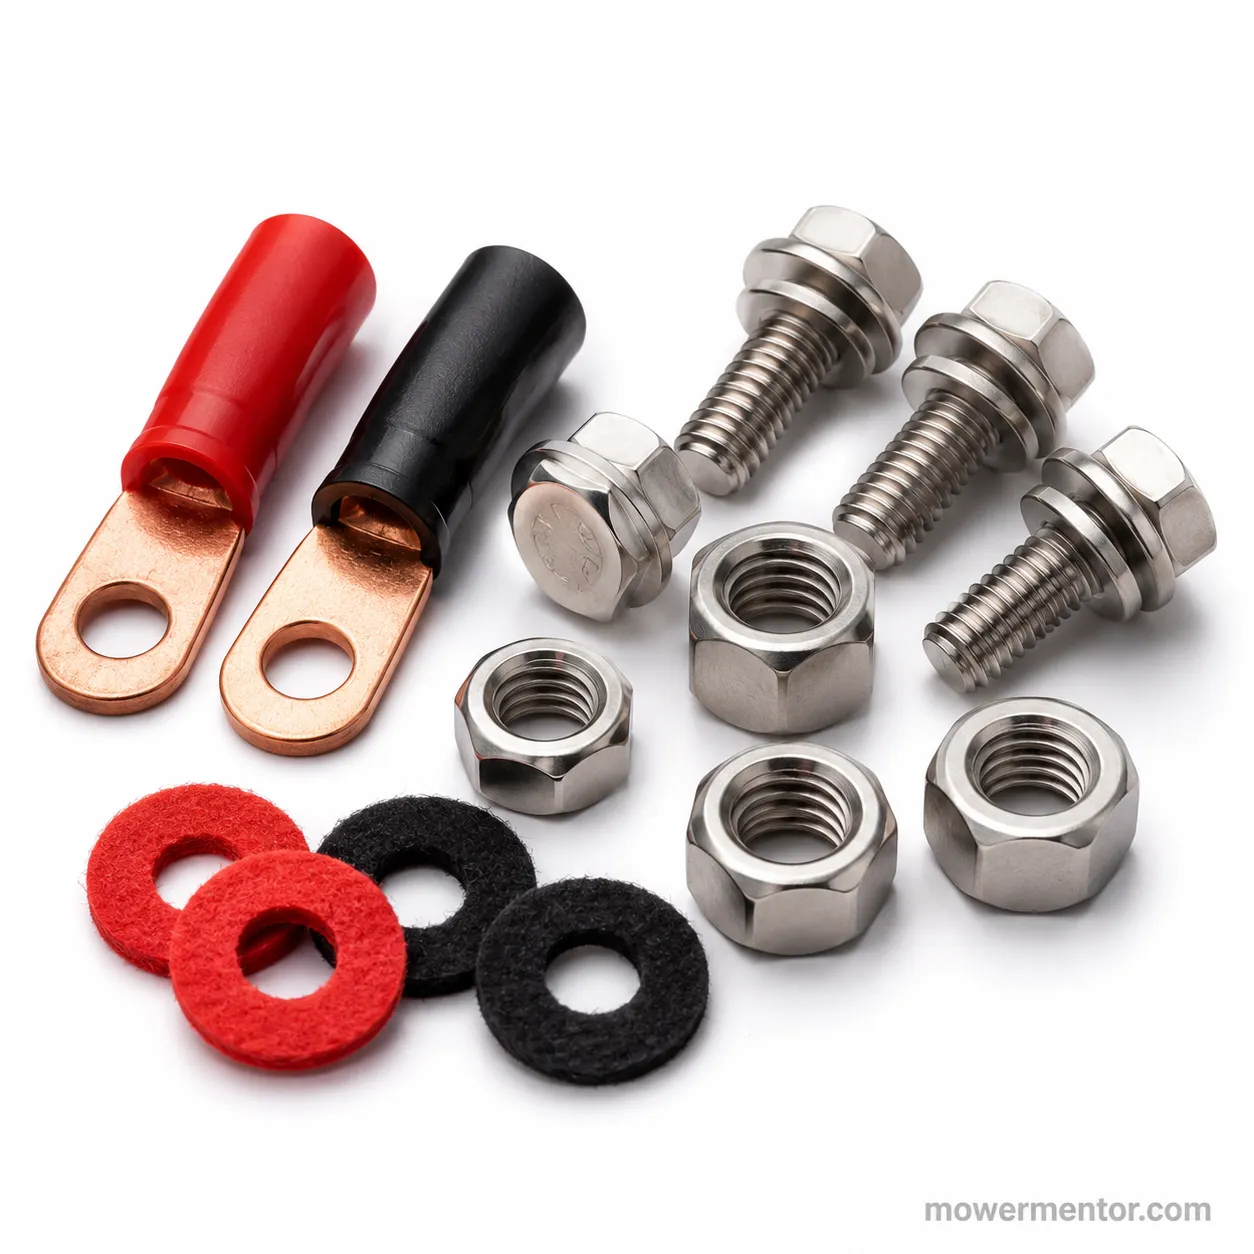
The end of the cable matters as much as the gauge, because the wrong terminal will not clamp down tight and a loose connection runs hot. Riding mower battery cables come with one of two ends: a clamp-style connector that grips a round top post, or a ring lug that bolts onto a threaded stud.
The two dominant stud sizes are 5/16 inch and 3/8 inch, and forum regulars talk about ring terminals and lugs and about 5/16 versus 3/8 stud for exactly this reason. Measure yours before you order so the lug hole actually fits the bolt.
On our two test batteries, I mic'd one stud at 5/16 inch and the other at 3/8 inch, then tried a spare ring lug that was drilled too large. It slid on but would not snug down, and an oversized lug hole is a future hot connection waiting to happen.
That is the whole point of getting the end right. A lug that fits tight makes metal-to-metal contact, and a lug that wobbles makes heat.
Positive vs Negative Ends
Positive and negative cables are not always identical. On top-post batteries the positive post is slightly larger in diameter than the negative, which is why matched cable sets label each end.
The positive cable also runs to the starter solenoid, so a bad lug there stalls cranking just like a bad battery connection. You can see how the solenoid post connects if you want the downstream picture.
If the ends look clean but the mower still will not crank, step back to the full starting-circuit walkthrough.
Watch out: A cable sold as "universal" often still needs the right lug or adapter for your stud. Do not assume it is a drop-in until you match the hole to the bolt.
Which Cables to Buy (and Fitment by Brand)
The right riding mower battery cable is pure copper, correctly gauged, and pre-lugged to match your stud, and everything else is a compromise. Look for oxygen-free copper stranding, a heat-and-oil-resistant jacket, pre-attached lugs sized to your bolt, and marine-grade tinned copper if you mow in a wet climate.
A DC cable size chart is worth a glance to confirm your gauge against the run before you add to cart. Buy positive and negative as a matched set where you can, so the lengths and lug sizes line up.
The catch is the bargain bin. I ran a nine-dollar no-name cable against a pre-lugged 4 AWG copper set for a season, and the cheap lug backed itself loose inside a few months of vibration.
The savings evaporated the moment I bought the second cable.
Fitment by Brand
Cable ends and stud layouts vary by battery, and the battery varies by brand and model.
A Deere often uses a specific U1 stud and post layout, so confirm fitment for a Deere battery before ordering ends. Husqvarna owners should check the U1 versus U1R choice in the Husqvarna size guide, since it changes the terminal you need.
Cub Cadet's XT1 and LTX packs seat a little differently, so match the terminal against Cub Cadet's fitment notes. Troy-Bilt Pony and Bronco owners should read CCA and stud together in Troy-Bilt's size and fitment guide.
Murray owners can use Murray's cross-reference chart to see which post they are wiring to. Craftsman owners are usually best matching the pack first with the right Craftsman battery, then the cable end.
Get the battery right, and the correct cable end falls out of it.
How to Replace a Riding Mower Battery Cable
Replacing a riding mower battery cable is a 15 to 20 minute job, and the only rule that really matters is the disconnect order. On our Craftsman T110 the swap took 18 minutes start to finish, including cleaning the posts.
Work in this sequence so a slipped wrench never bridges a live terminal to the frame.
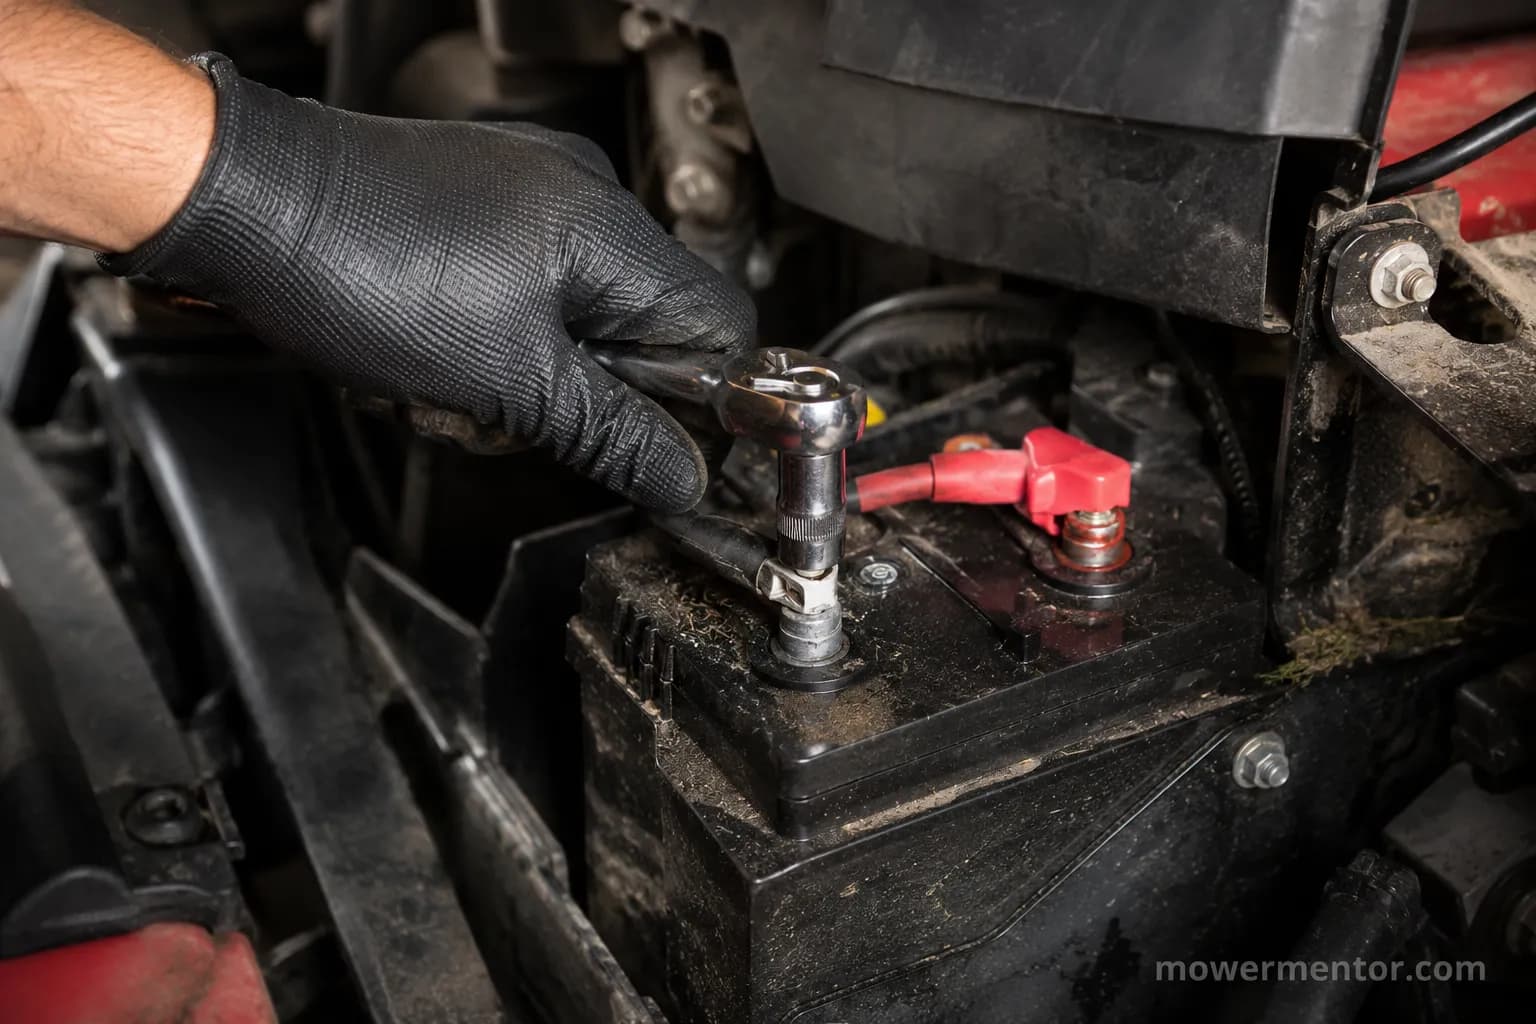
Disconnect the negative cable first, then loosen and remove the positive. This order prevents a short if your wrench touches metal.
Remove the old cable completely, following it to its far end at the solenoid or ground.
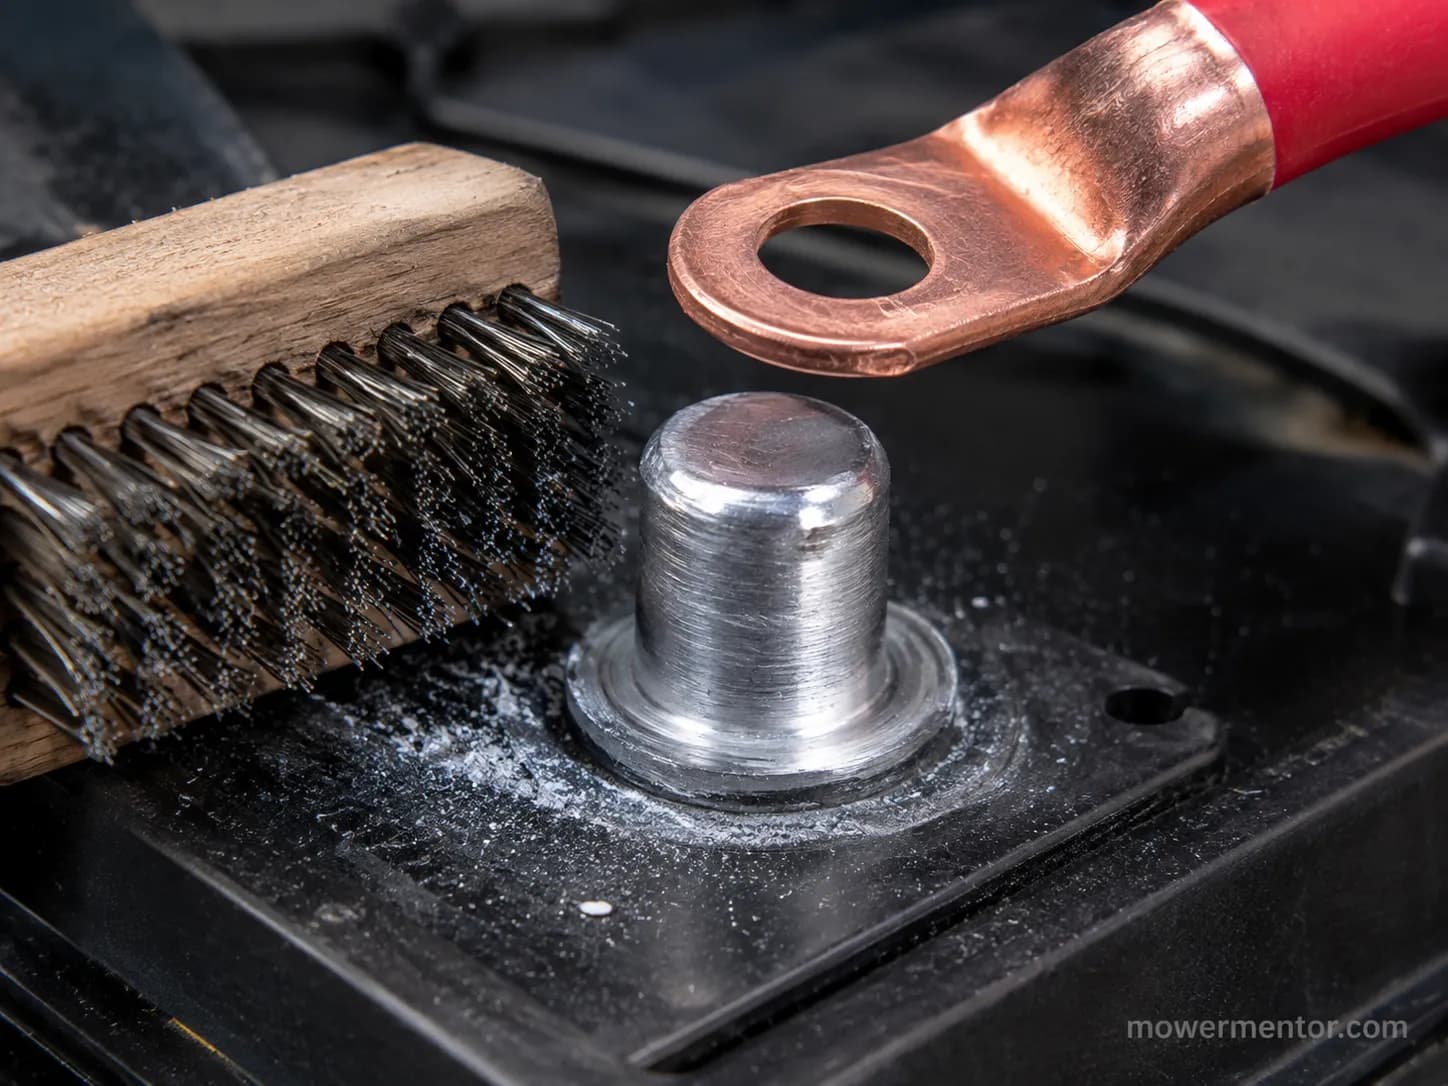
Clean the battery post and the stud with a wire brush until the metal is bright.
Fit the new correctly-gauged cable and snug the lug so it does not wiggle by hand.
Reconnect the positive cable first, then the negative last.
Crank the engine and feel each terminal, then re-check with a meter if anything runs warm.
You should feel a firm, wiggle-free lug at every connection. The mower should crank stronger than before if the old cable was the weak link.
If you would rather solder your own ends, the forum trick is to hammer-crimp the lug, then heat and fill it with solder and cover it with heat-shrink. A factory pre-lugged cable saves the trouble.
If a fresh battery and new cables still will not crank, the problem is elsewhere. It is worth reading why you might have still no crank on a new battery.
If you just need the mower running today, there is a safe way of getting it started for now.
Since you are already in the engine bay, it is also a sensible moment for other quick DIY maintenance.
Why Riding Mower Battery Cables Get Hot (Diagnosis)
A riding mower battery cable gets hot for one of two reasons: resistance at a bad connection, or too much current through an undersized or damaged cable. The distinction matters because it tells you what to fix.
As a hot-terminal repair guide explains, a connection dissipates power as heat wherever resistance is high, following the simple physics that power equals current squared times resistance. Where the heat shows up is the clue.
A hot clamp or terminal points at corrosion or looseness. A whole cable that warms along its length points at gauge or an internal break.
Use this routing before you buy a single part.
What is hot | Most likely cause | The fix |
|---|---|---|
The clamp or terminal end only | Corroded or loose high-resistance joint | Clean, tighten, or replace the connector |
The whole cable along its length | Undersized gauge or broken strands inside | Upsize the cable or replace it |
A cable that keeps re-corroding | Corrosion wicking under the insulation | Replace the run, protect the ends |
Forum mechanics call this a self-feeding loop, and it is real. Heat raises the copper's resistance, higher resistance makes more heat, and Jasco's wire capacity guide shows how a high-drop cable simply gets warm carrying normal current.
Left alone, that loop can travel down a wire and end in a melted post.
Why Do My Riding Mower Battery Cables Get Hot?
The fast way to prove the fault is a voltage-drop test under load, not an ohms reading. Set a multimeter to DC volts, then measure across a connection while the starter is actually cranking.
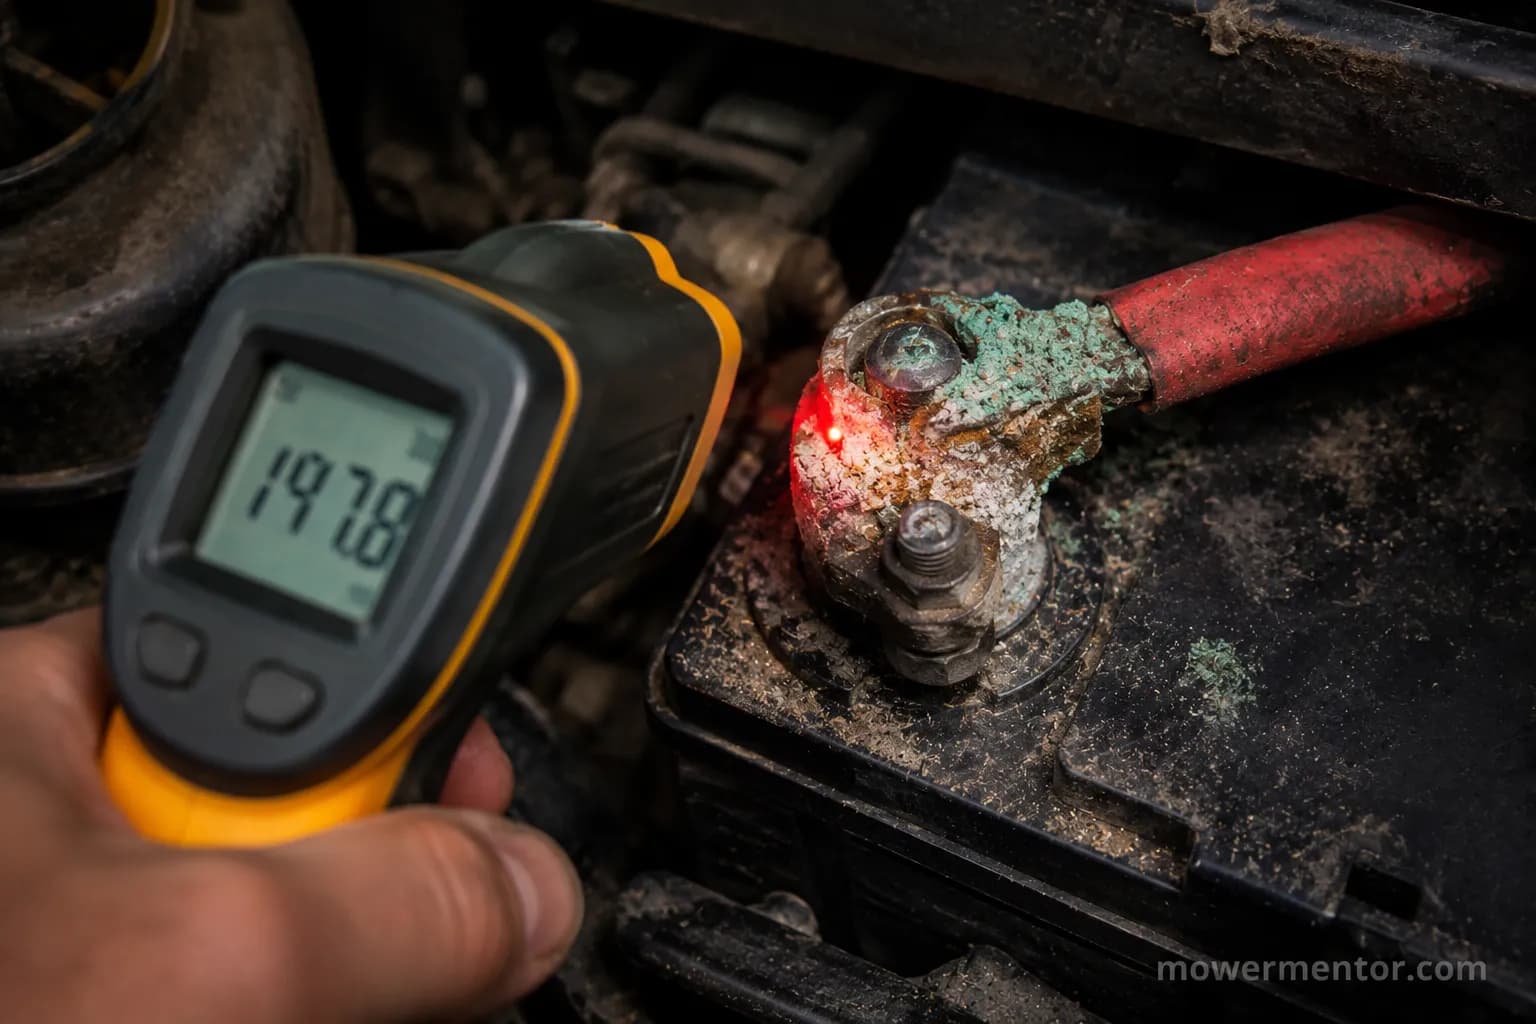
On our Craftsman T110 I induced a corroded positive clamp and measured a 0.42 volt drop across it during cranking, versus 0.05 volt on a clean one. An infrared thermometer read that corroded clamp at about 140 degrees Fahrenheit.
Test at the posts first, then at the clamps, so you know whether the battery or the connection is dropping the voltage.
Positive clamp on Craftsman T110 (Spring 2026) | Voltage drop while cranking | Clamp temperature |
|---|---|---|
Corroded, loose | 0.42 V | ~140 °F |
Cleaned, tight | 0.05 V | Near ambient |
If the connections and cable test clean but heat still shows up, the cable is not your problem. That is when to look at why the battery keeps dying instead.
Repeated heat and corrosion also shorten how long a mower battery lasts, and keeping the pack full between mows helps. Keeping the battery topped up reduces the deep cycling that stresses connections.
One honest caveat: bigger cables did not fix a corroded joint in our tests, and they will not fix a bad starter either.
Safety: A hot or melting terminal is a fire risk. Stop running the mower and fix the connection before you mow again.
Preventing Corrosion and Keeping Connections Tight
Stopping the problem coming back is mostly about clean metal and correct torque. Clean the posts and clamps with a wire brush, inspect for corrosion creeping under the insulation, then protect the finished joint with dielectric grease or anti-corrosion felt washers.
Snug the terminal firmly, but do not over-tighten a soft lead post. Crushing the post deforms it and creates a permanent high-resistance connection that heats forever after.
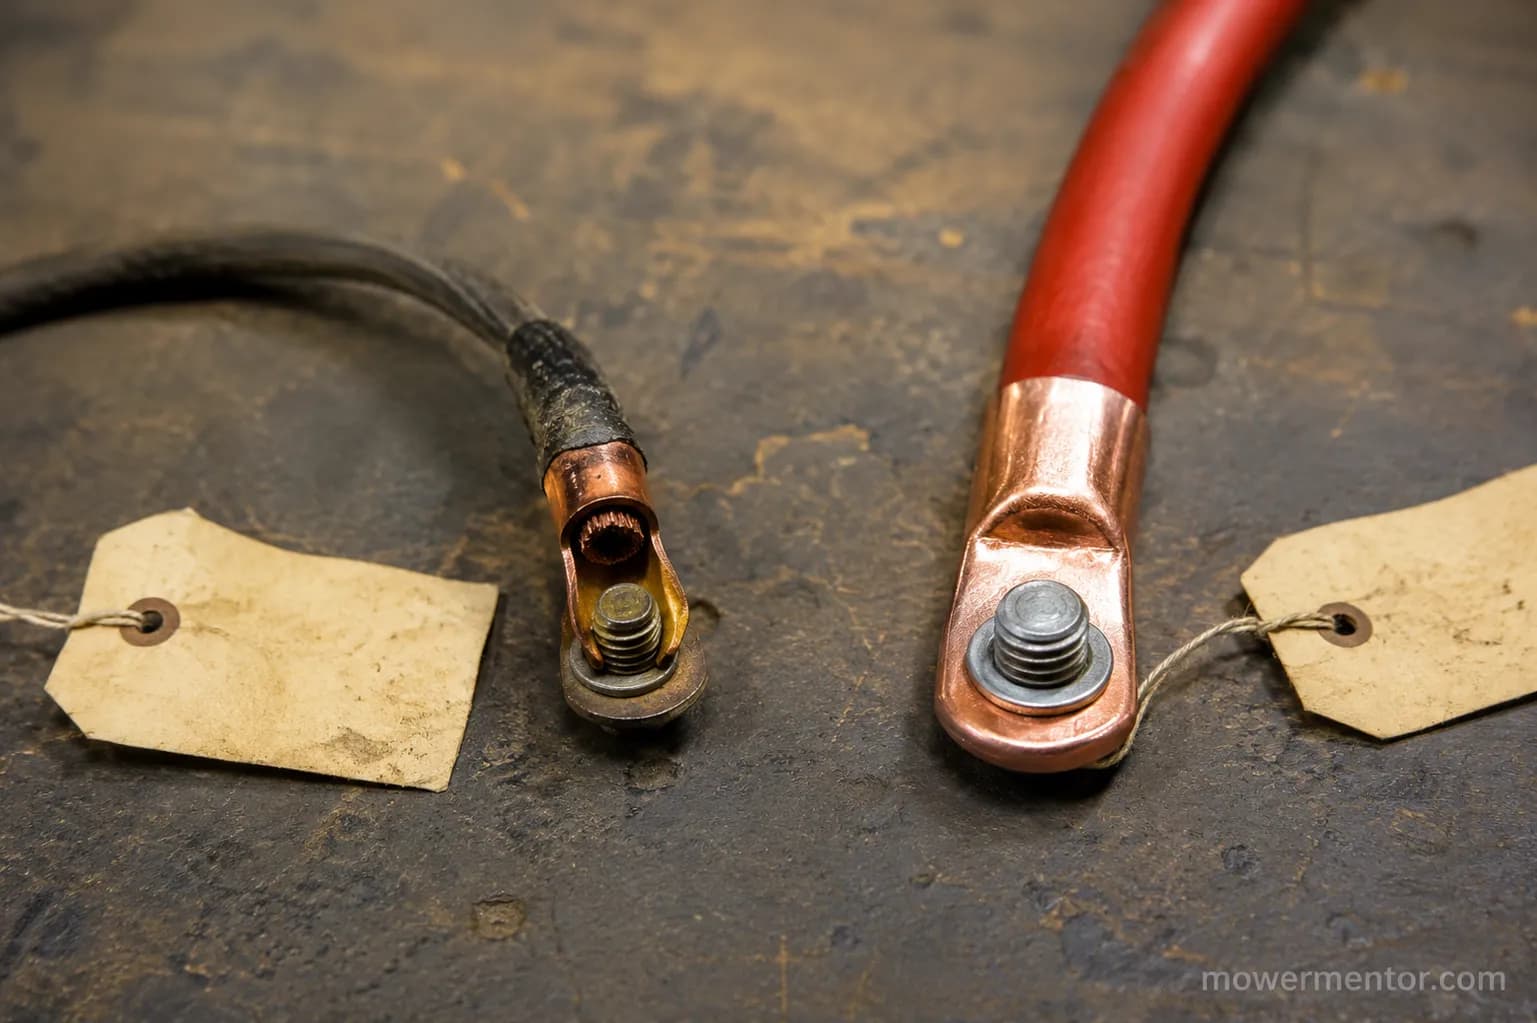
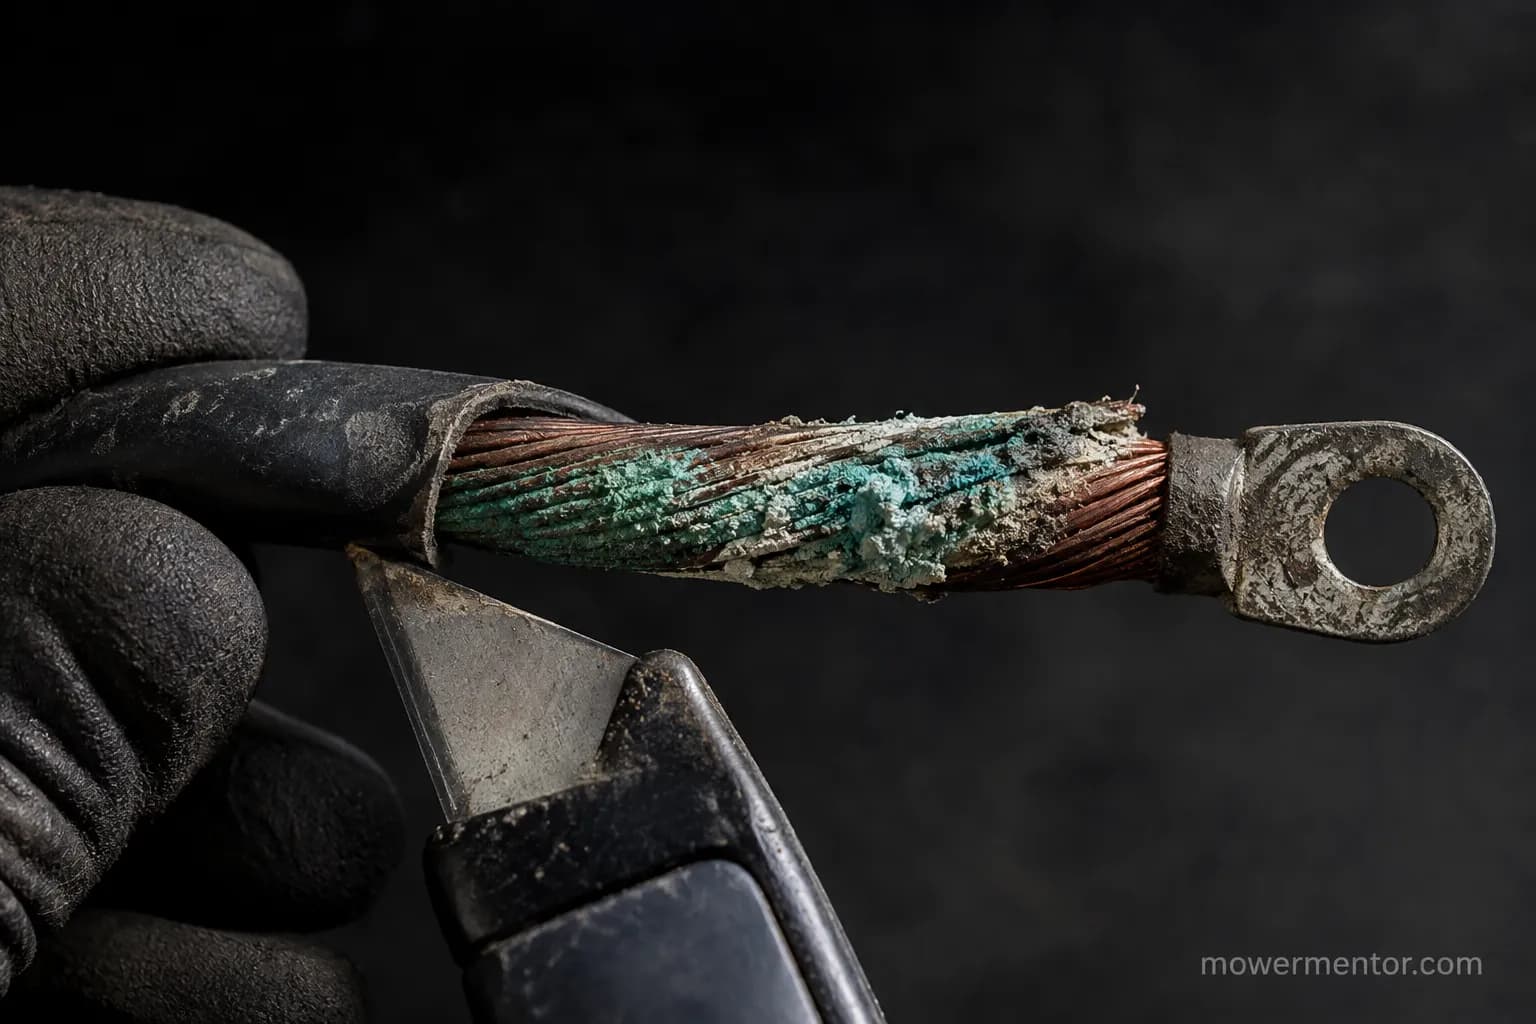
The hidden failure is corrosion under the jacket. On a retired cable I peeled the insulation back and found green corrosion that had wicked about two inches up the copper strands, even though the outside looked fine.
A clean-looking cable can still be rotten inside, which is why a voltage-drop test beats a glance.
Fold a terminal check into your spring routine before the mowing season starts. That is when the spring-peak load hits a battery that sat all winter.
It slots neatly into your seasonal service routine. Even battery-powered machines benefit, so it is worth learning to care for a battery mower the same way.
If you run a green machine, a full Deere service walkthrough covers the electrical check in context.
Frequently Asked Questions
What gauge and size are riding mower battery cables?
Most riding mowers use 4 to 6 AWG copper battery cables. Choose 6 AWG for short runs under three feet on a standard engine, and 4 AWG for longer runs or larger twin-cylinder engines, since the thicker copper keeps cranking voltage drop under about half a volt.
Why is my mower battery cable getting hot?
Heat means resistance, and where it shows tells you the cause. If only the clamp or terminal is hot, you have a corroded or loose connection to clean or tighten.
If the whole cable warms along its length, the cable is undersized or has broken strands inside and needs replacing.
Can I use a thicker cable than the factory one?
Yes, going one size thicker than stock is safe and often helps a marginal starter crank harder. Going thinner is the mistake that causes voltage drop and heat, so upsizing is always the safe direction.
Do corroded cables stop a mower from starting?
They can. A corroded, high-resistance connection drops so much voltage during cranking that the starter never gets enough to spin, which looks exactly like a weak battery until you run a voltage-drop test.
Should I disconnect the positive or negative cable first?
Disconnect the negative cable first, then the positive, and reconnect in the reverse order with positive first and negative last. This order keeps a slipped wrench from shorting a live terminal to the mower frame.
Riding mower battery cables are the quiet middleman between a healthy battery and a starter that actually spins. Most cranking complaints trace back to gauge, a terminal end, or a corroded joint rather than the pack itself.
If the cables test clean and the mower still fights you, the next stop is the charging system or the starter. Chasing genuine-fit parts gets easier with tools like our matching the right part number finders.
Match the copper to your run, fit the end to your stud, and let a 30-second voltage-drop test settle whether a hot cable is the real culprit. Get those three right, and your riding mower battery cables stop being the mystery behind a mower that will not turn over.
Summarize with AI
Keep reading
Related articles
 Troubleshooting & Repair
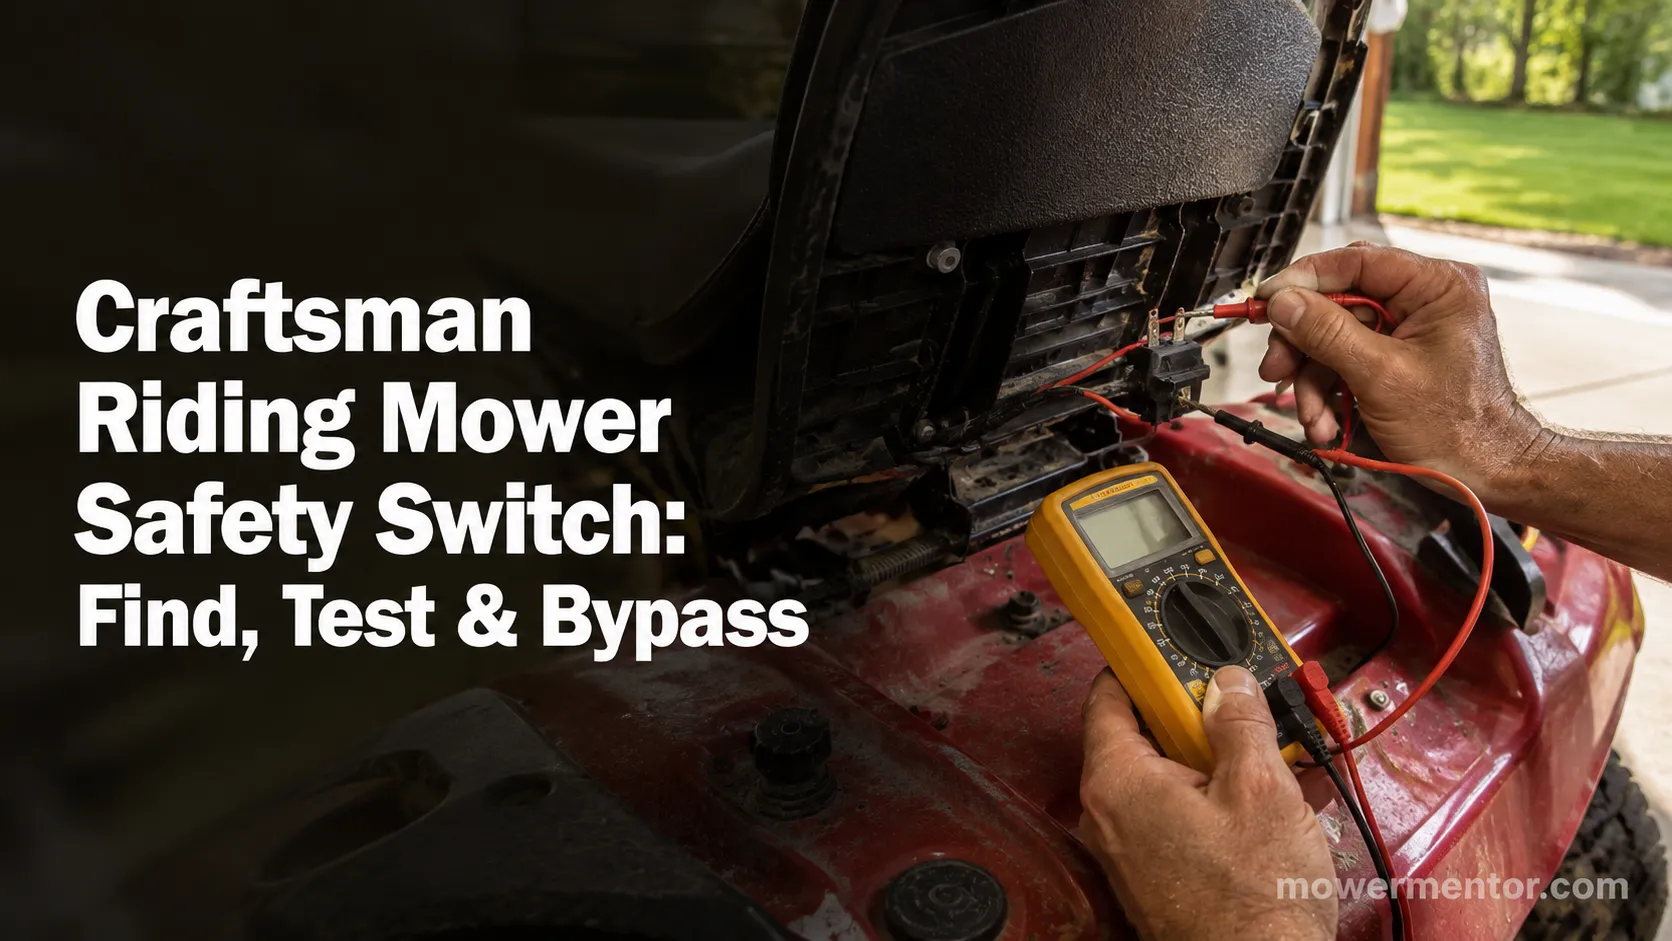
Find, test, and safely bypass the Craftsman riding mower safety switch: seat, brake, and PTO interlocks, with multimeter values and a re-enable step.
 Troubleshooting & Repair
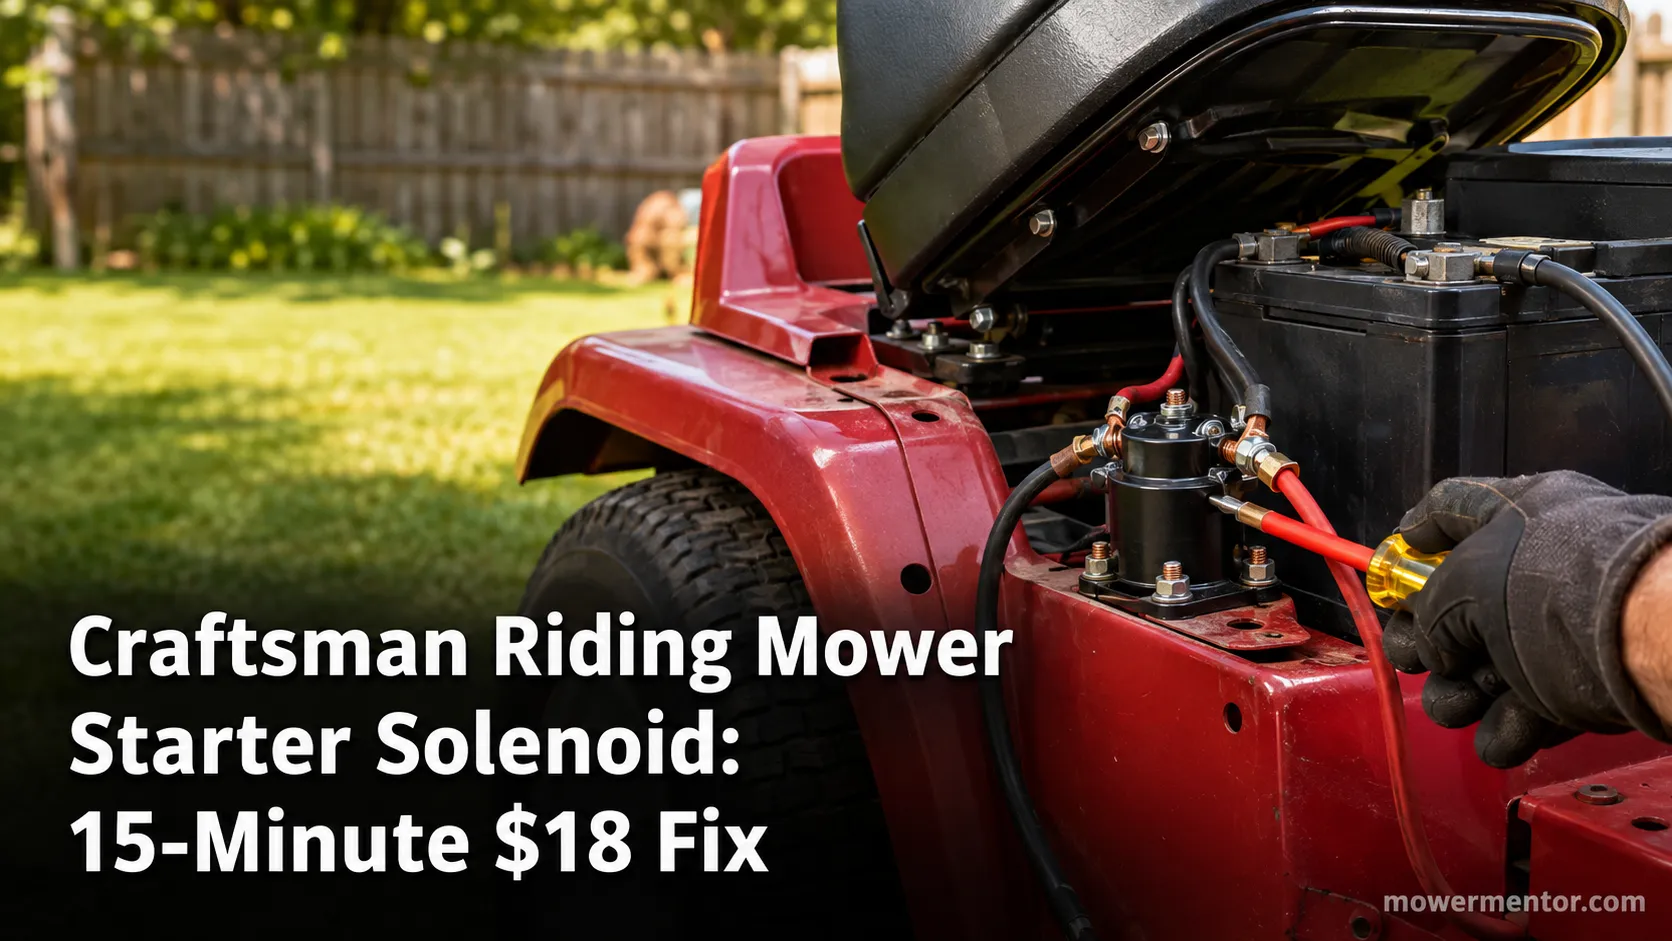
Test your Craftsman riding mower starter solenoid in about 15 minutes with a screwdriver and multimeter, then fix the click-no-crank for around $18.
 Troubleshooting & Repair
Fix a Craftsman riding lawn mower won't start no clicking: test battery voltage, inline fuse, safety switches, ignition and solenoid with a multimeter.
 Troubleshooting & Repair
Find the right Craftsman riding mower battery: 12V U1/U1R size chart by model, 5 tested picks, and why yours keeps dying.
Comments
Moderated for quality. Share a correction, ask a follow-up, or tell us what worked for you - every comment is reviewed before it goes live.