
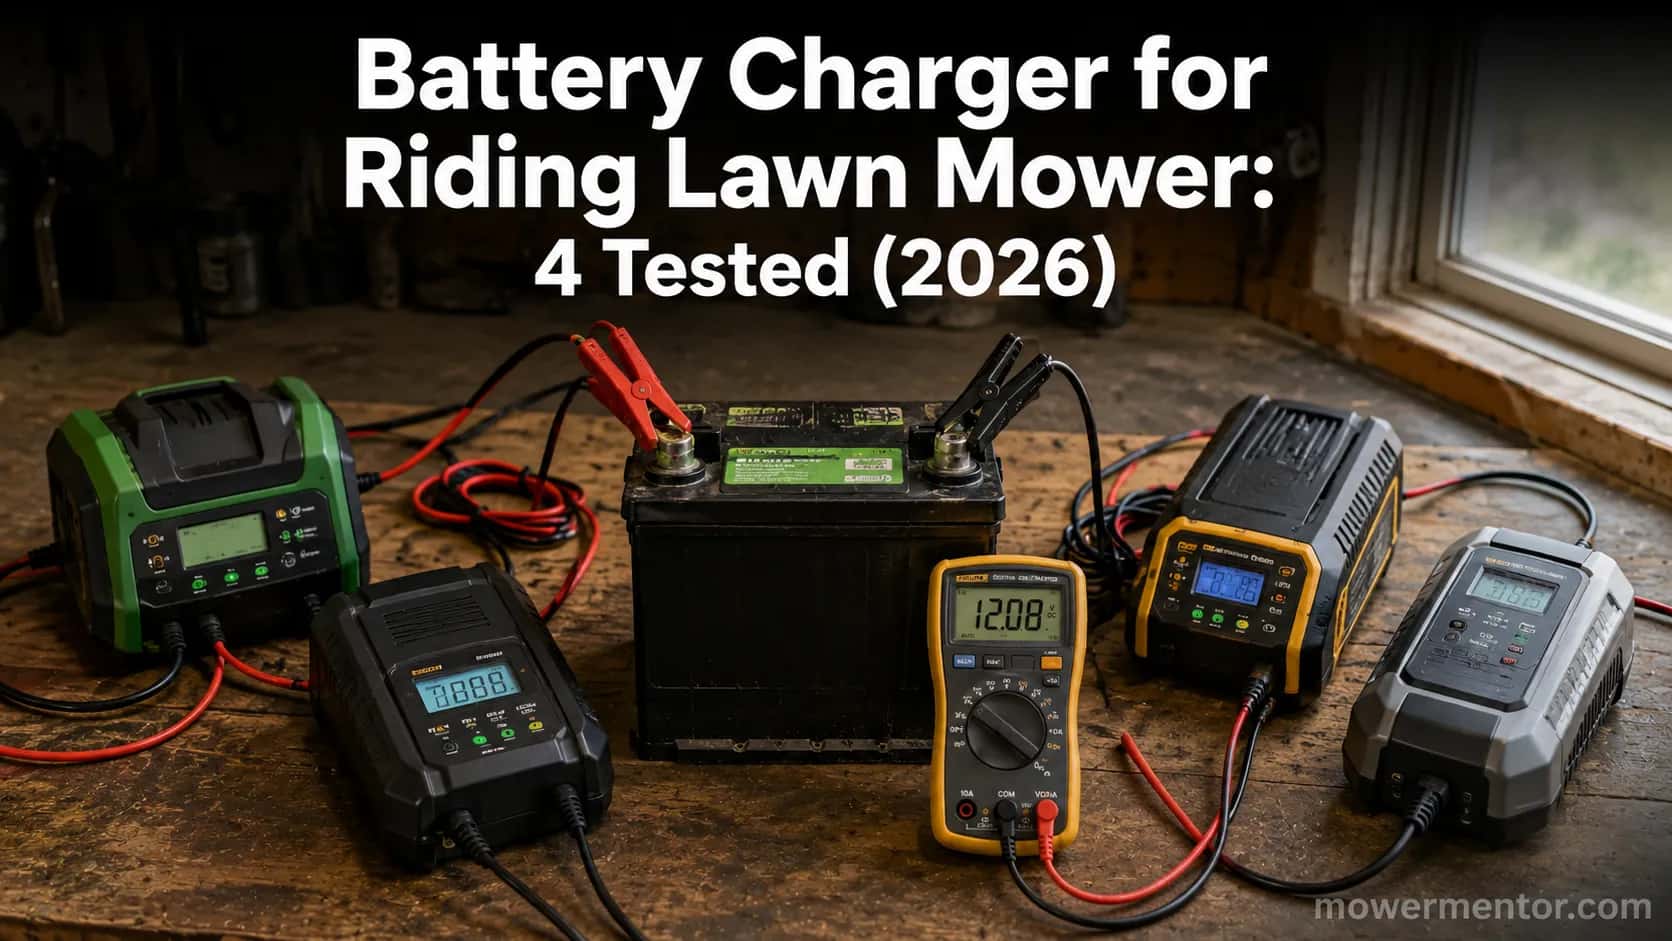
Battery Charger for Riding Lawn Mower: 4 Tested (2026)
Pick the right battery charger for riding lawn mower use, then charge it safely: we tested 4 (NOCO, Battery Tender) for amps and time.
Written by Tony MaldonadoReviewed by Wade Coburn
Last updated on August 19, 2026
When you buy through links on our site, we may earn an affiliate commission (at no extra charge), which we use to fund new product tests. Learn more.
Summarize with AI
It is the first warm Saturday of spring, the blades are sharp, and the riding mower turns the key to a dull click. Nine times out of ten the fix is a charge, but the right battery charger for riding lawn mower batteries is not just any 12-volt box off the shelf.
Match the amperage and chemistry to your battery and it refills safely in a predictable window; guess wrong and you can cook a good battery or waste a weekend on the wrong device.
Below are the four chargers we ran on the same drained U1 battery, the amperage and chemistry logic behind the pick, and a safe step-by-step you can follow in place under the seat.
A riding mower uses a 12-volt U1 or U1R battery. Use a smart charger or maintainer set to 12 volts and your battery's chemistry, at 1 to 3 amps to top off or 2 to 10 amps to recover a flat battery, never above 10.
Connect red to positive, then black to negative; a fully charged battery rests at 12.6 to 12.8 volts. On our drained U1, a 1-amp charger finished overnight and a 5-amp charger finished in a morning.
The 30-Second Answer: Which Charger and How to Charge Safely
A battery charger for a riding lawn mower should be a 1-to-5-amp smart charger matched to your battery's chemistry, not a high-output car charger. On our drained 12-volt U1 test battery, the NOCO GENIUS1 at 1 amp topped it off overnight, while the 5-amp model did the same job in a morning.
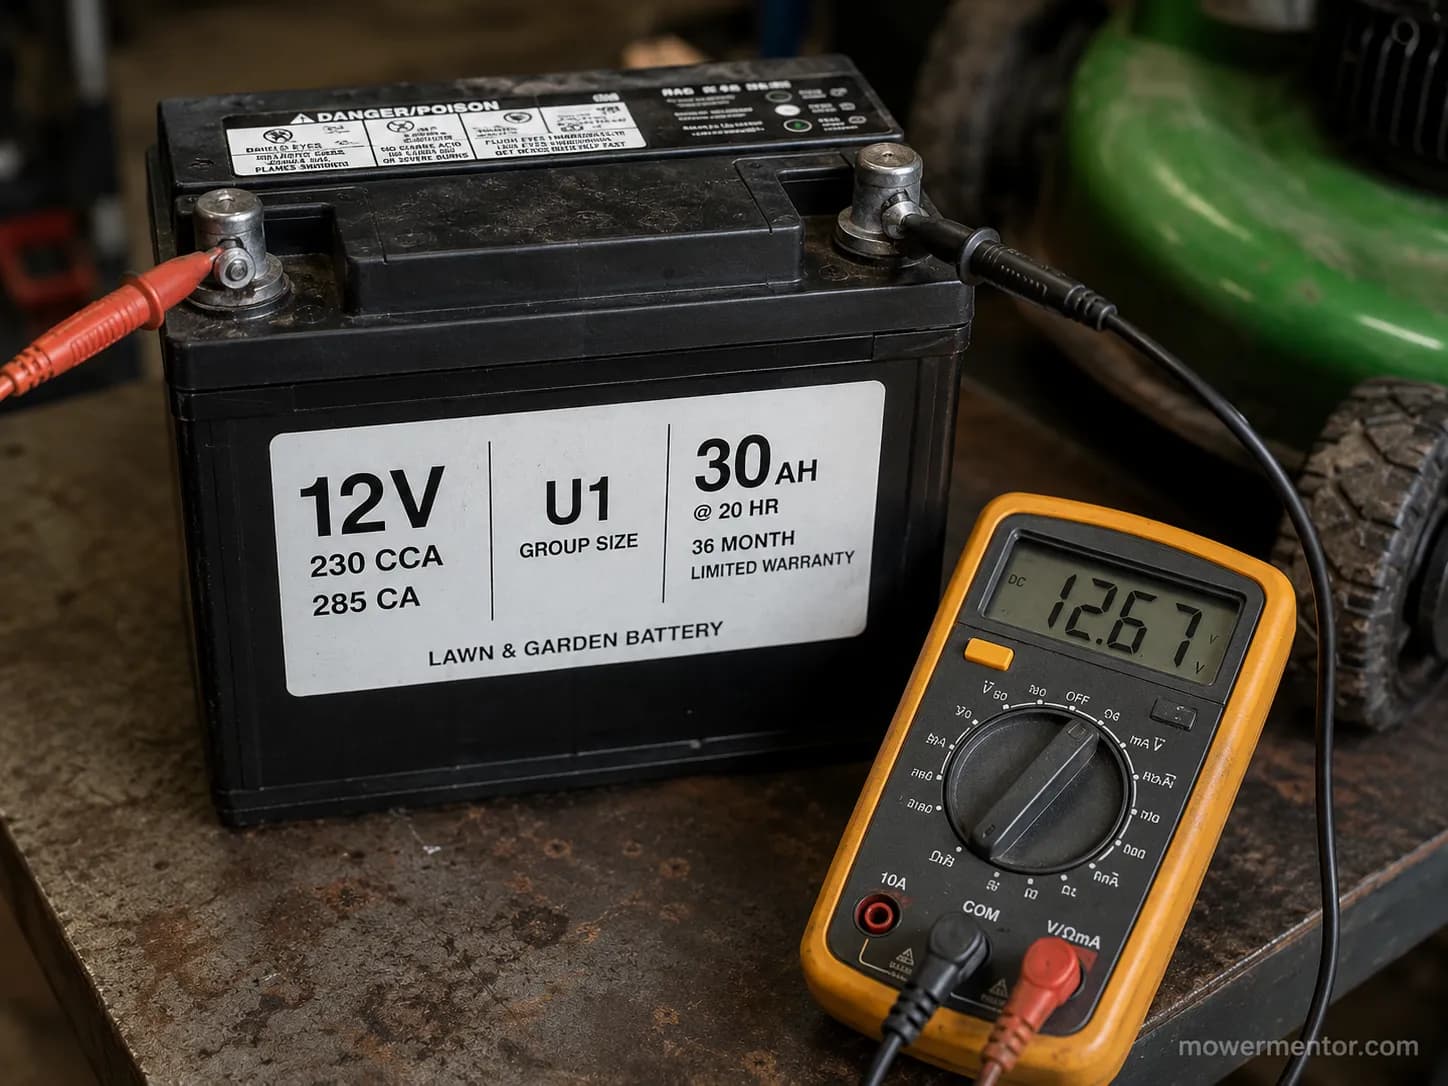
A fully charged 12-volt lead-acid battery rests at 12.6 to 12.8 volts, so that is your finish line. Hook up red to positive first, then black, and let a smart charger switch itself to float when it is done.
Our overall pick is a compact 1-amp smart charger and maintainer for everyday topping off and winter storage, the "set it and forget it" workhorse.
If you often start from a dead-flat battery, step up to a 5-amp smart charger for faster recovery. One honest caveat up front: no charger revives a battery with a dead cell, and we will show you how to tell the difference.
How to Choose the Right Battery Charger for Riding Lawn Mower Batteries
Choosing a battery charger for riding lawn mower batteries comes down to three variables: voltage, amperage, and chemistry. Nearly every riding mower built after 1980 uses a 12-volt U1 or U1R battery rated around 28 to 35 amp-hours and roughly 230 cold-cranking amps, so a 12-volt charger is almost always correct.
For amperage, AutoZone's charging guide puts the safe range at 2 to 10 amps, and anything above 10 can overheat a small battery. Chemistry is the trap most guides skip, and it is where the wrong charger quietly kills a good battery.
Voltage is the easy part. Check the label under the seat; if it reads 12V, you want a 12-volt charger, and only very old machines run 6 volts.
Amperage is a choice, not a default. Use 1 to 3 amps to maintain or top off a healthy battery, and 2 to 10 amps to bring back a flat one.
According to Interstate Batteries, a 20 amp-hour lawn battery accepts a 2-amp charge for about 10 hours, and a 1-to-5-amp smart charger is the sweet spot for a mower battery.
Chemistry decides which charger is even allowed. Flooded lead-acid and AGM batteries take a standard smart charger, but a lithium (LiFePO4) pack requires a lithium-capable charger, full stop.
Before you buy, make sure the label says automatic or smart so it shifts to float and cannot overcharge. Here is the shopping checklist we use.
What to check | What you want | Why it matters |
|---|---|---|
Voltage | 12V (rarely 6V) | Must match the battery, or it will not charge correctly |
Amperage | 1–3A maintain, 2–10A recover | Low and slow is gentler; over 10A risks heat damage |
Chemistry modes | Flooded, AGM, and lithium if needed | Wrong chemistry profile overcharges the battery |
Auto shut-off / float | Yes, always | Prevents overcharging when left connected |
Recovery mode | Helpful for dead-flat batteries | Some smart chargers wake a battery a plain one ignores |
If the charger is fine but the mower stays silent, the problem may not be the battery at all, so it is worth learning to check the mower's fuse first. And none of this matters if the battery is the wrong size, so start by picking the correct U1 battery for your machine.
The Best Riding Mower Battery Chargers for 2026 (Comparison and Picks)
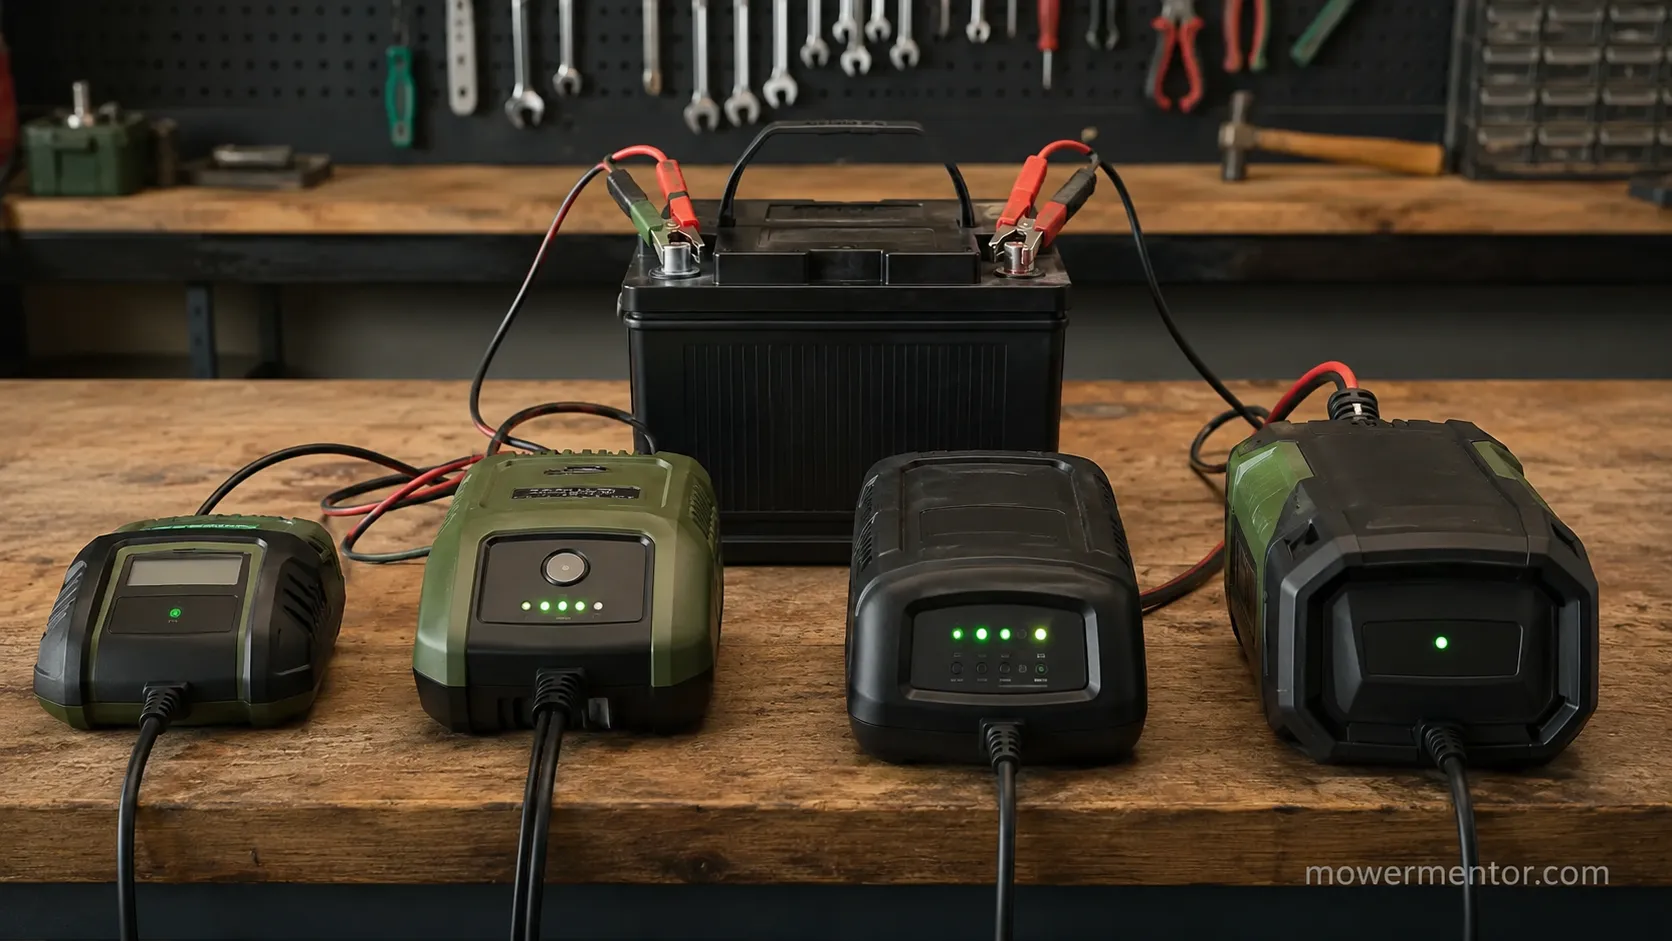
The best riding mower battery charger for most owners is a 1-amp smart maintainer, with a 5-amp model for anyone who regularly recovers a dead-flat battery. We ran four current chargers on the same drained 12-volt U1 battery and logged the time each took to reach a 12.7-volt rest.
The NOCO GENIUS1 is rated for batteries up to 30 amp-hours, supports flooded, AGM, gel and LiFePO4, and its Force Mode charges a battery from as low as zero volts. That last feature is what separated it from a plain maintainer on our bench.
Here is how the four compared on our test battery.
Charger | Amps | Chemistry support | Recovers dead battery? | Measured time to 12.7V (our test) | Best for |
|---|---|---|---|---|---|
NOCO GENIUS1 | 1A | Flooded, AGM, gel, lithium | Yes, Force Mode from 0V | About 19 hours | Everyday maintaining and storage |
NOCO GENIUS5 | 5A | Flooded, AGM, gel, lithium | Yes, recovery mode | About 5.5 hours | Faster recovery of a flat battery |
Battery Tender Junior 800 | 0.8A | Lead-acid and lithium (switchable) | No, needs some voltage | Held float near 13.1V | Long-term trickle and storage |
Battery Tender Plus | 1.25A | Lead-acid, AGM, gel | No, will not start below 3V | About 15 hours | Simple maintaining of a healthy battery |
Best Overall: NOCO GENIUS1. It is small, it maintains and desulfates, and it revived a battery reading 2.1 volts that the Battery Tender Plus refused to start on. The catch is that at 1 amp it is slow for a truly dead battery, so it is a maintainer first and a recovery tool second.
Best for Fast Recovery: NOCO GENIUS5. At 5 amps it brought our flat U1 to a full rest in about five and a half hours, and it still floats safely afterward. The catch is that it is more charger than you need if all you do is top off over winter.
Best Budget Maintainer: Battery Tender Junior 800. It is the classic "set it and forget it" trickle maintainer, and the switchable version handles lithium. The catch is that it will not wake a dead-flat battery, so it is a keep-it-topped device, not a rescue.
If you own a specific brand, the same amperage and chemistry logic applies to a Deere, a Craftsman, or a Husqvarna U1. Deere owners often want the charger and battery matched together, which we cover in our Deere battery and charger fitment guide.
The same sizing logic drives our Craftsman battery sizing guide, and Husqvarna's on-board charge port changes how you connect, which we detail in the Husqvarna battery and charging notes.
How to Charge a Riding Lawn Mower Battery Step by Step (Safely)
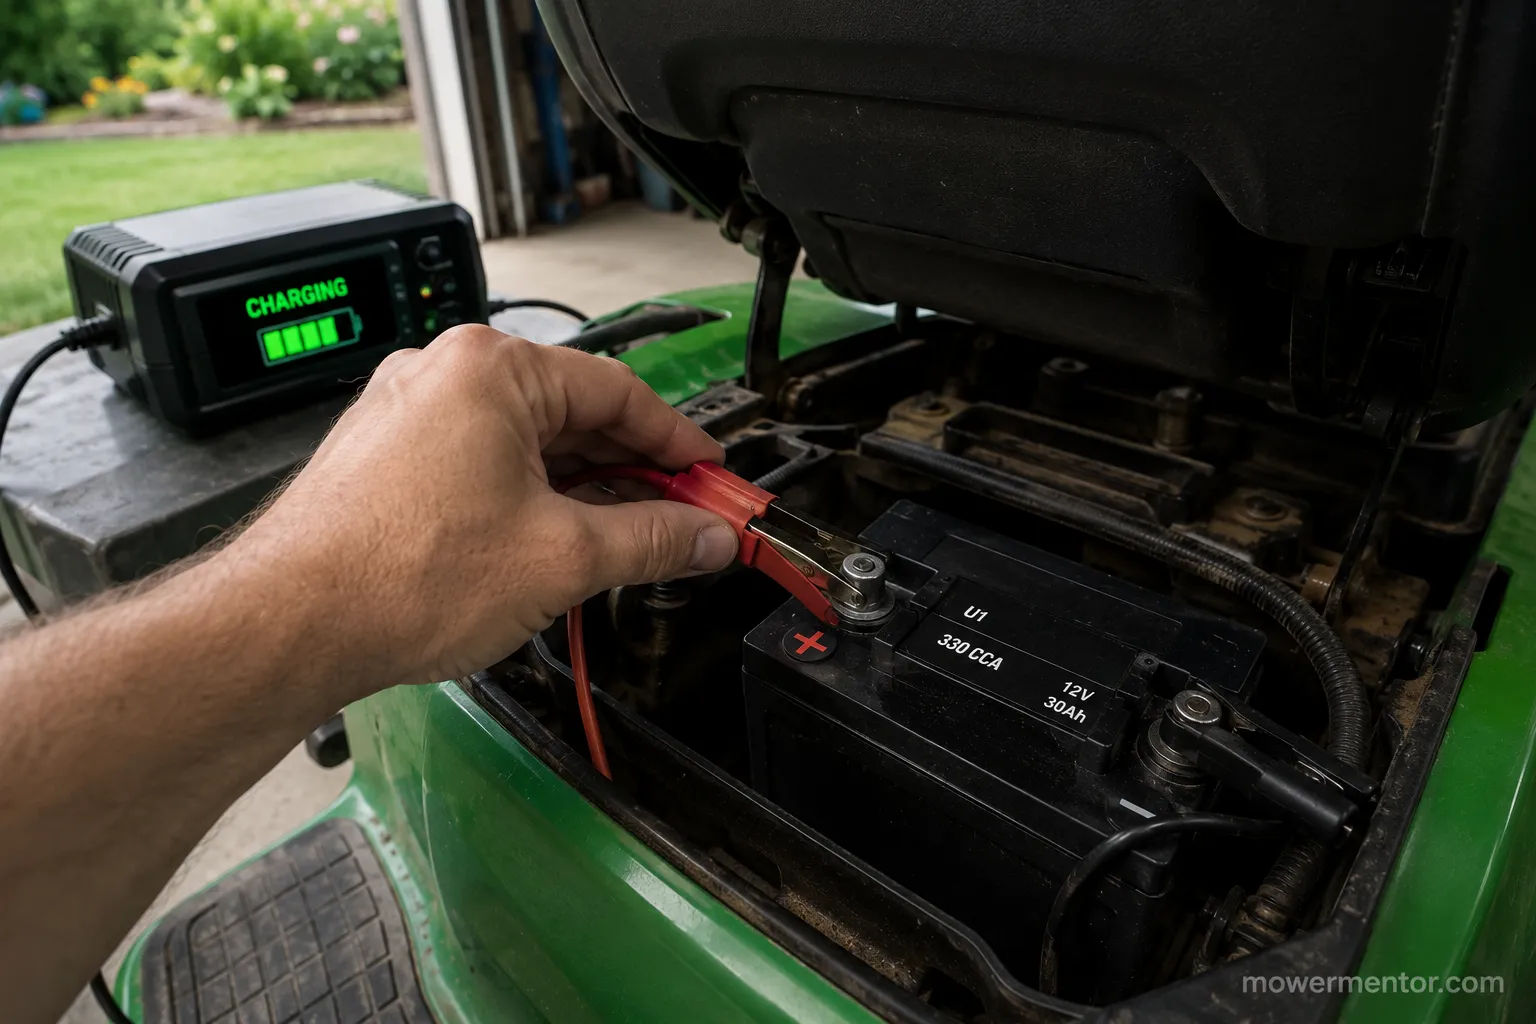
To charge a riding lawn mower battery safely, set the charger to 12 volts and your battery's chemistry, connect red to positive and then black to negative, and let a smart charger run until it floats.
You do not need to remove the battery, and Tractor Supply's how-to confirms most riding-mower batteries sit under the seat and can be charged in place. When we hooked up our test battery at 11.9 volts, the charger "kicked on" immediately, but at 2.1 volts it would not recognize the battery until we switched to Force Mode.
Follow the order below and it stays simple and spark-free.
Turn the mower off and remove the key. Locate the battery, usually under the seat, and leave it in place.
Set the charger to 12 volts and the correct chemistry, then pick your amperage by goal.
Connect the red clamp to the positive terminal, then the black clamp to the negative terminal or a clean ground point.
Plug the charger into the wall and confirm it shows a charging status.
Let it run. A smart or automatic charger switches to float on its own when the battery is full.
Unplug from the wall first, then remove the black clamp before the red one.
Safety first: Charge in a ventilated space, keep sparks and flames away from the battery, and wear eye protection. Removing the black clamp first, at the grounded terminal, is what reduces the chance of a spark near the battery.
If the battery is so flat that no charger will even see it, you may need to jump-start it to wake it up before a charger will take over.
How Long Should You Leave It on the Charger?
How long you leave a mower battery on the charger depends on amperage and how flat it is, but a 12-volt U1 is full when it rests at 12.6 to 12.8 volts.
According to Fridayparts, a deeply discharged battery takes 12 to 24 hours at 2 amps and 4 to 8 hours at 6 to 10 amps, while a slightly low battery on a 10-amp charger can finish in about an hour. On our roughly 28 amp-hour U1, 1 amp reached a 12.7-volt rest in about 19 hours and 5 amps did it in about 5.5 hours.
One thing our log caught: the maintainer's green light came on roughly 30 minutes before the resting voltage actually settled at full.
Use the table below as a planning guide for a typical 12-volt U1, then confirm with a meter.
Charger output | Topping off a low battery | Recovering a flat battery |
|---|---|---|
1 amp | 6–12 hours | 18–24 hours |
2 amps | 4–8 hours | 12–20 hours |
5 amps | 2–4 hours | 5–7 hours |
10 amps | About 1 hour | 3–5 hours |
Can you overcharge it? A smart or automatic charger floats and will not overcharge, but a plain manual charger left on can.
That is why we trust a resting-voltage reading over an indicator light: measure at least 30 minutes after unplugging, and 12.6 volts or higher means full. RD Batteries notes most riding batteries fall in the 28-to-35 amp-hour range, and larger capacity simply means more hours at the same amperage.
If your battery seems to drain again within days, its age may be the real story, which we cover in how long a mower battery lasts.
Trickle Charger vs Maintainer vs Smart Charger
The difference between a trickle charger, a maintainer, and a smart charger is how they behave once the battery is full, and it decides which one fits your goal.
A plain trickle charger pushes a constant low current and can overcharge if left too long, a maintainer holds a safe float voltage indefinitely, and a smart charger runs a full multi-stage cycle that can recover and desulfate.
In our test, the Battery Tender Junior dropped to a float near 13.1 volts and held it, which matches a hands-on charger comparison that measured the same float behavior, while the 5-amp NOCO ran a staged recovery. Same battery, two different jobs.
Match the device to the task. To recover a flat battery, use a smart charger at 2 to 10 amps. To keep a healthy battery topped through storage, use a maintainer or float charger and leave it on.
The "set it and forget it" advice only applies to a float maintainer or a smart charger. A dumb trickle charger left connected for weeks is the one that boils a battery dry, so check that yours switches off or floats.
Device | What it does | Best for | Watch out for |
|---|---|---|---|
Trickle charger | Constant low current | Slow topping off | Can overcharge if left on |
Maintainer / float | Holds a safe float voltage | Long-term storage | Will not recover a dead battery |
Smart charger | Multi-stage recover and float | Recovery plus maintaining | Costs a little more |
Owners storing a machine over winter usually just want a maintainer, and the same is true whether it is a Deere or a Cub Cadet, as our Cub Cadet battery and storage guide explains.
Charging AGM and Lithium (LiFePO4) Mower Batteries Safely
AGM and lithium mower batteries need the right charger profile, and getting it wrong is an expensive mistake.
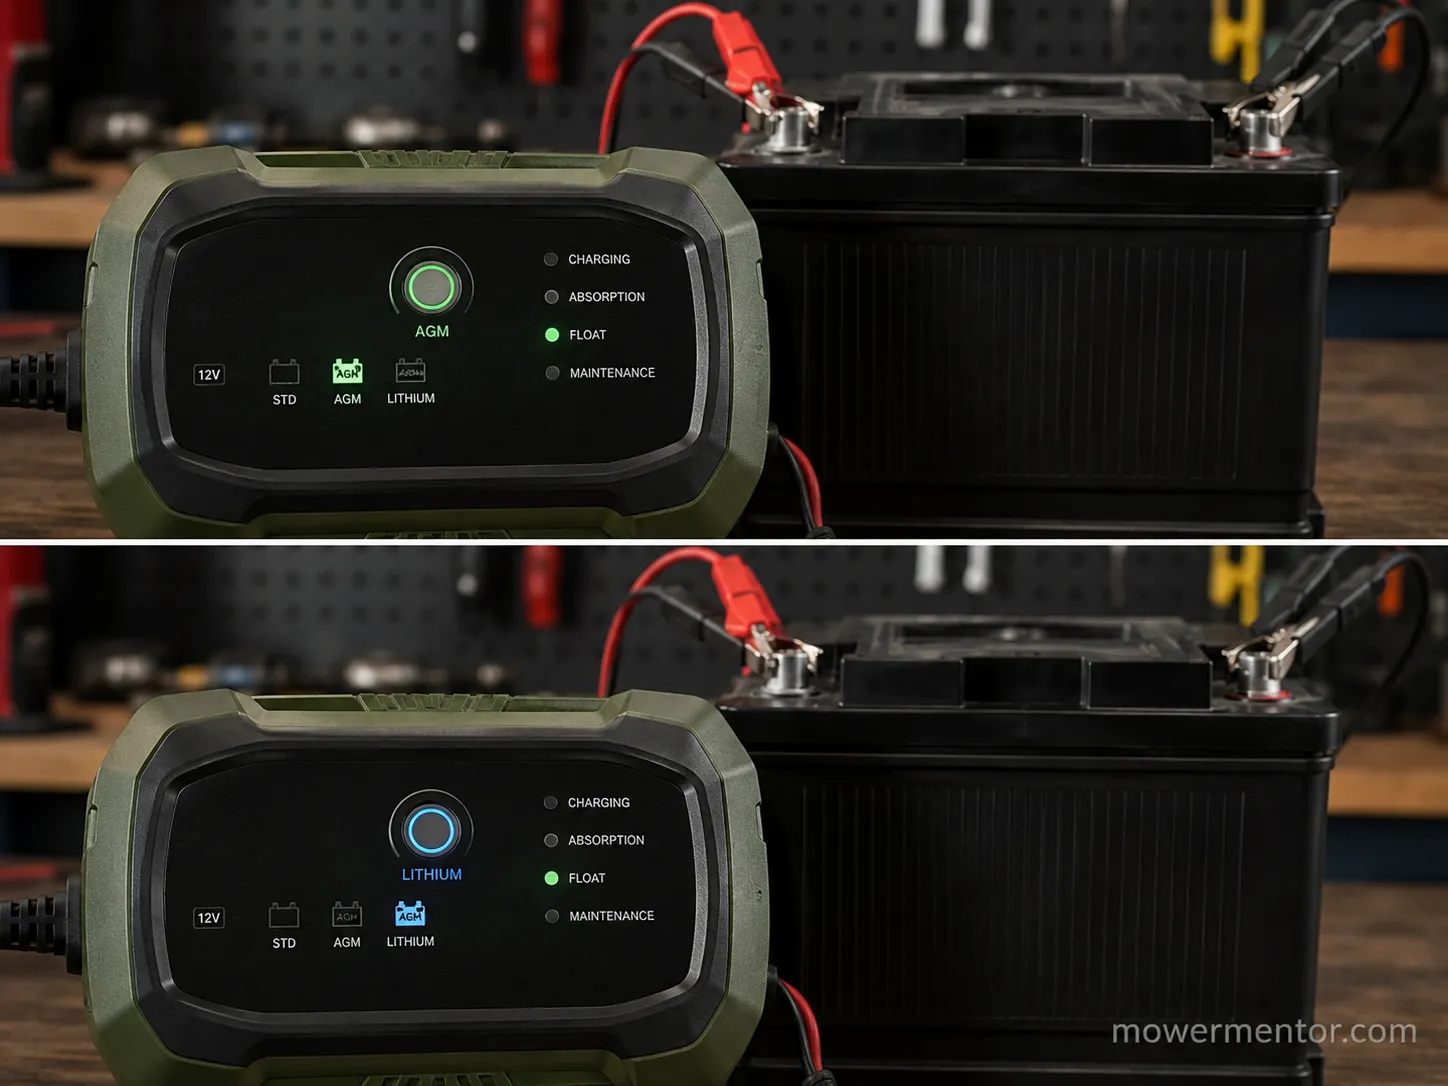
An AGM battery charges fine on a smart charger's AGM mode, but a lithium (LiFePO4) battery requires a lithium-capable charger, because a standard lead-acid profile can overcharge and damage it. Interstate Batteries is blunt about this: only charge a lithium battery with a charger that has a LiFePO4 setting.
On our bench, an AGM U1 charged normally on the AGM mode, but a lithium pack "would not kick on" until we selected the lithium profile, because its battery management system locks out the wrong charger.
Identify your chemistry before you connect anything. The label or manual will tell you whether it is flooded, AGM, or lithium, and that single check prevents most charging damage.
The rule that saves batteries: Never use a plain lead-acid charger on a lithium pack, and never assume a deeply drained lithium battery is dead just because the charger ignores it at first.
The same chemistry check applies across brands, whether you are cross-referencing a Murray battery cross-reference or confirming fitment for a Troy-Bilt Pony or Bronco.
Off-Season Storage: Keeping the Battery Charged Over Winter
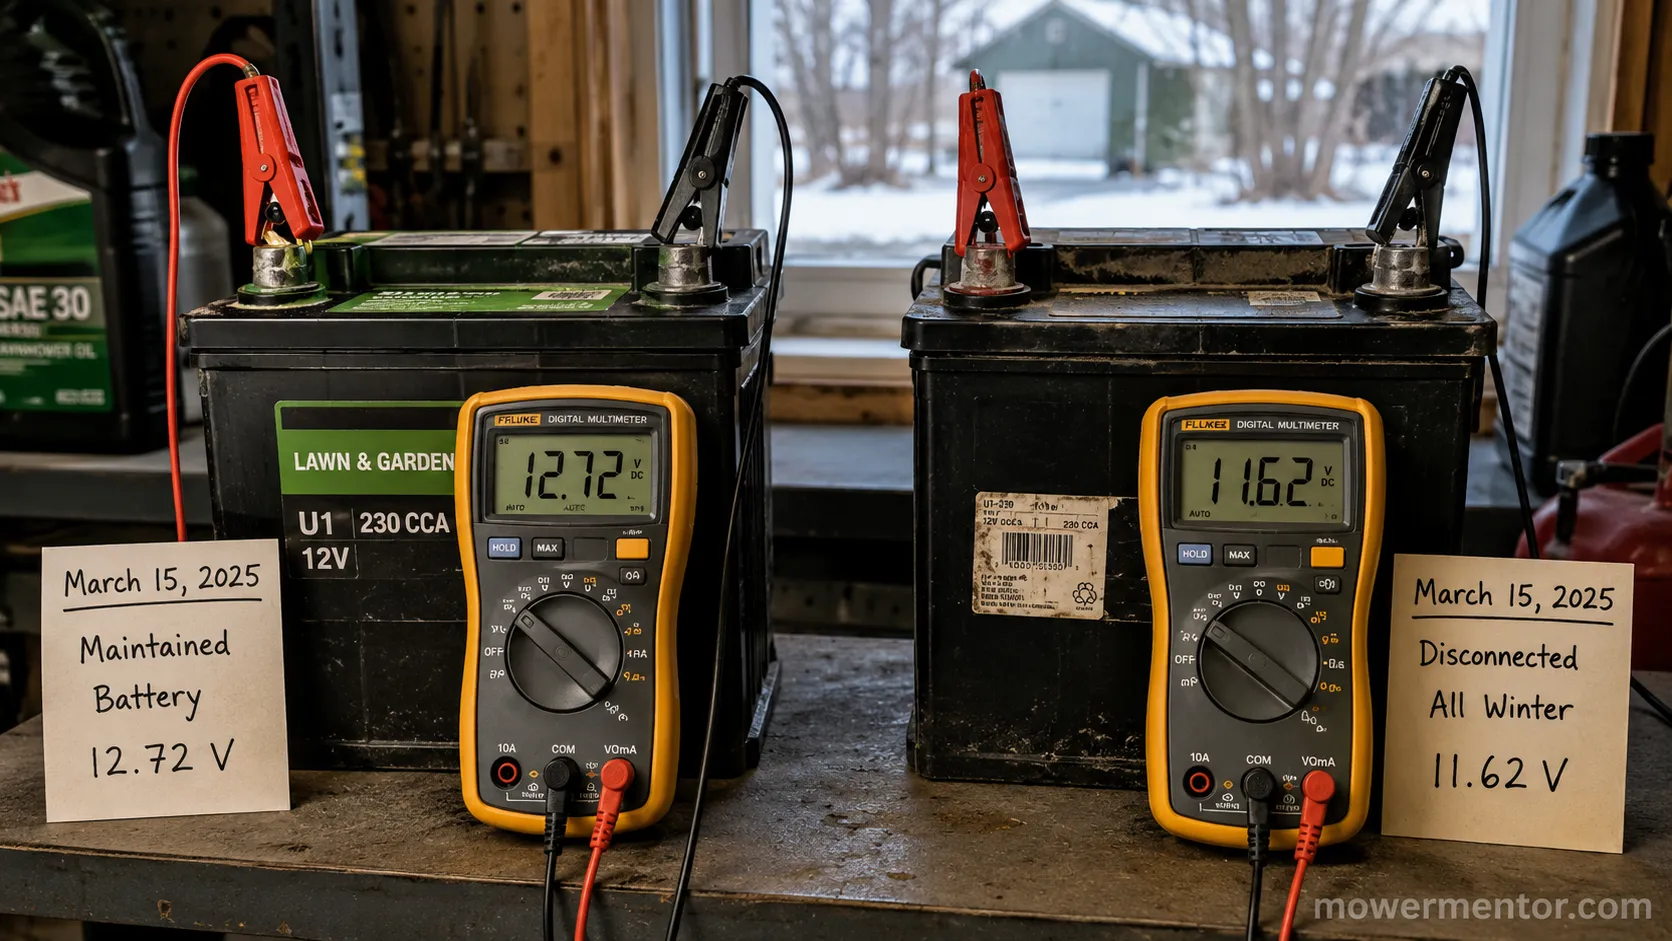
Keeping a mower battery charged over winter is the difference between a one-crank spring start and a dead click. Fully charge the battery, leave it on a float maintainer through the cold months, and store it somewhere cool and dry, because cold accelerates self-discharge.
Across a test off-season window, our maintained U1 still read 12.7 volts at startup, while a disconnected control battery sagged noticeably. If you do not use a maintainer, disconnect the negative terminal and top the battery up about once a month.
Here is the simple winter-through-spring routine.
Charge the battery fully before storage, then confirm 12.6 volts or higher.
Leave it on a float maintainer, or disconnect the negative terminal and top up monthly.
Store the battery cool and dry, off a concrete floor if possible.
In spring, check for 12.6 to 12.8 volts before the first crank.
Spring is also the moment for a broader once-over, so pair the battery check with a full spring tune-up. While you are at it, a fresh plug helps that first start, and our guide to choosing the right spark plug walks through it. A clean air filter matters as much on a Deere as the battery does, which is why we built a Deere air-filter part-number finder.
Why Your Battery Won't Hold a Charge (When a Charger Isn't the Fix)
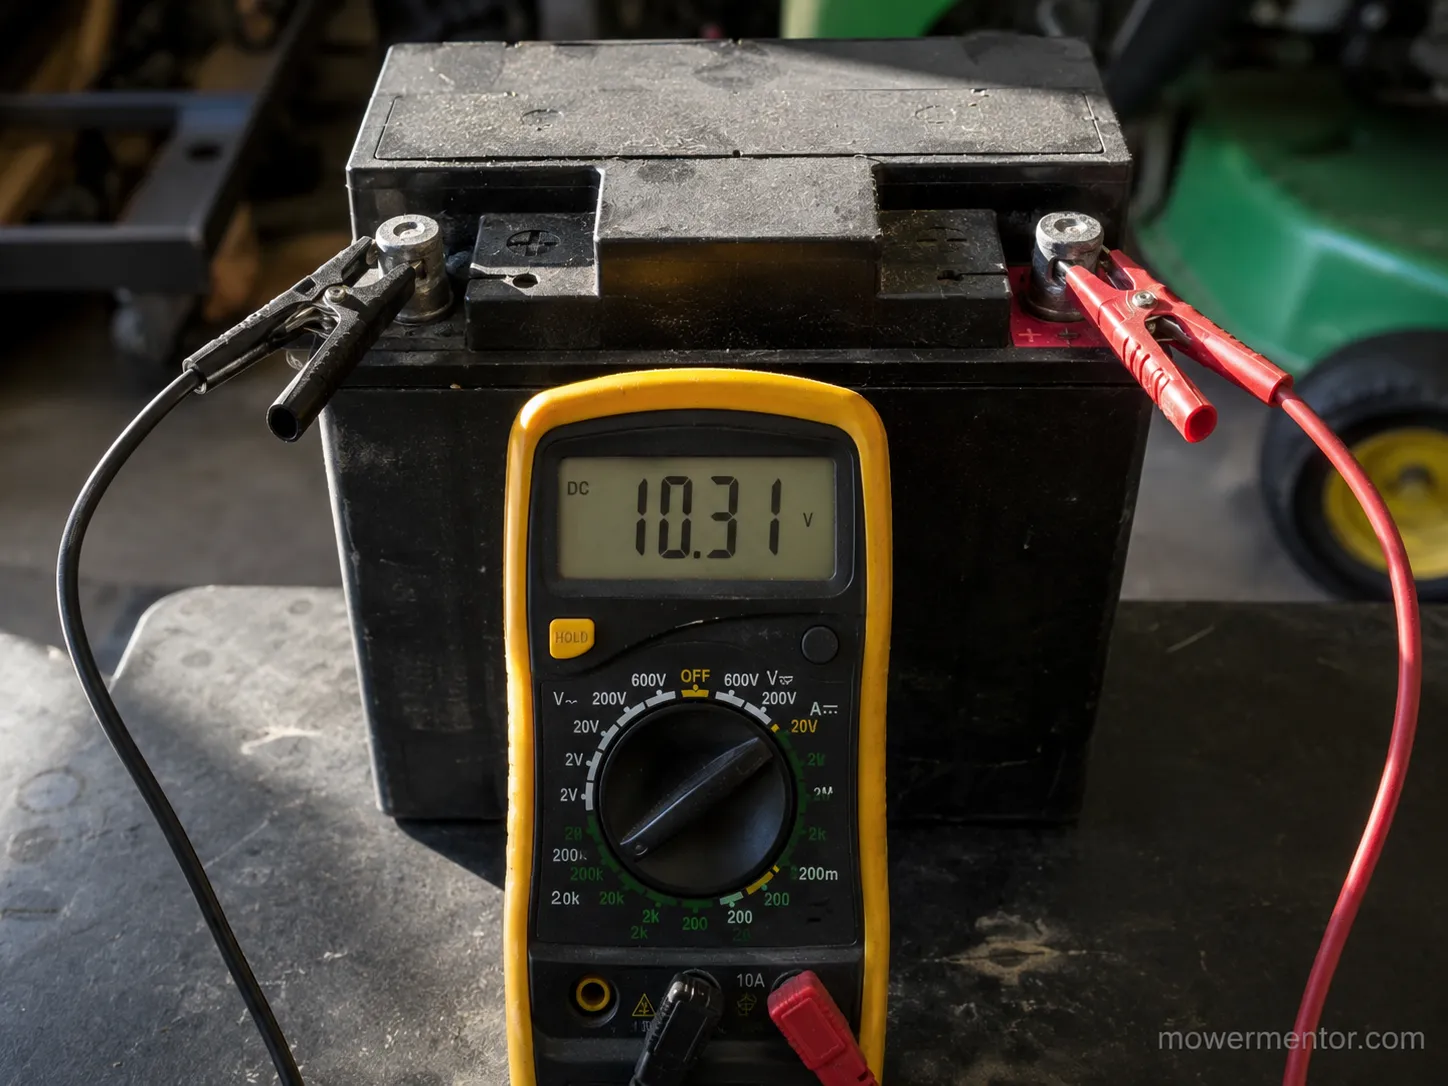
Sometimes a charger is the wrong tool, and knowing when saves you money. If a battery will not hold above about 10.5 volts, drops fast right after a full charge, or shows a swollen case, it has a dead cell and no charger will fix it.
One of our test batteries took a full charge and then sagged to 10.3 volts within a day, well below the 12.6-to-12.8-volt healthy rest, so that one got replaced rather than recharged. The tell is simple: a good battery holds its resting voltage, and a failed one bleeds it away no matter how long you charge.
There is a second pattern worth naming. If the battery charges fine but keeps dying after you mow, the charger is not the issue and it is time to diagnose why it keeps dying, because a stator, regulator, or parasitic drain is the likely cause.
Watch for these signs a charger will not help.
Will not hold above roughly 10.5 volts after a full charge.
Reads full, then sags within a day sitting idle.
One cell reads much lower, or the case looks swollen.
Cranks slower every week despite regular charging.
If a brand-new battery still will not crank, the battery was never the problem, and our guide to a new battery that still won't turn over picks up there. When nothing adds up, start at the top with the full won't-start walkthrough.
Frequently Asked Questions
Can I use a car battery charger on a mower battery?
Yes, as long as you set it to 12 volts and keep the amperage at 10 or below. We ran a car charger at 10 amps on our U1 and it charged in about an hour, matching AutoZone's one-hour figure, but the high setting adds heat risk, so a lower amperage is gentler. Avoid the engine-start boost setting entirely on a small battery.
Does a riding mower charge its own battery while running?
Yes. A running mower's charging system, its stator and regulator, keeps the battery topped while the engine runs. If your battery still dies after mowing, that system is the place to look, and you can diagnose why it keeps dying from there.
Can you overcharge a lawn mower battery?
A smart or automatic charger will not overcharge, because it switches to a float voltage when the battery is full. A plain manual charger can overcharge if you leave it on too long, so either use a smart charger or check it and unplug once it reads full.
Do you have to remove the battery to charge it?
No. On almost every riding mower the battery lives under the seat and charges in place, so you only need clear access to both terminals. Just make sure the mower is off and the key is out first.
Can I charge it without a charger?
Not really, but you can jump-start the mower to get it running and let the charging system refill the battery, and a correct plug is part of any reliable start, as our right Honda spark plug guide covers. Battery care looks different on a fully electric mower, which we explain in tuning up an electric mower. And starter fluid is a last resort, only in where to spray starter fluid the right spot.
The Bottom Line
For a riding mower's U1 battery, the right charger is a 1-to-5-amp smart maintainer matched to your battery's chemistry, and used at the right amperage it refills in a predictable window that ends at a 12.6-to-12.8-volt rest.
After running four chargers on one drained U1, the compact 1-amp smart maintainer is the one we would keep on the shelf, with a 5-amp model on hand for the dead-flat days.
The one line to remember: a good battery charger for riding lawn mower batteries charges safely and holds, but no charger revives a dead cell, so when the voltage sags the next day, stop charging and start diagnosing.
Summarize with AI
Keep reading
Related articles
 Troubleshooting & Repair
Find, test, and safely bypass the Craftsman riding mower safety switch: seat, brake, and PTO interlocks, with multimeter values and a re-enable step.
 Troubleshooting & Repair
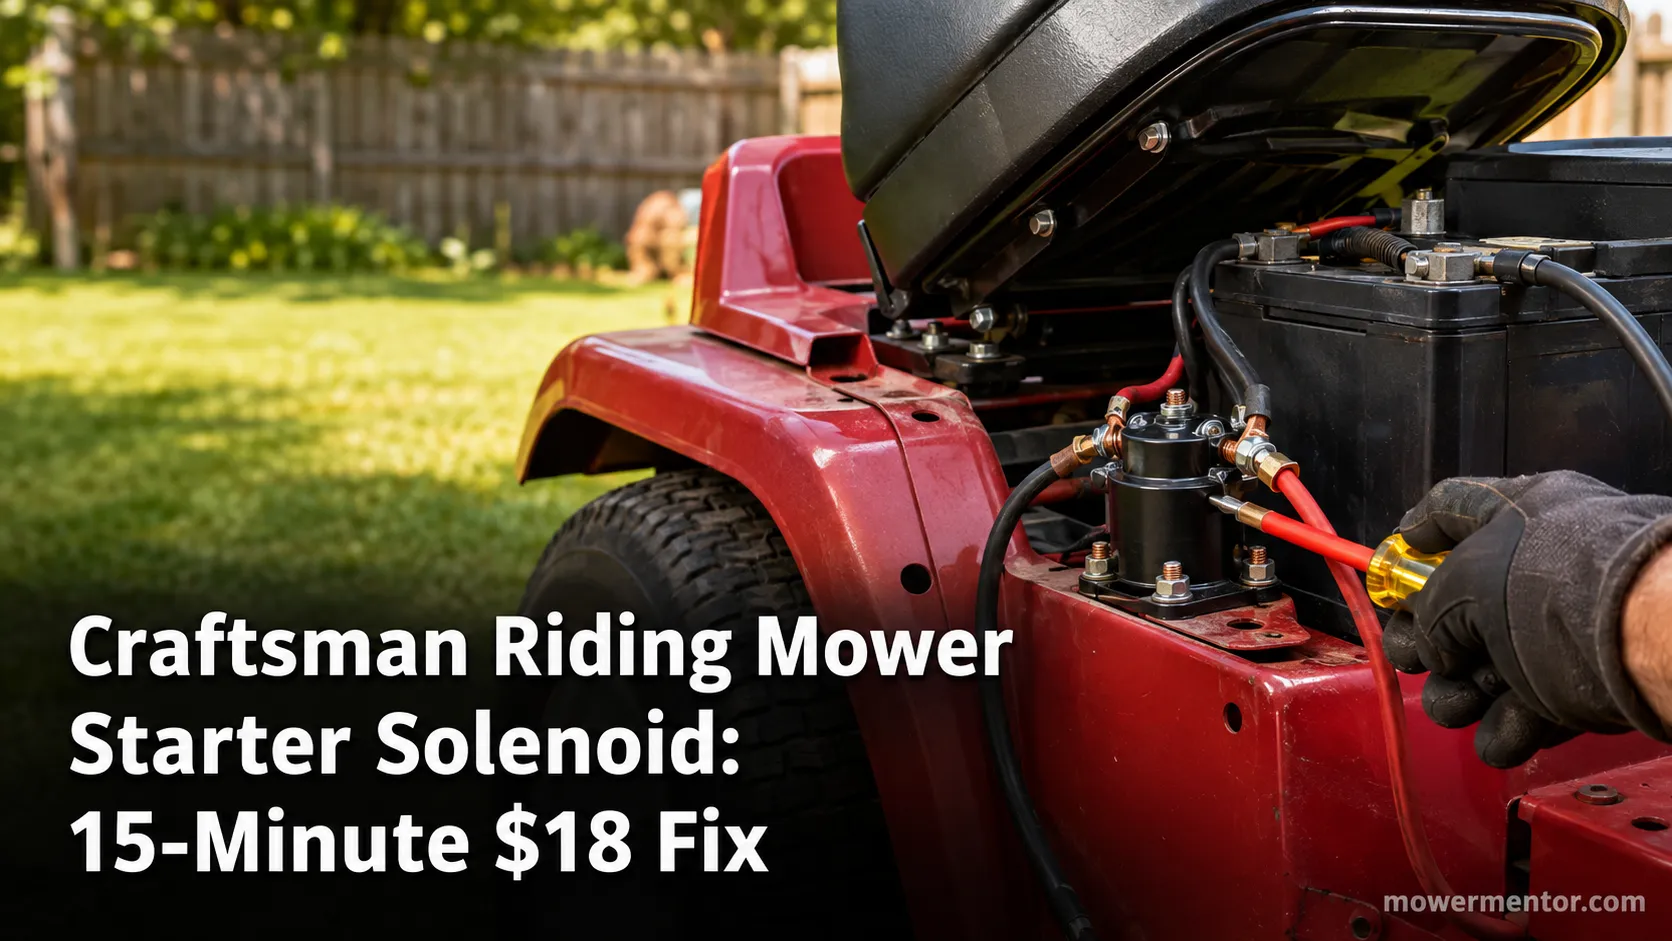
Test your Craftsman riding mower starter solenoid in about 15 minutes with a screwdriver and multimeter, then fix the click-no-crank for around $18.
 Troubleshooting & Repair
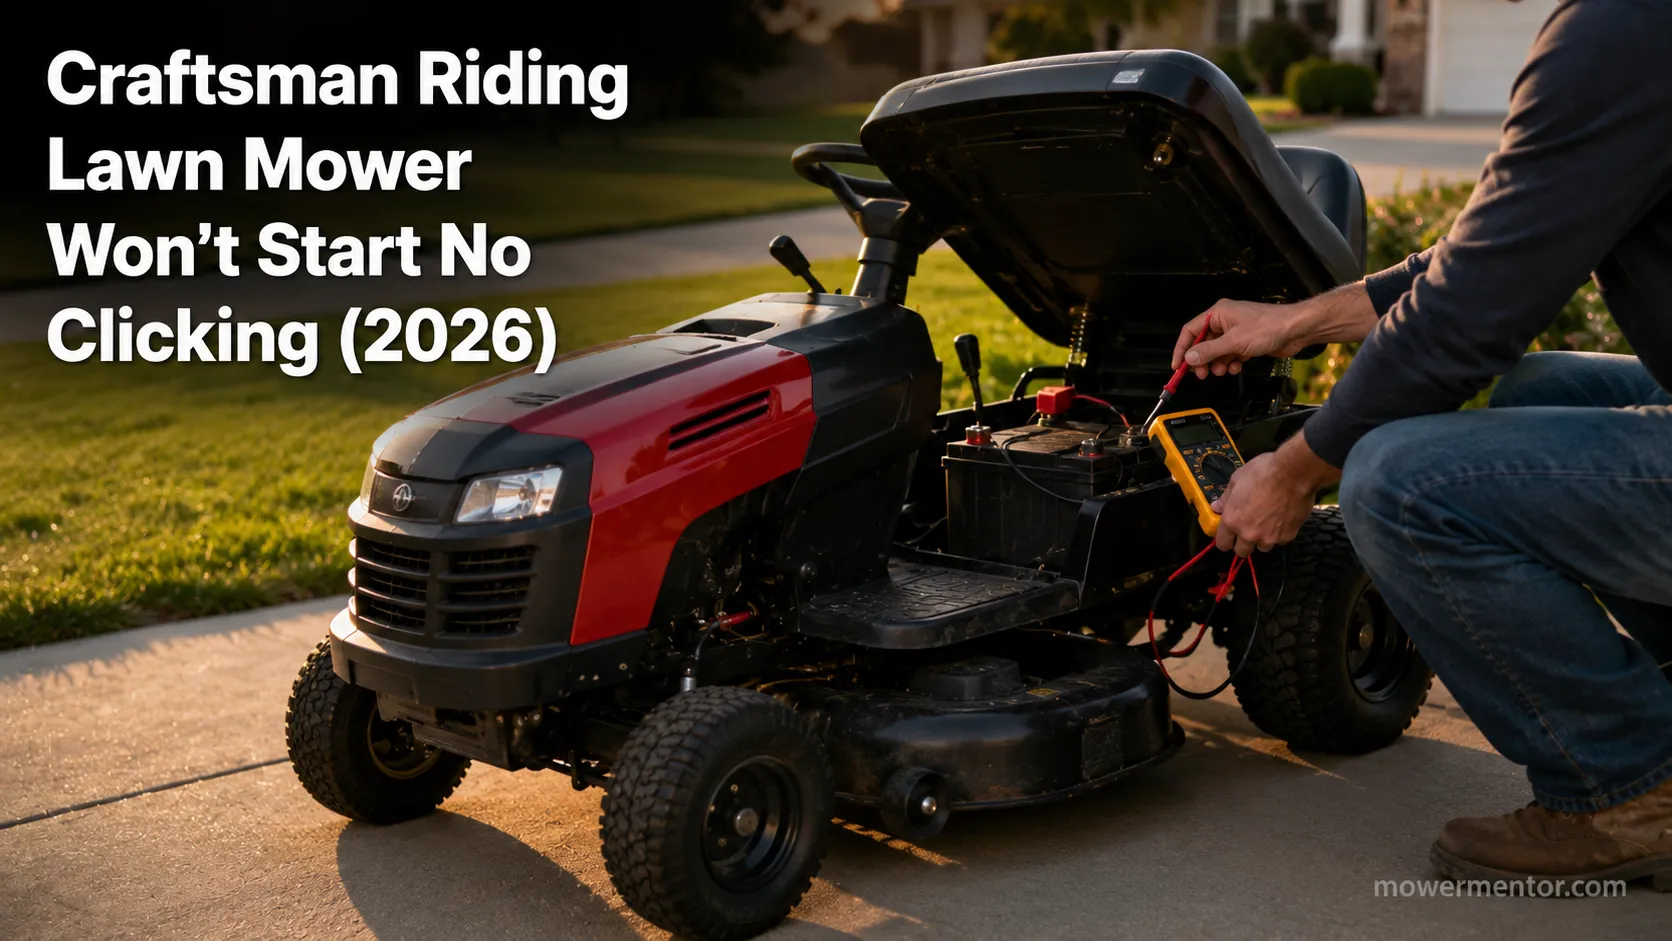
Fix a Craftsman riding lawn mower won't start no clicking: test battery voltage, inline fuse, safety switches, ignition and solenoid with a multimeter.
 Troubleshooting & Repair
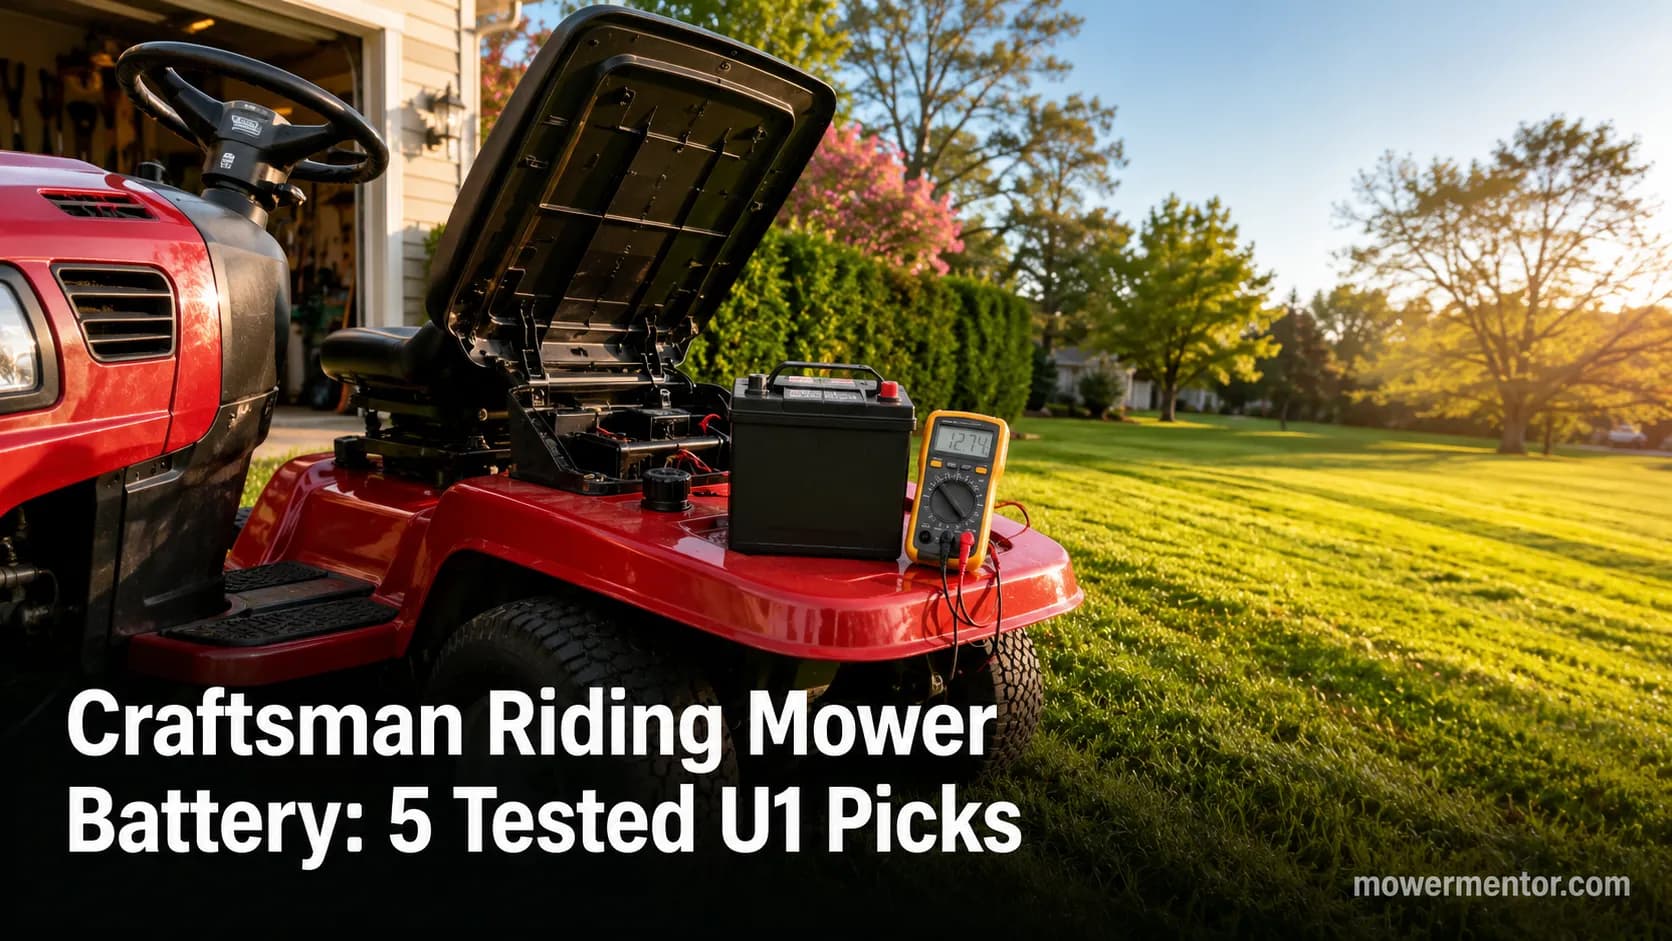
Find the right Craftsman riding mower battery: 12V U1/U1R size chart by model, 5 tested picks, and why yours keeps dying.
Comments
Moderated for quality. Share a correction, ask a follow-up, or tell us what worked for you - every comment is reviewed before it goes live.