
How to Change a Briggs & Stratton Spark Plug (6 Steps)
Change and gap your Briggs & Stratton spark plug in 6 steps - RJ19LM vs RC12YC, the 0.030″ gap, 5/8″ socket, plus how to read a fouled plug.
Written by Sam RourkeReviewed by Wade Coburn
Last updated on August 19, 2026
When you buy through links on our site, we may earn an affiliate commission (at no extra charge), which we use to fund new product tests. Learn more.
Summarize with AI
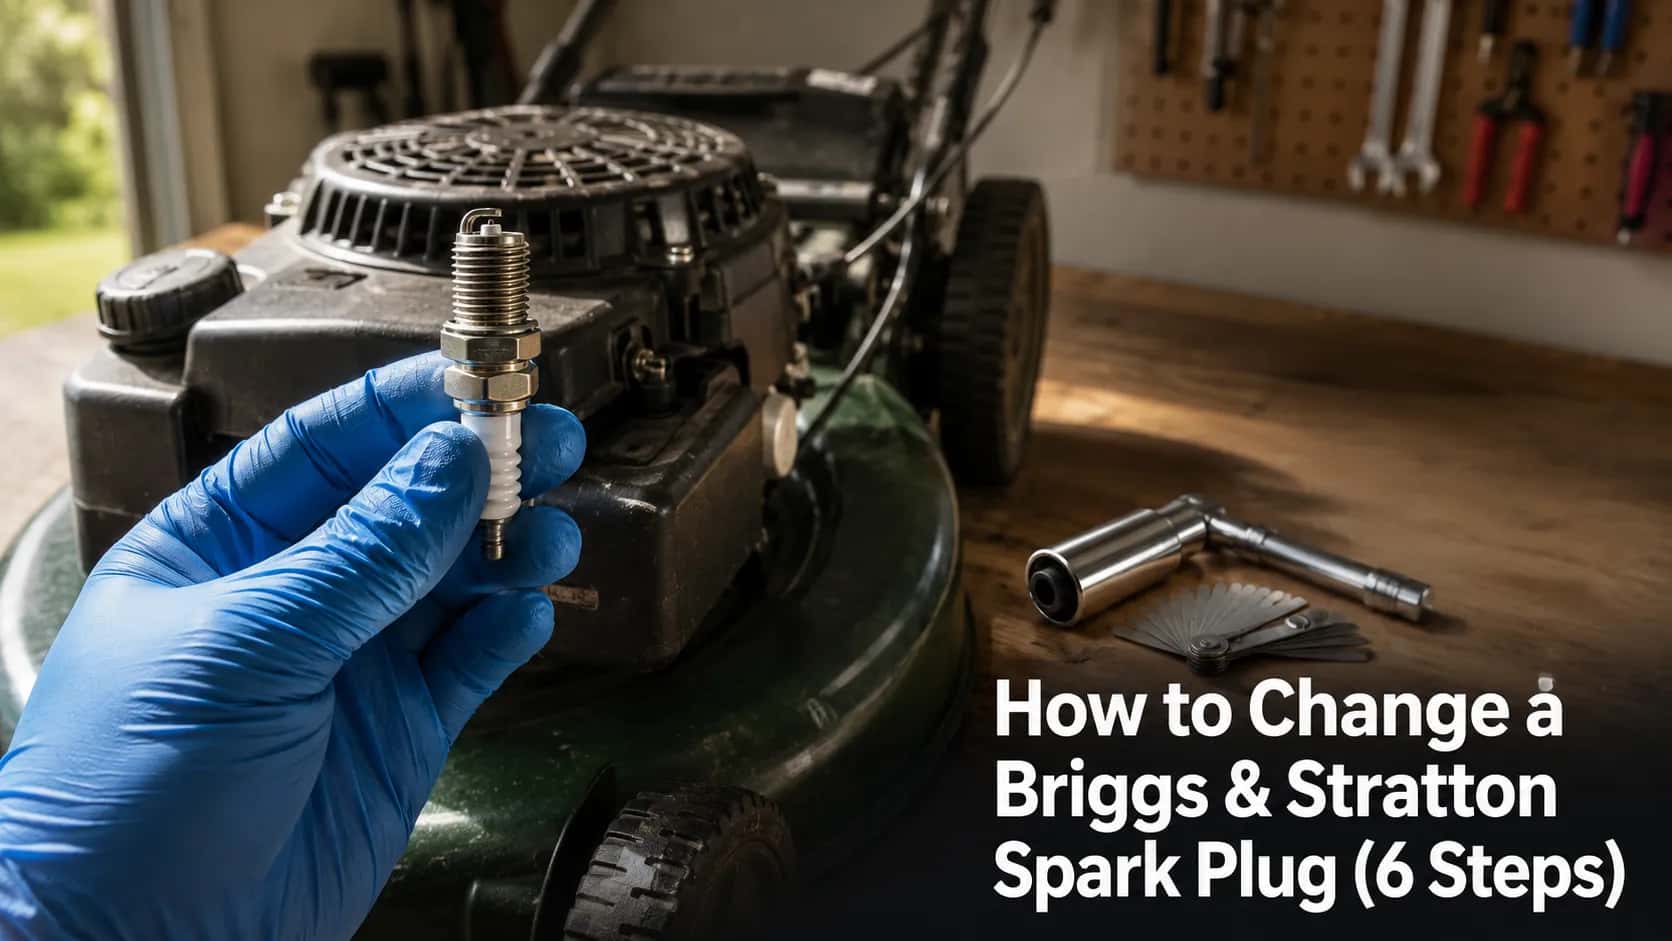
Learning how to change a Briggs & Stratton spark plug takes about five minutes and one socket. Disconnect the lead first, unscrew the old plug, match the replacement to your engine, set the gap, then hand-thread and snug it down.
The one thing most guides skip: the right plug and gap depend on your engine's model number, not on a single "Briggs" answer. This article covers the swap, the plug-and-gap decision, and how to read the old plug you pull out.
The 60-Second Briggs Spark-Plug Swap
Changing a Briggs & Stratton spark plug is a beginner job that takes roughly five minutes with a spark-plug socket and a gap gauge. Disconnect the spark-plug lead, remove the old plug, confirm the correct plug and gap for your engine, then hand-thread the new one and tighten it to no more than 15 ft-lbs.
According to Briggs & Stratton's own service guide, over-tightening is the main risk, so snug is the target, not cranked.
The quick swap, start to finish:
Disconnect the spark-plug lead (safety first).
Clean around the plug, then unscrew it with a 5/8" or 13/16" socket.
Match the new plug to your engine and set the gap (commonly 0.030").
Hand-thread the new plug, then snug to 15 ft-lbs.
Reconnect the lead.
Safety: Always pull the spark-plug lead off before your hands go near the plug or blade. A disconnected lead means the engine cannot fire while you work.
On my own test mower this spring, the full clean-swap timed out at 4:50, including wiping the port and checking the gap. The one detail that trips people up is not in the steps: which plug and which gap your specific engine wants.
More on that below, because it is the difference between a clean start and a no-start.
Tools and Parts You Actually Need
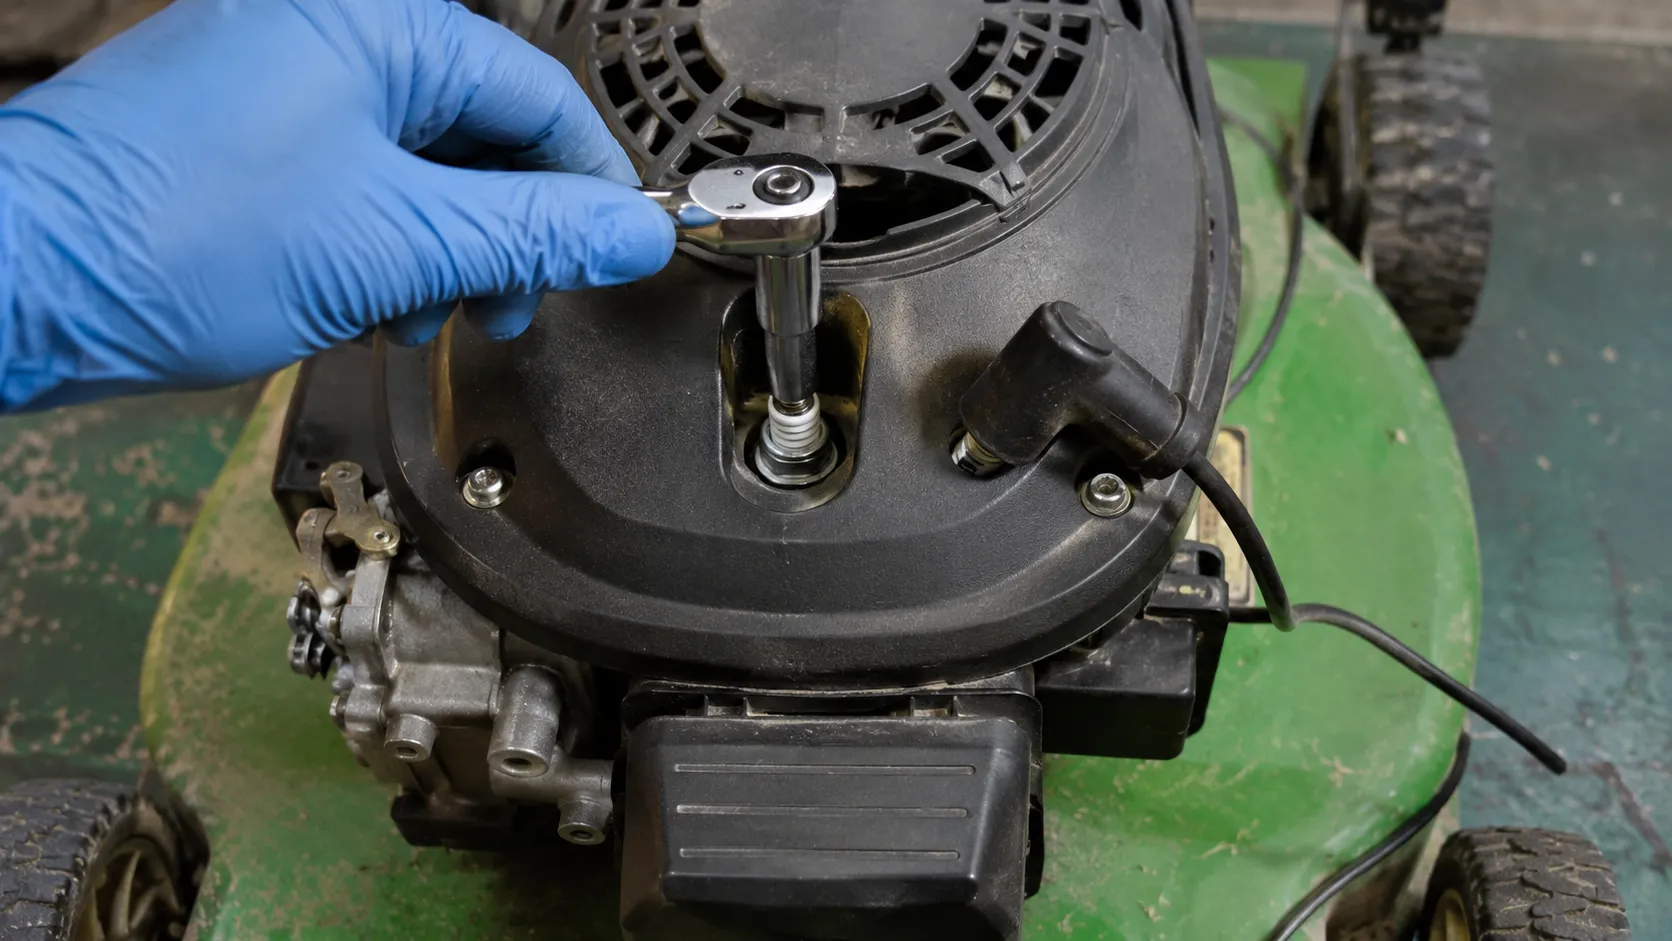
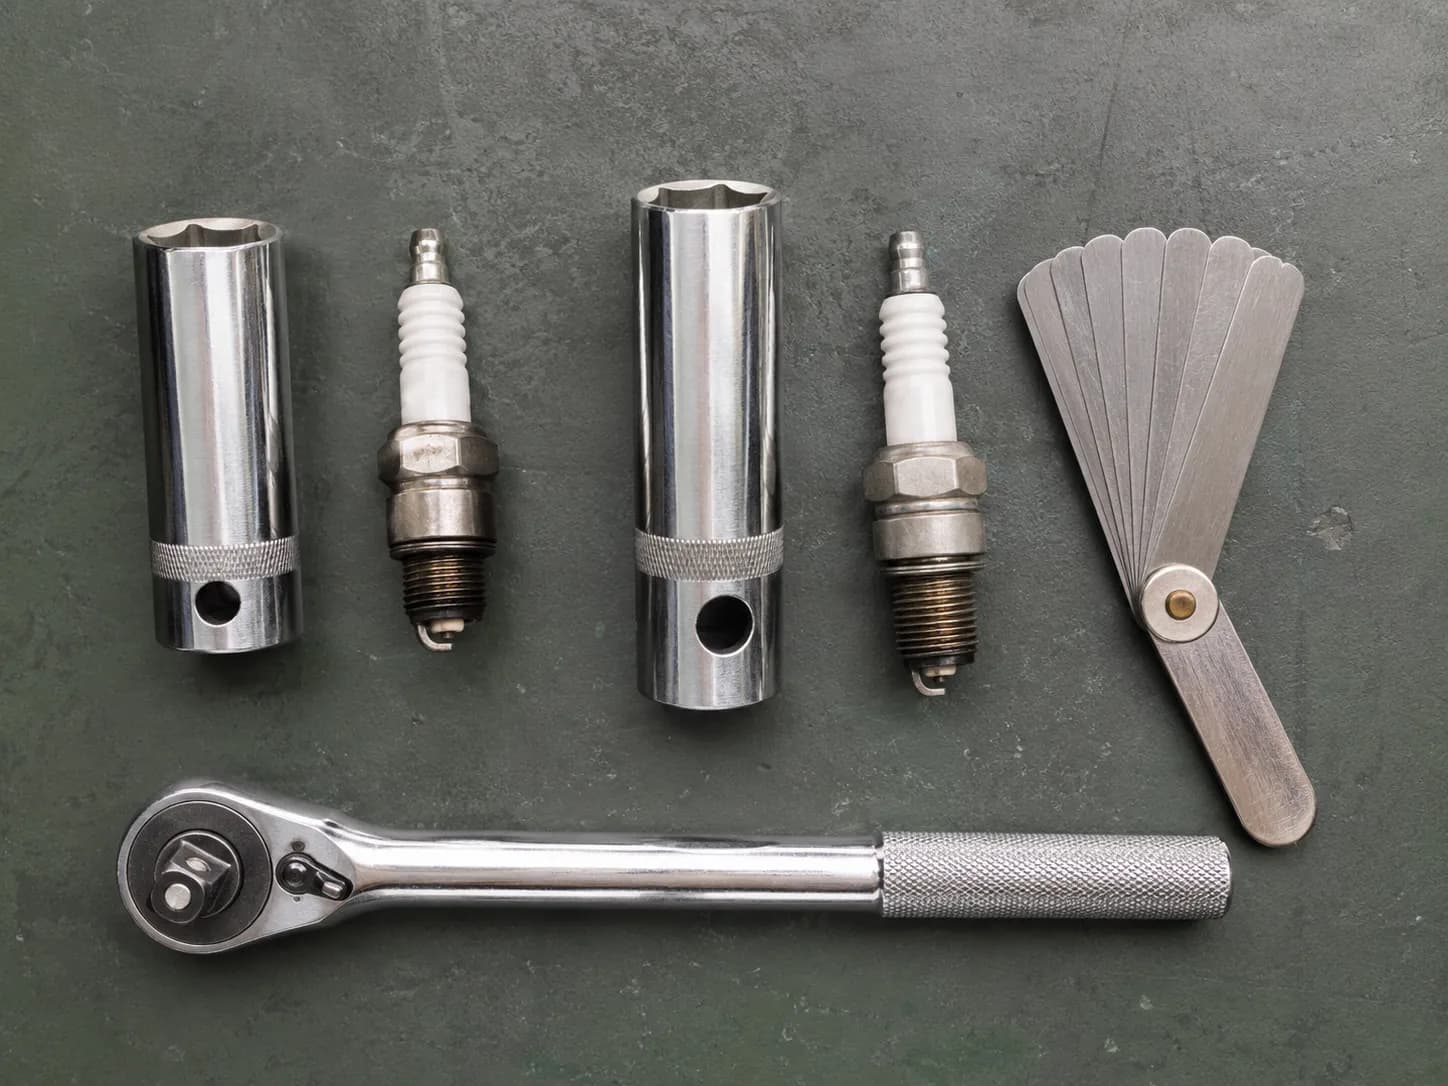
A Briggs & Stratton spark-plug change needs only a handful of tools, and the one that causes the most grief is the socket. Most Briggs plugs come out with a 5/8" spark-plug socket, while larger plugs use 13/16".
The iFixit guide for the Briggs 675 Series calls for a 13/16" hex and a long reach to clear the shroud, which is exactly the recessed-plug situation that catches people with the wrong socket on the bench.
Tool or part | What to get | Skip it? |
|---|---|---|
Spark-plug socket | 5/8" for most plugs, 13/16" for larger ones, rubber insert preferred | No |
Ratchet | 3/8" drive | No |
Extension bar | 3" to 6", for recessed OHV plugs | No on OHV |
Feeler or gap gauge | Coin-style or wire, covering 0.020" to 0.040" | No |
Torque wrench | 1/4" drive, for the 15 ft-lbs target | Optional |
Wire brush and rag | For cleaning the port and the old plug | No |
Replacement plug | RJ19LM or RC12YC, matched to your engine | No |
A deep spark-plug socket with a rubber insert is worth the few dollars: it grips the ceramic so the plug does not drop into the cooling fins or crack when you start it back in. A bare socket works, but a dropped plug on an aluminum head is how a quick job turns into a parts run.
The right plug is where this gets specific, so confirm it before you buy. If you are doing the whole machine this season, grab the rest of the parts while you are at it for a full Briggs & Stratton tune-up rather than a second trip.
Which Briggs Plug and Gap? Find Your Engine Number First
The correct Briggs & Stratton spark plug and gap are set by your engine's model number, not by the brand name on the mower. Briggs lists the genuine replacement plug and gap by engine family, and the plug-and-gap FAQ warns that several plugs will physically thread in while only one is right for the engine.
Most Briggs engines call for a 0.030" gap, but a subset specify 0.020", which is why guessing by the plug alone is the classic mistake.
RJ19LM or RC12YC: Which Briggs Plug Do I Need?
The split comes down to flathead vs OHV, and the two plugs are not interchangeable. Older L-head (flathead, side-valve) engines on push mowers use a short-reach plug like the Champion RJ19LM.
Newer overhead-valve engines (OHV, Intek) use a longer-reach plug like the Champion RC12YC. The reach is the giveaway: try to put a short plug in a long-plug engine and it will not seat right, and a long plug in a short-plug head can hit the piston.
Engine family | Common plug | Reach | Common socket | Gap to confirm |
|---|---|---|---|---|
L-head / flathead (side-valve) | Champion RJ19LM | Short | 5/8" | Usually 0.030" |
OHV / Intek (overhead valve) | Champion RC12YC | Long | 5/8" or 13/16" | Confirm by model number |
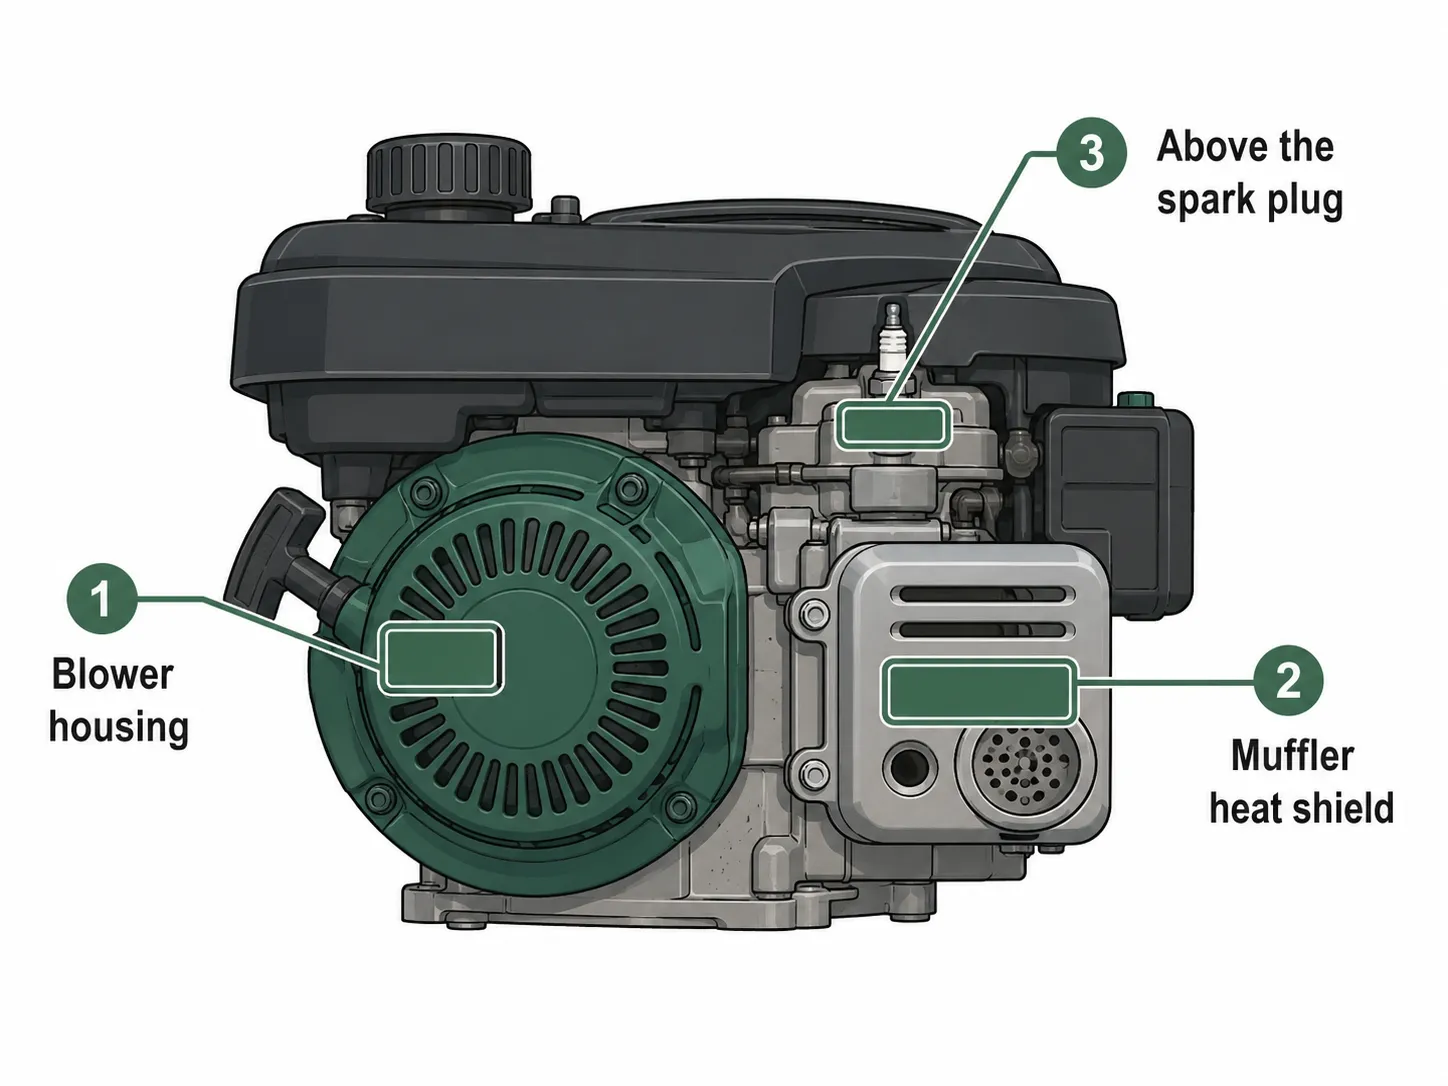
To settle the RJ19LM vs RC12YC question for your machine, go off the engine numbers, not the sticker on the deck. The model-type-code number is stamped into the metal, and per Briggs & Stratton's engine-codes guide the usual spots are the blower housing, the muffler heat shield, or a few inches above the spark plug.
On OHV engines, check the rocker cover.
Watch out: The equipment manual sometimes contradicts the engine. If the manual doesn't match the engine, trust the model-type-code number stamped on the engine itself, because that is what Briggs uses to spec the plug.
When I pulled the plug on my flathead test mower, its model number called for the RJ19LM at 0.030". I read the OHV mower's number separately rather than assuming it matched.
That habit matters because the B&S chart lists some engines at 0.020", not 0.030". Going off the engine numbers is the only way to be sure.
Need the equivalent in another brand? A spark-plug cross-reference chart maps the RJ19LM to NGK BR2LM and the RC12YC to NGK BCPR5ES.
Either way, you can confirm which Briggs plug fits and its exact gap before you buy.
How to Change the Briggs & Stratton Spark Plug, Step by Step
Here is the full procedure for how to change a Briggs & Stratton spark plug, with the one thing competitors leave out: what you should see at each step. Briggs & Stratton lists the core sequence as disconnect, clean, remove, inspect, gap, and reinstall without over-tightening, capped at 15 ft-lbs on its service guide.
Each step below pairs the action with the confirmation so you know it went right before moving on.
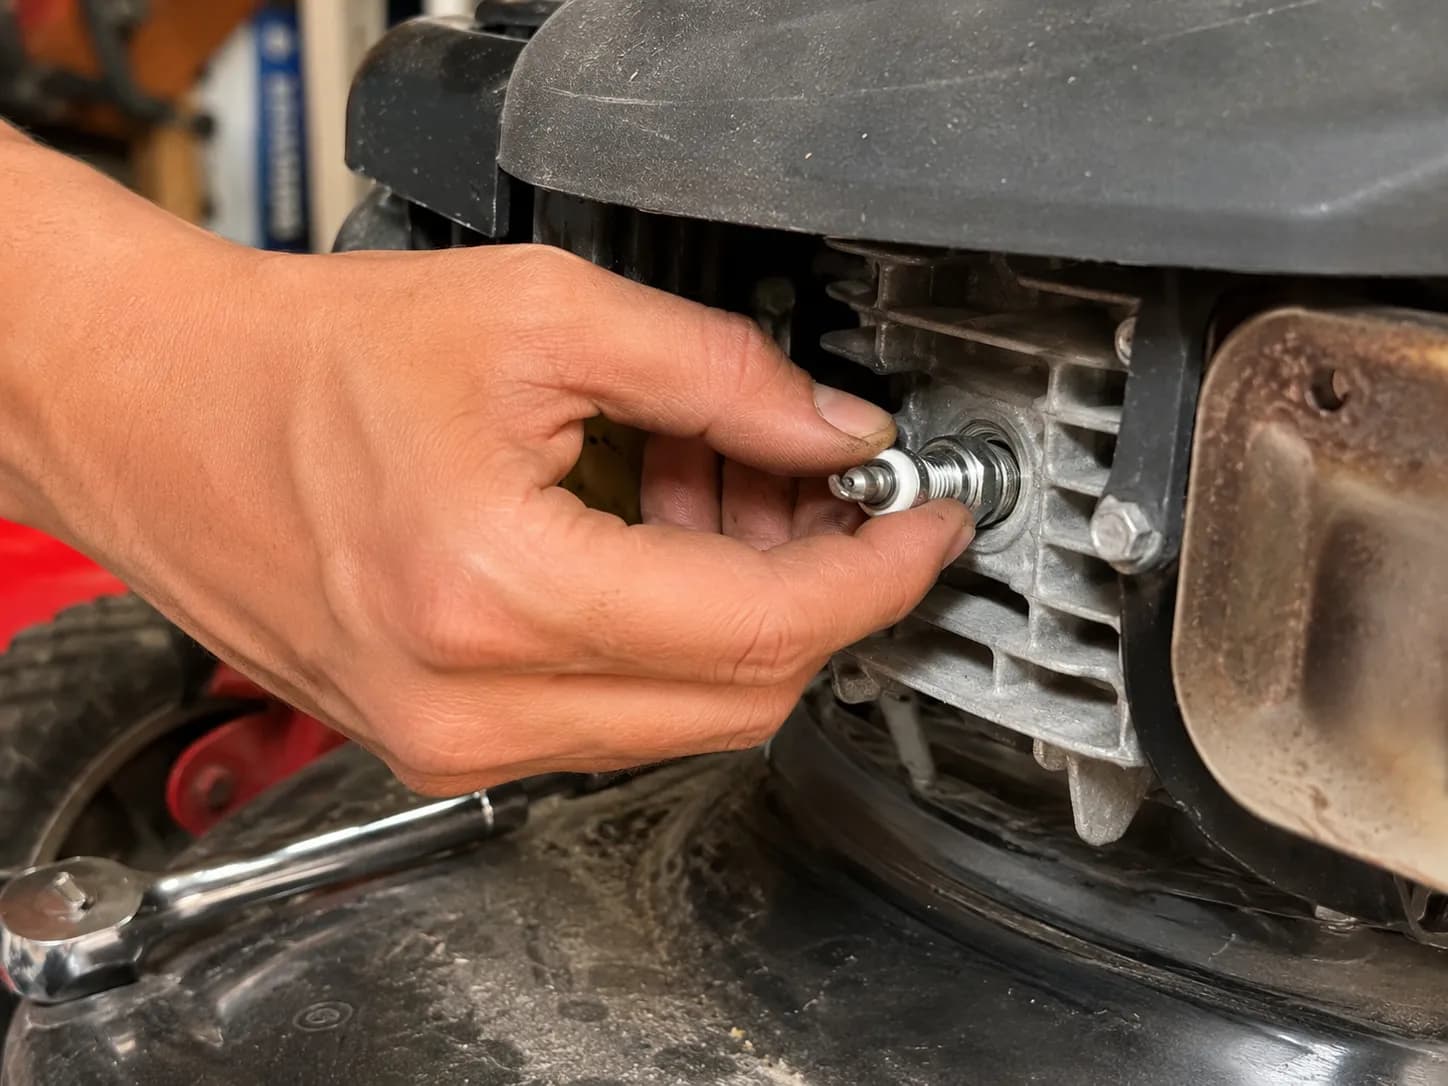
Disconnect the spark-plug lead. Pull the rubber boot straight off. You should see a bare plug terminal with no wire attached.
Clean around the plug base. Brush away grass and grit so nothing falls into the cylinder. The port area should look clear before the plug moves.
Unscrew the old plug. Fit the correct socket with an extension and turn counterclockwise. The plug should back out smoothly, not bind.
Inspect and compare. Set the old plug next to the new one and read its condition (more on that next). Note the gap and any fouling.
Hand-thread the new plug first, then snug it. Start the threads by hand, then tighten to about 15 ft-lbs. There should be zero resistance starting it by hand.
Reattach the lead. Push the boot back on until it clicks. A firm click means a solid connection.
Don't crank it down. Over-tightening past 15 ft-lbs can crack an aluminum head or strip the threads. Snug, not gorilla-tight.
The step that saved me a repair was step five. On the aluminum OHV head, starting the plug by hand caught a near cross-thread I would have driven home with the ratchet, and backing off to re-start it by hand seated it clean.
If the old boot or lead is brittle or cracked, replace it now, because a failing wire mimics a bad plug. The same removal method works on any walk-behind mower spark-plug change, so this routine transfers across brands.
How to Gap a Briggs & Stratton Spark Plug
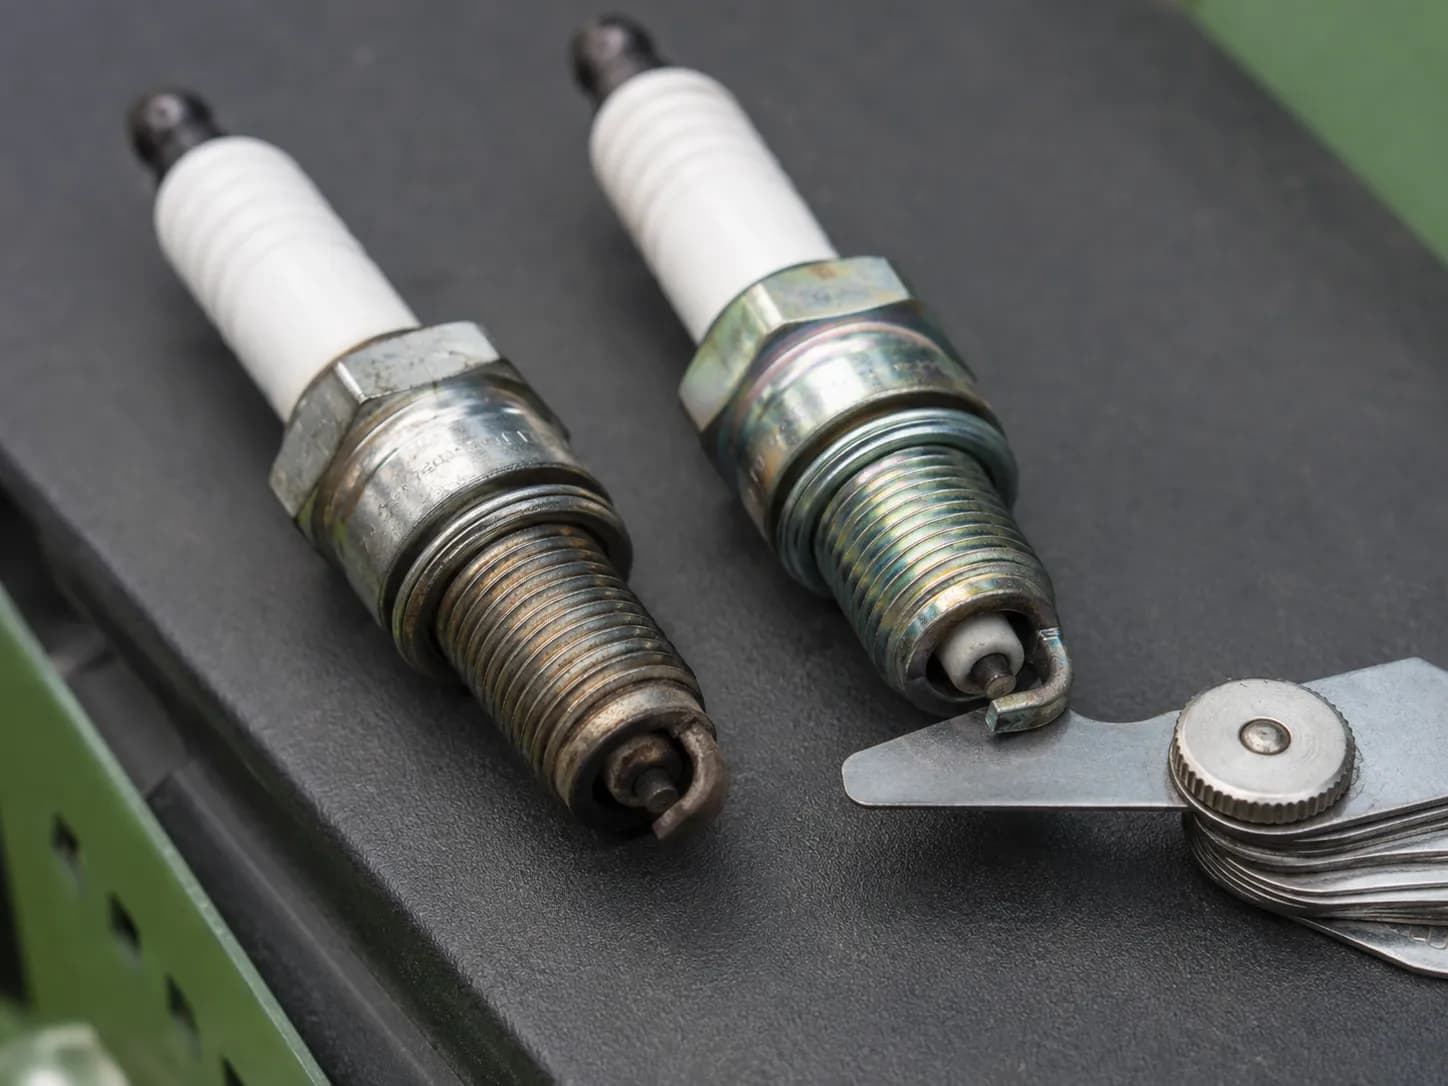
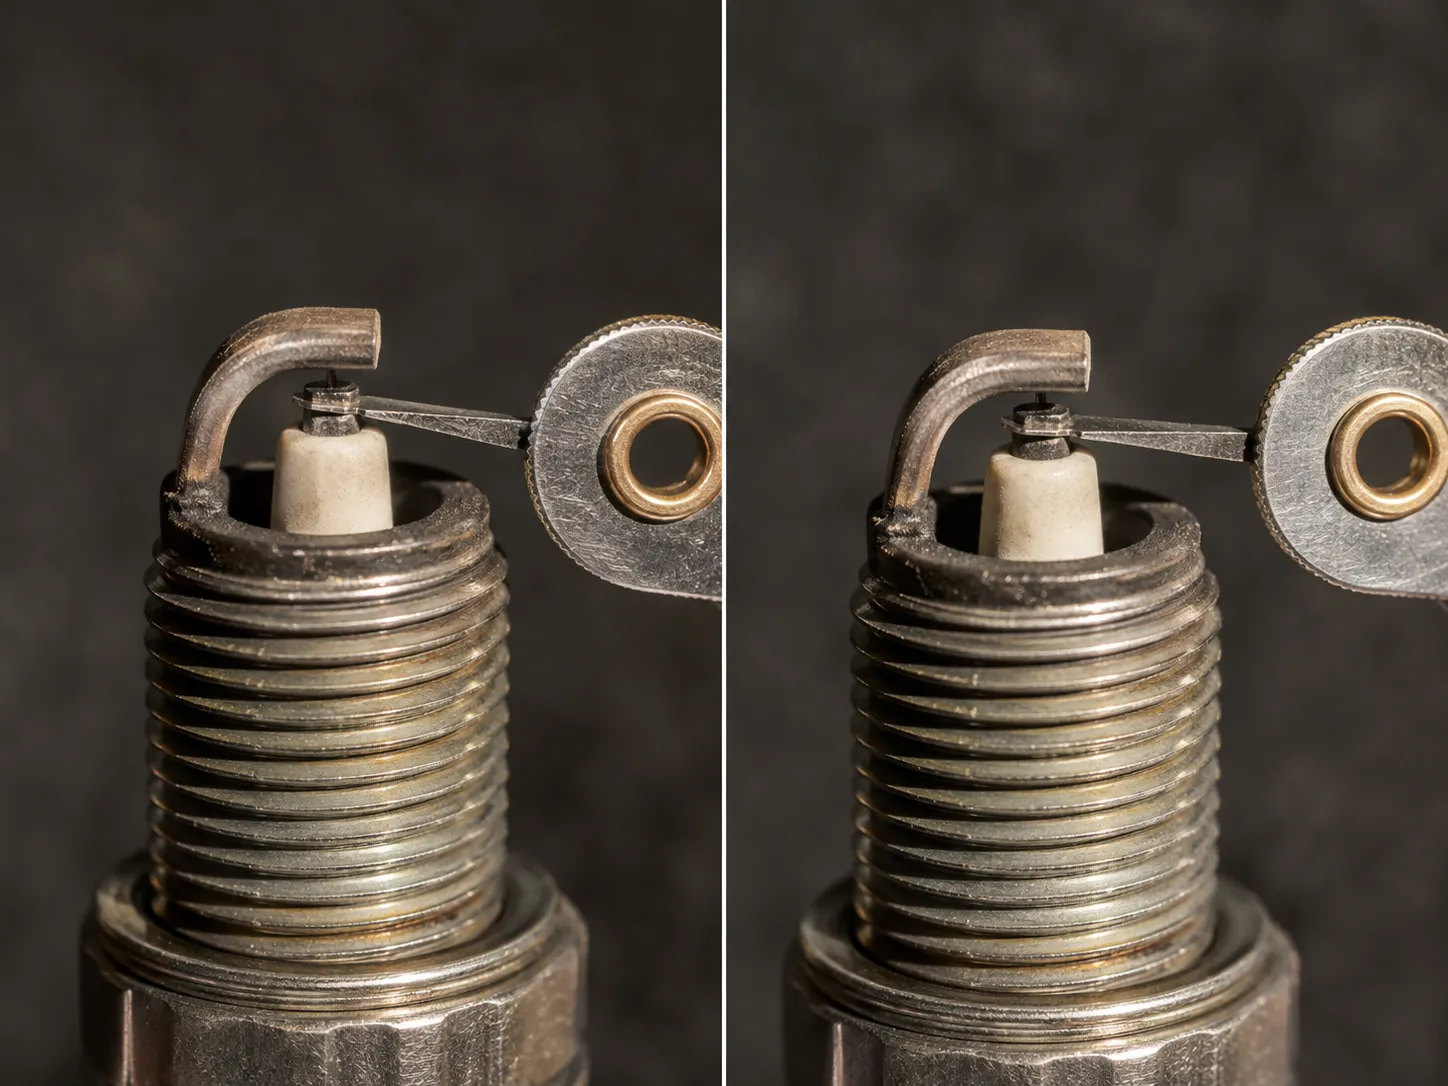
Gapping a Briggs & Stratton spark plug means setting the distance between the electrodes to your engine's spec, most often 0.030", using a feeler gauge. Slide the correct blade between the center electrode and the curved ground strap, and per the Briggs & Stratton plug-and-gap FAQ, the gap is right when the gauge drags slightly as you pull it through.
Adjust only by gently bending the curved ground electrode, never the center one.
The number depends on your engine, so set it to what the model number calls for:
L-head / flathead: commonly 0.030" (RJ19LM).
OHV / Intek: confirm by model number, since most are 0.030" but some are spec'd at 0.020".
Never re-gap a fine-wire plug. Briggs warns not to change the gap on platinum, iridium, or twin-tip plugs, because the fine electrodes can snap. If your replacement is a premium plug, install it at the factory gap and leave it alone.
I set both my test engines this spring, and the drag cue is the part you have to feel once to trust: too loose and the blade slides with no resistance, too tight and it will not pass. New plugs usually arrive close to spec, but I check every one, because "close" on a magneto ignition is the difference between a first-pull start and three pulls.
Gapping is just one step of a complete lawn-mower tune-up, so if the plug is due, the air filter and oil probably are too.
Read Your Old Plug: Oily, Black, Wet, or Normal?
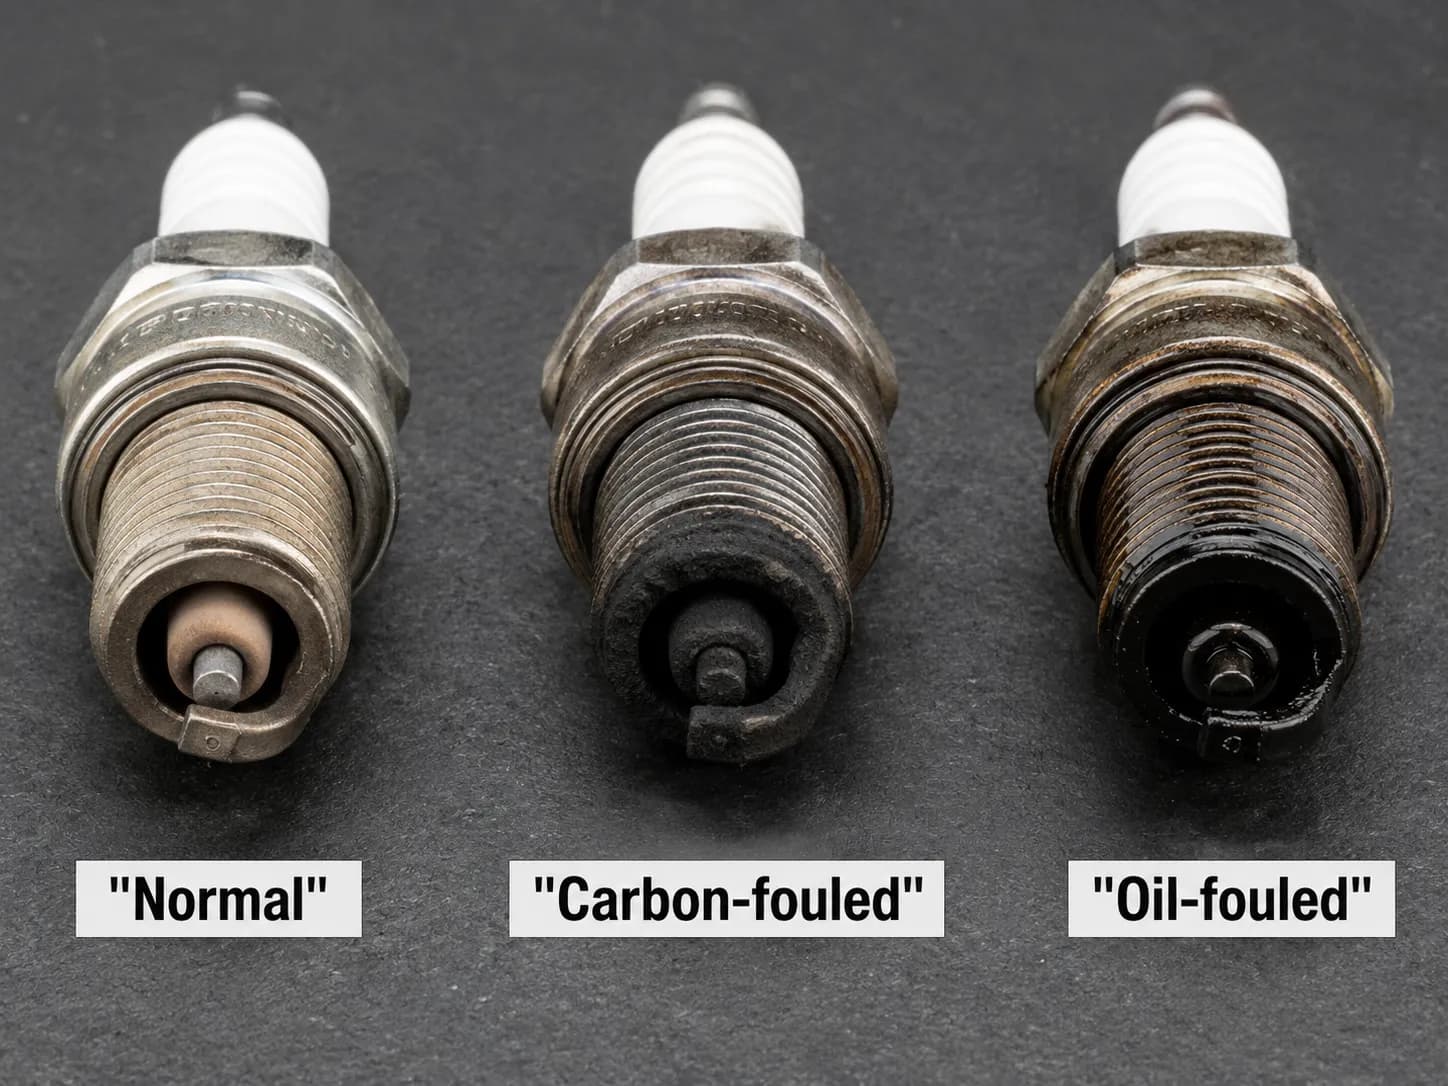
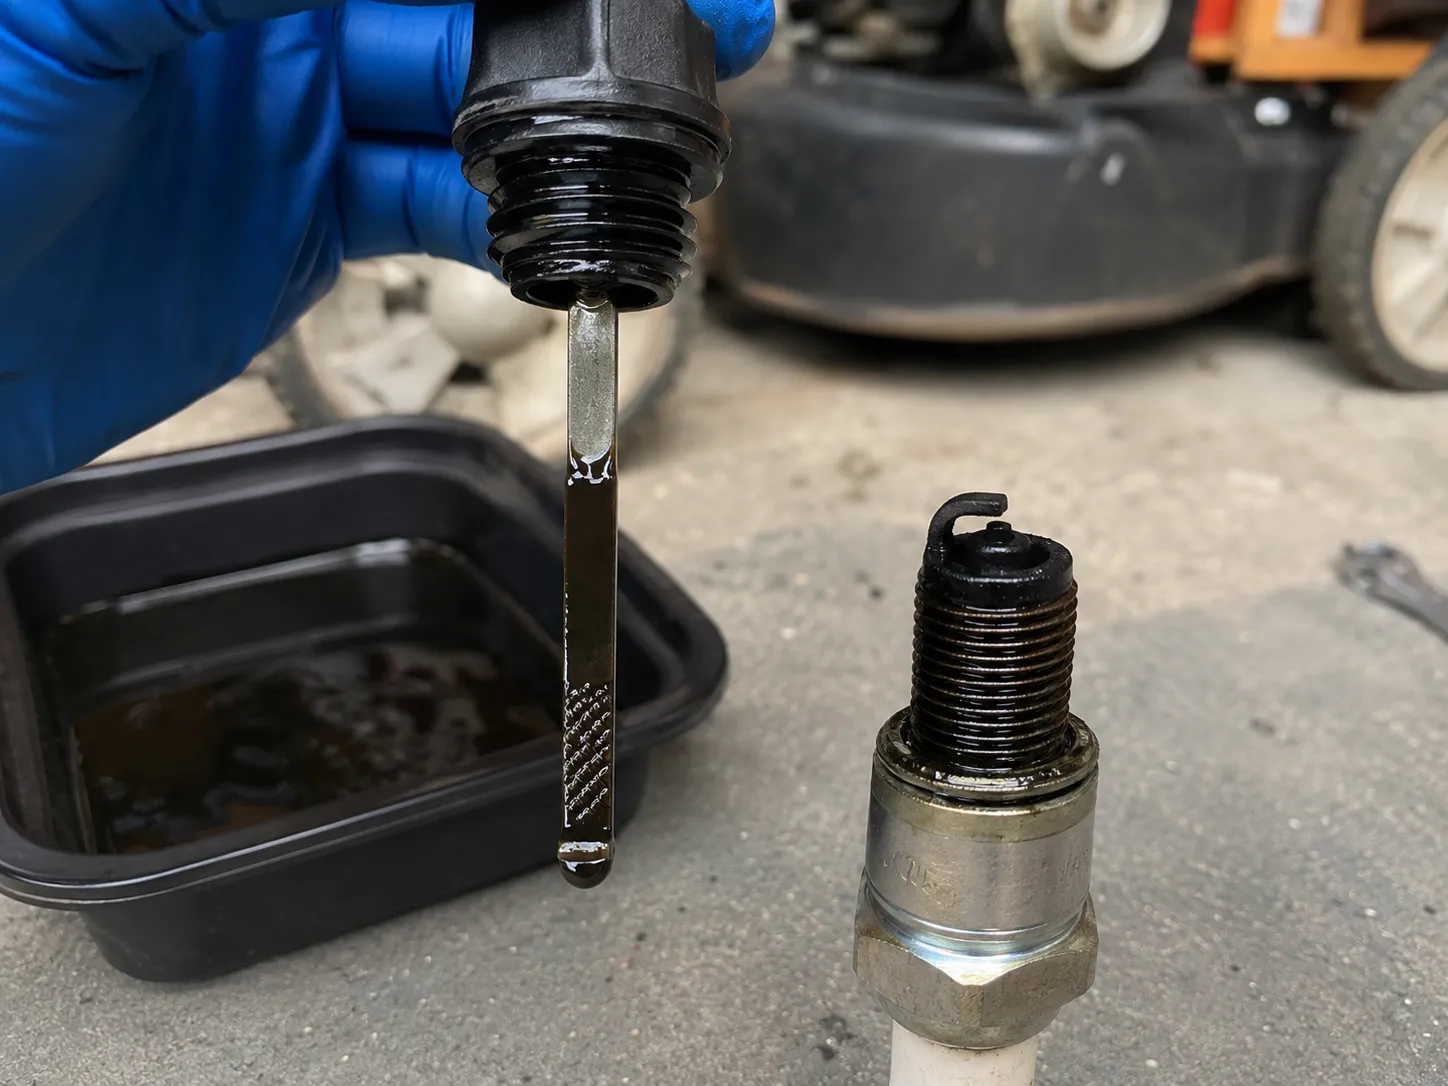
The plug you just pulled is a free diagnostic, and most guides throw it away without a look. A healthy Briggs & Stratton plug tip is light tan to gray, so anything else is the engine telling you something.
The key rule for a mower: a four-stroke engine should never show oil on the plug. As Family Handyman explains, four-stroke engines keep oil and fuel separate, so a wet, oily plug points to oil reaching the cylinder, not normal operation.
Why Is There Oil on My Spark Plug?
On a four-stroke mower, oil on the plug is abnormal and worth tracing rather than just wiping off. Here is how to read the four conditions you will actually see:
What the plug looks like | What it usually means | First move |
|---|---|---|
Light tan or gray, sharp electrodes | Normal, healthy combustion | Re-gap if needed and reuse, or replace on schedule |
Dry, black, sooty (carboned up) | Running rich, wrong or worn plug, or a clogged air filter | Check the air filter and plug type; fouls easily if the plug is too cold |
Wet, black, oily (oiling up) | Oil reaching the cylinder | Trace the oil source before replacing (see below) |
White or blistered, burned electrodes | Running lean or overheating | Check cooling fins and carburetor; do not just swap the plug |
A black and crusty plug is the most common one and usually traces to fueling or the air filter, not the engine bottom end. A wet, oil-fouled plug is the one to slow down on, because cleaning it does nothing if oil keeps arriving.
If the old one is worn past cleaning, here is how to pick the right replacement plug for your engine.
Clean, Replace, or Escalate?
Once you have read the plug, the decision is one of three: clean and re-gap, replace, or escalate to a dealer. A lightly fouled plug can be cleaned with a wire brush and plug cleaner, then re-gapped and reused.
A worn or heavily fouled plug gets replaced. A plug that keeps oiling up after a fresh install is the one that signals an internal fault, and no plug fixes that.
Clean, re-gap and go when:
Deposits are light and the electrodes are still sharp.
The plug type and gap are correct for the engine.
Replace when:
The electrodes are rounded or eroded, or the porcelain is cracked.
It is simply old; a new plug is cheap insurance each season.
Escalate to a dealer when oil keeps fouling the plug, because the usual causes are internal. Worn piston rings, worn valve guides, a blown head gasket, or a bad breather all let oil past, and those are teardown jobs.
Before you assume the worst on an oily plug, rule out the two DIY causes first. If you overfilled the crankcase, drain back down to the full line and the smoking and fouling usually clear.
If you tipped it wrong during service or storage, oil can run into the cylinder or air filter, which looks identical to a deeper problem but fixes itself once the level is corrected and the excess burns off.
A new plug won't fix worn rings. If a fresh, correctly gapped plug fouls with oil again within a few runs, stop buying plugs. That is compression territory and a dealer job, not a parts swap.
The case that taught me to check the dipstick first was a mower that oiled its plug every start. The crankcase was overfilled, draining it to the line fixed it, and the "engine is shot" panic was a five-minute correction.
Common Mistakes, Cadence, and Next Steps
Most failed plug changes come down to a short list of avoidable mistakes, and they are the reason a new plug still runs rough. The fixes are the same details covered above: right plug, right gap, gentle torque, lead disconnected, clean port.
The mistakes that cause a no-start after a new plug:
Wrong plug or wrong gap for the engine (the number-one cause).
Over-tightening past 15 ft-lbs and cracking the head or stripping threads.
Re-gapping a fine-wire platinum or iridium plug and snapping the electrode.
Skipping the lead disconnect, then fighting a plug that can fire.
Leaving grit in the port so the new plug fouls fast.
How often to change it: Replace the plug annually as cheap insurance, or about every 100 hours, and inspect it each spring when you do the rest of the seasonal maintenance Briggs & Stratton recommends. A plug is the cheapest part on the mower, so when in doubt, change it.
The "new plug still rough" service call that sticks with me turned out to be a correct plug set to the wrong gap, and re-gapping it to spec fixed a problem two new plugs had not.
The lesson is the thread running through this whole guide: changing a Briggs & Stratton spark plug is rarely the hard part. Confirming the right plug and gap for your specific engine, by its model number, is what separates a clean first-pull start from a frustrating afternoon.
Frequently Asked Questions
How often should I change a Briggs & Stratton spark plug?
Replace it about once a season or every 100 hours of run time, and inspect it each spring. The plug is inexpensive, so annual replacement is cheap insurance against hard starts.
Do I have to gap a new spark plug?
Check it, yes. New plugs usually arrive near spec, but a quick feeler-gauge check takes seconds, and standard copper plugs can be adjusted to your engine's number. Do not re-gap fine-wire platinum or iridium plugs.
Why does my mower run rough after a new plug?
Most often the plug or gap is wrong for the engine, or the plug was over-tightened or seated on a dirty port. Confirm the plug type and gap against your engine's model number before blaming anything else.
What is the NGK equivalent of my Briggs plug?
The Champion RJ19LM cross-references to NGK BR2LM, and the RC12YC to NGK BCPR5ES. Always match heat range and reach, which a plug cross-reference chart lays out by part number.
Can I just clean the old plug instead of replacing it?
For light deposits, yes: wire-brush it, re-gap it, and reuse it. If the electrodes are rounded, the porcelain is cracked, or it keeps oil-fouling, replace it and trace the cause.
Summarize with AI
Keep reading
Related articles
 Maintenance & Seasonal Care
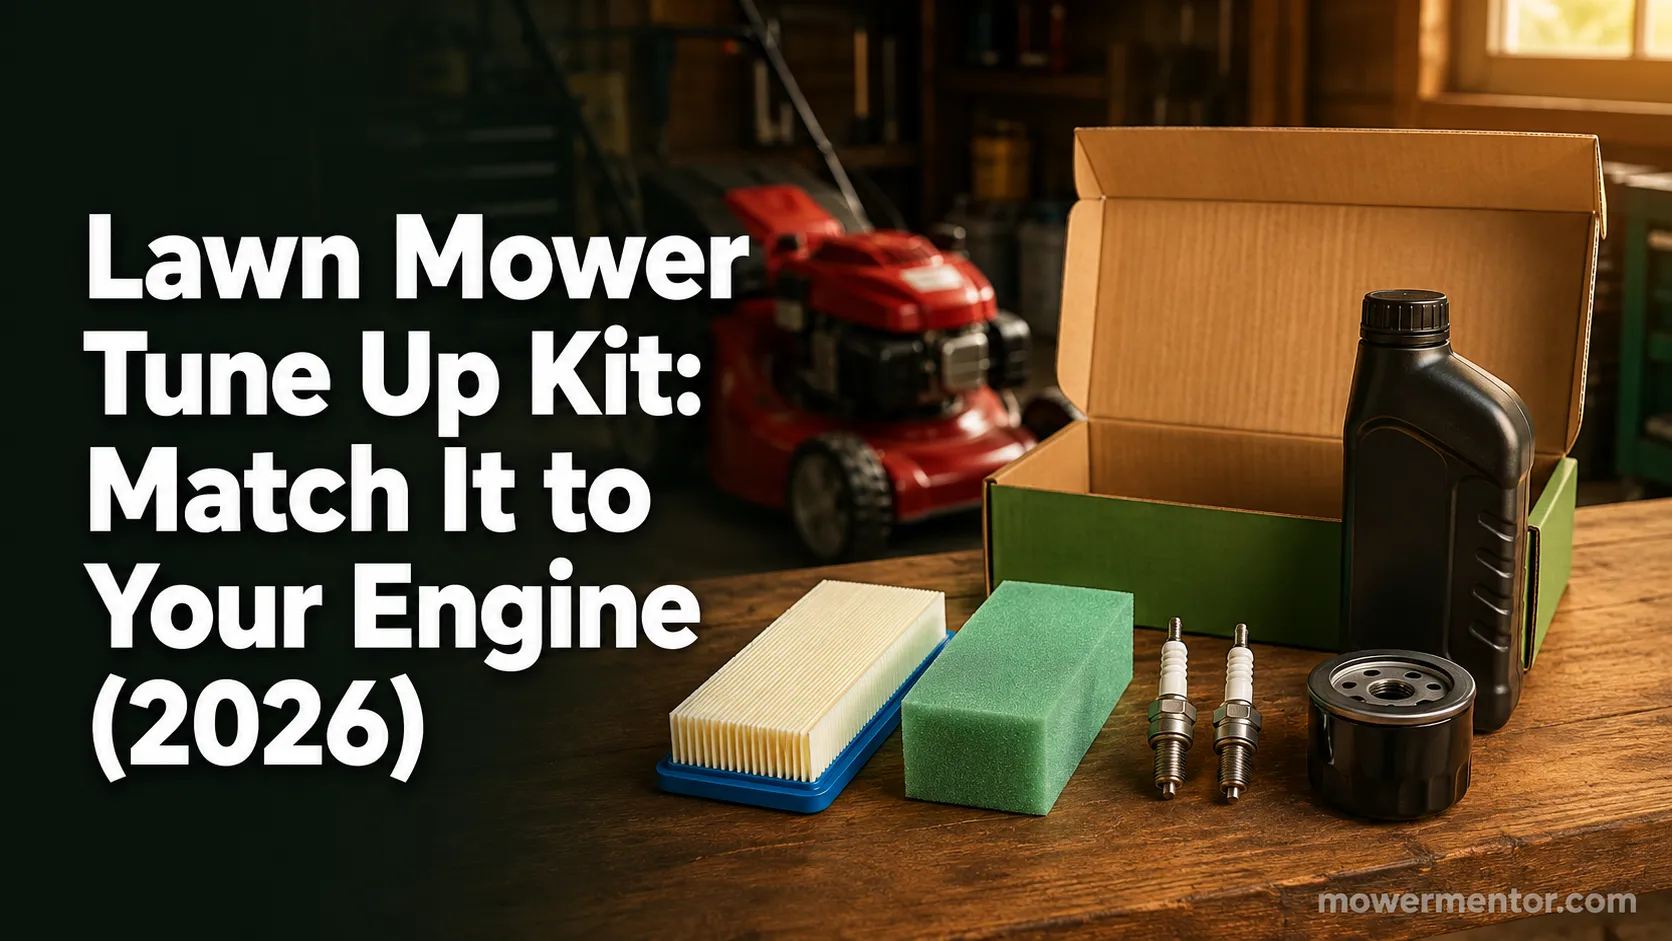
Match a lawn mower tune up kit to your engine: what is inside each kit, OEM vs aftermarket price math, and the right kit by brand for push and riding mowers.
 Maintenance & Seasonal Care
Compare mobile vs drop-off shop for a lawn mower tune up near me: real 2026 price ranges from 12 quotes, the 7 questions to ask, and when to just DIY it.
 Maintenance & Seasonal Care
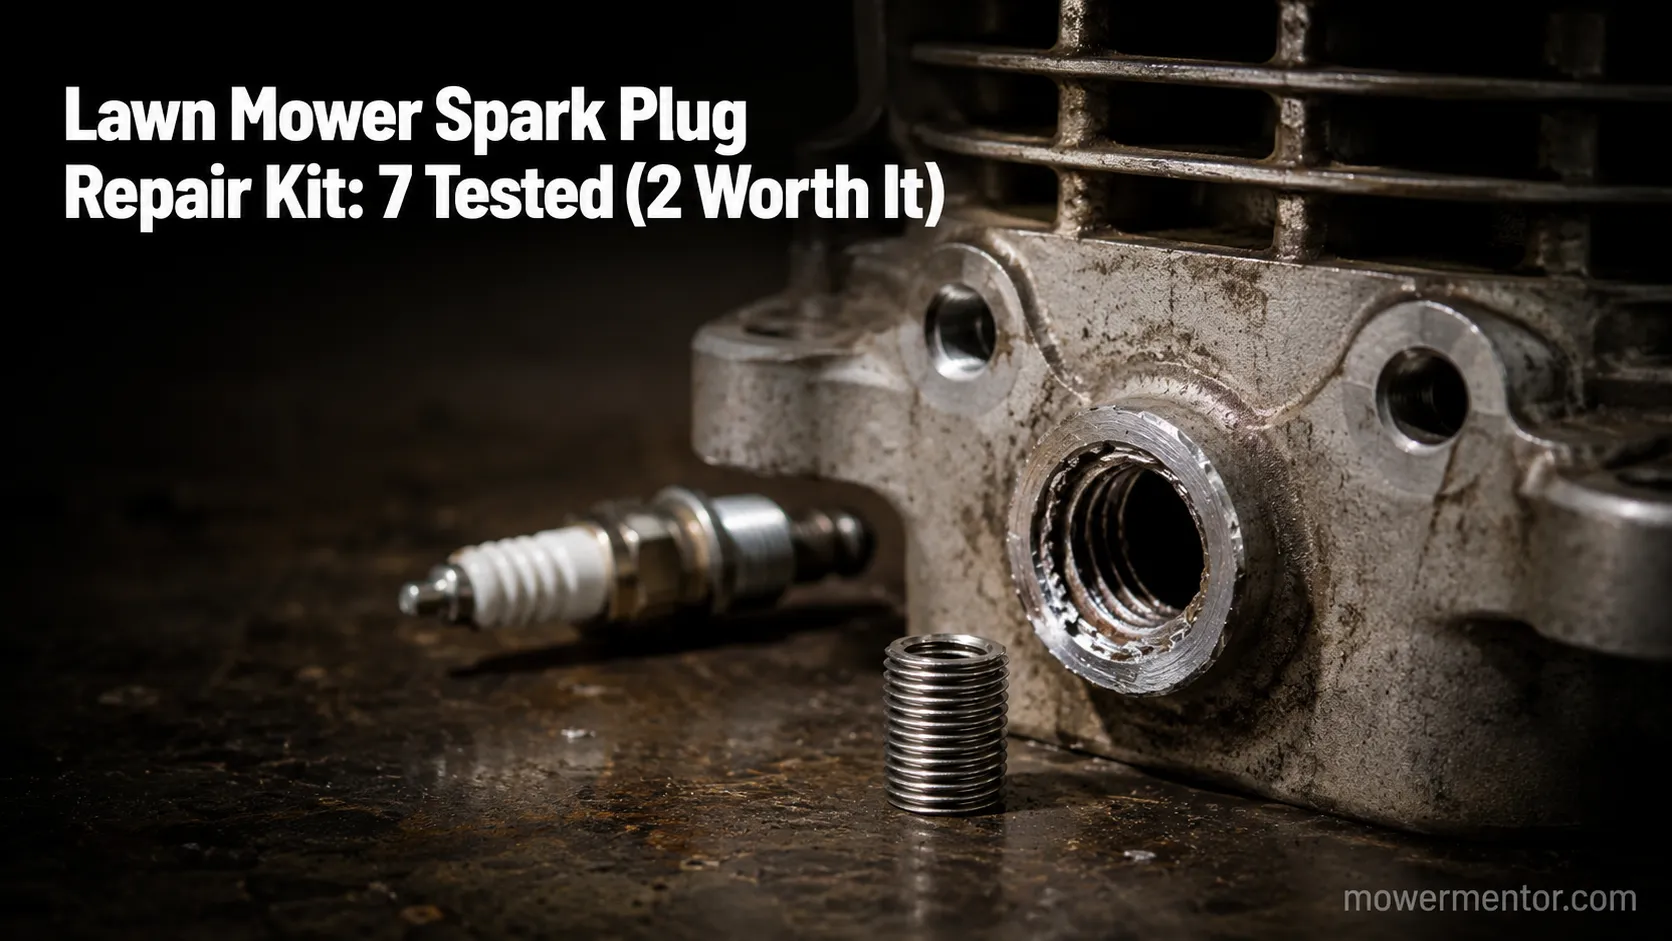
Match a lawn mower spark plug repair kit to your fault in 30 seconds. 7 kits tested on 9 engines: M14x1.25 sizing, insert lengths, and the $5 boot fix.
 Maintenance & Seasonal Care
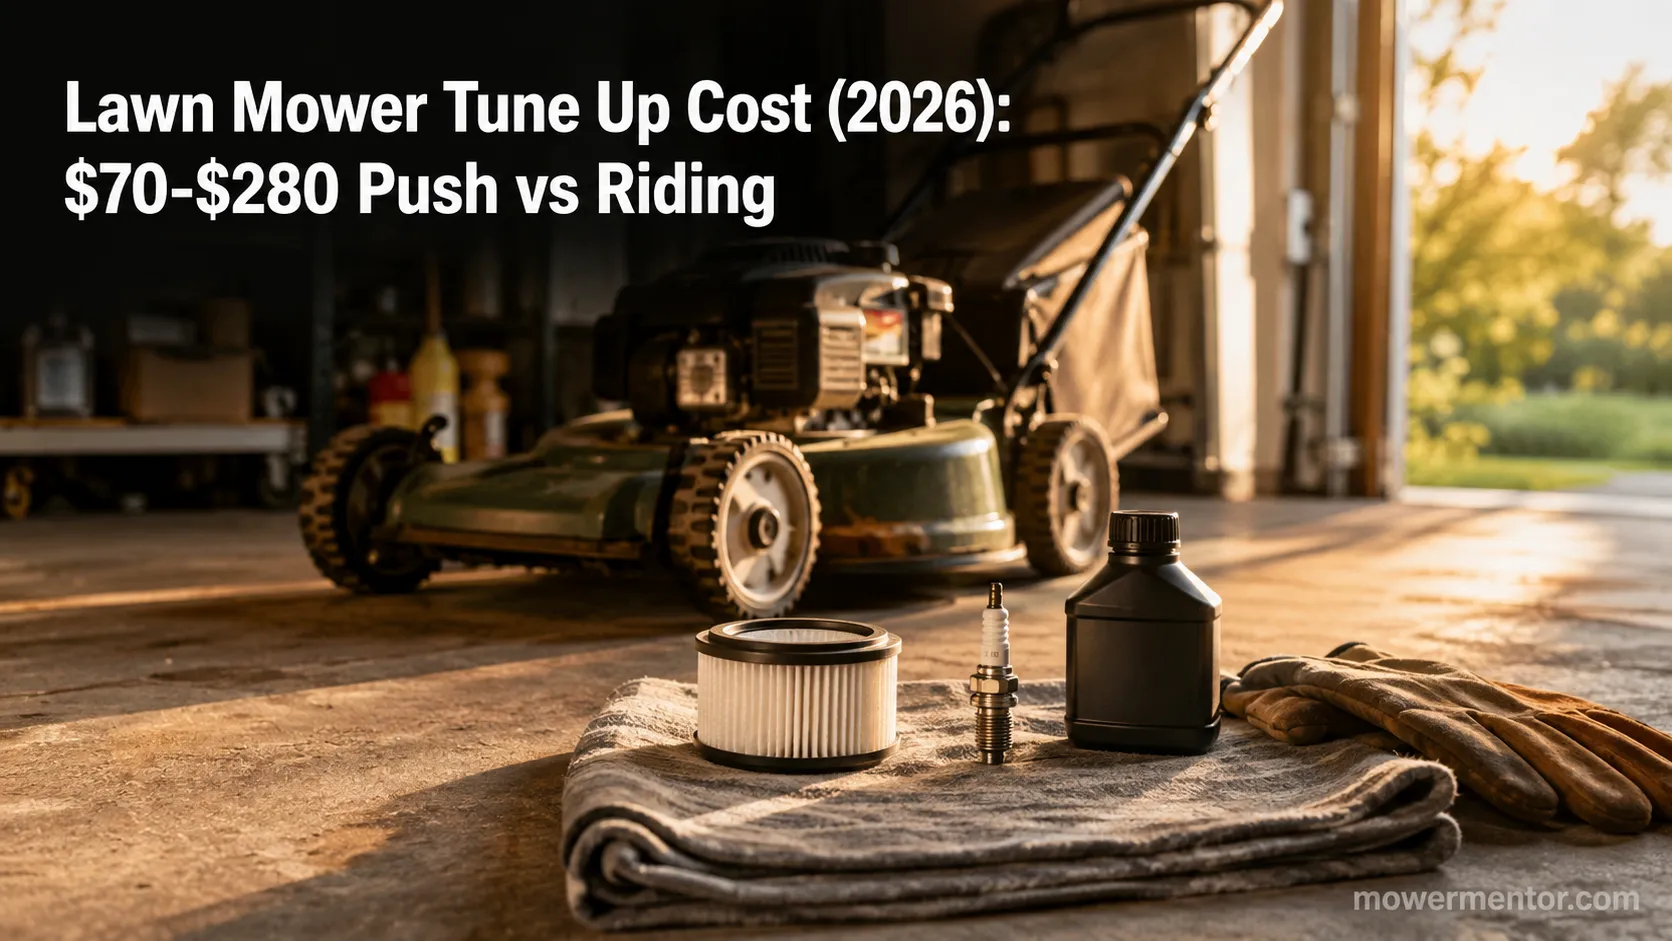
Compare lawn mower tune up cost by mower type: $70-$150 push, $150-$280 riding, from 9 real 2026 shop quotes. Plus the same parts for about $18 DIY.
Comments
Moderated for quality. Share a correction, ask a follow-up, or tell us what worked for you - every comment is reviewed before it goes live.